Memorizing a presentation is the process of internalizing a speech’s concepts, key points, and structure so it can be delivered confidently and smoothly without relying heavily on presentation notes or a script. As a skill, it implies understanding the material as a whole, committing it to memory, and recalling and articulating it effectively in front of an audience. And we mean articulating, as the end goal is not to repeat the content verbatim without emotion or feeling out of the element if questions are asked.
In this article, we will talk about the advantages of memorizing a presentation, the different techniques for accomplishing it, and some examples of how to put these tools into practice.
Table of Contents
- Benefits of Memorizing a Presentation
- Technique #1: Create an Outline
- Technique #2: The 20-20-20 Rule of Rehearsal
- Technique #3: The Method of Loci
- Technique #4: Using Acronyms
- Technique #5: Rhyming
- Technique #6: Visualization Linking
- Technique #7: Chunking
- Technique #8: PQRST
- Technique #9: Write it Down
- Recommended Templates for Visual Aids in Memorization
Benefits of Memorizing a Presentation
Although some may think of memorizing a presentation as a sort of counterproductive practice, “knowing the speech cold” – as HBR labels this practice – gives us room to be more confident about our understanding of the topic to present, reducing public speaking anxiety, and obtain a better performance outcome. Let’s go through some of the benefits of memorizing a presentation.
Audience Engagement
A well-memorized presentation allows for better eye contact and interaction with the audience, making the delivery more engaging and dynamic. The presentation feels less robotic, allowing you to connect with the public through genuine levels of audience engagement.
Flexibility
Understanding the material thoroughly enables the presenter to adapt to questions, comments, or technical issues without losing track of the presentation. A typical scenario is when the talk drifts off its original intention, such as when an attendee has genuine concerns about some of the presentation’s points or application. Rather than abruptly returning to where you left off, you can resume the presentation by connecting a fact to what you just discussed.
Flow
Memorizing helps maintain a logical flow and structure, ensuring that key points are covered effectively and smooth transitions between sections. This is extremely practical if we deliver video presentations, where we need to do a before and after part of the presentation from where the video starts.
Persuasion
A confident and well-delivered presentation is more persuasive and can have a greater impact on the audience, whether the goal is to inform, inspire, or convince. Think of how much of a difference it can make in short-format presentations like elevator pitches, as all your mental and physical efforts are focused on your body language and how you connect with the audience rather than remembering facts.
Reduced Dependence on Visual Aids
With memorized material, the presenter can use visual aids more effectively as supplements rather than crutches. Visual aids for presentations can become more artistic, enhancing the aesthetic of your presentation rather than needing specific word cues to help you remember parts of your speech.
Enhanced Credibility
Memorizing a presentation can significantly enhance your credibility as a presenter by ensuring a smooth and confident delivery, which audiences often interpret as a sign of expertise and reliability. This phenomenon is supported by the “Halo Effect,” a cognitive bias where the perception of one positive trait (such as confidence and fluency in delivering a presentation) leads to the assumption of other positive traits (such as competence and trustworthiness). When a presenter speaks without hesitation or errors, the audience is more likely to view them as knowledgeable and credible, thus reinforcing their overall message. You can learn more about this in our article about how different cognitive bias impact your presentation.
Technique #1: Create an Outline
An outline organizes your thoughts and provides a clear presentation structure. Start with a broad framework, then fill in the details. For instance, an outline for a presentation on a project management course might look like this:
- Introduction
- Definition of project management
- Importance of effective project management
- Main Body
- Planning
- Defining project scope
- Setting objectives and milestones
- Execution
- Resource allocation
- Team management
- Monitoring
- Tracking progress
- Adjusting plans as needed
- Closing
- Evaluating project success
- Lessons learned
- Planning
- Conclusion
- Summary of key points
- Final thoughts and call to action
This outline serves as a roadmap, helping you remember the sequence and relationships between points. You can quickly create outlines with AI tools like ChatGPT for Presentations.

Technique #2: The 20-20-20 Rule of Rehearsal
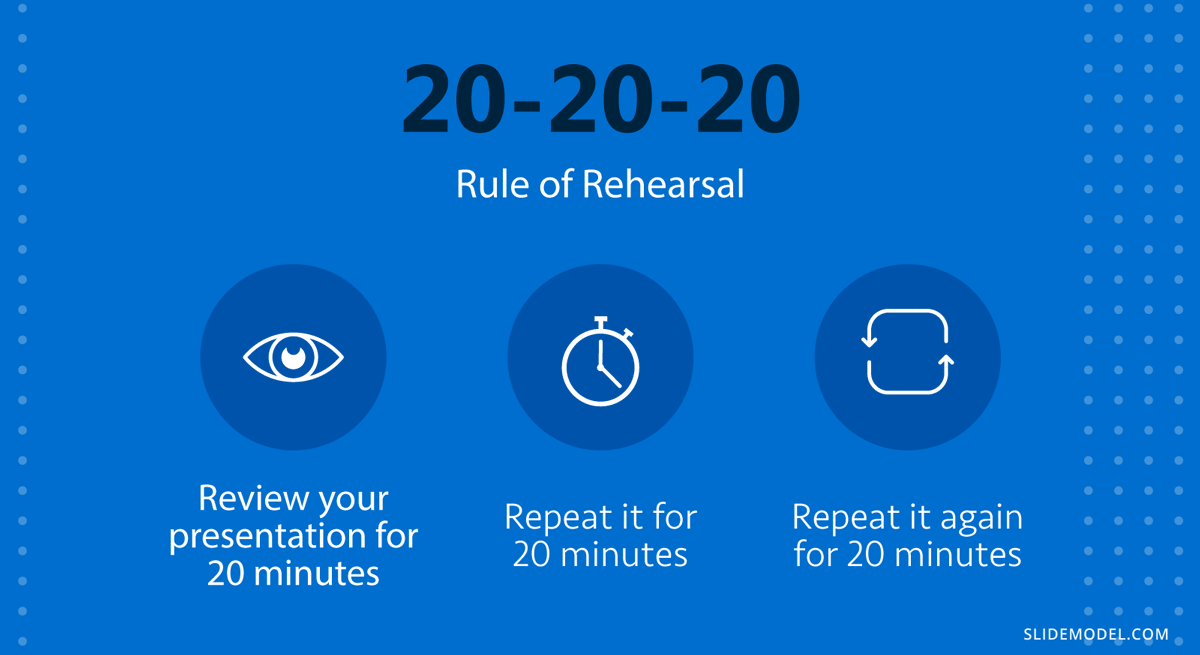
The 20-20-20 rule is a structured rehearsal technique designed to enhance presentation memorization and delivery. This rule breaks down practice sessions into manageable segments, focusing on different presentation aspects and ensuring a comprehensive preparation process. The rule involves three 20-minute phases: content rehearsal, delivery practice, and review/adjustment.
Content Rehearsal
The focus should be on memorizing and understanding the concepts of your presentation. Go through the outline or main points of your presentation. Ensure you know the flow and structure.
Cover each key point, argument, and supporting evidence. You can use mnemonic devices, such as acronyms or rhymes, to aid the memory fixation process. Recite the content without worrying about your delivery style. Concentrate on getting the information right, and repeat each challenging section until you feel confident to recall it.
A good practice is to pair this content rehearsal process with the Feynman Technique, which helps you acknowledge whether you truly understand what you’re talking about.
Delivery Practice
Practice delivering the presentation, concentrating on your speaking style, body language, and engagement with the audience. It is best if you practice standing up and speaking aloud, mentally recreating the conditions of your future presentation to reduce potential anxiety.
Pay attention to your tone, pitch, and pace. Ensure your speech is dynamic and engaging, and make eye contact with the imaginary audience. Incorporate appropriate gestures and movements to emphasize points and keep the audience engaged.
Review and Adjustment
Review your performance, make necessary adjustments, and refine your presentation. If possible, get feedback from a peer, mentor, or record your practice session and review it.
Simplify complex points and add clarifications where needed. Look at how much jargon you’re using, your vocal variety, pacing, and body language.
Technique #3: The Method of Loci
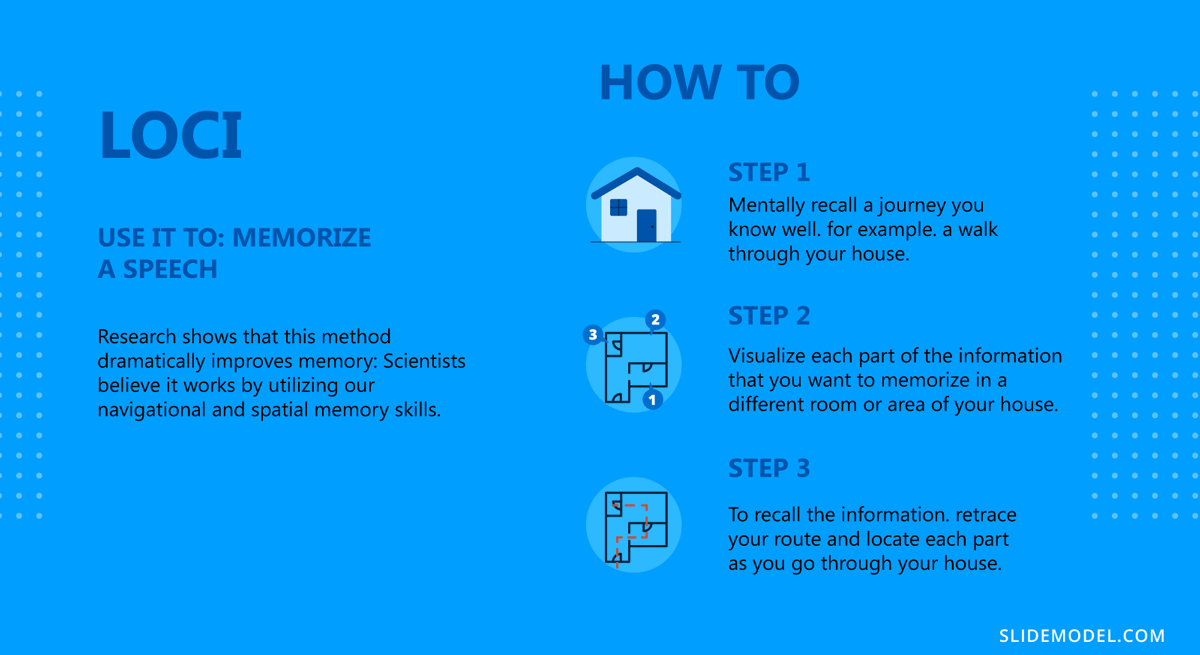
The Method of Loci involves choosing a familiar location, such as your home or a route you often take, and mentally placing pieces of information at specific locations within this setting. When you need to recall the information, you mentally “walk” through the location, retrieving the information associated with each specific place.
Spatial memory is powerful, making it easier to remember and recall information. The physical layout of the location helps create a logical sequence for the presentation.
Steps to Implement the Method of Loci
- Choose a Familiar Location
- Identify Specific Locations or Landmarks
- Associate Information with Each Location
- Visualize and Rehearse
- Mentally Walk Through the Location
- Practice Regularly
- Adapt and Expand as Needed
Choose a Familiar Location
Select a familiar place, such as your home, office, or frequently taken route. Familiarity with the location is crucial because it allows you to visualize and navigate the space in your mind easily.
Example:
Your home, including rooms such as the living room, kitchen, bedroom, and garden.
Identify Specific Locations or Landmarks
Within your chosen location, identify distinct spots or landmarks where you will “place” information. These should be areas that are easy to visualize and distinct from one another.
Example:
- Front door
- The couch in the living room
- Dining table in the kitchen
- Bed in the bedroom
- Flowerbed in the garden
Associate Information with Each Location
Assign a piece of information from your presentation to each specific location. Create vivid, memorable images or associations for each piece of information.
Example:
For a presentation on the benefits of renewable energy:
- Front door: A bright sun symbolizes solar energy.
- Couch: A spinning wind turbine representing wind energy.
- Dining table: A flowing river representing hydroelectric power.
- Bed: A peaceful forest symbolizing biomass energy.
- Flowerbed: A vibrant array of flowers representing the benefits of renewable energy for the environment.
Visualize and Rehearse
Spend time visualizing each piece of information in its designated location. Walk through the location in your mind, seeing each piece of information clearly.
Example:
Mentally walk to your front door and vividly imagine the bright sun. Move to the living room and picture the wind turbine on the couch. Continue this process for each location and associated image.
Mentally Walk Through the Location
When it’s time to recall the information, mentally walk through the chosen location in the same order. As you visualize each spot, recall the information associated with it.
Example:
During your presentation, mentally start at the front door (solar energy) and proceed to the living room (wind energy), kitchen (hydroelectric power), bedroom (biomass energy), and garden (environmental benefits).
Practice Regularly
Regular practice helps reinforce the associations and improves recall. Periodically walk through your memory palace to ensure the information remains fresh and accessible.
Example:
Practice your mental walk-through daily leading up to your presentation. Spend a few minutes each day reinforcing the associations.
Adapt and Expand as Needed
The Method of Loci is versatile and can be adapted for different types of information and expanded as needed. Add more locations or create new memory palaces for additional topics.
Example:
If your presentation has multiple sections, create a new memory palace for each section or expand your existing one by adding more rooms or landmarks.
Technique #4: Using Acronyms
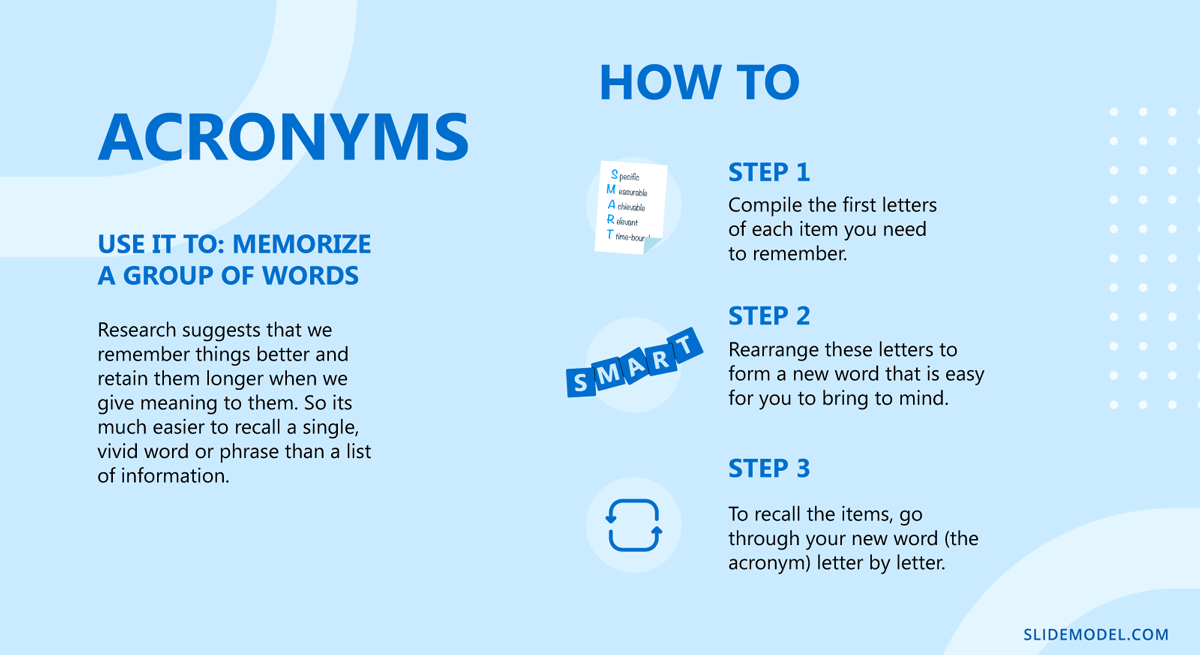
Acronyms are powerful mnemonic devices that can simplify the process of memorizing a presentation by condensing complex information into easily remembered letters and words. Each letter in an acronym stands for a key point or concept, helping you recall the sequence and details of your presentation more effectively.
Begin by identifying the main points or concepts of your presentation. These could be steps in a process, important themes, or critical details that must be remembered.
Example:
For a presentation on effective communication, the key points might be:
- Clarity
- Conciseness
- Coherence
- Consistency
- Courtesy
Example:
Using the key points above, create the acronym “5Cs” for effective communication:
- Clarity
- Conciseness
- Coherence
- Consistency
- Courtesy
Enhance the acronym with mnemonic devices, such as creating a sentence or phrase where each word starts with the same letter as your key points. This helps reinforce memory.
Example:
“Cats Catch Clever Creatures Carefully”
Technique #5: Rhyming
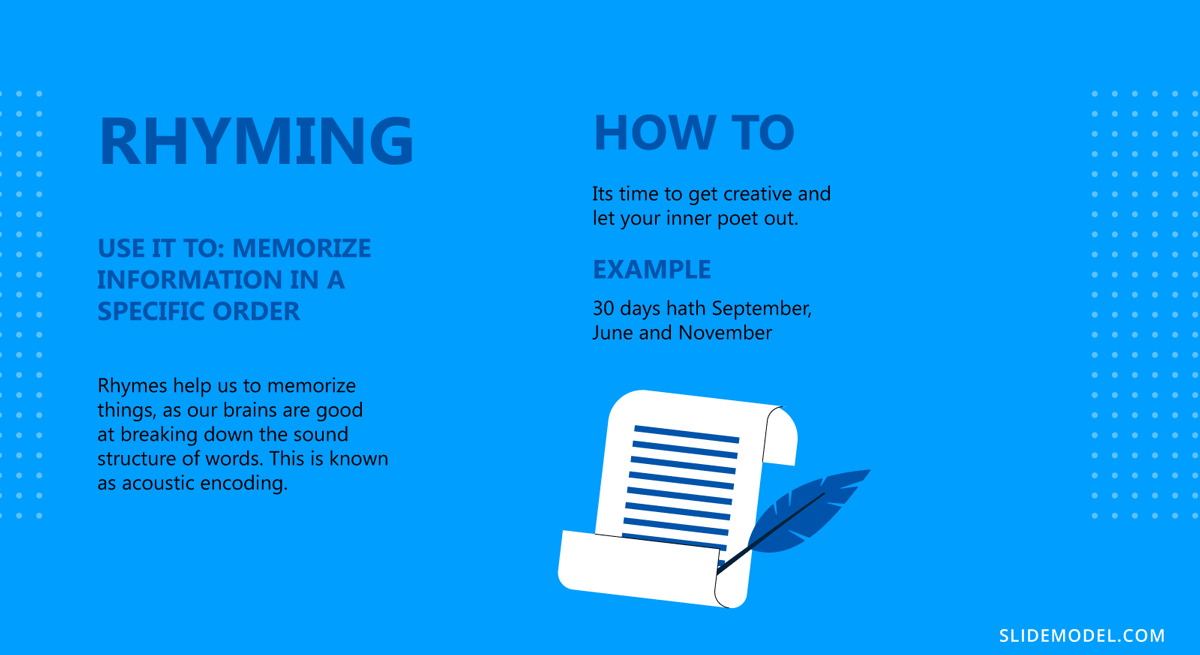
Rhyming is a highly effective mnemonic tool that greatly improves presentation memorization. Crafting rhymes can result in engaging presentations as an ice-breaker and makes content easier to remember. By utilizing the natural rhythm and sound patterns of language, rhyming helps information stay in your memory.
Identify the key points or concepts you want to memorize in your presentation. These could be main ideas, lists, steps in a process, or important details. Once you have a clear list of these points, you can begin to create rhymes around them.
Create simple, catchy rhymes for each key point. Aim for short and memorable phrases that encapsulate the essence of the information. For example, if you’re presenting on the benefits of exercise, you might create a rhyme like:
“Exercise each day, keeps fatigue away.”
Combine rhymes into couplets (two-line verses) or longer verses if needed. This helps create a narrative or flow that is easy to follow. For instance, for a presentation on healthy eating, you could use:
“Fruits and veggies every day, keep the doctor far away.
Whole grains and lean meats too, give your body fuel to renew.”
Use visual aids that complement your rhymes. Say you have a slide listing the benefits of a product; use a rhyme to introduce or summarize the points on the slide. The combination of visual and auditory cues strengthens memory retention.
Technique #6: Visualization Linking
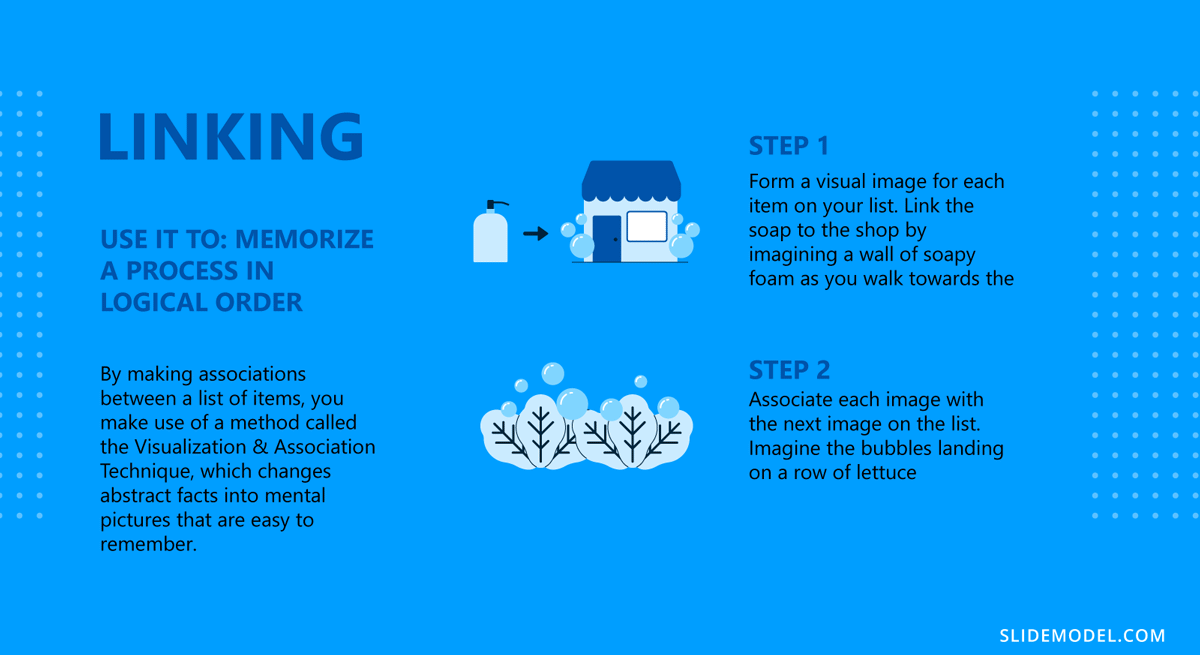
Visualization linking involves using vivid, imaginative images to represent key points or pieces of information in a presentation. By creating a mental picture for each point and linking these pictures together logically, you create a memorable and coherent mental map of your presentation. This technique leverages the brain’s natural ability to remember visual and spatial information more effectively than abstract concepts or words.
Unlike the Method of Loci, it focuses on creating a chain of connected images that follow a narrative or logical sequence rather than working with a familiar physical location. Therefore, there’s no need for a physical or spatial structure to help memory recall, and it is a more flexible method.
Let’s say we are wondering how to remember a presentation about the use of chemicals in food preparation. We can retrieve the mental process a consumer makes before buying a product by linking the image of the product—say, a detergent—to the store where you purchase it. Then, we can think of the potential usage by picturing the bubbles this product creates when combined with water when cleaning vegetables.
You need to mentally go through the sequence until it feels natural. Each image triggers a memory corresponding to a key point in your presentation.
Technique #7: Chunking
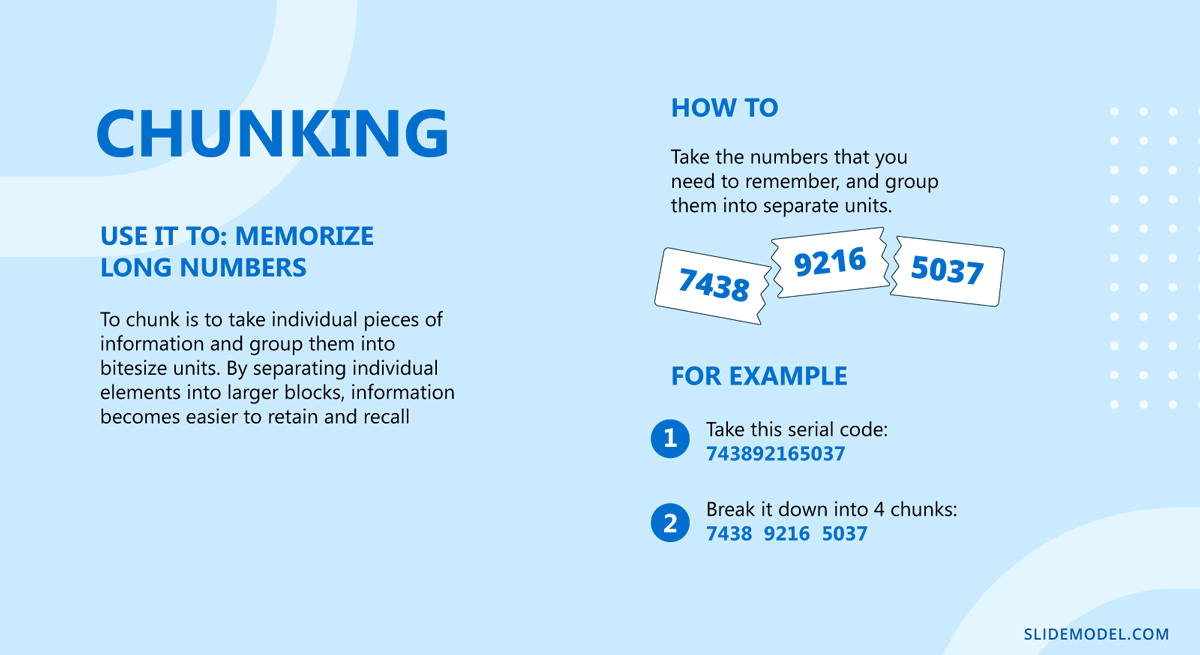
Chunking is the process of dividing large amounts of information into smaller, more manageable pieces, or chunks. Each chunk represents a unit of information that is easier to process and remember. This technique helps reduce cognitive load, making understanding, memorizing, and recalling complex concepts easier.
Once you have identified the main concepts in your presentation, you need to organize them into chunks.
Example:
Group the time management key points:
- Chunk 1: Setting Goals
- Importance of goals
- Types of goals (short-term, long-term)
- Chunk 2: Prioritizing Tasks
- Urgent vs. important
- Task prioritization techniques (Eisenhower Matrix)
- Chunk 3: Planning
- Daily planning
- Weekly and monthly planning
- Chunk 4: Avoiding Distractions
- Identifying distractions
- Techniques to stay focused
- Chunk 5: Reviewing Progress
- Regular review sessions
- Adjusting plans based on progress
Label each chunk with clear headings or section titles. This helps organize the presentation and provides a clear structure for the presenter and the audience. Incorporate visual aids such as slides, charts, or diagrams to represent each chunk. Visual aids help reinforce the information and make it more memorable.
Although this technique is a good answer to how to memorize a speech faster, its most common application of chunking is related to data presentations, when we need to recall lengthy numbers critical for discussing our findings.
Technique #8: PQRST
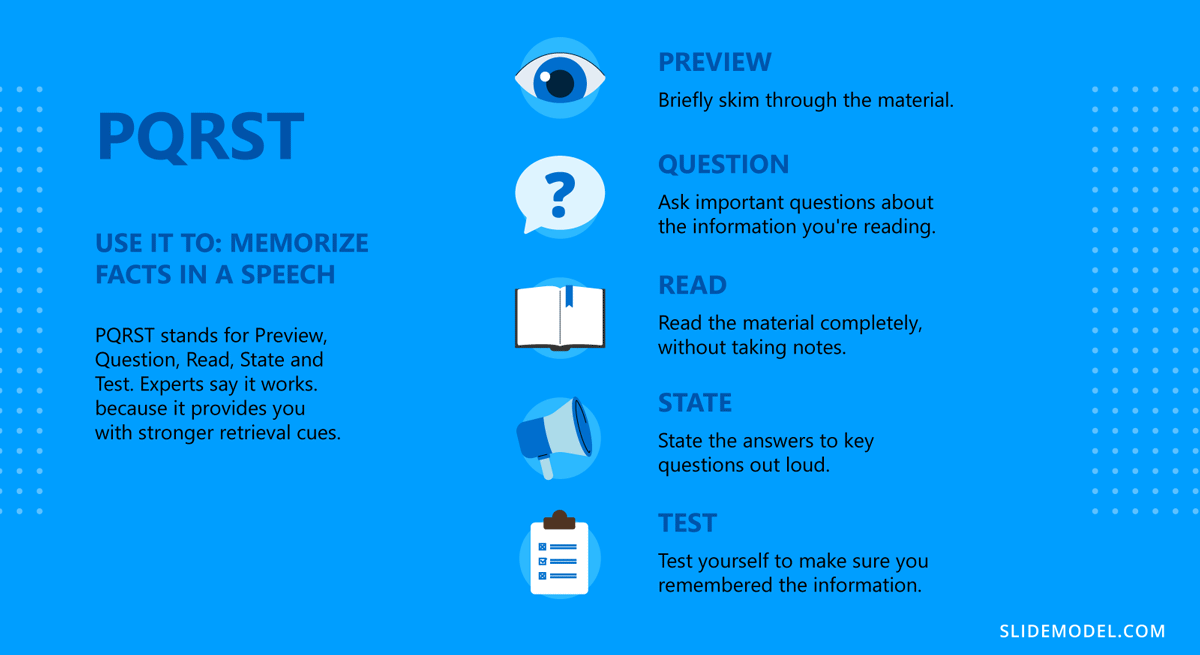
The PQRST method is a study and memory technique that stands for Preview, Question, Read, Self-Recite, and Test. Originally developed for academic study, this method can be effectively adapted to help presenters memorize their material by breaking down the content into manageable steps and reinforcing understanding and recall.
This method involves five steps: Previewing the material to get an overview, generating questions about the content, reading to find answers to those questions, self-reciting the key points, and testing oneself to ensure the information is retained. This structured approach aids in comprehending, memorizing, and recalling information for a presentation.
Technique #9: Write it Down
Writing things down involves manually recording information on paper. This can include writing out the full text of your presentation, key points, summaries, or notes. Writing engages your brain in different ways compared to simply reading or typing, making it an effective mnemonic device. As we take notes manually, we can implement complementary techniques to further enhance our memory recall process, like storytelling in presentations.
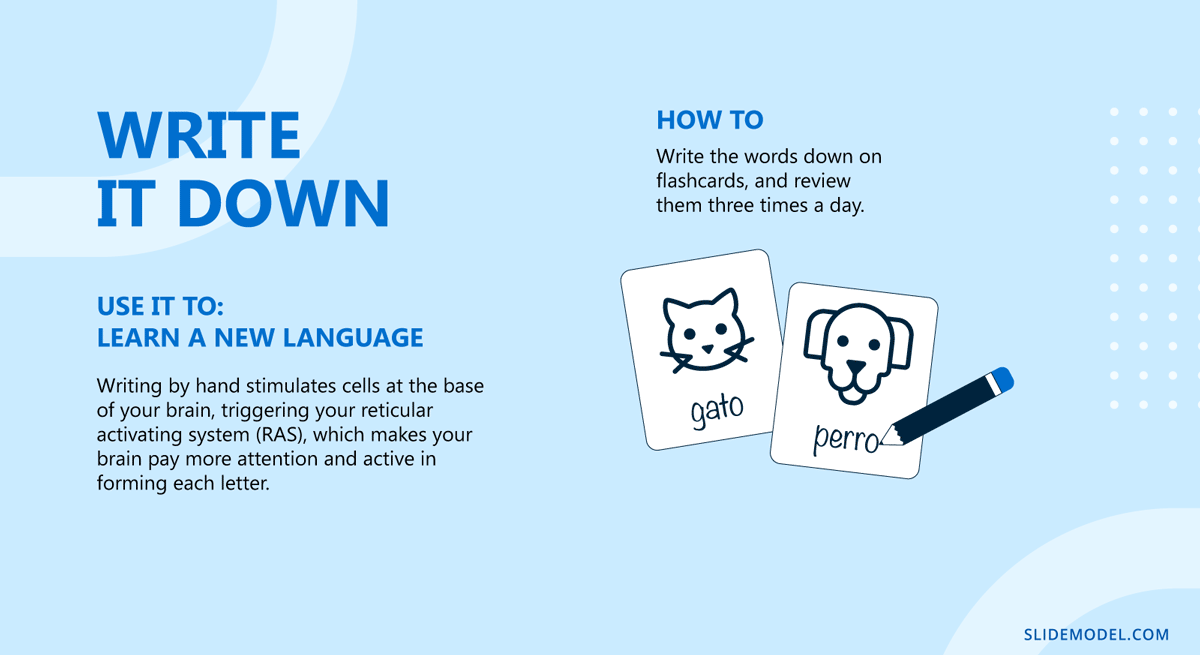
Suppose your presentation contains words or paragraphs in another language. In that case, this is the best method to implement, as the manual writing process triggers your brain’s reticular activating system (RAS).
There are multiple approaches to writing down a presentation. You can write an outline, but that wouldn’t be enough. Summarizing each section of the presentation in your own words rather than repeating the lengthy speech is a great practice, as you test your comprehension simultaneously. Flashcards, which can be manual or digital, are another alternative to test your memory about the contents of the presentation.
Recommended Templates for Visual Aids in Memorization
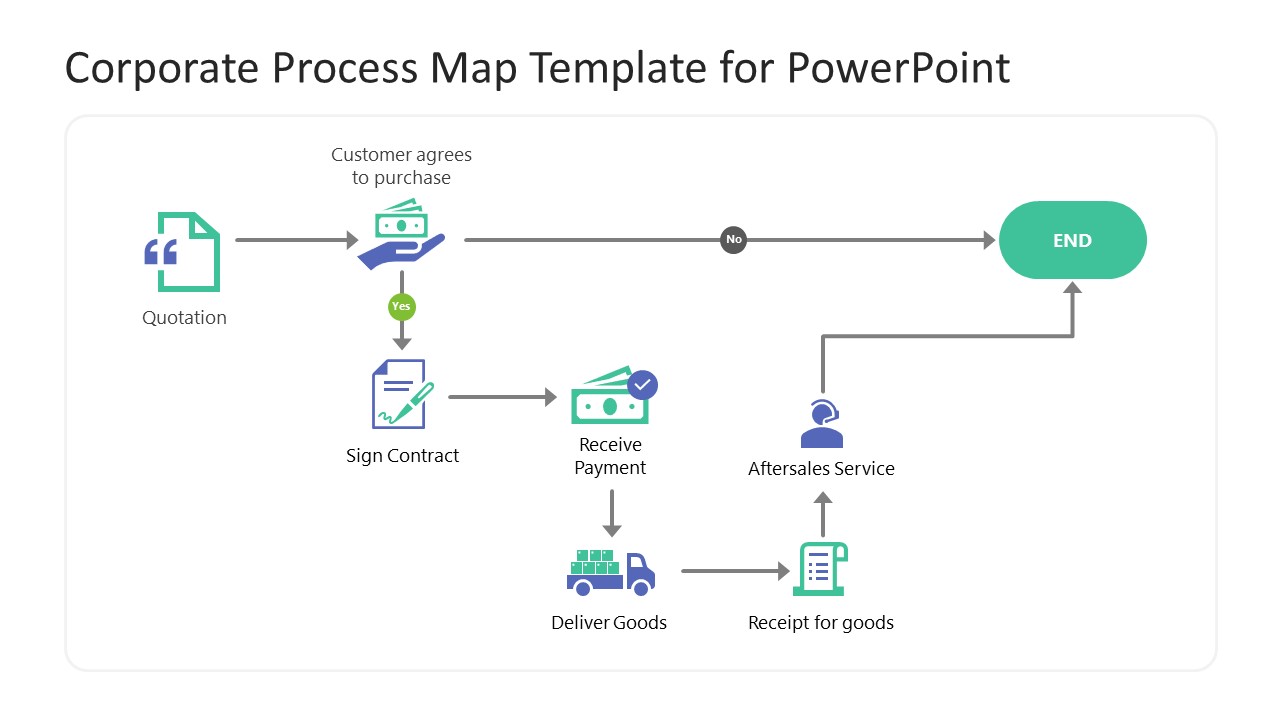
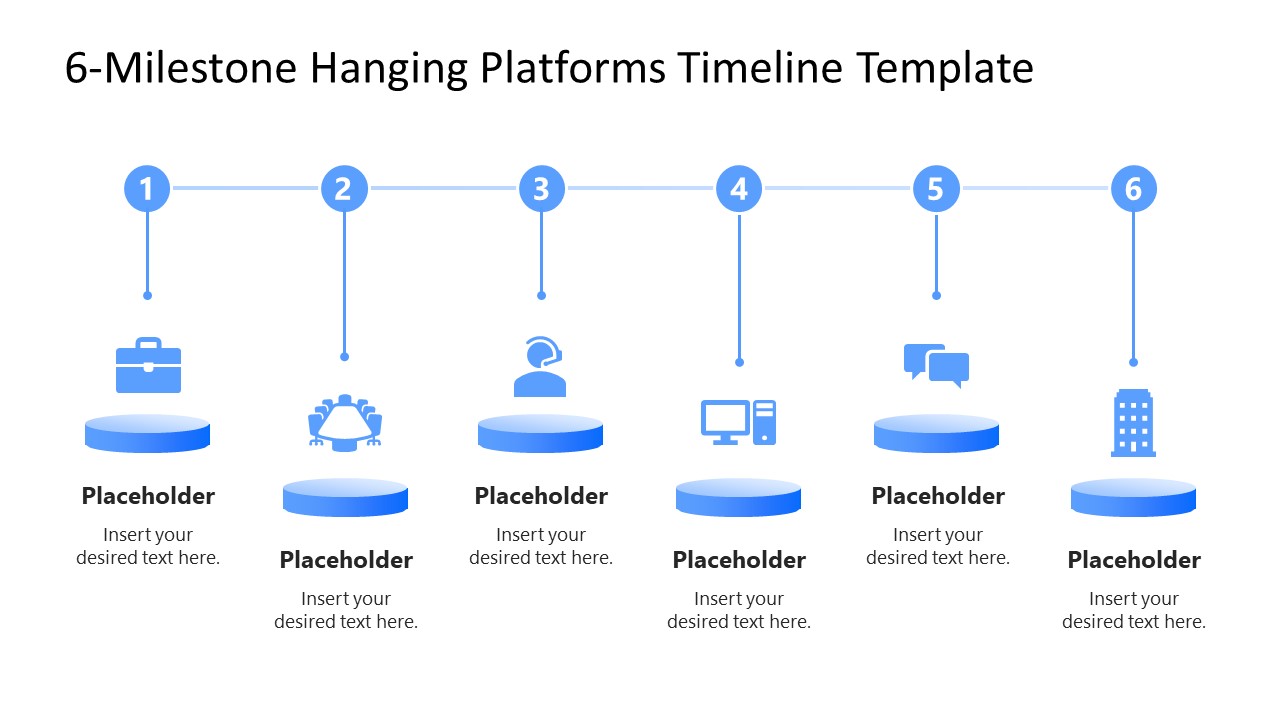
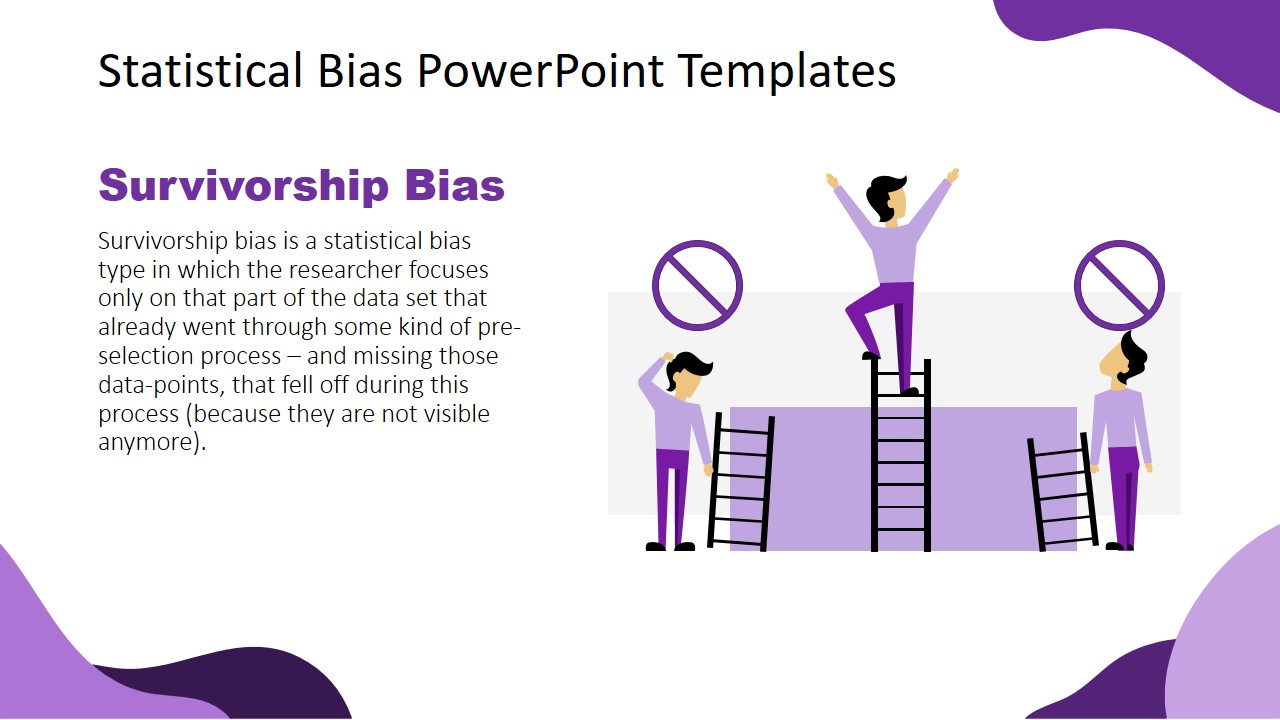
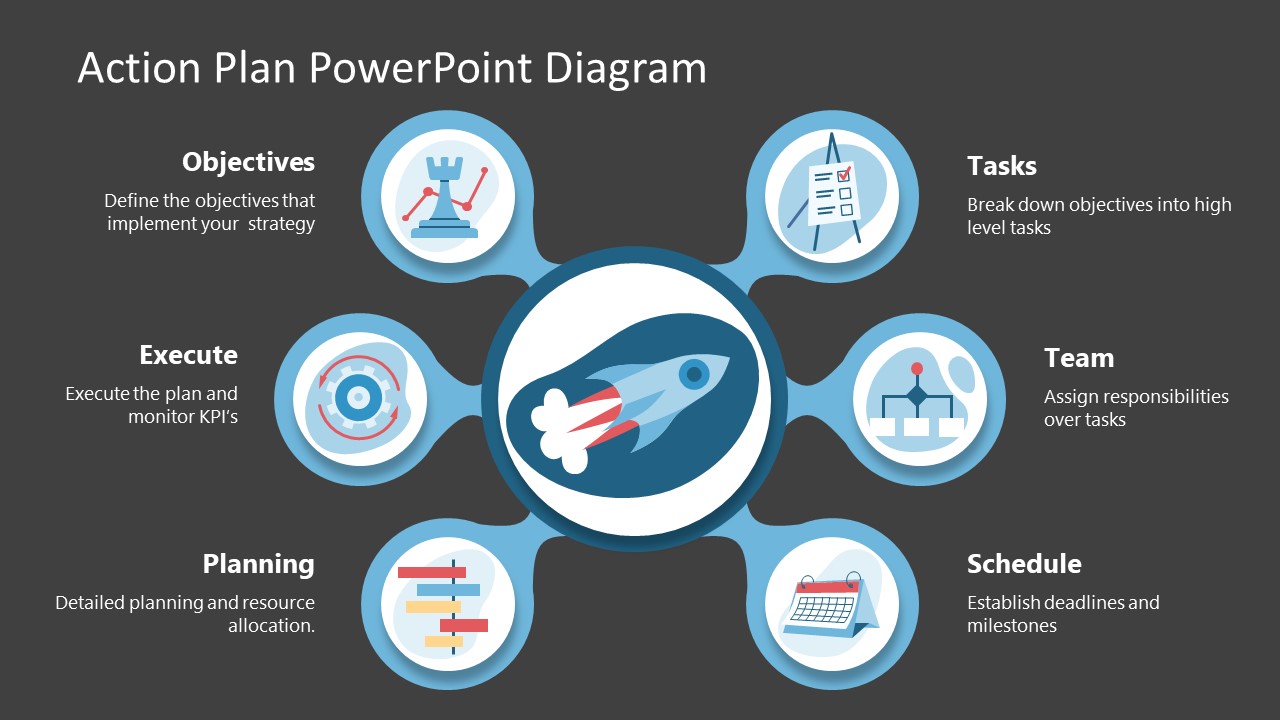
We want to conclude this article with a series of selected PowerPoint templates that can help us work with effective visual aids for memorization. Keep in mind these PPT/PPTX files can be accessed as Google Slides templates as well.
