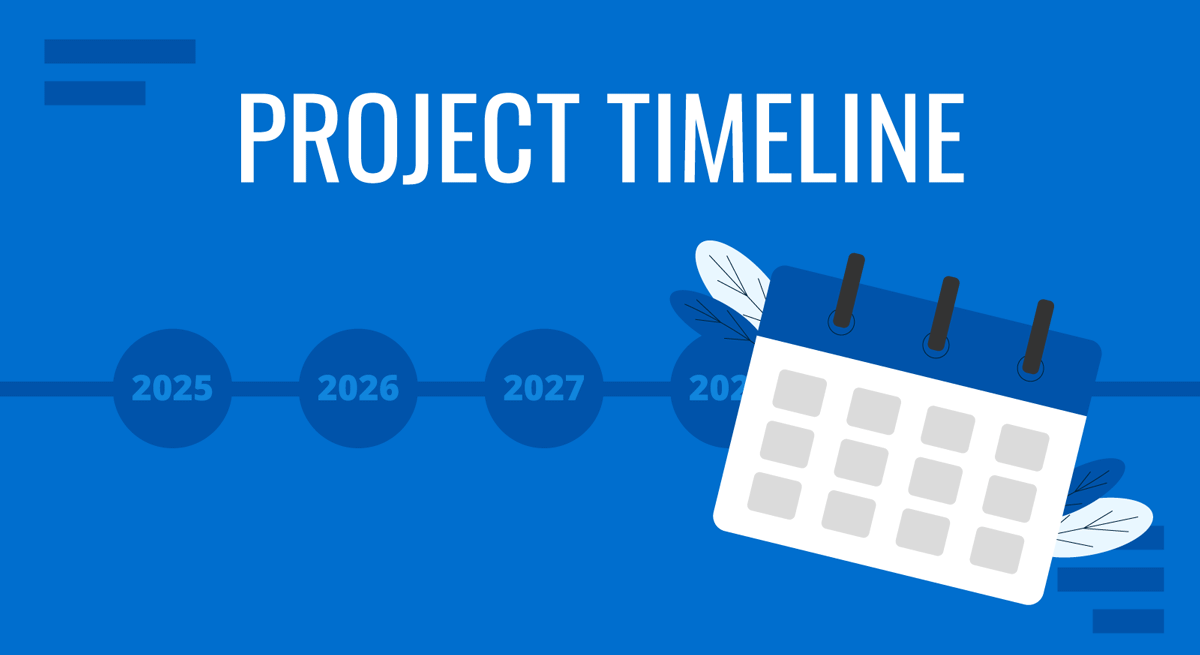
Creating and presenting project timelines can be a game-changer in project management. A well-constructed timeline outlines key milestones and deadlines and serves as a crucial communication tool for stakeholders. Designing these timelines with clarity and precision is essential to ensure everyone involved understands the project’s flow and expectations.
This article will guide you through the steps to develop a coherent project timeline from scratch, highlight what information to include, and share tips on presenting it clearly to your audience. Whether you’re a seasoned project manager or just starting out, these insights will help you build an informative and easy-to-digest timeline, facilitating better project tracking and management. By the end, you’ll be equipped to create a timeline that enhances project visibility and coordination, making your work smoother and more predictable.
Table of Contents
- What is a Project Timeline?
- Components of a Project Timeline
- Why Should We Use Project Timelines?
- Is a Project Timeline the Same as a Gantt Chart?
- How to Create an Actionable Project Timeline
- How to Present a Project Timeline in a Business Meeting
- How to Keep a Project Timeline Updated
- Case Study: Organizing a Charity Event with a Two-Phase Timeline
- Recommended PowerPoint & Google Slides Templates for Project Timelines
- Conclusion
- References
What is a Project Timeline?
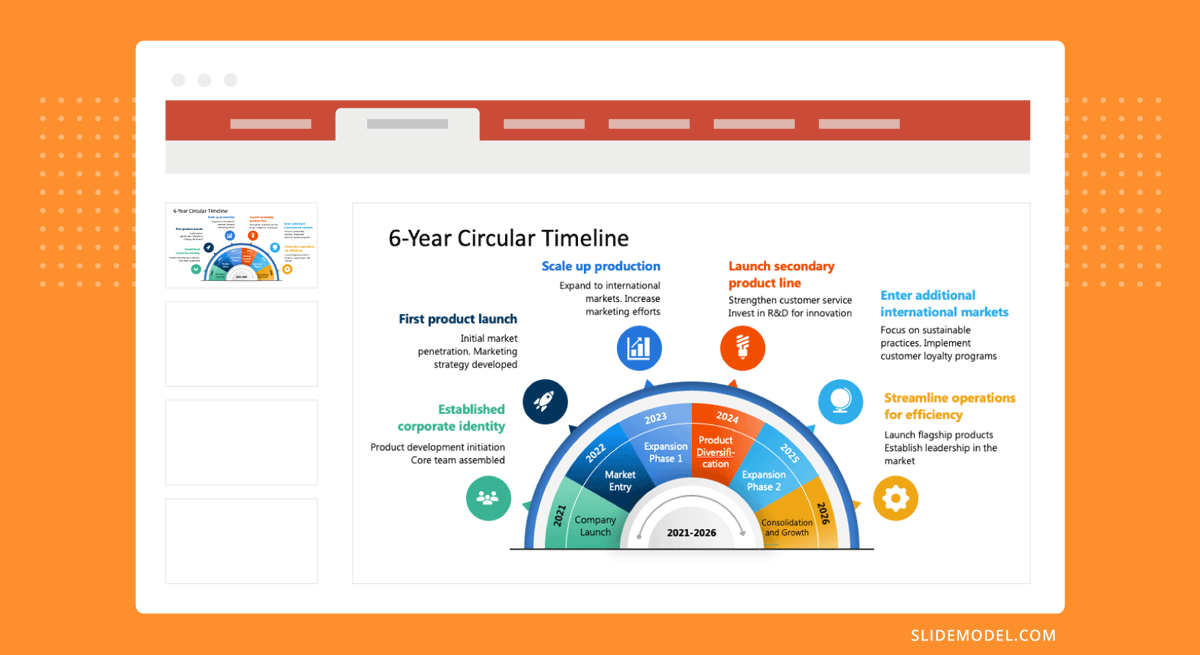
A project timeline outlines a project’s entire journey, dividing it into smaller, manageable tasks and significant points, each with its due date [1]. This timeline for the project helps teams understand when each part needs to be completed and the overall deadline for the project’s completion.
These tools in project management help indicate the status of various tasks. It shows what is completed, what is underway, and what remains to be done until the project’s due date. Through visual representation of every task involved, timelines help managers keep track of crucial tasks and their respective timelines.
Components of a Project Timeline
Incorporating a few elements into a visual aid is essential when developing and overseeing efficient project timelines.
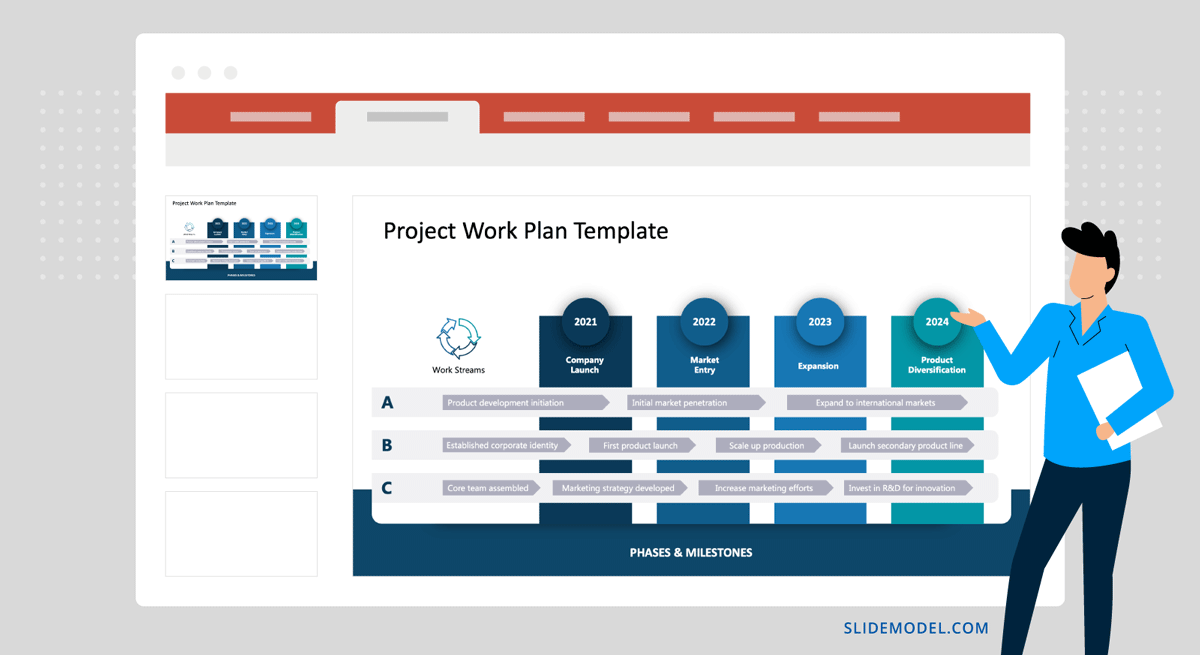
While you might add additional components to suit the specific requirements of your project, the components listed below are fundamental to every project timeline [4]:
Tasks
These are the jobs that need to be done. When breaking down tasks, it is important to ensure they are specific and clear. When listing all the tasks related to your project, also include them in your timeline. Keep the titles of each task short and to the point. A lengthy explanation of the task’s scope in the timeline is unnecessary. This would only consume time and unnecessarily complicate the chart.
Start and End Dates of Tasks
You need to estimate the time required to complete each task. It is important to mention a clear start and end date for the task. While setting dates, do not be overly optimistic; choose timeframes that motivate your team and create a sense of urgency [5].
Milestones
These are significant achievements or steps in your project. They signify progress points or the completion of crucial stages within the project. Milestones could include completing a major phase of work, meeting a key deadline, or achieving a critical deliverable. Identifying milestones in your project timeline provides a roadmap for progress.
How long tasks will take?
This is how many days or weeks you think a task will need. Project timelines should effectively communicate essential task information with a glance. Therefore, it is necessary to include the estimated duration for each task. For example, one task might be expected to take three days. However, a more complex task needs more days to complete.
Task Dependencies
Dependencies are other tasks that must be completed before starting the next task. When you create a project timeline, you will notice that your project has few dependencies at the start. However, as you progress, there will be more dependencies.
Why Should We Use Project Timelines?
Project timelines guide you and your team along the way till completion. However, why are they so important? Let us break it down:
Clarity and Direction
Imagine driving without a map or GPS. You’d probably end up lost or taking the wrong turns. Similarly, in a project, a timeline provides clear direction. It will take you to the right destination and specify when you need to get there. It also ensures everyone is on the same page and working towards the same goal.
Effective Resource Management
Likewise, just as you would want to save gas by driving in circles, you want to save resources by efficiently allocating them. Whatever your resources are, whether people or money, a project timeline helps you allocate efficiently. You can see which tasks require what resources and plan accordingly, avoiding shortages or overages.
Risk Management
Every journey has its obstacles, from unexpected detours to road closures. Similarly, every project faces risks, such as delays, budget overruns, or resource shortages. A project timeline helps to identify potential risks early and plan for them. By foreseeing challenges, you can have a contingency plan in place. This will minimize their impact on your project’s success.
Deadline Management
Just like you would not want to miss a flight or arrive late for an important meeting, you don’t want your project to miss its deadlines. A project timeline helps you stay on track by clearly presenting when each task needs to be completed [3]. It creates a sense of urgency that motivates everyone to meet their deadlines.
Stakeholder Communication
Similarly, a project is not just about completing tasks. It is also about keeping stakeholders informed and engaged. A project timeline can be a communication tool to update stakeholders on progress. Meanwhile, you can address any concerns or questions. This can ensure that everyone is aligned with the project’s objectives.
Is a Project Timeline the Same as a Gantt Chart?
The Gantt chart is one of the types of project timelines that offers a user-friendly way to visualize project schedules [1]. It presents a graphical presentation of the time required for various tasks within a specific timeframe. However, timelines can be in multiple forms. You can also show different events of your project in a single-line form. This visualization displays the start and finish times of other activities. In addition, it can organize them based on project objectives or categories. However, a Gantt chart is two-dimensional [2]. For more information, check out our articles about gantt chart examples and how to make a gantt chart in PowerPoint.
How to Create an Actionable Project Timeline
There are a few steps that will guide you in creating a timeline for a project.
Set the Project Scope
Before you start listing tasks or making a timeline, you need to know what your project is all about. This means figuring out what you want to achieve and what needs to be done. It is like planning before you begin. This way, everyone knows what they’re supposed to do. Each segment is clearly defined, allowing the audience to understand the journey ahead.
With an example, we will better understand ways to create a project timeline.
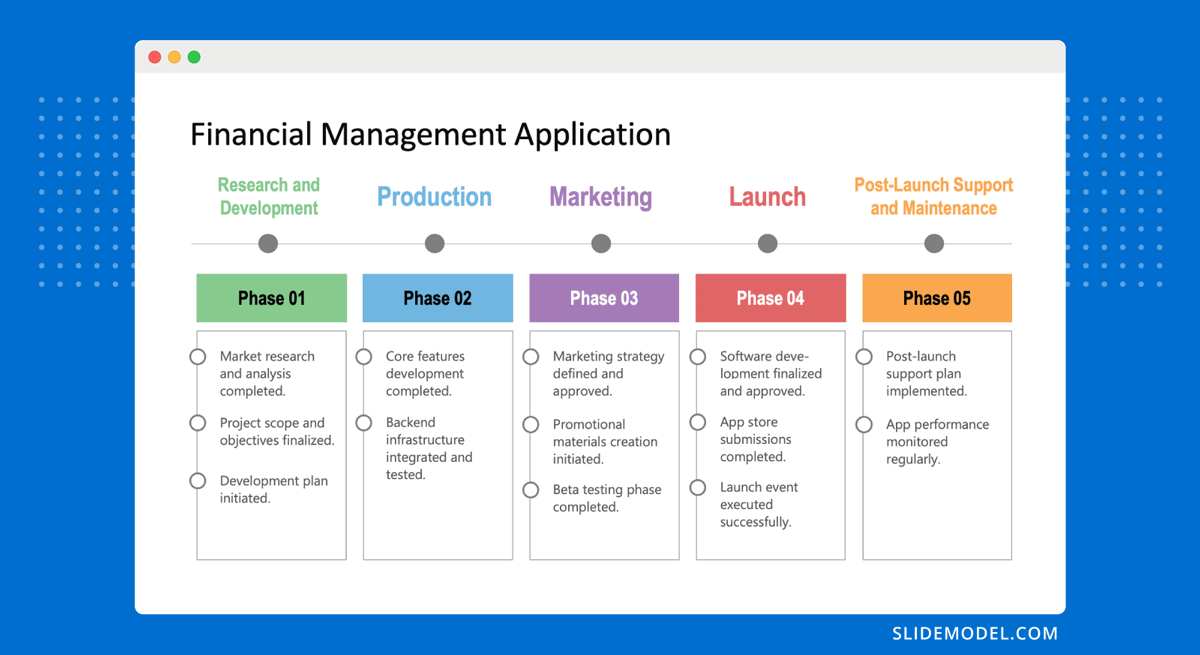
Sarah is a seasoned project manager. She is going to launch a new software product. They set the project scope to develop a user-friendly application for managing finances.
Divide the Project into Tasks
After figuring out what needs to be done for the project, the next step is to break it down into smaller tasks. It is like making a to-do list for the project. This helps everyone know what to do and when to do it. The project would be easier to manage.
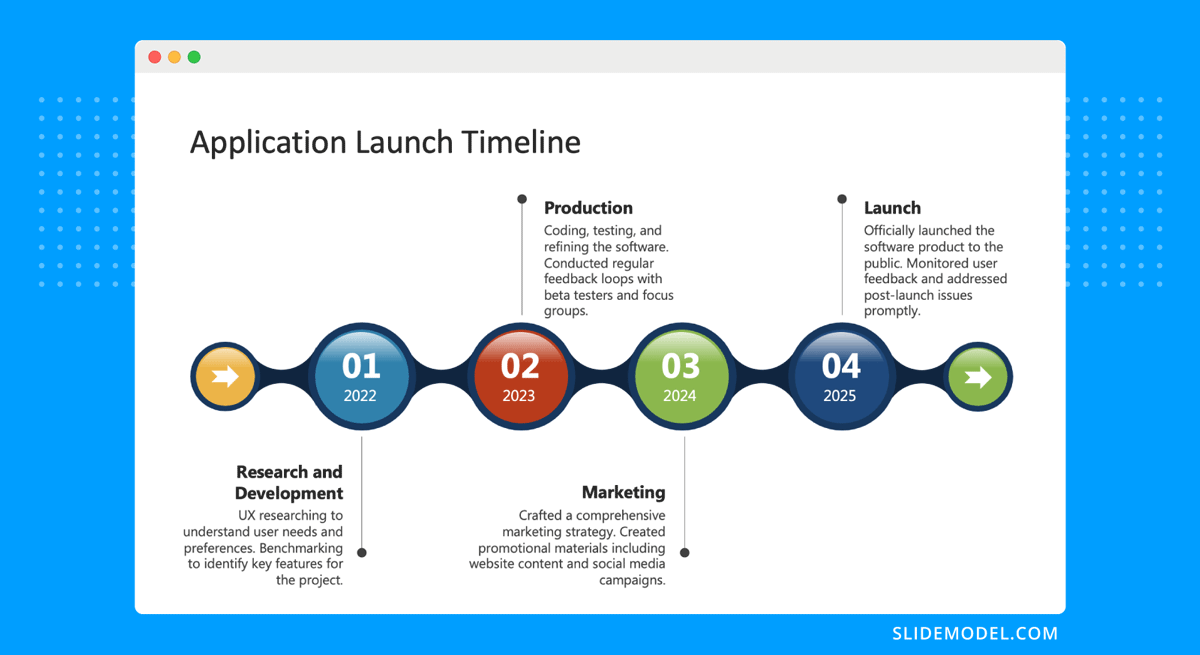
Following this step, Sarah breaks down the project into various phases. These phases include research and development, production, marketing, and launch. Each phase represents a leg of the journey towards the destination: the successful launch of the new product.
Highlight Key Milestones
After the division of the tasks, key milestones along the project timeline are highlighted. These milestones present significant progress points and checkpoints for the project’s advancement.
In Sarah’s case, one of the initial milestones is the completion of the product design phase. It signifies that the product’s conceptualization is ready for the development stage. Another critical milestone is the completion of the prototype, which marks the transition from development to testing.
Visualize Task Timelines
Visualizing task timelines involves using various tools designed for this purpose. Using the tool, you will form a timeline for the project. These tools help organize tasks, set deadlines, assign responsibilities, and track progress throughout the project lifecycle. Interactive tools like Microsoft Project, Asana, or Trello are better suited for complex projects with many tasks and dependencies.
However, static timelines created using PowerPoint or Google Slides can be sufficient for more straightforward projects. These tools can create chronological timelines, such as roadmap templates, visually representing task sequences and deadlines. They do not offer the same level of interactivity as dedicated project management software, but they are user-friendly and accessible for basic project planning and communication purposes.
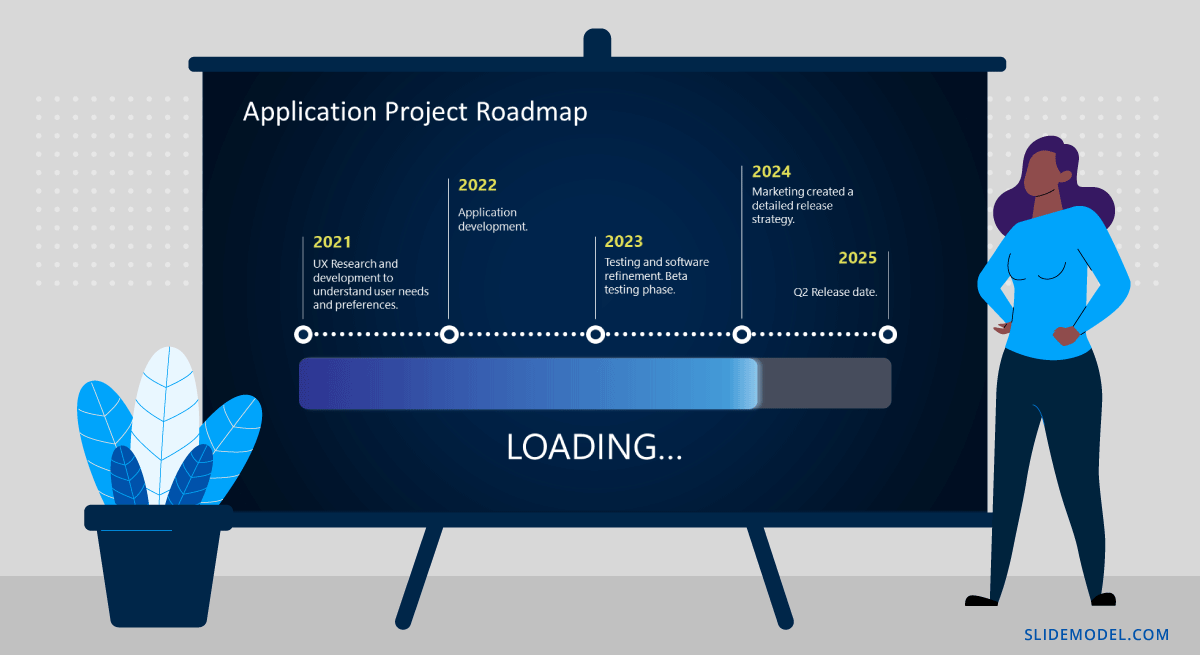
A chronological timeline would work well as a roadmap for Sarah’s project. This type of timeline shows tasks in the order they need to be completed, like journey steps. Sarah uses colors or symbols to represent different phases of the project, such as design, development, testing, and launch.
Add Dependencies
Adding dependencies to your project tasks is like connecting the dots between different tasks. It is about identifying which tasks need to be completed before others can start. By adding dependencies, tasks are completed in the correct order.
Sarah highlights that the development phase must be finished before the testing phase can begin. Similarly, the product must be fully developed and tested before the marketing phase.
Add Progress Indicators
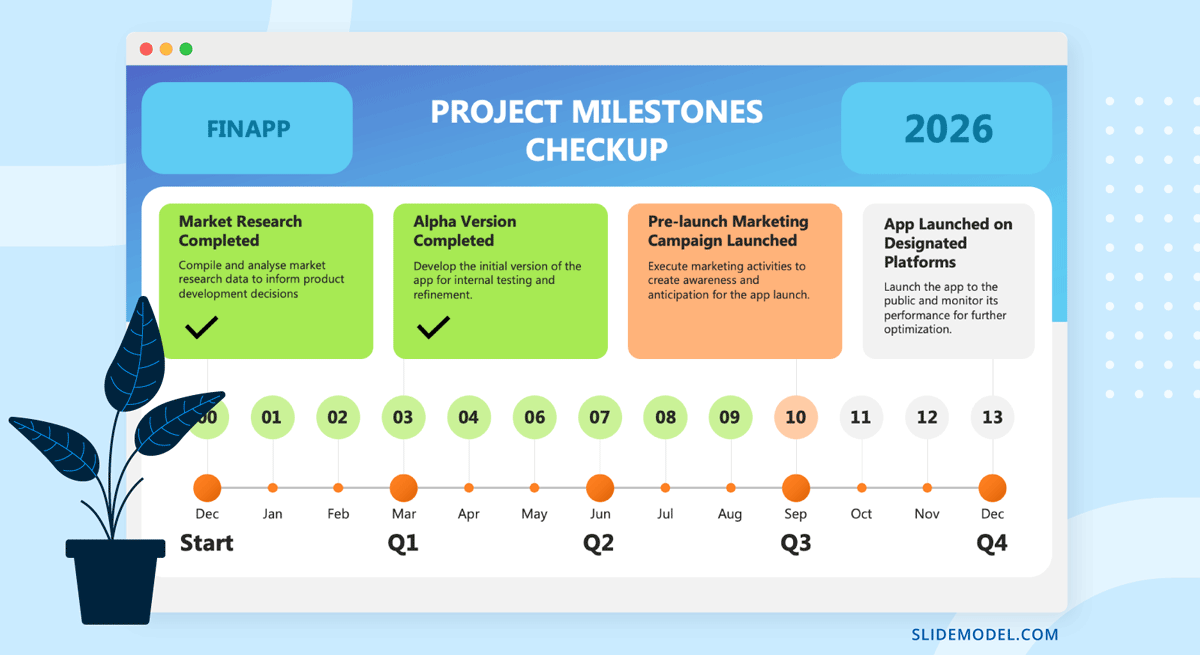
Progress indicators track task completion and project status, similar to mile markers on a road trip. Using symbols or colors, they highlight completed tasks, tasks in progress, and upcoming deadlines to inform everyone of the project’s progress.
Sarah highlights completed tasks with green checkmarks, tasks in progress with yellow labels, and upcoming deadlines with red flags. This helps her team stay informed and motivated; thus, the team remains on track to meet project milestones and deadlines.
Assign Tasks to Team Members
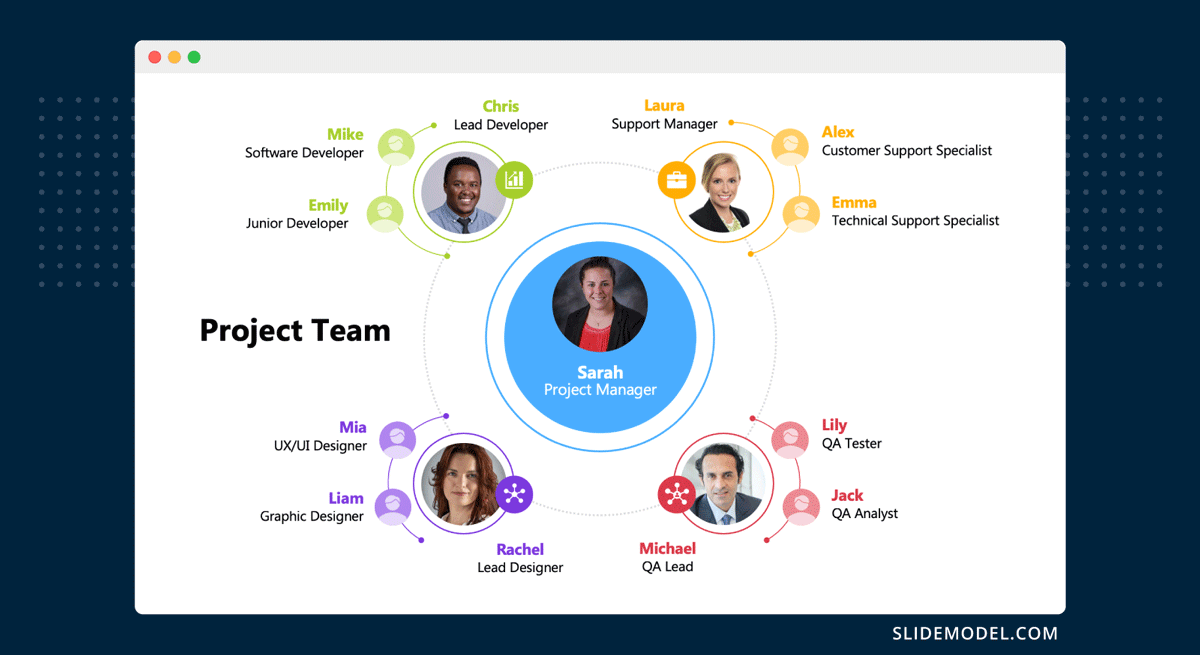
Assigning tasks to team members is like dividing the work among friends for a group project. It is about ensuring that each person knows what they’re responsible for and when it needs to be done. By assigning tasks, you distribute the workload evenly and ensure that everyone contributes to the project’s success.
Sarah allocates specific responsibilities to each team member based on their skills and expertise. For instance, Sarah assigns the coding task to a developer with programming experience, while designing the user interface is given to a graphic designer.
Track your Project Timeline
After you’re done assigning and your project has already started, it is time to monitor and keep a record. Tracking your project timeline is like watching the clock during a race. It is about monitoring your project’s progress to ensure you’re staying on schedule. Similarly, by monitoring your project timeline, you can identify any delays or issues early on and take steps to address them. It ensures that you complete your project successfully and on time.
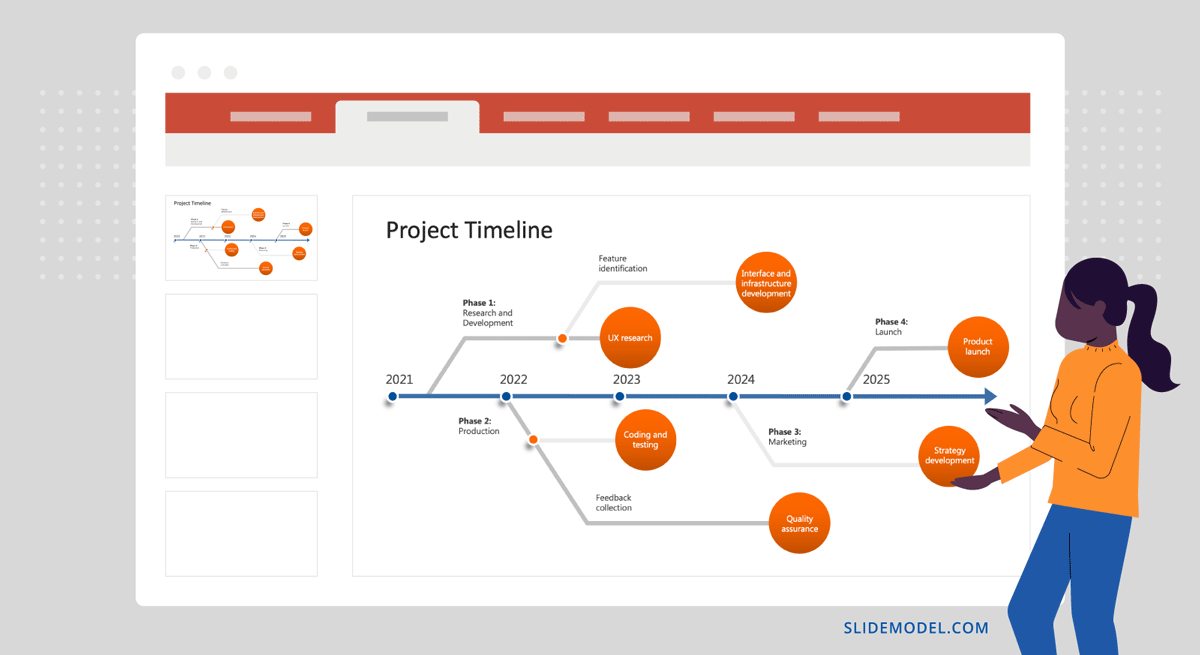
In Sarah’s project, tracking the project timeline involves monitoring the progress of each task and milestone using her chronological timeline created in PowerPoint. Sarah diligently updates the timeline with specific deadlines for each task, ensuring that she has a clear visual representation of the project’s progress. She regularly reviews the timeline to assess if tasks are being completed on schedule and if any adjustments are necessary. For instance, if the development phase takes longer than expected, Sarah may need to revise the timeline for subsequent phases to prevent delays in the overall project timeline.
For more information, check our complete article about how to make a timeline in PowerPoint.
How to Present a Project Timeline in a Business Meeting
Presenting a project timeline in a business meeting is like telling a story about your project’s journey. You want to make sure your audience understands what is happening. Here’s how you can do it:
Start with Context
Start your presentation by providing background information about the project and why the timeline is essential. This helps set the stage and ensures everyone is on the same page.
Use Visuals
You can display your project timeline using PowerPoint templates or similar presentation software. Keeping it simple and easy to follow helps a lot; clear labels and colors are used to distinguish different tasks and milestones.
Highlight Key Milestones
Pointing out the significant milestones on the timeline, such as project kickoff, important deadlines, and completion dates, will help the audience understand the timeline’s progress. It also forecasts what to expect in the coming weeks or months.
Discuss Progress
Apart from displaying the timeline, you can also provide updates on the project’s progress orally. You can highlight completed tasks and any challenges or delays encountered along the way. However, we suggest being honest and transparent about the project’s status and focusing on the positive achievements.
Invite Questions and Discussion
It is also important to encourage questions and discussion from your audience. It will ensure that everyone understands the timeline and feels engaged in the project. You can also address any concerns raised and be open to feedback and suggestions for improvement.
Reiterate Next Steps
End your presentation by summarizing the next steps in the project and any upcoming milestones or deadlines. This helps reinforce the timeline’s importance and keeps everyone focused on moving forward.
How to Keep a Project Timeline Updated
Maintaining an updated project timeline guarantees that the project remains on course. This enables all team members to be informed about the project’s progress. Below are the steps to update the task effectively:
Regular Review
We suggest to keep a schedule for regular reviews of the project timeline. You can check the timeline weekly, bi-weekly, or monthly to assess progress and make any necessary updates. However, it depends on the project’s duration and complexity.
Update Completed Tasks
When tasks are completed, you can mark them completed on the timeline. This assists all individuals in identifying what has been achieved and what tasks remain outstanding.
Adjust Deadlines
Sometimes, tasks take longer than expected, and new priorities may arise. We need to adjust the timeline accordingly. We will be realistic about what can be achieved within the given timeframe. All the changes will be communicated to the team.
Use Collaboration Tools
We can also use project management software or collaboration tools that allow team members to access and update the timeline quickly. This ensures that everyone always has the most up-to-date information.
Case Study: Organizing a Charity Event with a Two-Phase Timeline
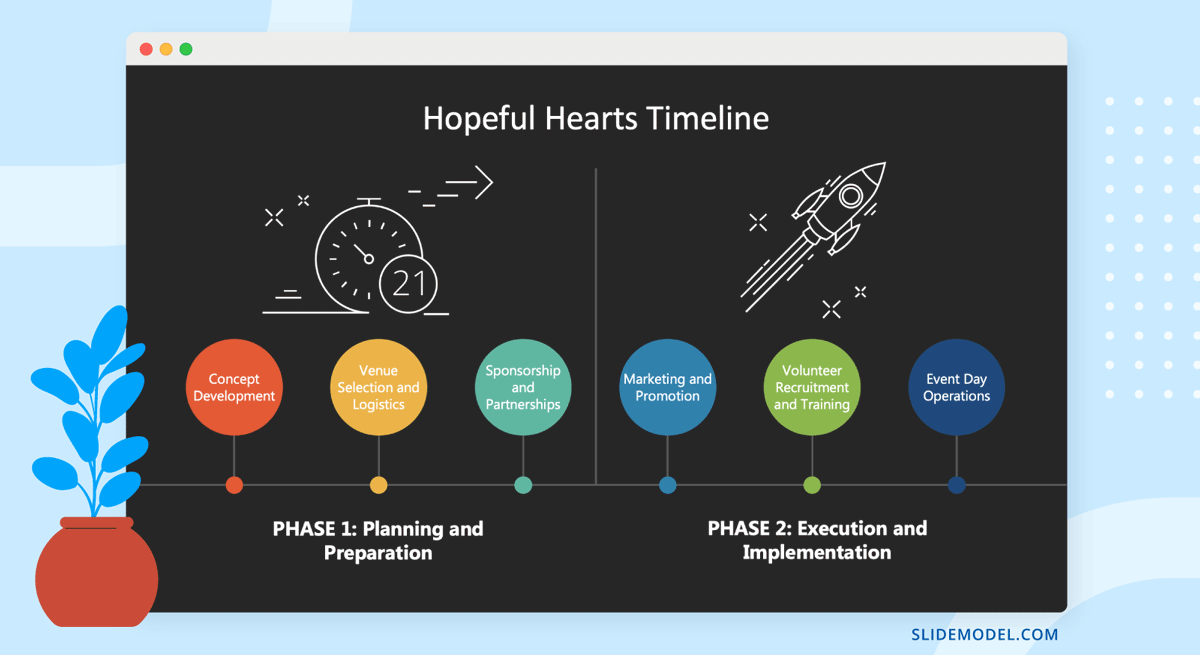
This case study explores how “Hopeful Hearts,” a non-profit organization dedicated to supporting pediatric healthcare, successfully organized a charity gala using a two-phase timeline approach. The organization aimed to raise funds and awareness for pediatric medical research while engaging the community and stakeholders.
Phase 1: Planning and Preparation (Duration: 3 months)
Step 1: Concept Development (Month 1)
In one month, the “Hopeful Hearts” team brainstormed ideas for the charity gala, considering factors such as the target audience, fundraising goals, and available resources. After careful consideration, they decided on a “Carnival of Dreams” theme, creating an immersive experience that resonated with their supporters and attracted participants.
Step 2: Venue Selection and Logistics Planning (Month 2)
During this phase, the organization researched and secured a prestigious venue for the gala, the Grand Ballroom at the Harborview Hotel. They also decided on logistics such as catering, audiovisual equipment, and permits. Additionally, they drafted a comprehensive budget to ensure financial feasibility and accountability.
Step 3: Sponsorship and Partnerships (Month 3)
The team contacted potential sponsors and partners to secure financial support and in-kind donations for the gala. They targeted local businesses, corporations, and healthcare organizations known for their philanthropic efforts and community involvement. Through persuasive pitches highlighting the benefits of sponsorship, such as brand exposure and association with a noble cause, they successfully negotiated agreements with interested parties.
With this, the first phase is completed, and the project’s second phase starts.
Phase 2: Execution and Implementation (Duration: 1 month)
Step 4: Marketing and Promotion (Month 4)
With the event details finalized, the organization launched a marketing campaign to promote the charity event. They used various channels such as social media, email newsletters, and local advertisements to reach a broad audience and drive attendance.
Step 5: Volunteer Recruitment and Training (Month 4)
Simultaneously, the organization recruited volunteers to assist with event logistics, fundraising activities, and attendee engagement. They provided training and resources to ensure volunteers were well-prepared for their roles during the event.
Step 6: Event Day Operations (Month 4)
On the charity event day, the organization executed its plan with precision. Volunteers assisted with setup, registration, and event coordination, while staff members managed fundraising activities, entertainment, and guest interactions.
Adopting a two-phase timeline approach, “Hopeful Hearts” successfully organized a charity gala that exceeded its fundraising and awareness goals. The structured approach allowed them to plan and execute each phase strategically, resulting in a well-coordinated and impactful event that brought the community together to support pediatric healthcare initiatives.
Recommended PowerPoint & Google Slides Templates for Project Timelines
Conclusion
Creating and presenting a project timeline helps get things done effectively. Breaking down tasks into smaller pieces with deadlines helps teams stay focused and meet goals. It also assists everyone in seeing the big picture and where they fit in. When presenting a project timeline, keep it simple and focus on what is important. You can use visuals like charts and graphs to make it easier to understand. Lastly, remember to keep your project timeline updated as things change. Regularly review and adjust it based on new information or unexpected challenges. Alternatively, if you are looking for alternative templates, we recommend you our collection of timeline templates, vertical timeline templates, horizontal timeline templates and our free timeline template for PowerPoint and Google Slides.
References
[2] https://www.umsl.edu/~sauterv/analysis/488_f02_papers/ProjMgmt.html
[3] https://www.forbes.com/advisor/business/software/create-a-project-timeline/
[5] https://opentextbc.ca/projectmanagement/chapter/chapter-11-resource-planning-project-management/
