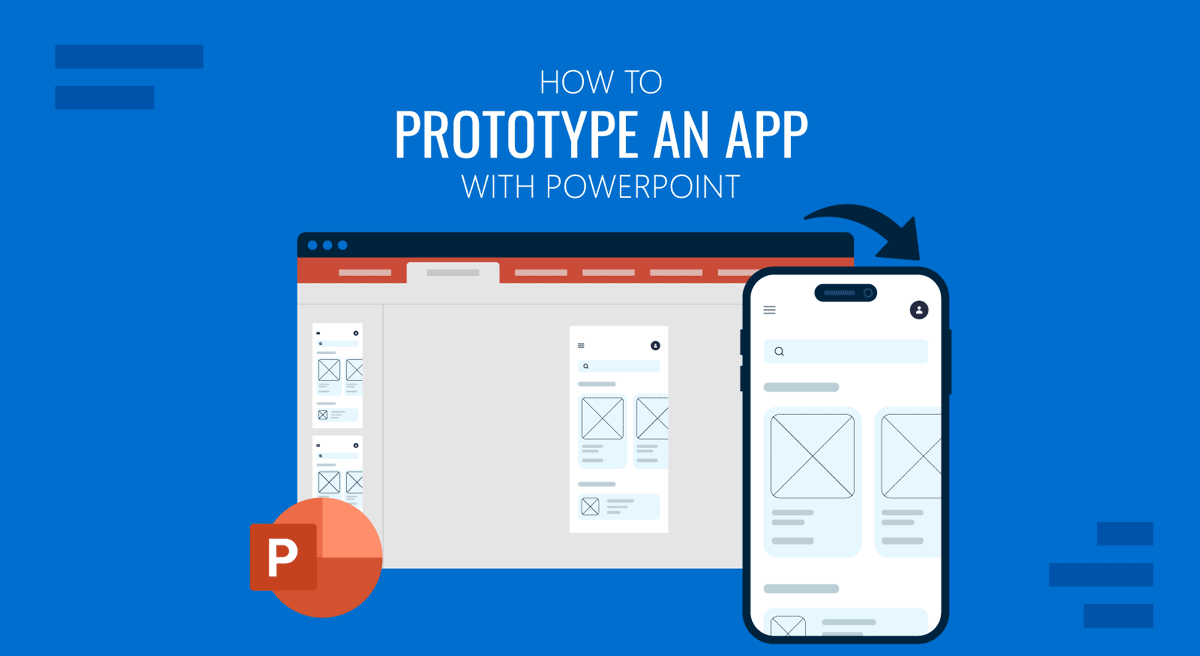
Building a digital product starts long before the first line of code. Whether you are designing a mobile app, a SaaS dashboard, or a web interface, prototyping is the bridge between vision and execution. And while professional design tools like Figma or Adobe XD dominate the landscape, PowerPoint remains one of the most underrated yet powerful prototyping tools. Its flexibility, accessibility, and visual capabilities make it an ideal platform for sketching user flows, testing interaction logic, and presenting app concepts to stakeholders.
This guide explains how to use PowerPoint as a prototyping tool, what steps and features to leverage, and why this process is valuable. We’ll also reference a real-world example of a prototype built in PowerPoint, presented step by step to large audiences, proving that slides can be more than static visuals; they can simulate the experience of a working app.
What Is PowerPoint Prototyping?
PowerPoint prototyping is the practice of designing interactive mockups of digital products within PowerPoint or Keynote. Instead of writing code or mastering complex design software, you can create clickable slides that simulate an app’s interface and workflow.
Each slide represents a screen, and hyperlinks or triggers function as navigation elements. By combining shapes, text, icons, and transitions, you can replicate the user journey and gather early feedback.
Unlike static wireframes, a PowerPoint prototype lets stakeholders “use” the app concept during a presentation, creating a stronger sense of interaction and usability.
Tools and Features for App Prototyping in PowerPoint
To transform a blank deck into a functional prototype, you’ll need to use PowerPoint beyond its role as a presentation tool. Below are the core features that make this possible:
- Shapes and Icons: Use rectangles, rounded boxes, or imported UI kits to design buttons, menus, and input fields.
- Slide Master: Establish consistent layouts for headers, footers, or navigation elements.
- Hyperlinks and Action Buttons: Link objects to other slides to mimic app navigation.
- Transitions and Animations: Add motion for pop-up menus, sliding drawers, or confirmation dialogs.
- SmartArt and Charts: Represent dynamic data such as dashboards or analytics.
- Embedded Media: Insert images, GIFs, or video walkthroughs to simulate in-app content.
- Export to PDF or Web: Share clickable prototypes with external audiences who don’t have PowerPoint.
By combining these elements, you create a testable interface that looks and feels like a functional app, even if it’s just a slide deck.
Benefits of Prototyping an App with PowerPoint
- Accessibility: PowerPoint is widely available, so no additional licenses or steep learning curves are required.
- Speed: You can build a functional prototype in hours, not weeks.
- Collaboration: Non-technical stakeholders can easily comment and edit slides.
- Scalability: The same prototype can be exported, shared, or presented to small teams or large auditoriums.
- Validation: Early user testing with PowerPoint reduces the risk of investing in the wrong features.
Prototype the First Screen of a Fitness App in PowerPoint
To keep things concrete, we’ll build a simple welcome screen for a fictional fitness app called PulseFit: just one slide with a headline, a hero image placeholder, and a “Get Started” button that links to a second slide. You can adapt every step to any app concept you’re working on.
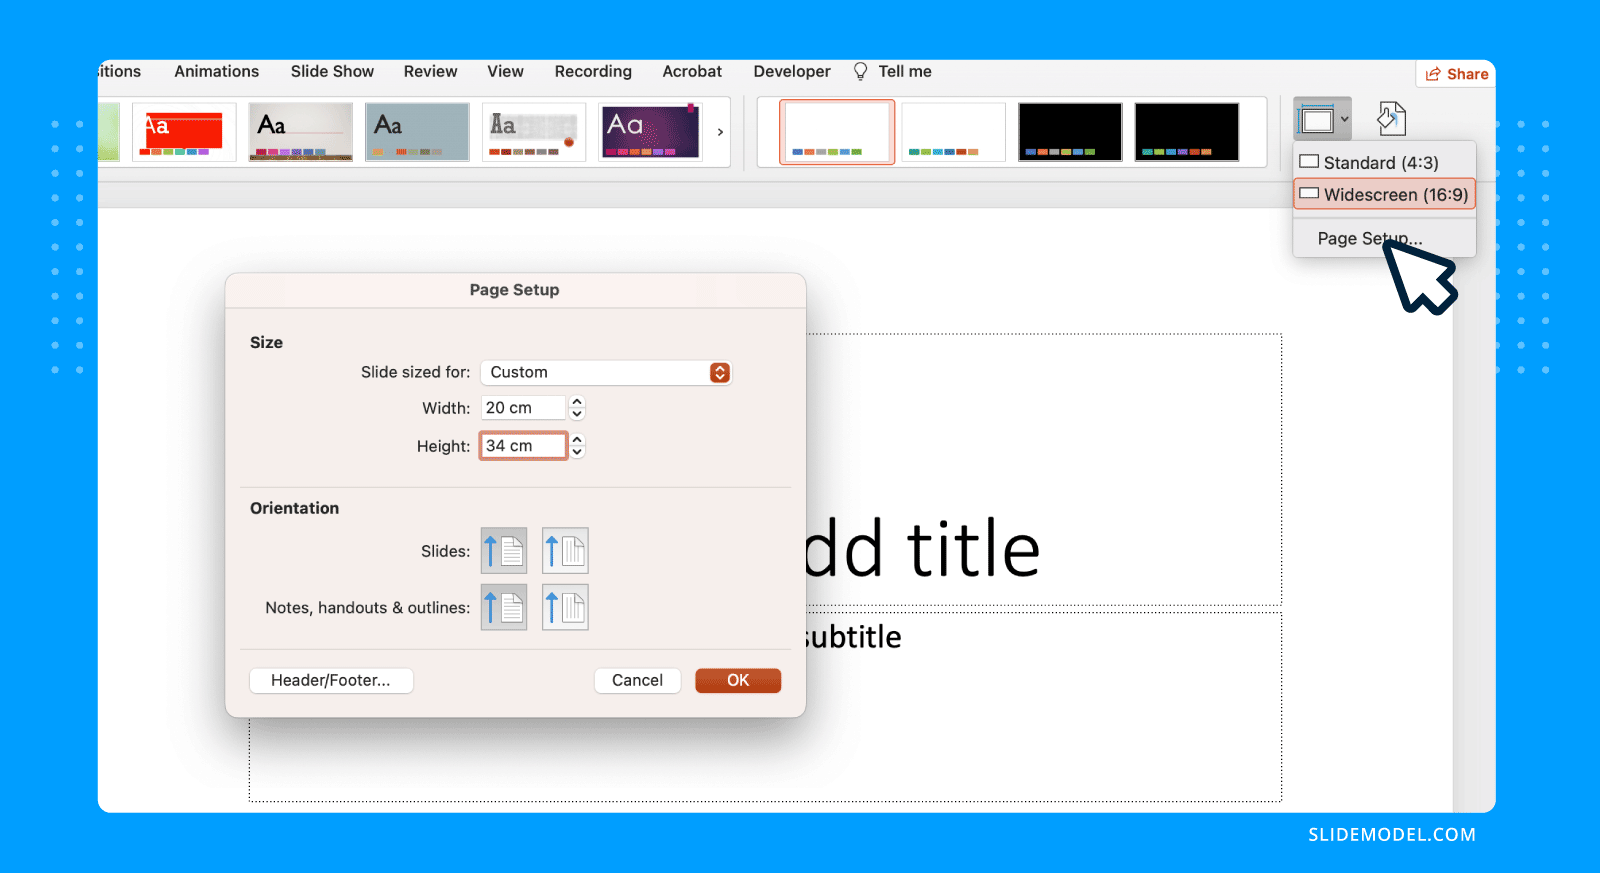
Step 1: Set Your Slide to Portrait
Go to Design > Slide Size > Custom Slide Size, select Portrait, and click OK. PowerPoint will suggest dimensions that closely match a phone screen. Accept the default, or enter a width of 20 cm and a height of 34 cm for a taller canvas. Either way, portrait orientation is all you need to give your prototype an immediate app-like feel.
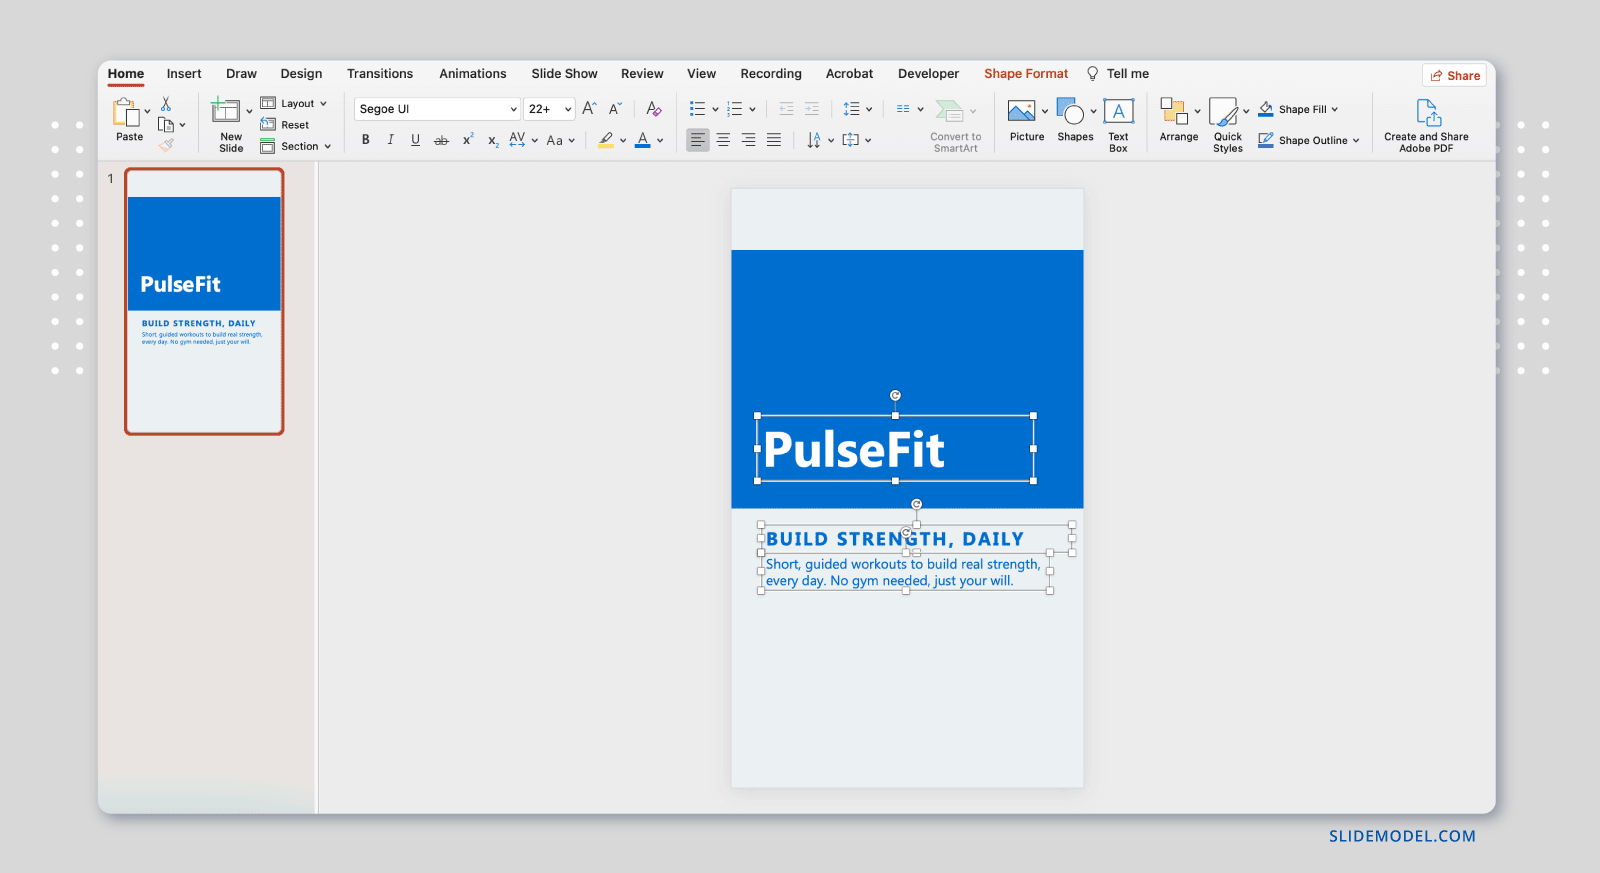
Step 2: Build the Layout with Basic Shapes
Think of this slide as three stacked zones: a top area for the app name, a middle area for a visual, and a bottom area for the action button.
Start by right-clicking the slide background and selecting Format Background > Solid Fill. Choose a light neutral color: white or a pale grey works well.
Then use Insert > Shapes > Rectangle to draw a colored band across the top third of the slide. This serves as your hero image area; fill it with your brand color or insert a photo using Insert > Pictures. Above that band, add a text box with your app name in a bold, legible font at around 24-28pt.
Below the hero area, add a short headline: something like “Build strength, daily,” in a large font (32pt or so), and a one-line description beneath it in a smaller size.
Step 3: Add a “Get Started” Button
Insert a rounded rectangle (Insert > Shapes > Rounded Rectangle) and size it to span most of the slide width, leaving some margin on each side. Fill it with your primary brand color, remove the border, and type “Get Started” in white, centered text. That’s your call-to-action button; the most important element on the screen.
If you want a secondary option like “Log in”, simply add a plain text box beneath the button with that label in a matching color, no shape needed.
Step 4: Make the Button Clickable
Right-click the “Get Started” button and select Link > Insert Link. In the dialog, choose Place in This Document and select Slide 2. Before doing this, make sure Slide 2 exists; even a blank slide with the text “Next Screen” is enough to demonstrate the navigation flow.

Repeat the process for any other tappable element, such as the “Log in” text, linking it to a third slide if you want to show a separate path. That’s the core of PowerPoint prototyping: each clickable element points to the slide that represents what happens next.
Step 5: Test the Flow
Press F5 to launch the presentation from the beginning, then click your button to confirm it navigates correctly. If you want to test just the current slide without starting from the top, use Shift + F5 instead. Walk through every clickable element to make sure the links work as expected.
When you’re ready to share, go to File > Export > Create PDF/XPS. PDF preserves the hyperlinks, so anyone you send the file to can click through the prototype on their own device; no PowerPoint required.
That’s the entire process. Five steps, one screen, and a working, clickable prototype that clearly communicates your app concept to any stakeholder in the room.
FAQs
Is PowerPoint really suitable for prototyping compared to tools like Figma?
Yes. While Figma and Adobe XD offer advanced design features, PowerPoint is ideal for early-stage validation. It allows anyone, regardless of design training, to quickly create and test app flows.
Can PowerPoint simulate interactivity?
Absolutely. By using hyperlinks, triggers, and slide transitions, you can create a prototype where buttons, menus, and forms appear to work just like in a real app.
Do I need design assets to start?
No. You can begin with simple shapes and icons. However, downloading UI kits or using SlideModel templates can accelerate the process and make your prototype more professional.
Can prototypes be tested on mobile devices?
Yes. Export your PowerPoint file as a PDF or web presentation. Users can open it on tablets or smartphones to simulate the mobile experience.
How detailed should a PowerPoint prototype be?
It depends on your goal. For investor demos, focus on flow and visuals. For internal testing, you can add more detail with animations and embedded content.
Final Words
Prototyping an app with PowerPoint proves that innovation is not about the tool; it’s about how you use it. By leveraging slides as interactive canvases, you can map user journeys, showcase design intent, and test core flows without writing a single line of code.
Whether you are pitching to investors, aligning a development team, or presenting to a large audience, a PowerPoint prototype provides a clear and tangible vision of what you are building. Start simple, iterate fast, and remember: the goal of prototyping is not perfection, but clarity.