Storytelling in PowerPoint presentations often depends on more than just inserting a picture onto a slide. When searching for PowerPoint templates, you’ll often see slides with images neatly contained inside circles, custom shapes, or even letters. This technique is known as image masking. Learning how to mask images in PowerPoint can help you create cleaner layouts, emphasize specific content, and achieve professional visual effects without relying on complex design software.
In this guide, we’ll explain what masking is, why it’s useful, and how to apply it in different ways, from circular portraits to text-based masks.
What is Image Masking in PowerPoint
PowerPoint image masking refers to the process of displaying a picture within a defined shape or boundary. Instead of showing the full rectangular image, masking hides parts of it, revealing only the portion that fits inside a shape such as a circle, rectangle, icon, or custom path. Unlike simple cropping, masking preserves the image while controlling what is visible. This gives you the flexibility to adjust or reposition the picture later without losing quality.
Why Use PowerPoint Image Masking
Masking images in PowerPoint can help create cleaner, more prominent visuals for slides. Many modern slide designs, especially those found in professionally designed templates, use masked images strategically to maintain consistency, improve visual hierarchy, and guide the viewer’s attention naturally across the slide.
Designing Visually Balanced Layouts
Masking allows you to control how much visual space an image occupies. By fitting images into consistent shapes, you prevent oversized or irregular pictures from disrupting the layout. This helps maintain symmetry, alignment, and white space, which are key elements of professional slide design.
Creating Profile Slides with Circular Portraits
Circular portraits are commonly used for team introductions, speaker bios, and executive summaries. Masking an image into a circle removes distracting background elements and keeps the focus on the person. It also creates a uniform look when displaying multiple profiles on the same slide.
Highlighting Specific Parts of an Image
Sometimes you don’t need the entire image, just a detail that supports your message. Masking allows you to isolate and frame a specific area without permanently altering the original file. This is especially useful for product shots, diagrams, or screenshots where emphasis is essential.
Building Infographic-style Slides
Infographic layouts often rely on icons, shapes, and consistent visual containers. By masking images into predefined shapes, you can seamlessly integrate photos into infographic designs without breaking the structure. This creates a cohesive, modern appearance that aligns with visual storytelling principles.
Matching Images to Custom Template Shapes
Many professionally designed templates include unique shape placeholders, rounded frames, abstract polygons, or branded cutouts. Masking images ensures they fit perfectly within these shapes, maintaining the template’s visual integrity and avoiding awkward cropping.
How to Remove Background Before Masking
Sometimes you may need to isolate a subject before applying a mask. To remove unwanted backgrounds, follow these simple steps:
Step 1: Select the image and go to Picture Format -> Remove Background.
Step 2: Adjust the selection areas, then click Keep Changes. This technique ensures cleaner results when masking irregular objects. You can learn more about removing backgrounds in PowerPoint slides from our guide on how to remove background from image in PowerPoint.

Methods to Mask Images in PowerPoint
Method 1: Crop Image to Shape in PowerPoint
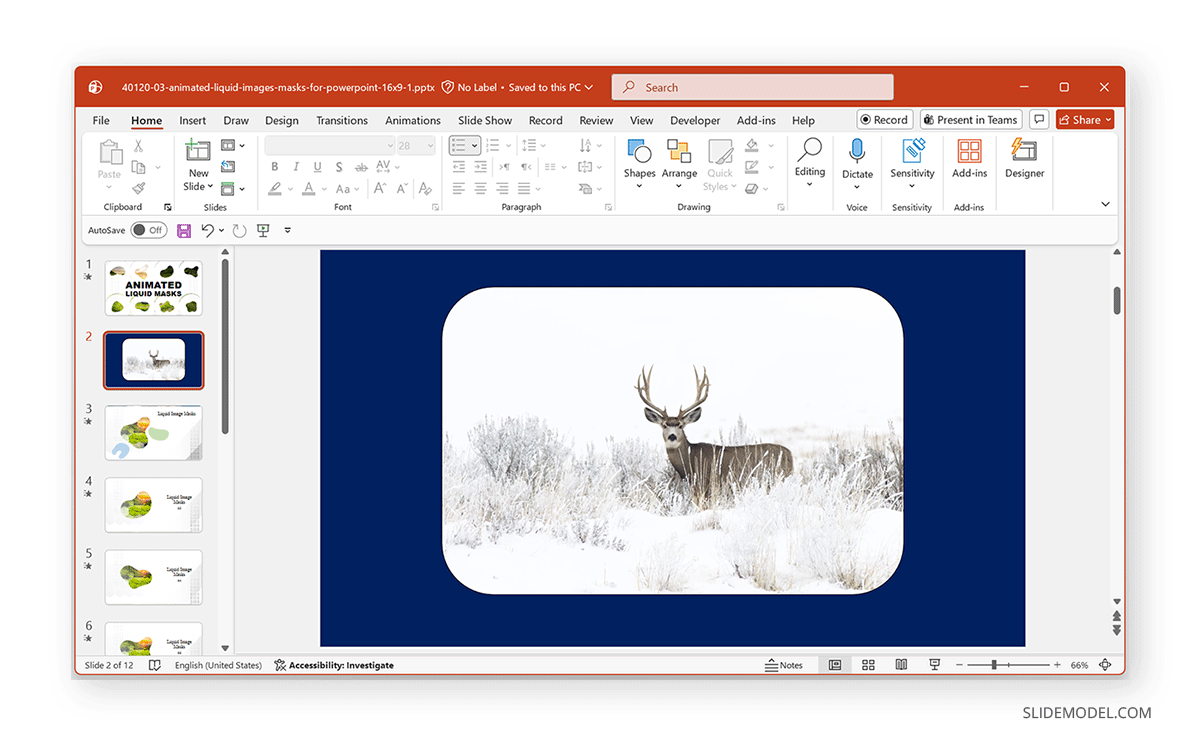
If you need a cleaner layout, you can crop an image to shape PowerPoint using predefined shapes that automatically mask unwanted areas.
Step 1: Insert your image via Insert -> Pictures.
Step 2: Select the image, and go to the Picture Format tab.
Step 3: Select Crop -> Crop to Shape.
Step 4: Choose a shape (e.g., circle, oval, or rounded rectangle), and the image will instantly adopt the shape you selected. To reposition the image inside the shape, click Crop again, drag the image within the masked boundary, and click outside to finalize the layout. The image below shows an example of cropping an image to a rectangular shape with rounded corners. If you want to learn more about cropping techniques, see this detailed guide on how to crop an image in PowerPoint.
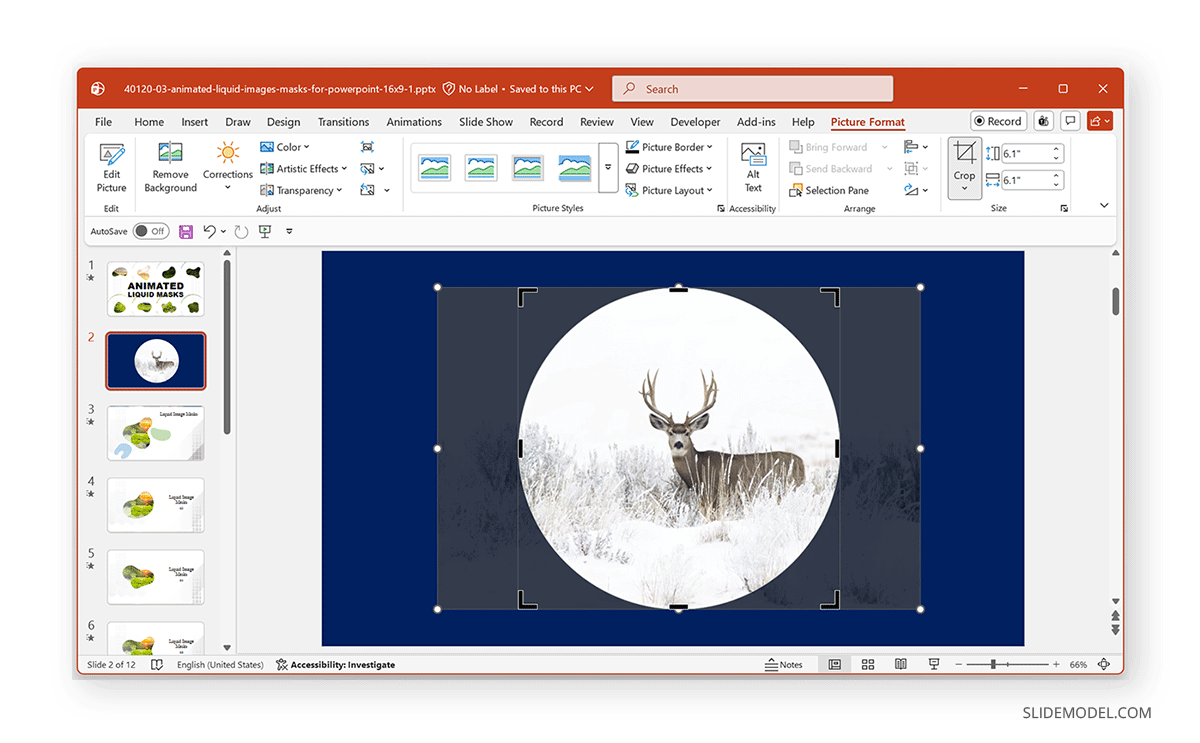
Method 2: Make a Circular Picture in PowerPoint
One of the most popular masking techniques is creating circular profile images. This method is ideal for team introduction slides, portfolio presentations, or speaker profiles.
Step 1: Insert your picture via Insert -> Pictures.
Step 2: Select Crop -> Crop to Shape -> Oval.
Step 3: Choose Aspect Ratio -> 1:1 to ensure a perfect circle and resize it as needed. If you’re working across platforms, you may also find it helpful to check our guide on how to make an image circular in Google Slides.
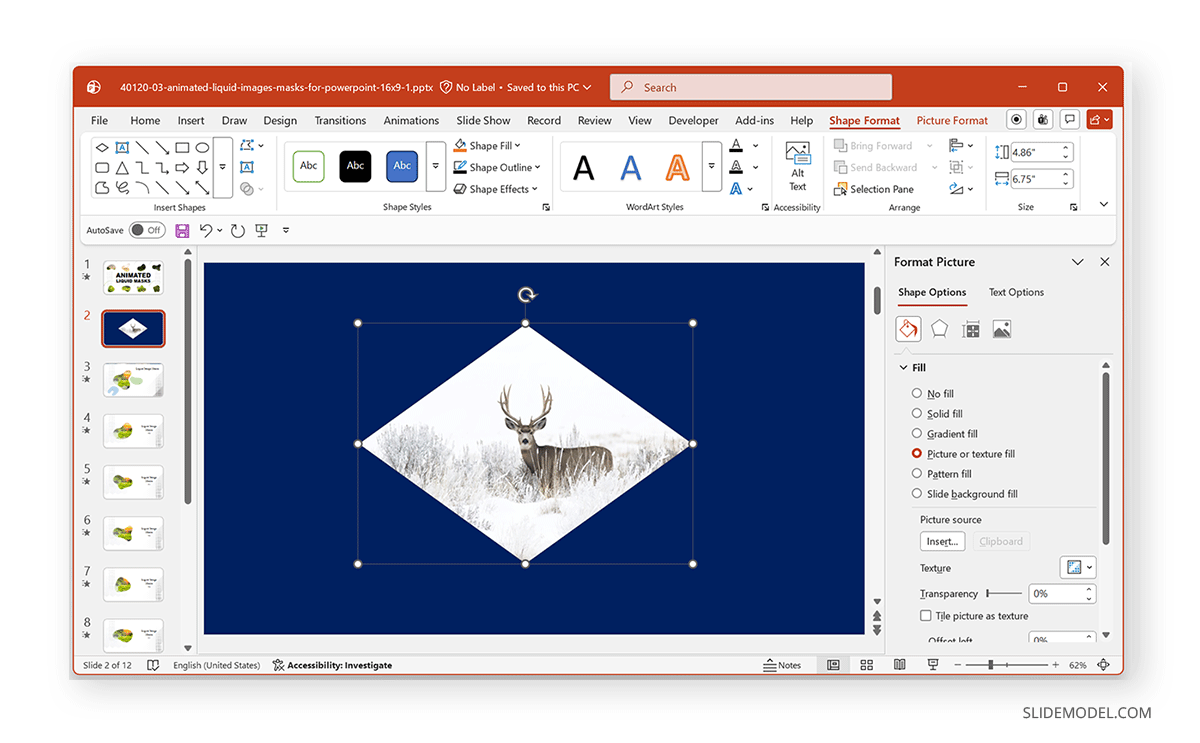
Method 3: Use a PowerPoint Shape Mask
Now that you know how to make a circular picture in PowerPoint, for more control, you can use a shape as a mask and fill it with an image. This approach is useful when you need custom polygons, matching template placeholders, or consistent image dimensions across slides. If you want to learn how to hide parts of an image in PowerPoint using shapes, this method is just what you need.
Step 1: Insert a shape via Insert -> Shapes.
Step 2: Select the shape, and right-click to select Format Shape.
Step 3: Choose Fill -> Picture or texture fill.
Step 4: Insert your image via Insert -> Pictures. Now the image appears inside the shape. You can also modify shape outlines, shadows, and effects for additional styling.
Method 4: PowerPoint Mask Image with Text
One of the most creative masking techniques involves placing an image inside text. This works especially well for title slides, section dividers, marketing presentations, and brand storytelling slides. PowerPoint mask image with text requires adding a text box and inserting an image inside it. The method below shows how to put a picture inside a letter in PowerPoint.
Step 1: Insert a large text box via Insert -> Text Box.
Step 2: Type your word (use bold fonts for better results) and select the text.
Step 3: Go to Shape Format -> Text Fill -> Picture or Texture Fill.
Step 4: Insert your image via Insert -> Pictures. The image will fill the text characters, creating a strong visual effect.

Image Mask PowerPoint Templates
By using PowerPoint templates with predesigned image masks, you can create complex image masks with minimal effort. The templates below provide stylized image mask templates to help you use PowerPoint shape mask styles with editable sample slides.
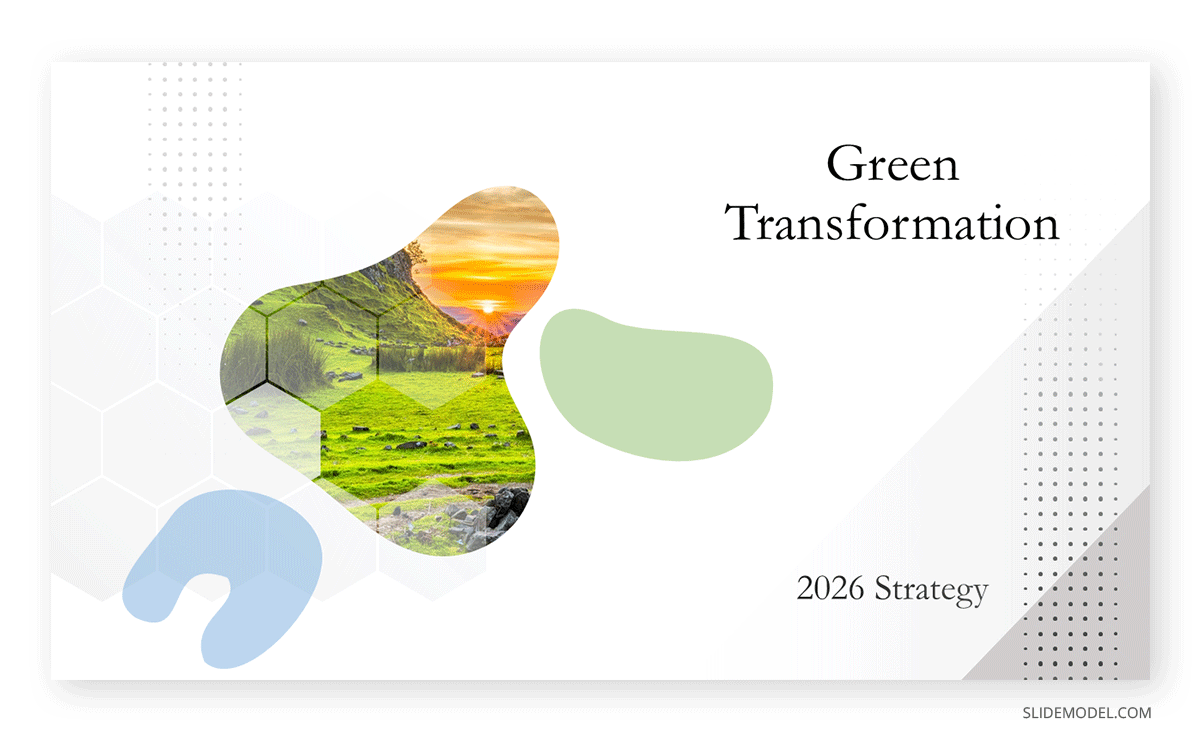
Animated Liquid Mask PowerPoint Template
For more advanced visual effects, you can explore animated masking designs such as this Animated Liquid Mask PowerPoint Template. This template contains editable slides with liquid masks. You can use the sample slides to create liquid mask slides with animations to make your content stand out. Furthermore, the animated liquid mask shapes can be moved around to suit your needs for creating eye-catching presentations. You can also replace the sample images in the slide deck with your own to create custom liquid mask-style animated slides.
Professional Pitch Deck PowerPoint Template
If you need to create a pitch deck with image masks, the Professional Pitch Deck PowerPoint Template gives slides with space for adding custom images. You can showcase your company’s profile, team, projects, portfolio, and other important information by using image mask slides.

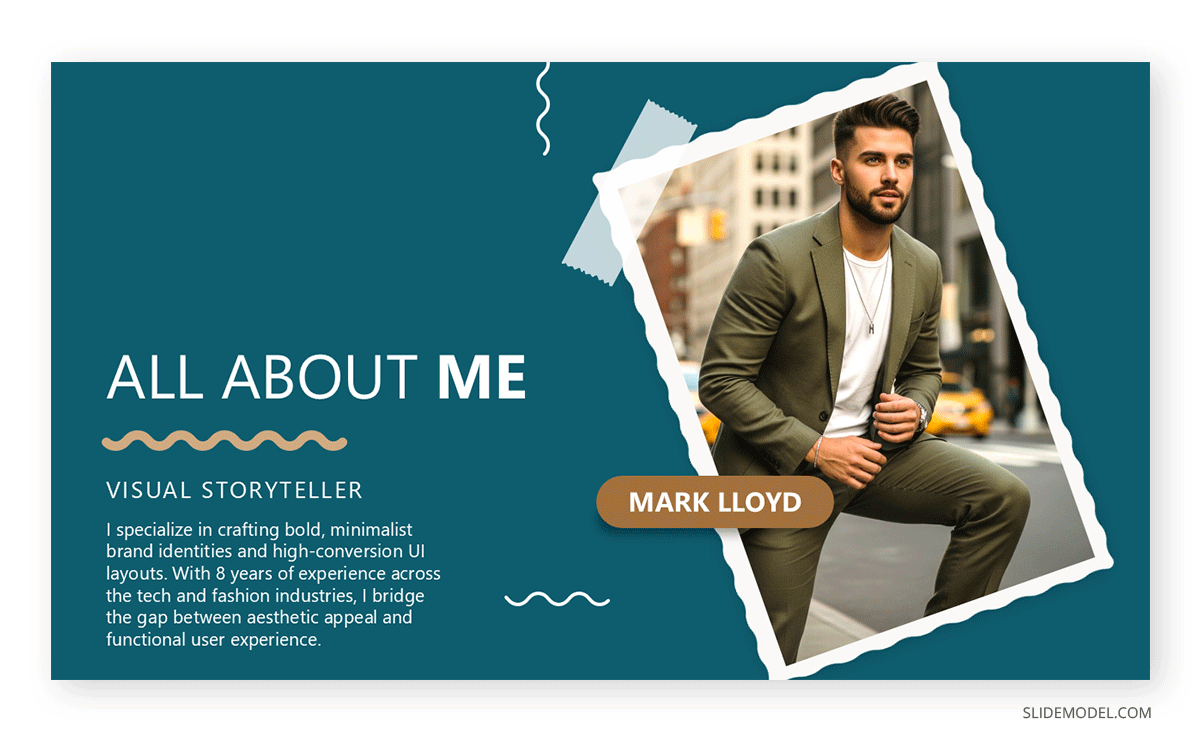
All About Me PowerPoint Template
All About Me PowerPoint Template is a good example of how to use image masks in PowerPoint. With portfolio-driven layouts, this template enables you to showcase your portfolio using image masks designed to look like retro Polaroid frames. Various handy placeholders come with image masks with sample, replaceable images. Using this presentation template, you can design and showcase your resume, photograph,y or project portfolio, create pitch decks, and make stylish photo slides.
Refining Masked Images and Knowing When to Use Them
Masking an image in PowerPoint is only the first step. Once your picture is placed inside a shape, you can refine it further to ensure it fits seamlessly within your slide design. Small adjustments often make a noticeable difference.
Flipping and Skewing Images
For example, flipping an image can improve orientation or visual direction, especially when aligning it with other elements on the slide. If you need to add depth or perspective, slightly skewing the image can create a more dynamic look. You can learn more about these techniques from our guides on how to flip an image in PowerPoint and how to skew an image in PowerPoint.
Keeping Image Dimensions Consistent
It’s also important to resize images proportionally to maintain balance and avoid distortion. Keeping image dimensions consistent across slides helps create a clean and professional visual experience. Subtle refinements like these can significantly enhance the overall appearance of your presentation without requiring advanced design tools.
Ensuring Visuals Fit in Frames
Image masking is particularly effective for storytelling presentations, product showcases, and layouts that require symmetry and alignment. Masked images are also ideal when working with design templates that include custom-shaped placeholders, ensuring visuals fit neatly into predefined frames. However, in data-heavy slides where clarity and minimalism are priorities, elaborate masking may not be necessary. In those cases, simpler formatting often communicates information more effectively.
Final Words
Learning how to mask images in PowerPoint can help you create more eye-catching slide designs. Cropping an image into a circle, using a custom shape mask, or filling text with pictures by masking gives you control over how visuals are presented.
By combining masking techniques with thoughtful layout design, you can create slides that can help your images stand out and become more prominent.