Did you know you can flip an image horizontally or vertically in PowerPoint? Unlike image rotation. Flipping an image turns the image to the opposite side, giving it a different look from its default form. Flipping images can be a great way to redesign PowerPoint templates or even those Google Slides templates you might edit using PowerPoint.
How to Flip PowerPoint Images
How to Flip Image via Picture Format
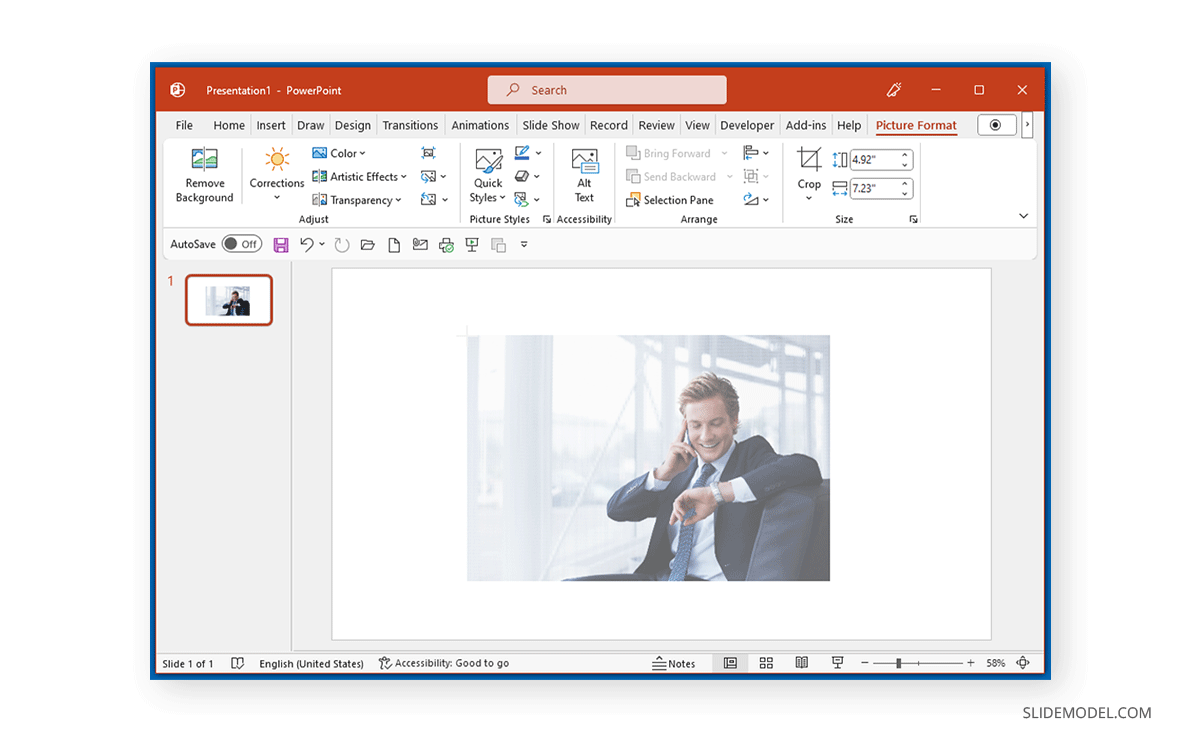
To get started, add an image to your slide via Insert -> Images -> Pictures or drag and drop an image to PowerPoint. Select the image and go to Picture Format -> Rotate Objects dropdown menu.
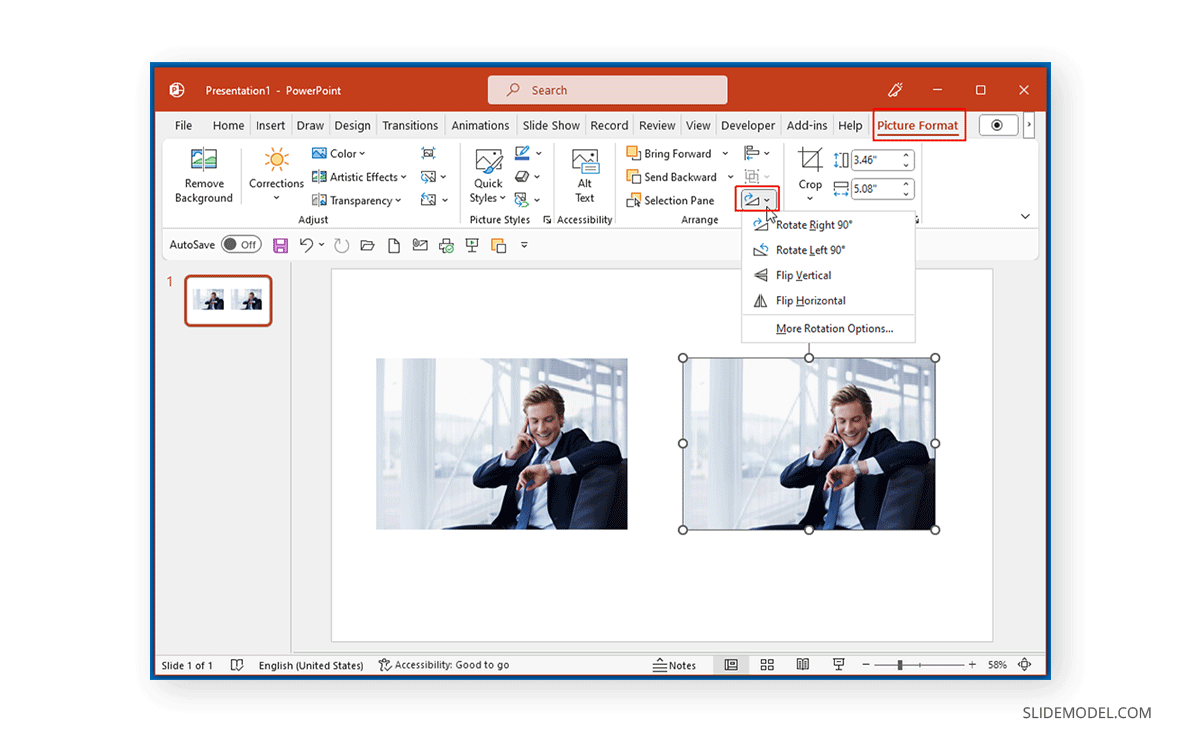
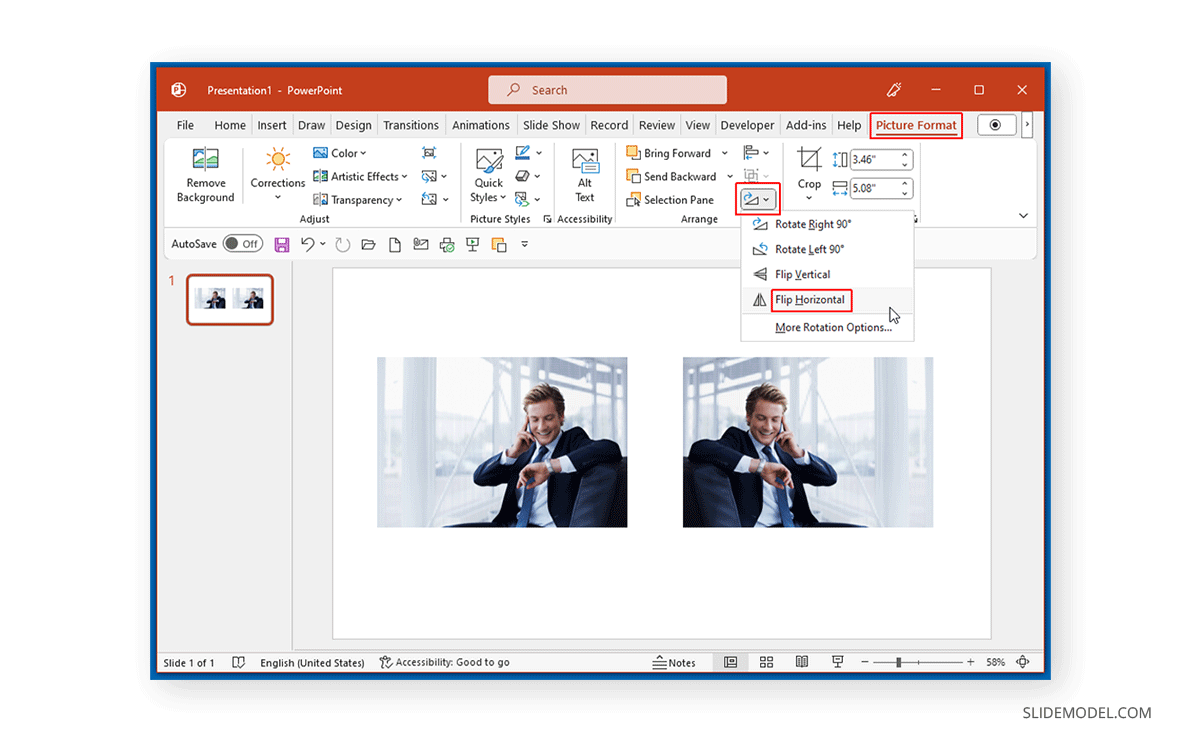
To demonstrate our example, we added the same picture side by side to show the difference between the original and the flipped image. As you can see from the example below, the Flip Vertical option in the Rotate Objects dropdown menu flipped the picture upside down.

Similarly, the Flip Horizontal option in the same menu rotates the image horizontally to the opposite side (as shown below).
How to Flip Image Manually
You can also flip an image manually. To do this, select the image and click on the corner of the image until a plus sign appears.
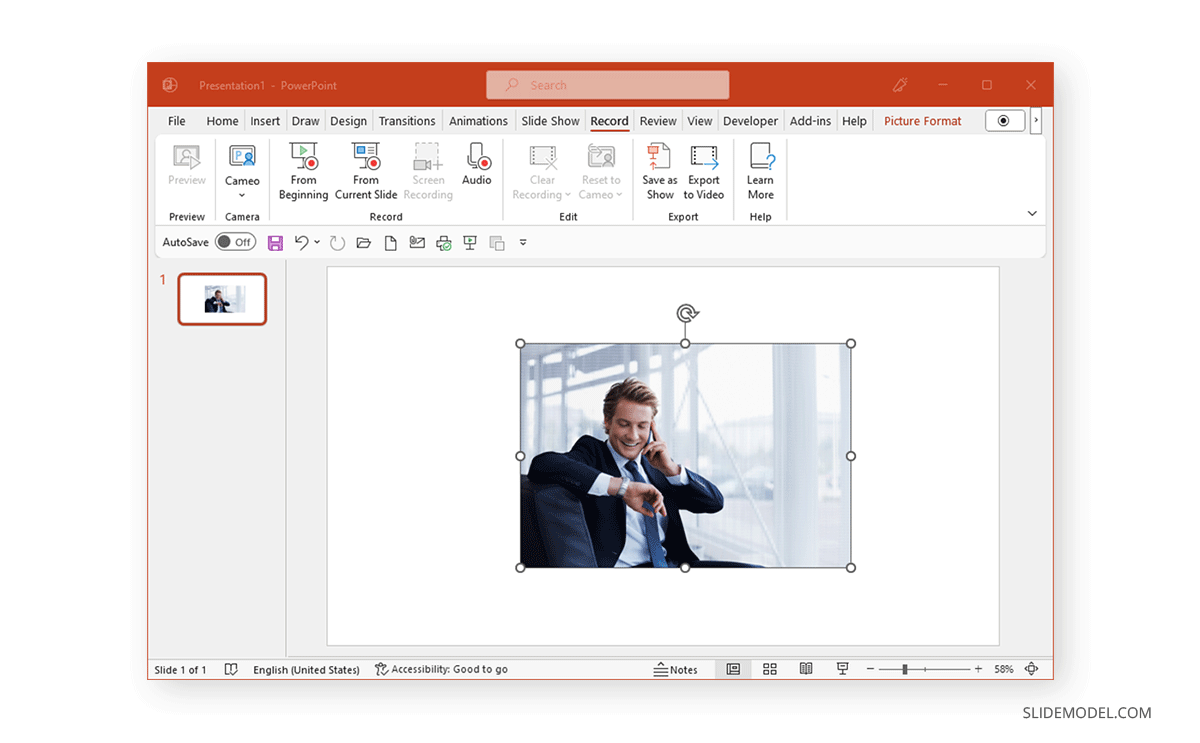
Once the plus sign appears and the image becomes transparent, drag and drop horizontally or vertically to flip the image.

This will flip the image to your desired position via drag and drop.
FAQ’s
How do I flip an image in PowerPoint horizontally?
To flip an image horizontally:
– Select the image.
– Go to Picture Format > Rotate Objects dropdown menu.
– Click on Flip Horizontal.
How do I flip an image in PowerPoint vertically?
To flip an image vertically:
– Select the image.
– Go to Picture Format > Rotate Objects dropdown menu.
– Click on Flip Vertical.
Can I flip an image manually in PowerPoint?
Yes, you can flip an image manually:
– Select the image.
– Click on a corner of the image until a plus sign appears.
– Drag and drop the image horizontally or vertically to flip it.
What is the difference between flipping and rotating an image in PowerPoint?
Flipping an image turns it to the opposite side (mirroring it), either horizontally or vertically. Rotating an image changes its angle, such as turning it 90 degrees or any custom angle.
How do I add an image to a PowerPoint slide?
To add an image:
– Go to Insert > Images > Pictures.
– Select the image from your computer.
– Alternatively, you can drag and drop the image directly onto the slide.
Can I flip multiple images at once in PowerPoint?
Yes, to flip multiple images at once:
– Select all the images by holding the CTRL key (or CMD key on Mac) and clicking each image.
– Go to Picture Format > Rotate Objects dropdown menu.
– Choose Flip Horizontal or Flip Vertical.
How can I ensure the flipped image maintains its aspect ratio?
Flipping an image in PowerPoint automatically maintains the aspect ratio. However, resizing the image manually can distort it if you don’t hold the Shift key while dragging a corner handle.
How can flipping images enhance my PowerPoint presentation?
Flipping images can create visual variety, mirror design elements for symmetry, and adjust the composition better to fit the slide’s layout or design theme.
Can I use flipped images for creative effects in PowerPoint templates?
Yes, flipping images can help redesign PowerPoint templates by creating mirrored effects, balancing compositions, and adding creative touches to your presentation design.
Final Words
Following the simple steps mentioned above, you can easily flip an image vertically or horizontally in PowerPoint. If you want to learn about image rotation, see our post about how to rotate an image in PowerPoint and how to mirror an image in PowerPoint.