PowerPoint is the standard tool for building presentations across corporate environments, higher education, and professional training. Despite this, many people who use it regularly rely on habits formed through trial and error rather than a deliberate understanding of how the application works. The result is presentations assembled slide by slide, with inconsistent formatting, purposeless animations, and features like Presenter View left entirely unused.
This guide covers how to use Microsoft PowerPoint from a workflow perspective: templates and the Slide Master, text formatting tools, multimedia elements including GIFs and animated 3D models, hyperlinks, animations, delivery through Presenter View, and Copilot for those with a Microsoft 365 Copilot subscription.
Starting Right: Templates and the Slide Master
How to Use PowerPoint Templates
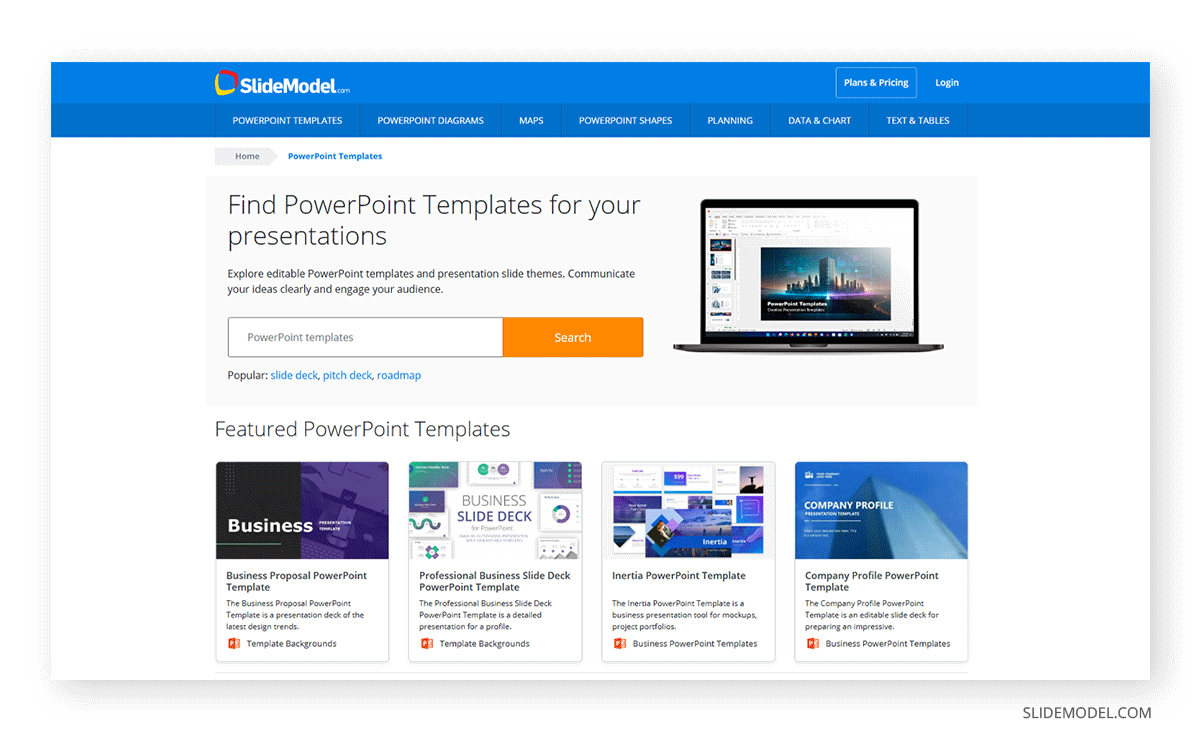
PowerPoint’s startup screen provides a library of built-in templates. Selecting one applies a preset visual system to the entire file: fonts, colors, layout structures, and slide backgrounds are all defined before you type a word. For presentations with more specific requirements, professionally designed PowerPoint templates cover a range of formats, from pitch decks and status reports to company profiles and training modules.
The step most users skip is adjusting the template before adding content. Remove slides that do not align with your planned structure, replace placeholder imagery, and verify that the color scheme suits your context. If your organization maintains a branded .potx file, open it and save your presentation from there, rather than selecting a generic template and then reconciling two visual systems at the end. Consistency emerges from the starting point, not from retrospective cleanup.
Switching templates mid-build is possible but carries risk. When a new theme is applied to an existing presentation, PowerPoint remaps current layouts to the closest equivalent in the new template, which can shift text positions and alter formatting. The walkthrough on how to change a PowerPoint template explains how to do so without losing content.
How to Use Slide Master in PowerPoint
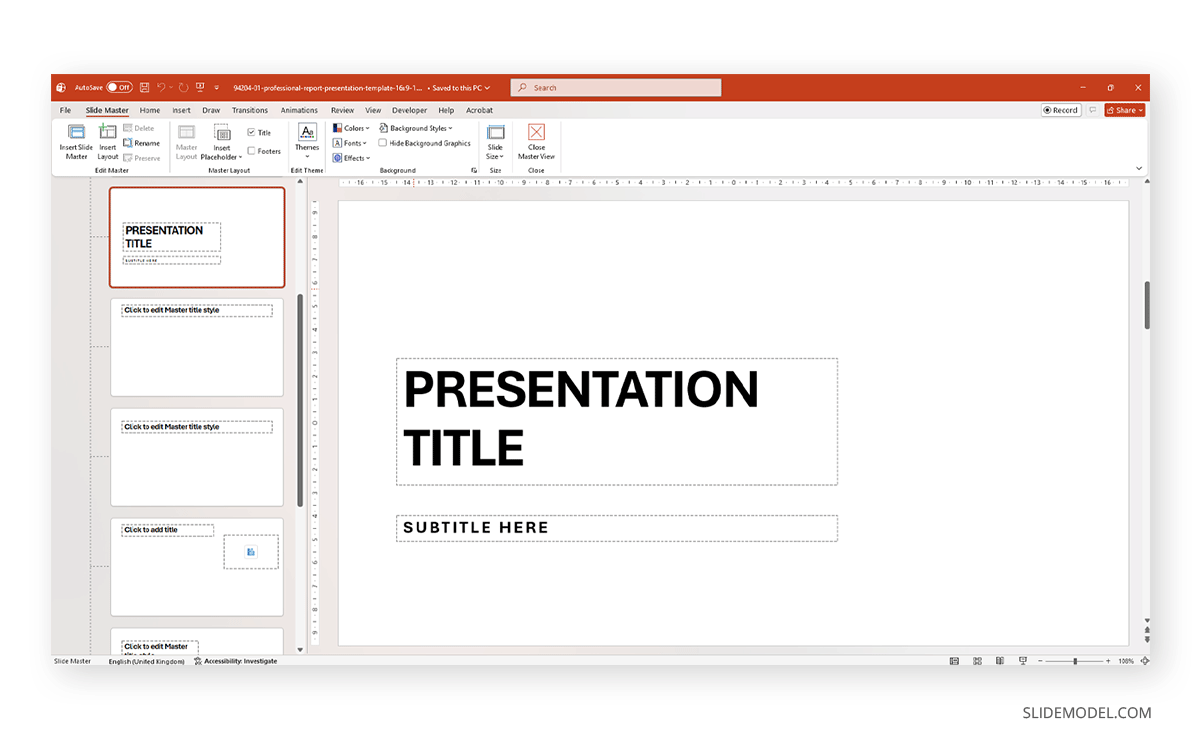
The Slide Master is the layer that controls the design of every slide in your presentation. Access it through View > Slide Master. The left panel shows a hierarchy: the master slide at the top governs all layouts simultaneously, while each layout variant below governs only slides assigned to that specific layout.
Any element that should appear on every slide belongs in the Slide Master. A company logo, footer text, slide numbers, or any background element placed there appears automatically on every new slide and requires a single edit to update globally. This prevents the common situation where a logo appears on 28 of 30 slides because it was copied manually and missed on two. The Slide Master also defines typography and color palettes, so setting brand fonts there before adding content ensures every new slide inherits the correct visual defaults.
A detailed guide on working with Slide Master in PowerPoint covers how to add custom layout variants, lock master elements against accidental edits on individual slides, restore the normal editing view, and work with multiple master configurations within a single file.
Formatting Tools Worth Knowing
Superscript, Subscript, Format Painter, and the Eyedropper
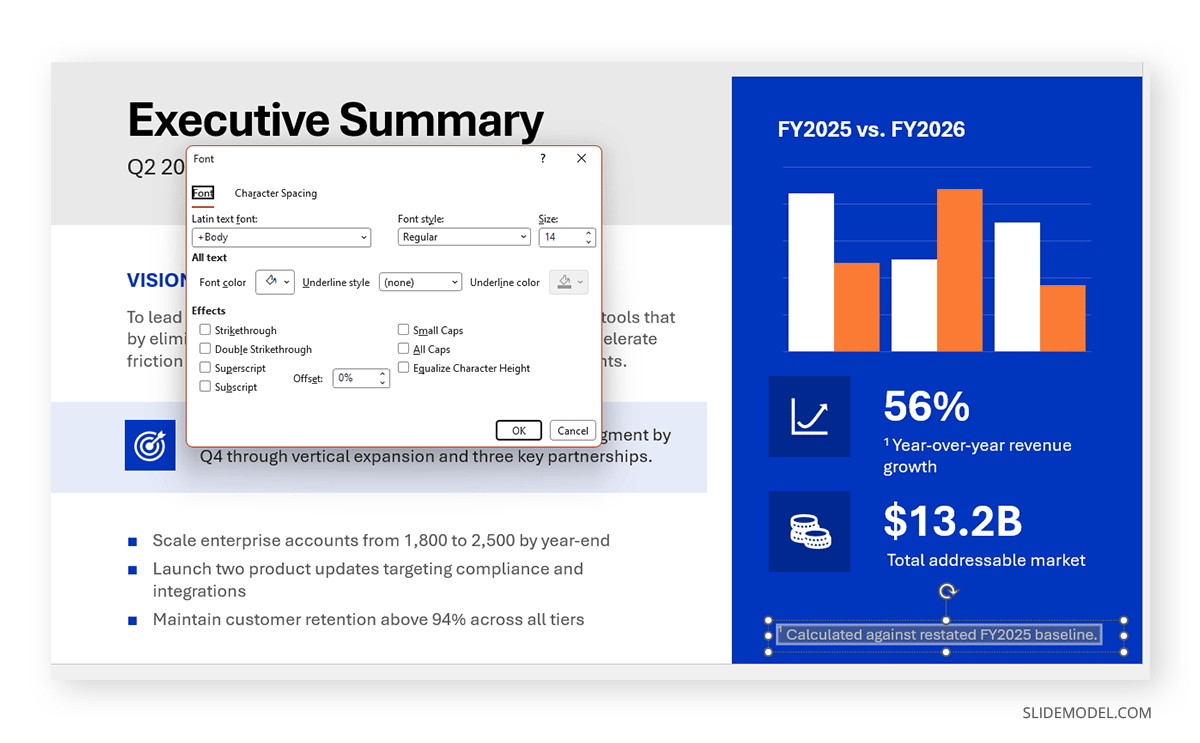
Superscript and subscript are text formatting options that appear infrequently but matter when they do. Superscript positions characters above the baseline and is used for trademark symbols, footnote markers, mathematical exponents, and similar inline notation. Subscripts place characters below them and appear in chemical formulas and technical reference codes. Both are available through the Font dialog box (Ctrl+Shift+F), where a checkbox activates either option. For users who apply these regularly, the full walkthrough on adding superscript and subscript in PowerPoint includes how to add them to the Quick Access Toolbar for faster access.
Format Painter copies the visual style of one element and transfers it to another. Select the source, click the Format Painter icon in the Home tab, then click the target. Double-clicking the icon keeps it active for multiple applications; pressing Escape releases it. This matters most when a presentation has accumulated inconsistent formatting: heading sizes that vary between sections, text boxes with mismatched line spacing, or objects whose fill colors have drifted from the design system across different slides. Rather than checking each attribute individually, Format Painter transfers the complete style in a single action.
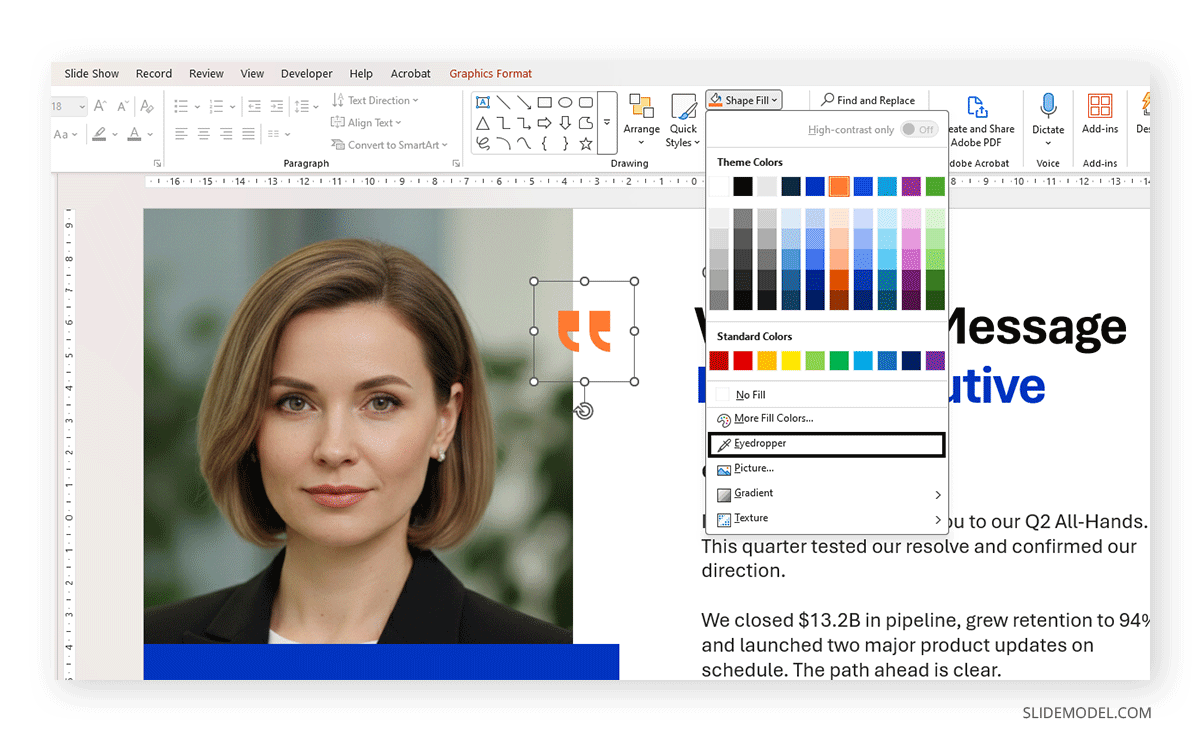
The eyedropper reads the color of any pixel on your slide and applies it to a selected element. Open the Fill or Font Color dropdown, choose Eyedropper, then click the color you want to sample. The main use case is matching a specific brand shade from a logo or imported image without knowing its hex value. Once sampled, the color appears in the Recent Colors row of the picker for the rest of the session, making it easy to reuse across multiple elements.
Multimedia and Interactive Elements
How to Use GIFs, Animated 3D Models, and Embedded Video
GIFs add looping motion to a slide without the setup required for animation sequences. Insert them through Insert > Pictures and select the .gif file as you would any image. The file appears static in edit mode, but loops continuously once the slideshow runs. They work well for brief process demonstrations or visual examples in training materials. Our article on how to insert a GIF into PowerPoint covers sizing and playback behavior in detail.
Animated 3D models offer more control. Through Insert > 3D Models, you can access Microsoft’s library or import a compatible .glb file. After placing the model, the Animations tab provides preset motions, including Turntable, Swing, Arrive, and Jump, each of which is adjustable for speed and trigger. Unlike GIFs, 3D models integrate with PowerPoint’s animation timing system, so their motion can be triggered on click, start automatically after a delay, or be sequenced alongside other animated elements on the same slide. The guide on how to insert 3D models in PowerPoint covers supported formats and rendering behavior.
YouTube videos can be embedded by selecting Insert > Video > Online Video and pasting the URL. The video plays on click in presentation mode, provided an internet connection is available. For offline reliability, inserting a locally saved file via Insert > Video > This Device helps avoid connectivity issues during delivery. PowerPoint can also export the entire presentation as a video: File > Export > Create a Video generates an MP4 with transitions and timings preserved. For presentations with narration, the Record a Presentation function captures voice and slides together into a self-contained file.
How to Use a Hyperlink in PowerPoint
Hyperlinks connect text or objects to external websites, specific slides within the current file, email addresses, or other documents stored on your computer. To add one, select the element and press Ctrl+K. The Insert Hyperlink dialog presents all three destination types.
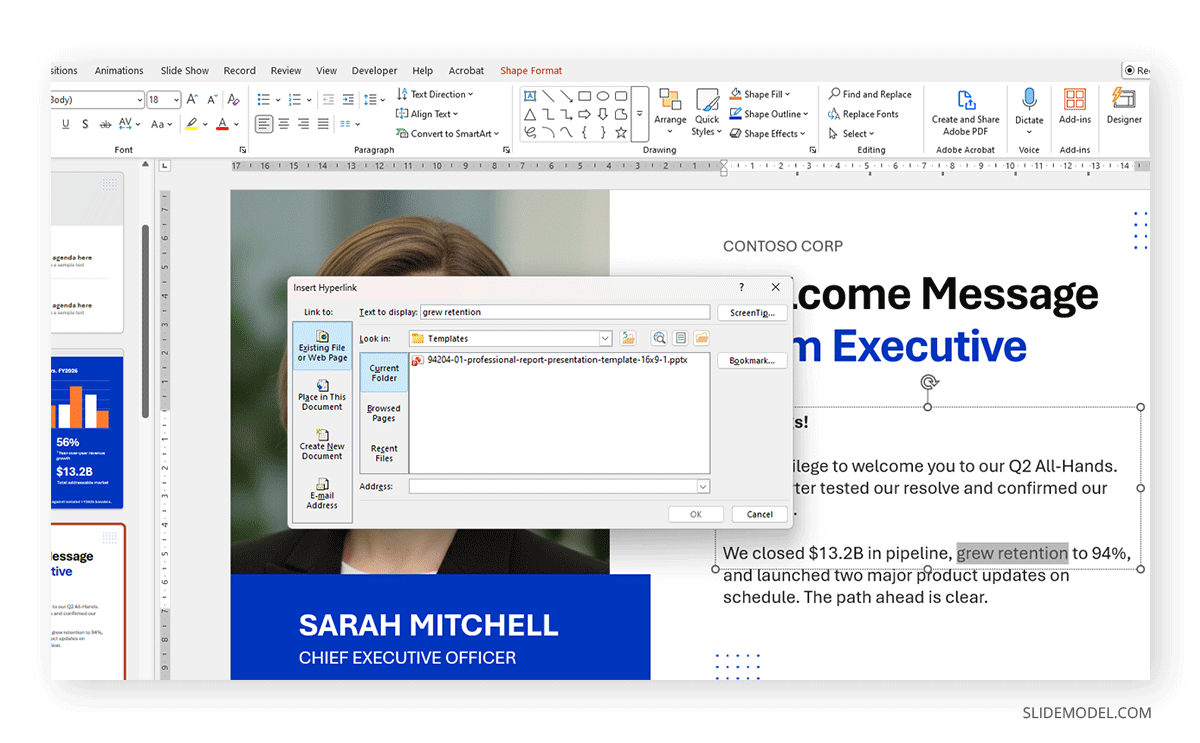
Linking between slides within the same deck is particularly useful for non-linear delivery. A clickable table of contents at the opening allows the presenter to jump directly to any section without scrolling through intermediate slides. Return links at the end of each section bring the navigation back to the previous section. Building this kind of structure is covered in the guide to creating a table of contents in PowerPoint, which explains how to connect each entry to its target slide. In presentation mode, hyperlinks on text appear underlined; those assigned to shapes remain visually invisible unless clicked, so navigation controls can be embedded without adding clutter to the slide layout.
Animations in PowerPoint
PowerPoint’s animation system categorizes effects into four types: Entrance controls how an object appears on screen; Emphasis draws attention while it is visible; Exit governs how it leaves the screen; and Motion Paths move objects along a defined trajectory. All are applied through the Animations tab, and the Animation Pane provides a timeline of every animated element on the current slide, with controls for order, trigger type, and duration.
The most practical use of animation in PowerPoint for professional presentations is progressive disclosure. Assigning a Fade or Appear entrance to successive paragraphs allows each point to appear at the moment you address it, keeping the audience focused rather than reading ahead. The Animation Pane shows the full sequence and allows reordering without reapplying effects.
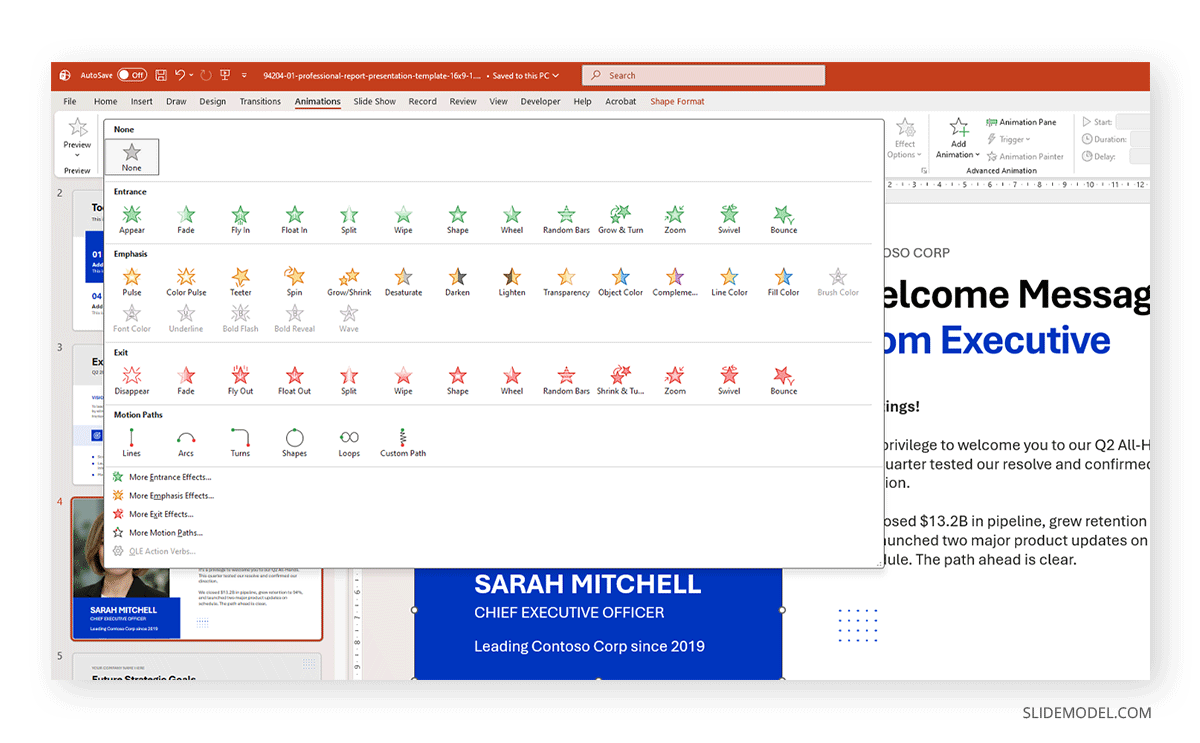
Restraint governs good animation decisions. Any effect that draws attention to itself rather than to the content weakens the presentation. In most business contexts, a single consistent entrance effect applied to the key elements on each slide is sufficient. Avoid stacking multiple animations on a single object, setting durations so short the motion reads as a flicker, choosing decorative effects like Spin or Bounce that add nothing to the argument, or applying entrance and exit animations to the same element without a clear reason. For AI-assisted workflows, Microsoft Copilot can suggest animation schemes, but its output requires review and simplification before delivery.
Presenter View and Copilot
How to Use Presenter View in PowerPoint
Presenter View runs on your screen while the audience sees only the slides on the connected display. It shows four elements: the current slide, speaker notes, a preview of the next slide, and a timer. To enable it, check Use Presenter View on the Slide Show tab before starting the presentation.
The Speaker Notes panel is the most immediately useful component. Text entered in the notes area beneath each slide appears here during delivery, scrollable and visible only to you. This removes the need for printed notes and allows detailed prompts to remain out of the slides without being lost. The next-slide preview eliminates hesitation at transitions. The timer counts up from zero, useful during rehearsal to identify slides that consistently run longer than planned.
The full guide on how to work with Presenter View in PowerPoint covers the screen-swap function, a zoom tool that enlarges a section of the current slide without advancing to the next slide, the slide navigator for non-linear delivery, and how to access annotation tools during a live presentation. On a single screen, right-clicking during the slideshow and selecting Show Presenter View activates a partial version, though the audience sees the transition momentarily.
How to Use Copilot in PowerPoint
Copilot is available through the Copilot button on the Home tab ribbon for users with a Microsoft 365 Copilot subscription. It accepts natural language prompts and can generate a full presentation from a description, add speaker notes to all slides at once, summarize an existing deck, or suggest design improvements based on slide content.
The practical value in corporate settings is at the drafting stage. A prompt describing the presentation’s purpose and main topics returns a structured deck in seconds, complete with suggested headings and placeholder content. That output requires review: Copilot does not know the specific argument you are making or the nuance your audience expects. Every slide it generates needs editing before reaching an audience.
FAQs
Should the Slide Master be configured before or after content is added?
Before. Once content is added, changes made to the Slide Master require checking each slide to confirm that nothing was locally overridden. Starting from the master ensures design decisions apply uniformly from slide one without retrospective correction.
Can Format Painter be used on shapes as well as text?
Yes. It transfers fill color, border style, and effects from one shape to another. It does not copy size or position. When applied to images, it copies visual styles such as borders and shadows, not the image content itself.
What happens to an embedded YouTube link if the video is removed after the file is shared?
The link stops working. Only the URL is stored in the PowerPoint file, not the video itself. For long-term reliability, inserting a locally saved video through Insert > Video > This Device is the better option.
Does Presenter View work without a second screen?
It is designed for dual-screen setups. On a single screen, right-clicking during the slideshow and selecting Show Presenter View activates a partial version, though the audience sees the switch momentarily. This works for rehearsal but is less reliable for live delivery.
Is Copilot available with all Microsoft 365 plans?
No. Microsoft 365 Copilot is a paid add-on that supplements business and enterprise subscriptions. Personal plans do not include it by default, and the availability of specific Copilot features within PowerPoint depends on the subscription tier. Family plans make it available only to the main account owner.
Final Words
PowerPoint’s effectiveness as a tool depends on the order in which its features are used, not simply on knowing they exist. Templates and the Slide Master establish the visual structure before content is added. Formatting tools like Format Painter, the eyedropper, subscript, and superscript maintain consistency during the build. Multimedia elements, hyperlinks, and sequenced animations extend what a slide communicates. Presenter View supports delivery; Copilot can accelerate early drafts.
The presentation is more reliable when built deliberately. Features applied in the right sequence reduce the need for retrospective correction and produce a result that holds together from the first slide to the last. For tasks that fall outside PowerPoint’s native capabilities, dedicated presentation tools can fill the gaps without disrupting the workflow you have already established.