Zooming presentations can enhance audience engagement by emphasizing key points, revealing details within images, diagrams, or maps, and creating dynamic transitions between slides. Over the past decade, various apps have been sporting the zooming user interface, most prominently Prezi. However, you can make zooming presentations quite conveniently using PowerPoint. With the help of the Zoom tool in PowerPoint, PowerPoint templates, or the Zoom transition, you can add the Zoom effect to slides with easy navigation features. This tutorial will explore different ways to zoom in PowerPoint, use templates to create seamless zoom transitions and highlight best practices for using zoom effects effectively.
Benefits of using the PowerPoint Zoom Tool
The zoom-in tool in PowerPoint allows presenters to focus on specific areas within slides, making content more interactive and visually appealing. This tool is helpful in various scenarios.
Highlighting Key Details
The zoom tool can help emphasize text, images, or data without cluttering the slide. This presentation can be helpful not only for in-person sessions but also during remote meetings, such as Microsoft Teams or Zoom presentations.
Storytelling in PowerPoint
The tool can be great for making an engaging presentation that connects the audience with a dynamic flow instead of static slides. Zooming slides can also be a great way to create storyboards or take your audience on a journey to create slides like a story.
Interactive Navigation for Slides
Using interactive elements like the zoom effect makes it easier to navigate between slides using the zoom feature. Using the Zoom tool or PowerPoint templates with zoom animations, you can easily link various slides and seamlessly navigate between them during a presentation session.
Clear View of Maps, Data, and Trends
When presenting important visuals, you can zoom into specific locations in geographical maps, diagrams, and charts using the Zoom effect in Microsoft PowerPoint PowerPoint. By zooming into fine details using such visuals, the audience can see a more refined view of the visuals. Similarly, emphasizing business insights, research findings, or strategy discussions can be easier if you can zoom into data and trends to reveal important information. This can also help resolve the issue of small visual designs that can often be hard to read for an audience due to small text sizes, such as chart legends, diagram elements, or places listed on a PowerPoint map.
How to Add Zoom Effect in PowerPoint
PowerPoint offers different ways to zoom in on elements. By following the steps listed below, you can use the Zoom tool in PowerPoint to zoom in on PPT. To learn how to start a presentation and end a presentation using zooming slides, see the various methods listed below.
How to Zoom Slides with Zooming PowerPoint Templates
There are different methods to use zoom in PowerPoint slides, such as the Zoom tool and Zoom transition. Using zoom PowerPoint templates allows you to easily zoom into PowerPoint presentations. The Zoom Footprint Path PowerPoint Timeline Template comes with zooming slides that can be edited to create zooming slides instantly. You can also use similar Zoom PPT Templates to create zooming slides without spending time editing slide elements to add the zoom effect.
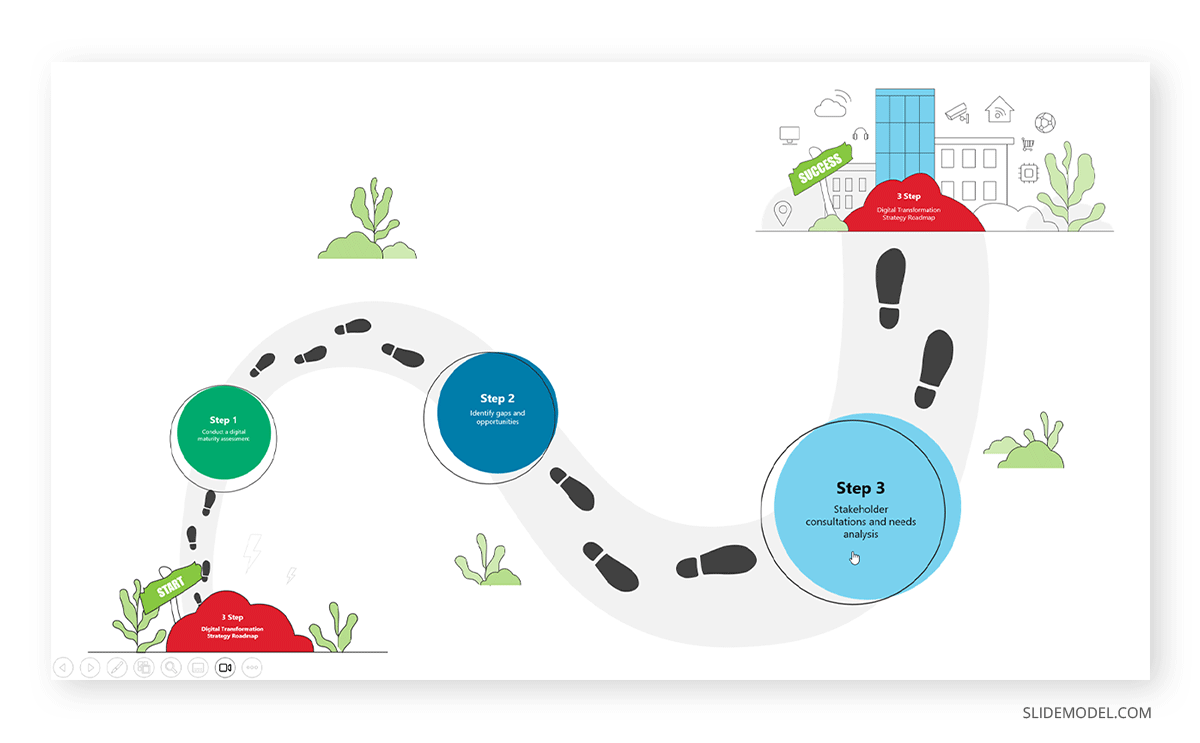
Step 1: To use this zooming presentation template, edit the title slide with relevant information. In this example, we edited the template to create a digital transformation strategy roadmap.
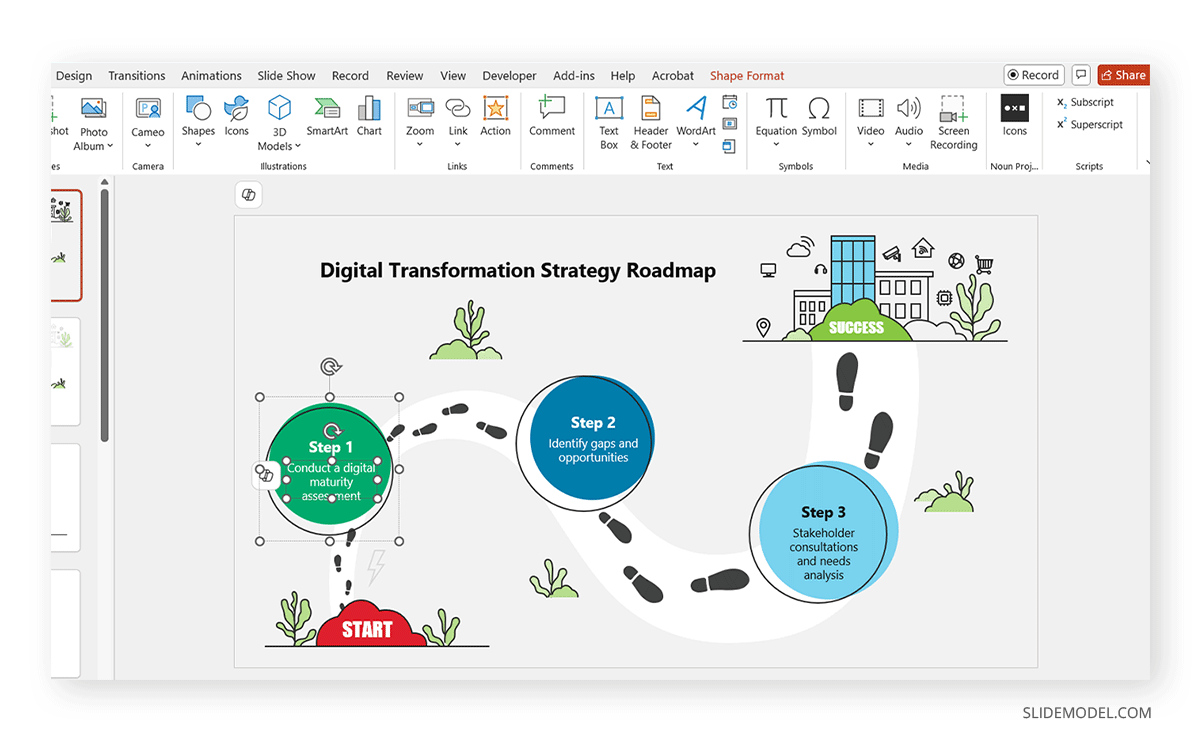
Step 2: Add information to content slides so that once clicked, the screen can zoom into details regarding the selected part of the diagram. In this example, we zoomed into a roadmap slide to explain a three-step digital transformation strategy, highlighting each step in a view that can be zoomed to discuss each step, leading to the successful conclusion of the strategy’s implementation.
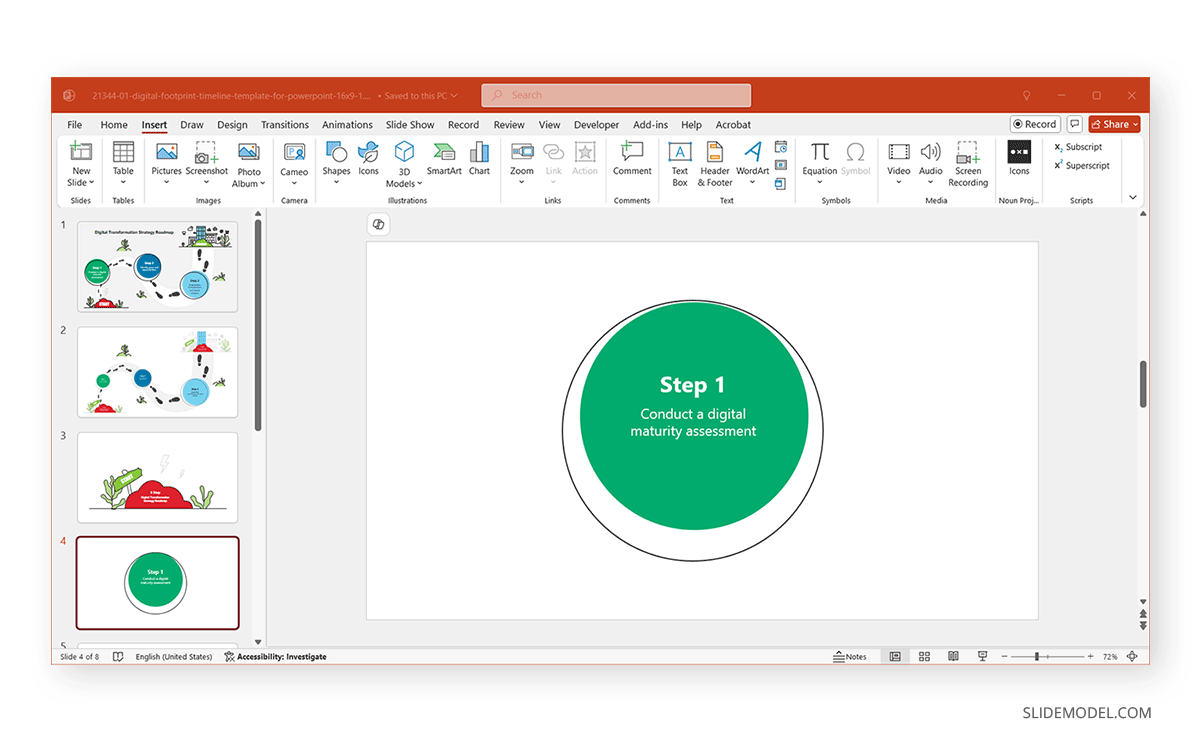
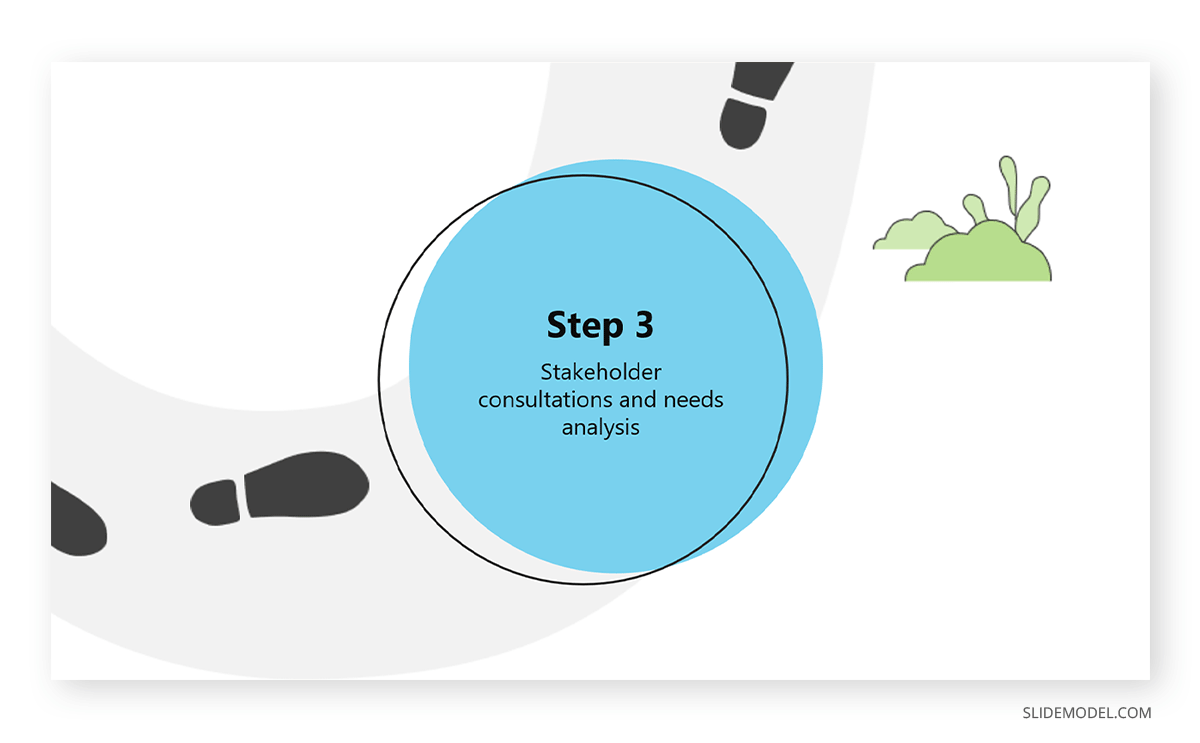
Step 3: Test your zooming UI in Slide Show mode. The template contains linked slides connected to the main slide, giving the zoom effect in Slide Show mode. The below image shows how your content will appear clickable once you run the presentation as a slideshow.
You will notice that once a slide is selected from the main diagram, the screen zooms into the selected section with more details. Allowing you to instantly zoom into selected parts of the diagram to discuss key highlights, after which you can zoom into another section. To move back and forth between different visual elements, you can use the arrow keys or onscreen arrows from the bottom right corner of the screen to navigate the zooming slides.
How to Use Zooming Slides for a Brainstorming Session
During brainstorming sessions, you can use the Zoom effect in PowerPoint to highlight important information for discussion. We will demonstrate the process for making such a slide deck using the Research Cards PowerPoint Template with Zoom Animation, which comes preloaded with the Zoom effect with easy-to-edit slides. Since the slide already has animated zoomable slides, you can edit the sample slides to create zooming UI-style brainstorming slides in PowerPoint.
Step 1: The title slide contains linked slides that appear as cards. Each card is connected to a slide with the Zoom effect, which switches to once clicked in Slide Show mode. Review the template before editing the content slides and Identify each slide for the cards on the title slide. You can also run the presentation as a slideshow to identify the linked sample slides.

Step 2: Edit the content slides by adding relevant information. This information will automatically be revealed once you click the respective card in Slide Show mode.
Step 3: Switch to Slide Show mode and review the template by reviewing the cards on the title slide. Once you click a card, the screen will zoom to the linked slide. You can use the arrow keys on the keyboard or the onscreen navigation arrows when running the slideshow to zoom between different cards to discuss subtopics during a brainstorming session.

How to Use Zoom Feature in PowerPoint for Highlighting Visual Information
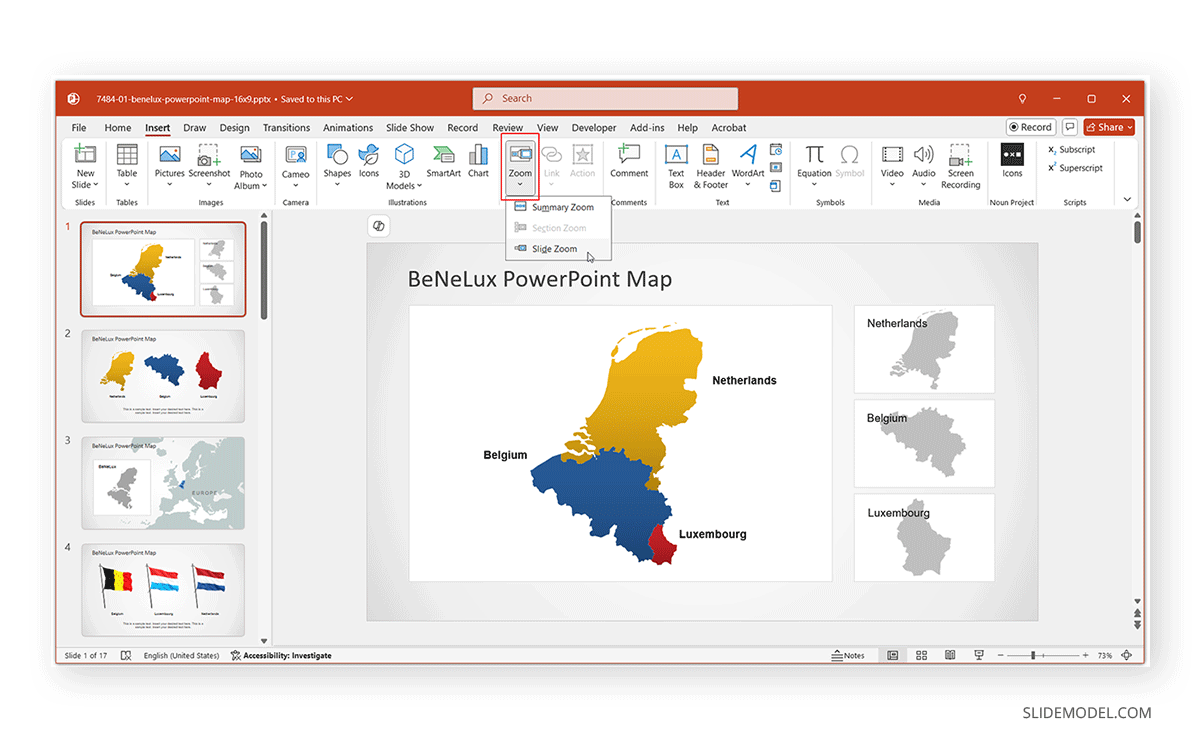
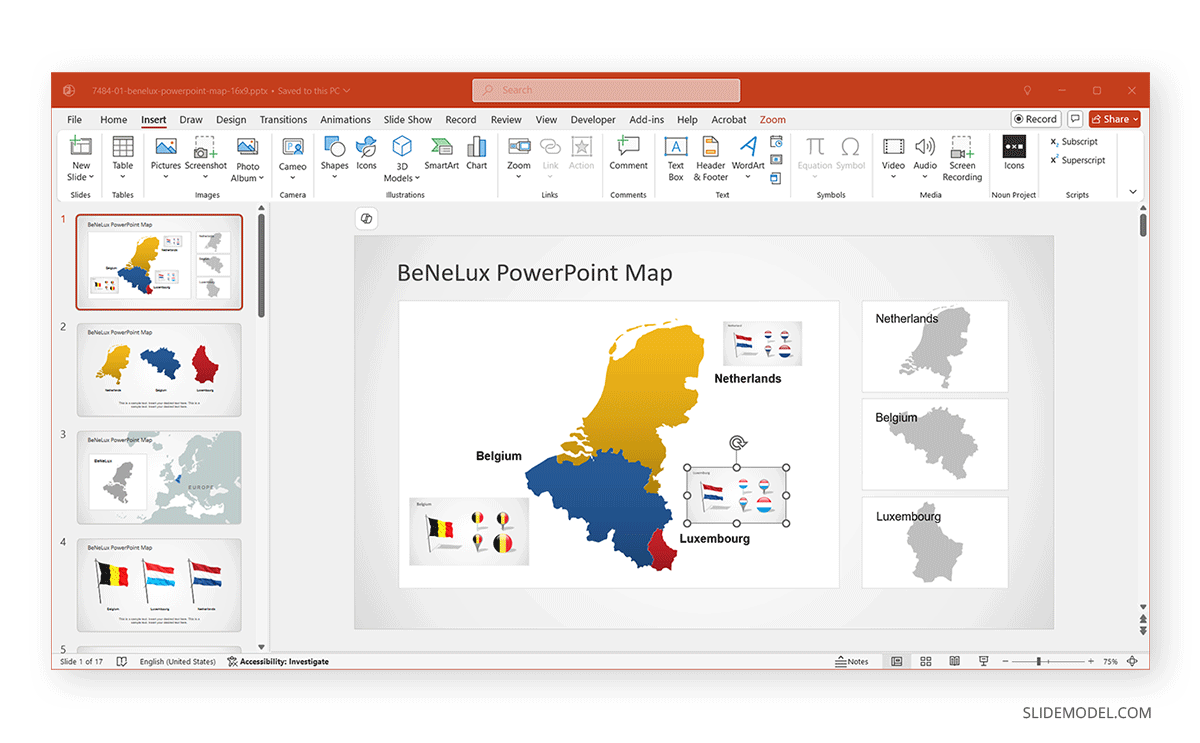
Since PowerPoint provides a built-in Zoom tool to create dynamic transitions, you can use this feature to zoom into essential parts of your slides. In this example, we will use the Zoom tool in PowerPoint to highlight parts of a map with relevant country flags using the Benelux Political Region PowerPoint Map Template.
Step 1: Open your PowerPoint presentation and navigate to the slide where you want to apply the Zoom effect. Click on the Insert tab in the PowerPoint ribbon and select Zoom, followed by one of the following options, including Summary Zoom, Slide Zoom, and Section Zoom.
Step 2: Choose the slide or section where you want to zoom. PowerPoint will insert the zoomed-in slide as an interactive element. You can resize and reposition it as needed.
- Summary Zoom: This option creates a landing slide with links to multiple slides in a PowerPoint presentation.
- Slide Zoom: This option enables zooming into a specific slide within the PowerPoint presentation.
- Section Zoom: This feature jumps to a specific section while maintaining presentation flow.
If you are wondering how to zoom in on a picture in PowerPoint, using Slide Zoom or Section Zoom can help you switch to a presentation section with an image. In this example, we used Slide Zoom to zoom into a section of the map.
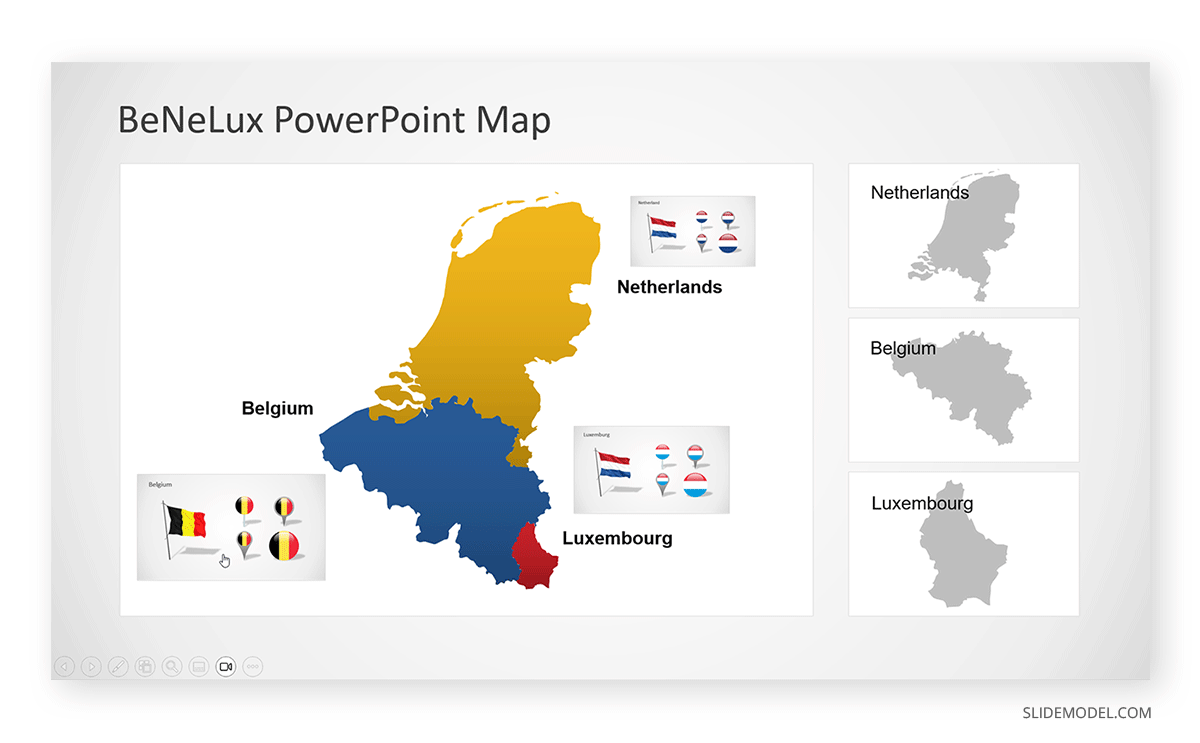
Step 3: Test the zoom effect by running the slideshow via the Slide Show button or press F5. In the example below, we added the Zoom feature to a slide linking to each country’s flag. As you can see, the zoomable section appears clickable for quick navigation to the selected slide.
Once clicked, the section will be zoomed in with a fullscreen view of the selected section of the slide.
Bonus Tip: Zoom Transition in PowerPoint
Another method of using zoom in PowerPoint is to use the Zoom transition to zoom in, zoom out, or zoom and rotate a slide. To add the Zoom transition in PowerPoint, follow the steps mentioned below.
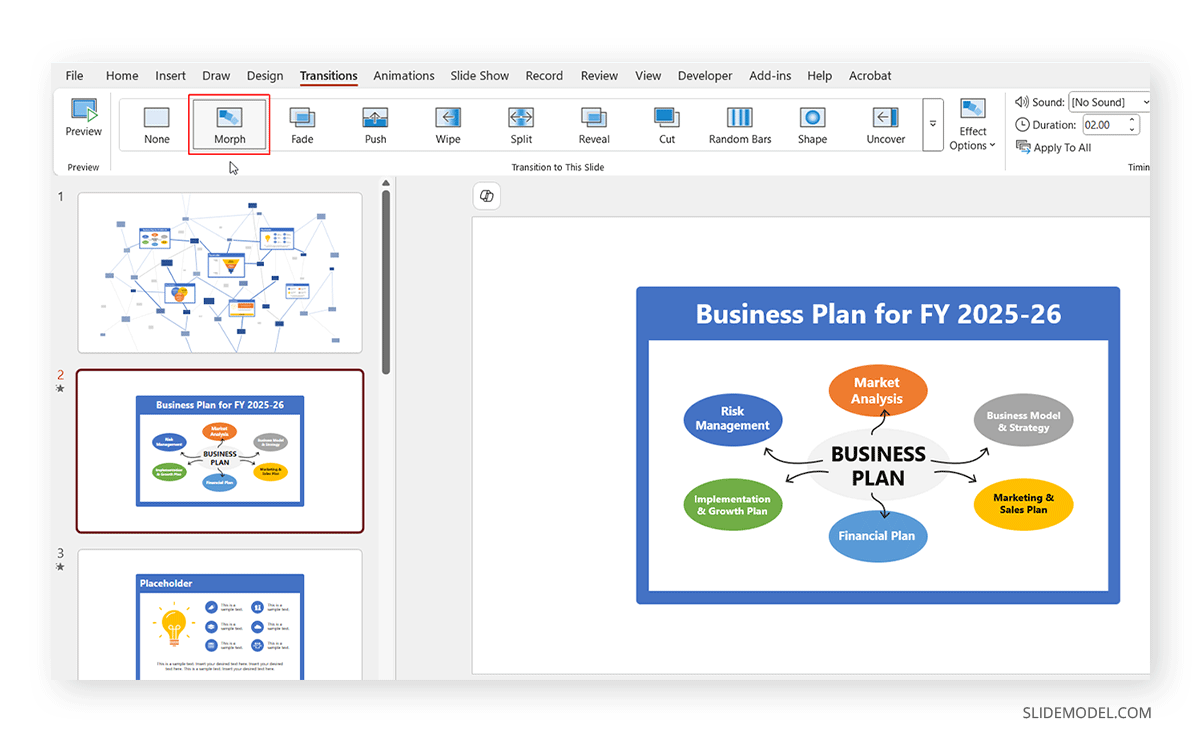
Step 1: Open the PowerPoint slide you want to zoom in and insert the effect via Transitions -> Zoom.
Step 2: From the Transitions tab, select zoom type via Effect Options (zoom in, zoom out, or zoom and rotate).
Step 3: Use Morph Transition for a seamless zoom effect between slides. This is an optional step by which you can incorporate the Morph transition via the Transitions tab to refine your zooming slides further. For example, you can apply the Zoom transition to one slide, followed by the Morph transition (to morph objects, words, or characters via Effect Options) to give your slides a smooth zooming look.
Step 4: Select the duration for the transition via Transitions -> Timing.
Step 5: Test the zoom effect in PowerPoint to preview the transition effects in sync.
Final Words
Zooming presentations can appear more organized and be a powerful tool for presenting slides with better navigation. Using PowerPoint templates preloaded with the zoom effect, the Zoom tool in PowerPoint, or transitions like Zoom and Morph, you can enhance presentations by adding focus, clarity, and interactivity. Whether highlighting key details, navigating through sections, or creating dynamic transitions, PowerPoint’s zoom features provide various options to improve engagement. By leveraging ready-made PowerPoint templates, you can answer the question of how to make a presentation visually appealing and customize zoom effects effectively.
If you would like to learn how to zoom presentation slides in Google Slides, see our tutorial about how to zoom in Google Slides and explore the collection of Google Slides templates by SlideModel with professionally designed slides and easy-to-navigate layouts.