All our hard work in crafting compelling presentations can be reused in multiple ways. One of the methods is to publish the presentation in a video format via social media. This article will teach us how to convert a Google Slides presentation to a video format.
Before starting converting the slides to a video
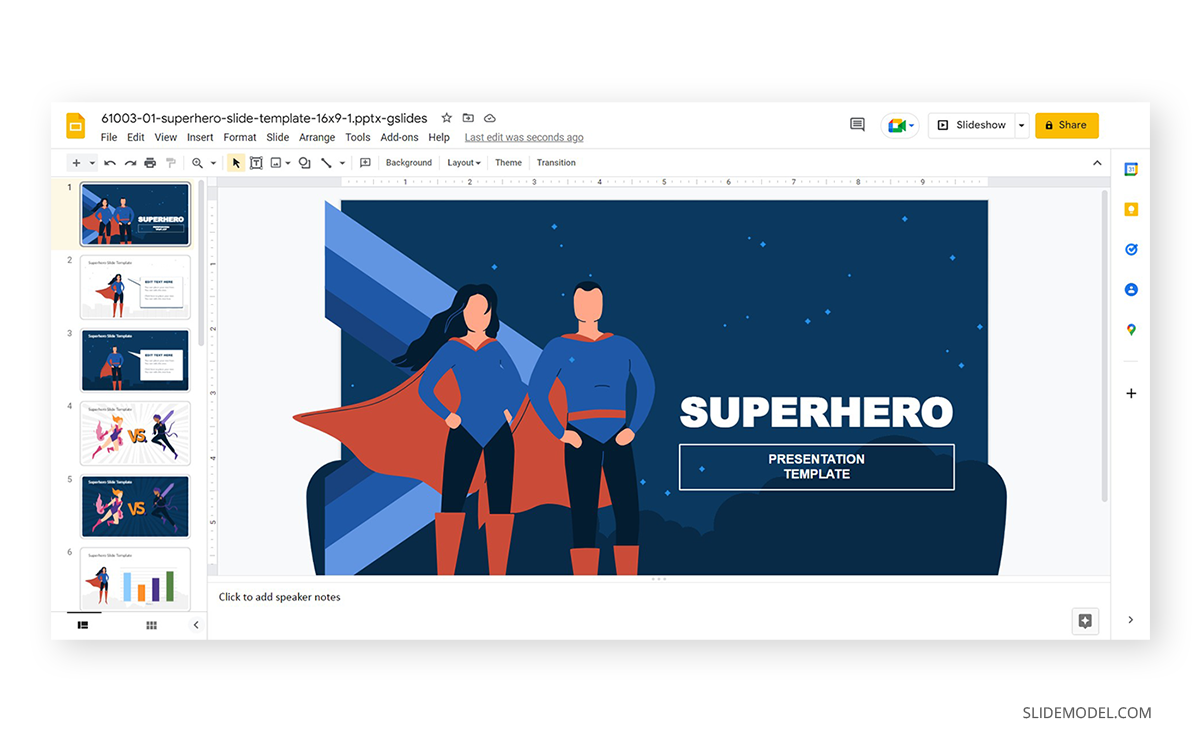
As the starting point of this tutorial, we will use the Superhero PowerPoint Template. Open the template in Google Slides format before going to the first step.
Once opened, the template should look like this.
Convert Google Slides to Video with Creator Studio Add-in
Accessing Creator Studio
We will use an interesting add-on called Creator Studio. You can either work with a trial version or upgrade to a full license since it offers monthly and yearly plans.
Click the + icon on the right and Go to Get Add Ons. In the new window, search for “Creator Studio”
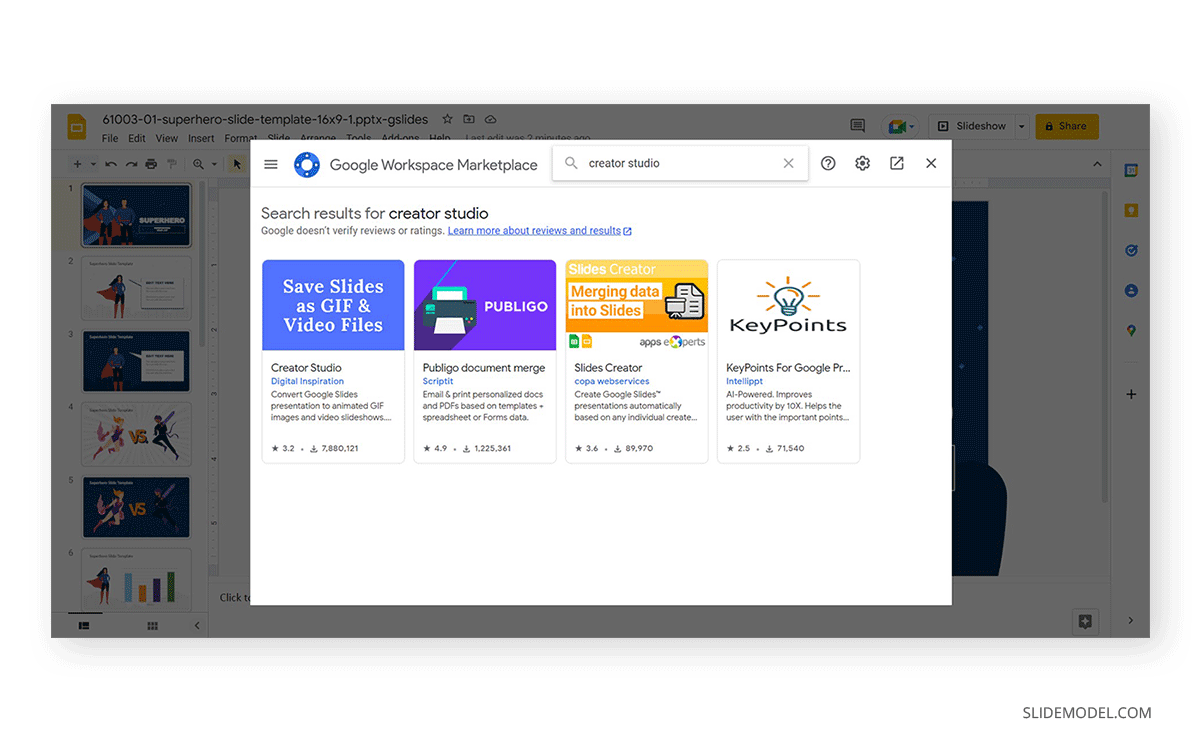
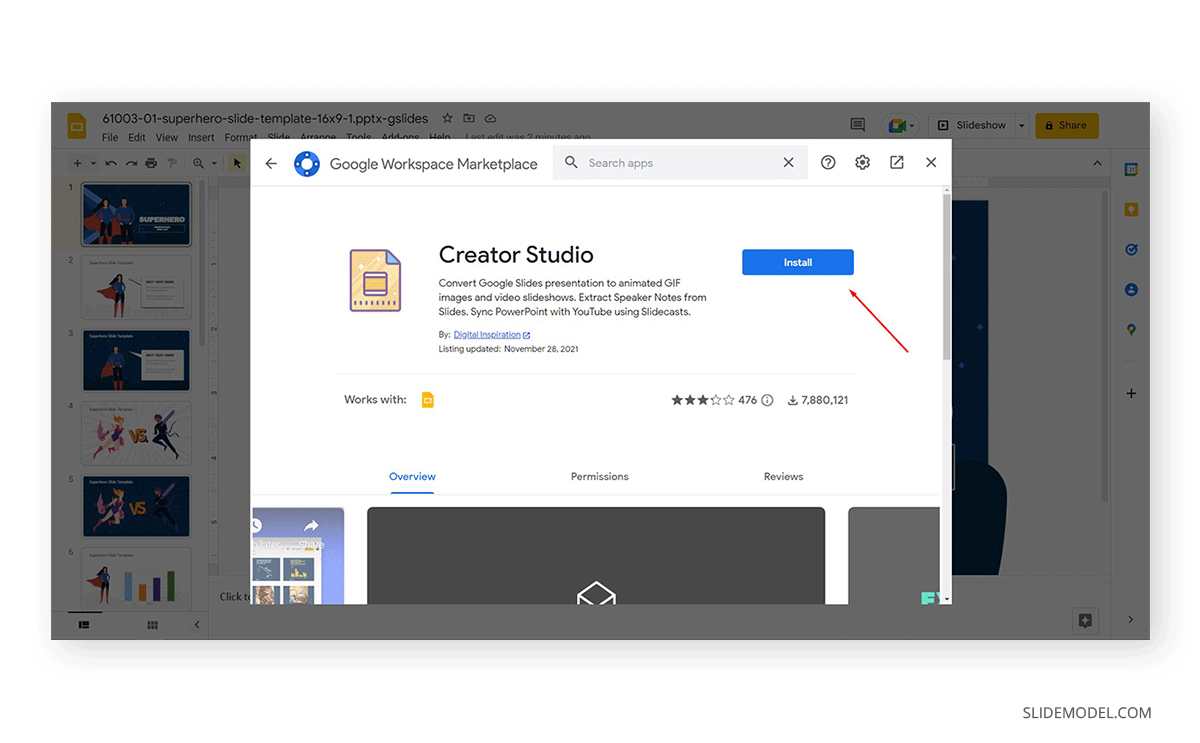
Click on the first icon, Creator Studio by Digital Inspiration. That’s the add-on we need to download. Then click on Install.
Recommended Reading: How to Add Video to Google Slides Presentation
Convert a Google Slides Presentation to a Video with Creator Studio
With all our tools ready, we go to Add-ons > Creator Studio. In there you can see plenty of options available.
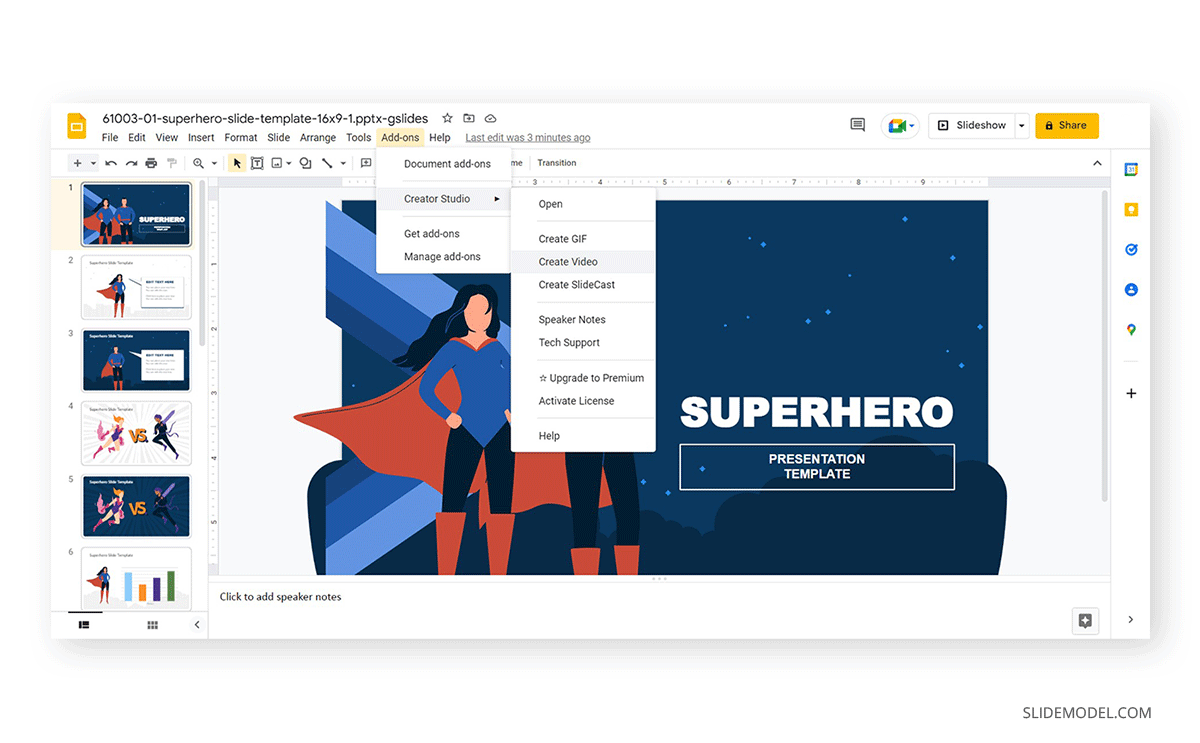
- Create a GIF is to create an animated image, compatible with most web browsers these days.
- Create a Video is the most popular option for this plugin and the one we will use.
- Create a SlideCast sync your presentation with your YouTube account to directly stream it over there. You can even add timestamps if required.
Click on Create a Video. A new panel should open over the right side after the “Working” message completes its cycle.
First, add the desired width for the video (by default, 300px), then the time that will go in between slides (interval in seconds).

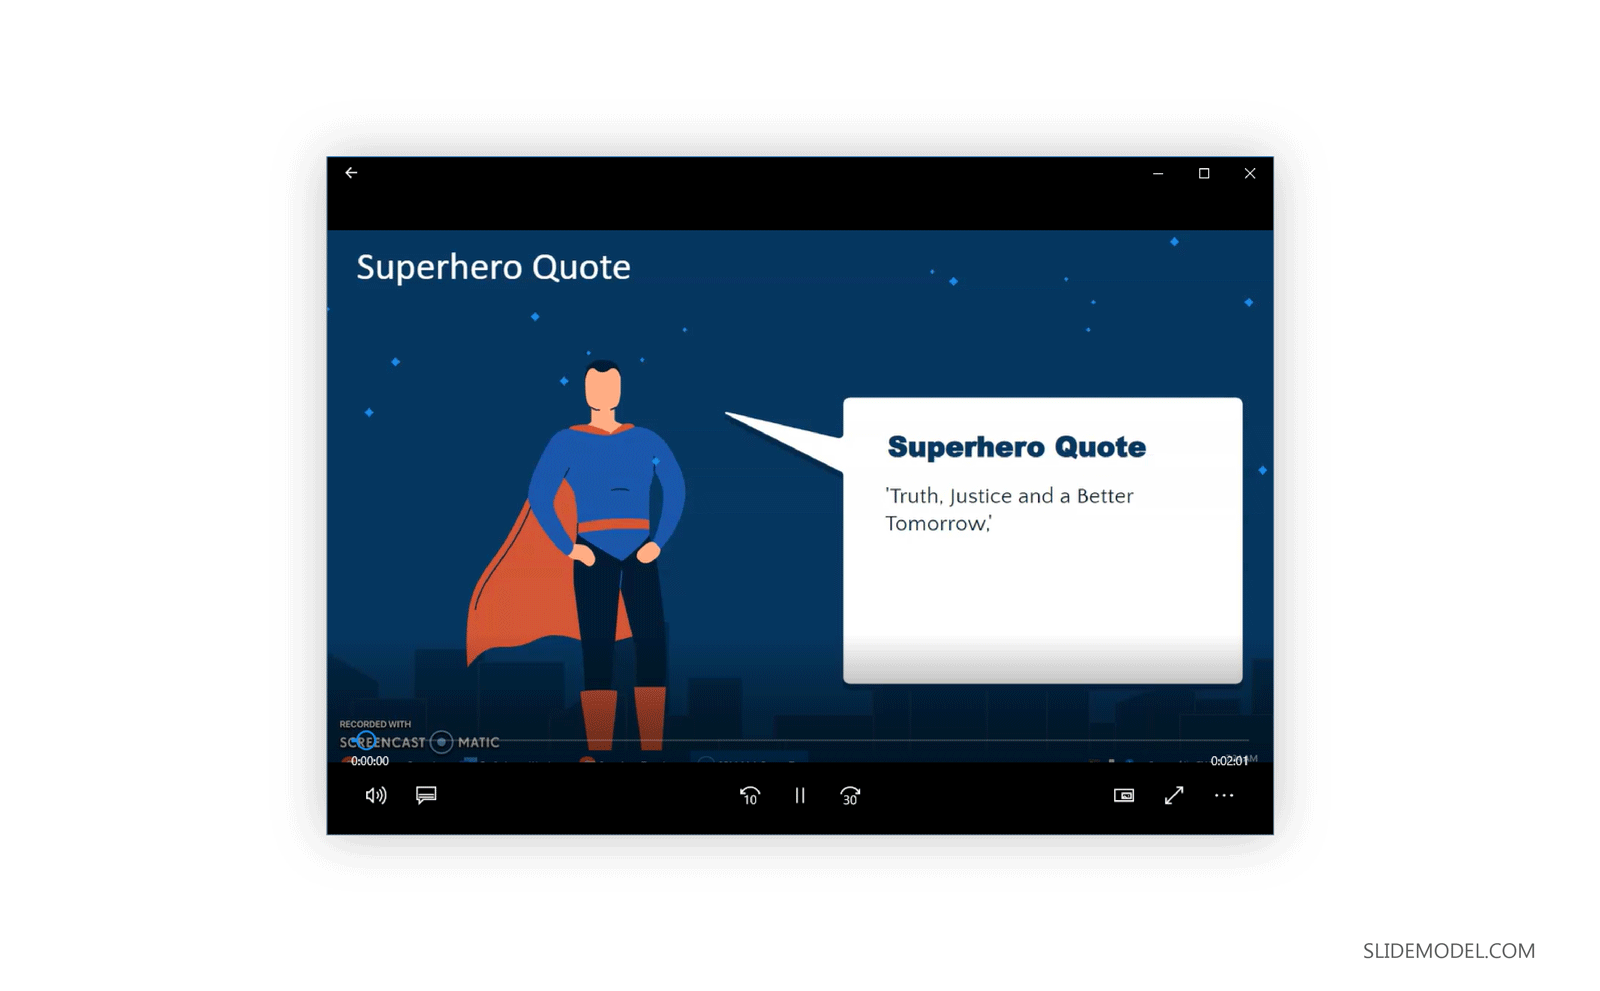
The Export Format should be Video File (MP4). Click on Go to start the conversion process. The end result is as shown below.
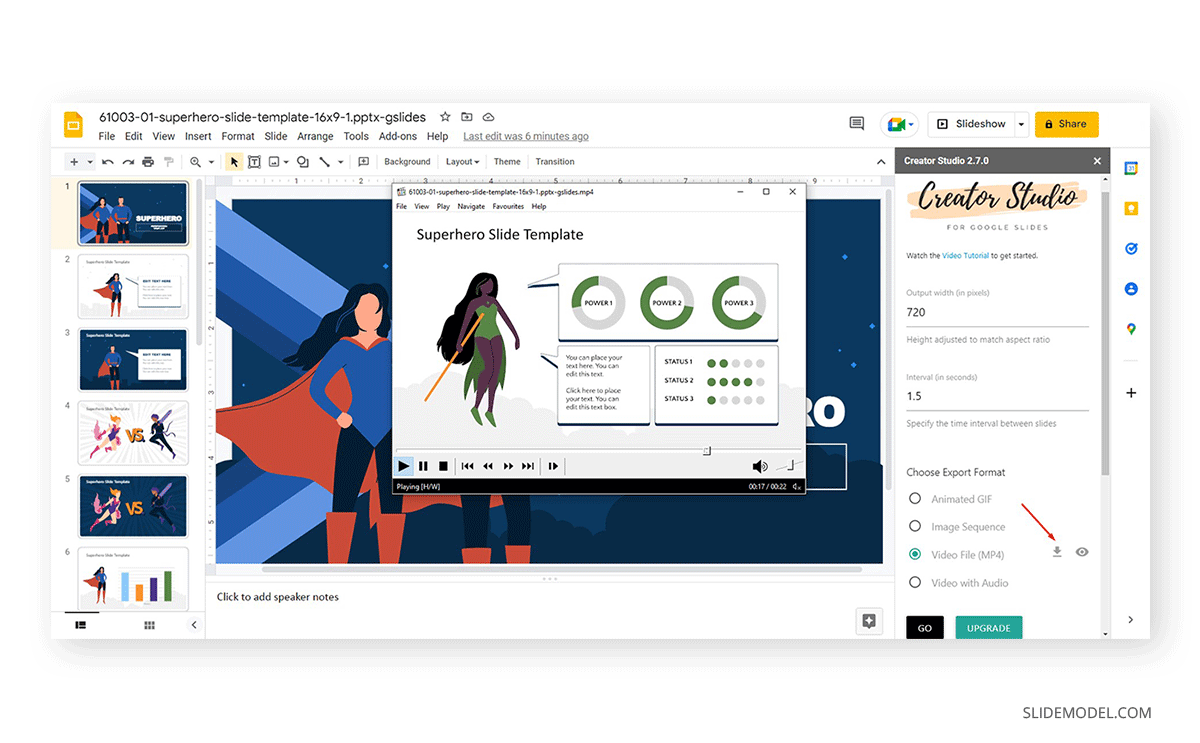
Download your video by clicking on the arrow close to Video File (MP4). You can test the video on any player.
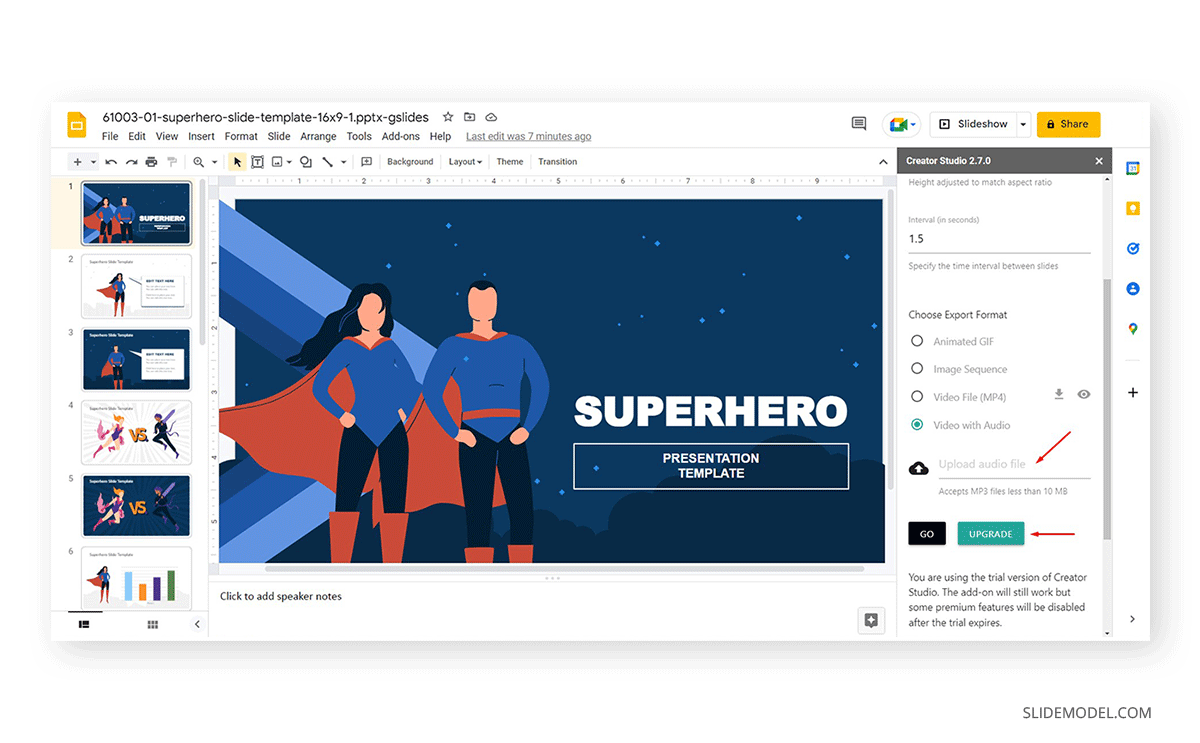
Last but not least, there’s another option worth to explore: Video with Audio. This allows us to upload an MP3 file for the video, either that being an audio recording explaining the slides or just ambiance music for the presentation.
Convert Google Slides to Video using Recording App
Google Slides presentations can also be converted to video using screencasting apps to record your screen. This will also provide you with additional options to add voice-over narrations and record your cam to make the presentation more engaging by adding a face for the presenter. Furthermore, this method can also help convert your Google Slides presentations to video tutorials and informative video presentations that can be uploaded online for a wider audience.
There are a number of screen recording apps that you can use to record your Google Slides presentation. Some examples include BB Flashback Studio (Windows), QuickTime Player (Mac), Camtasia Studio (Windows and Mac), etc. For the purpose of this post, we are using ScreenPal, which is a video recording app that can be launched directly from an Internet browser. “You could also use a tool like Screen Recorder, which is also created by the ScreenPal team.
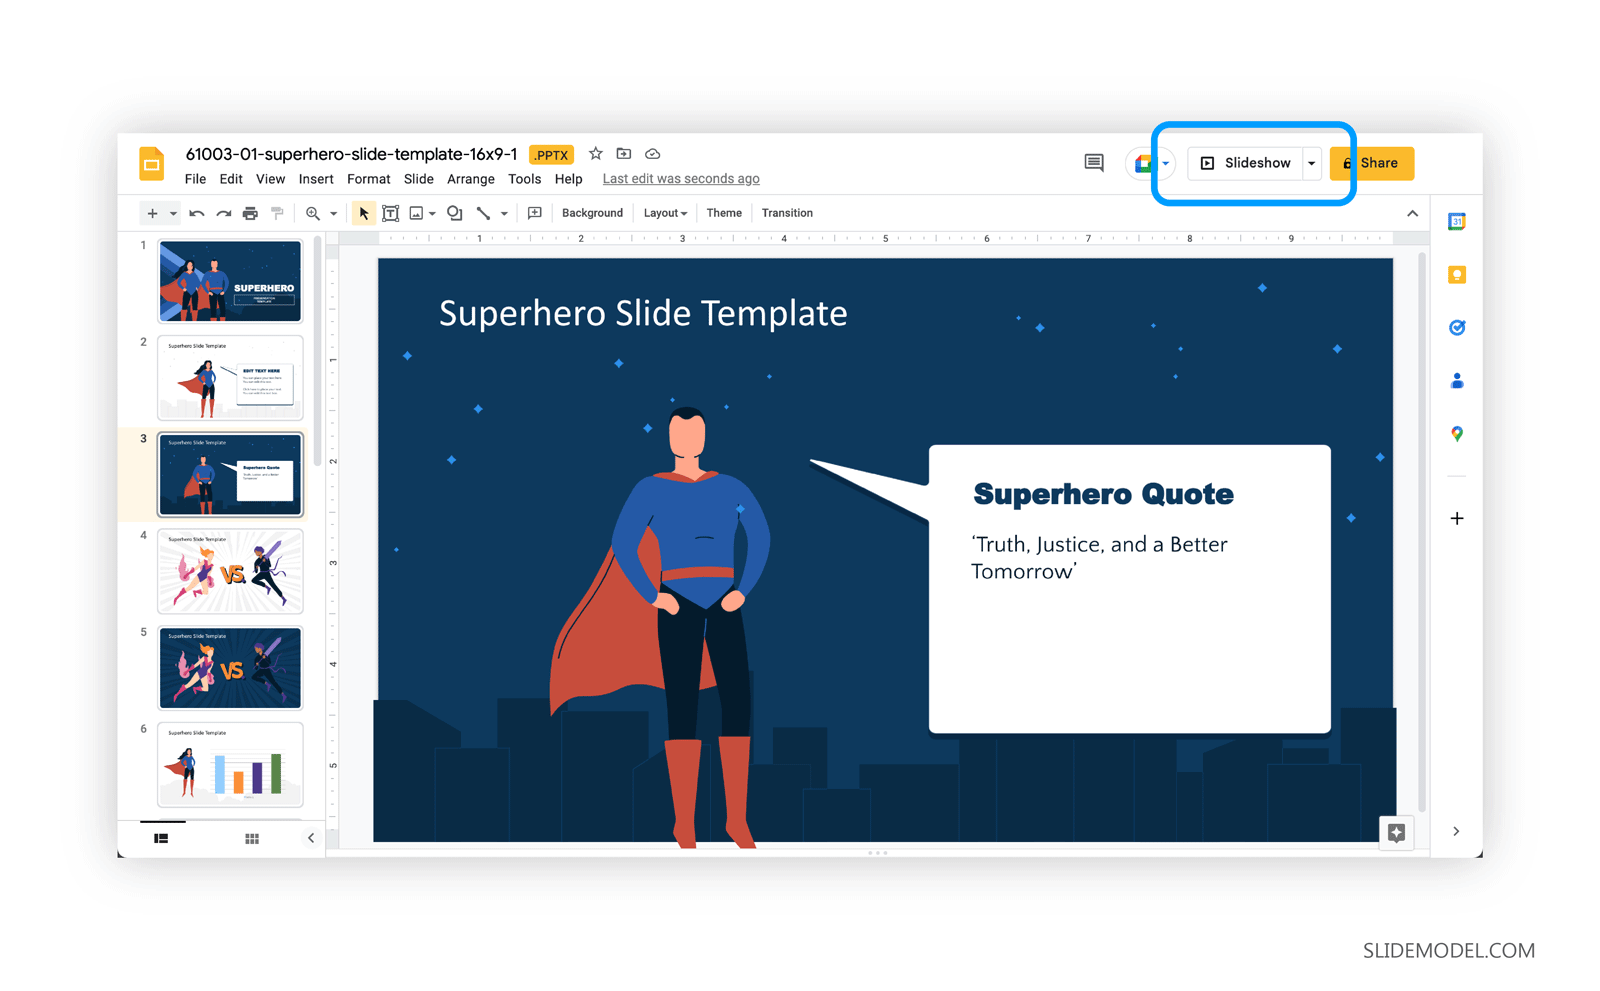
Step 1 – Launch Presentation in Slideshow Mode
While you can also record your slides without running a slideshow, it is recommended to run your slides in Slideshow mode to make the best use of the onscreen area. This can help you ensure that slide elements don’t end up appearing too small on screen.
Step 2 – Launch Screen Recording App
Most screen recording apps have similar options. Once installed, they provide a few basic options to help the user customize recording settings.
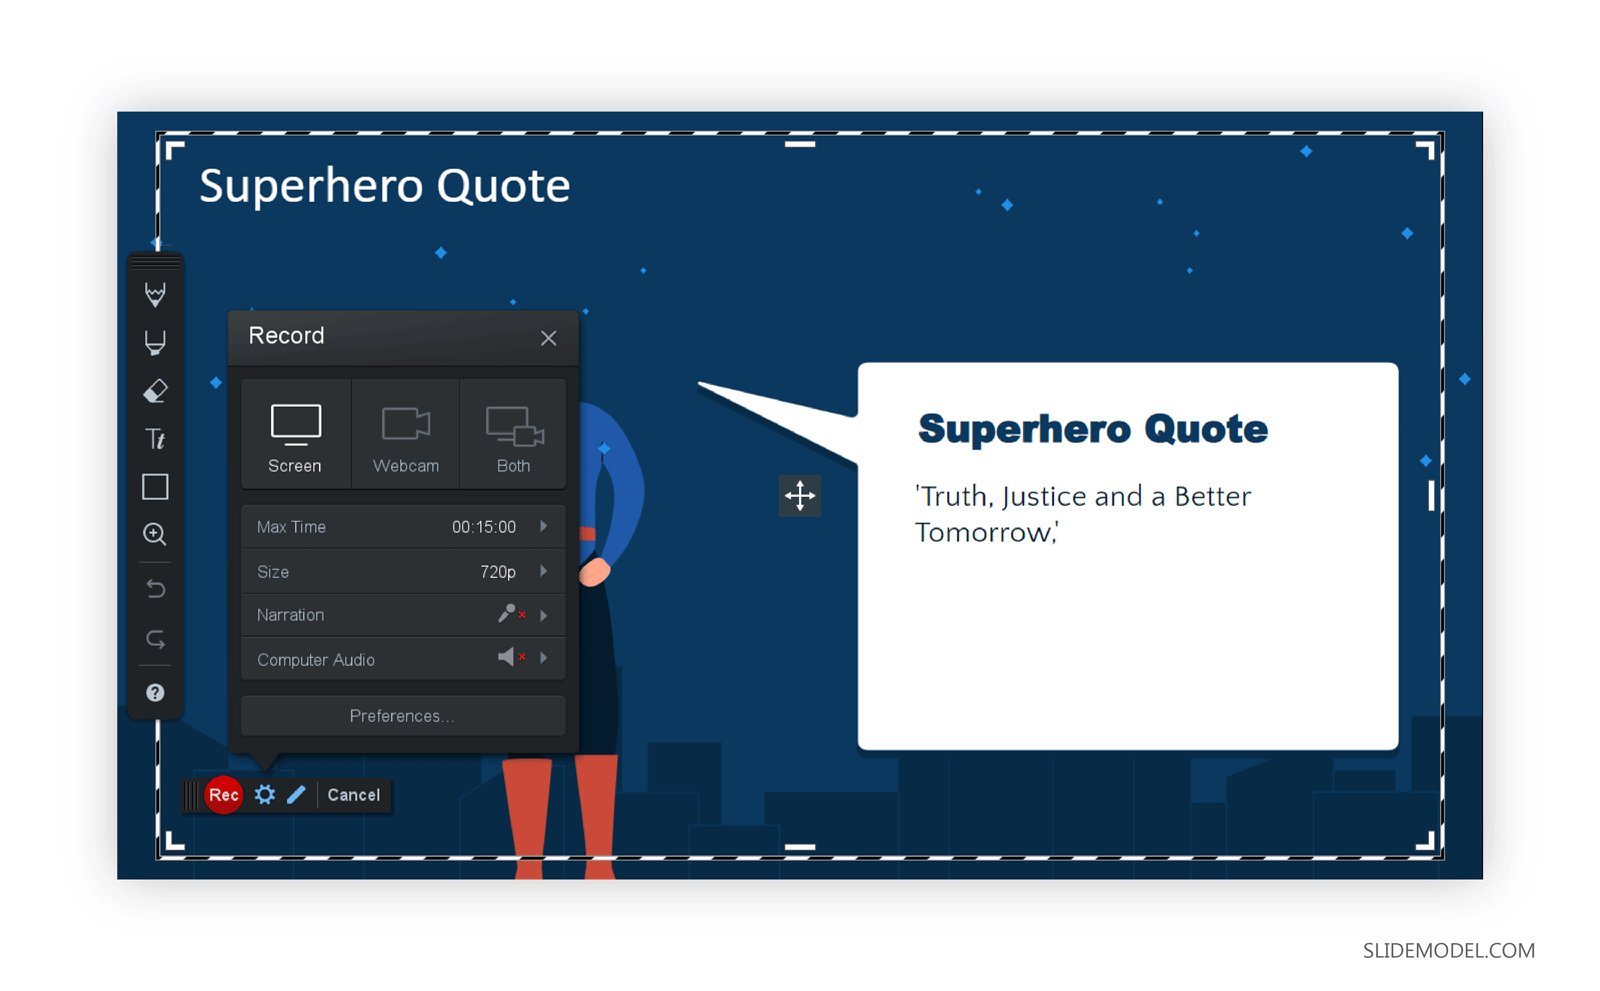
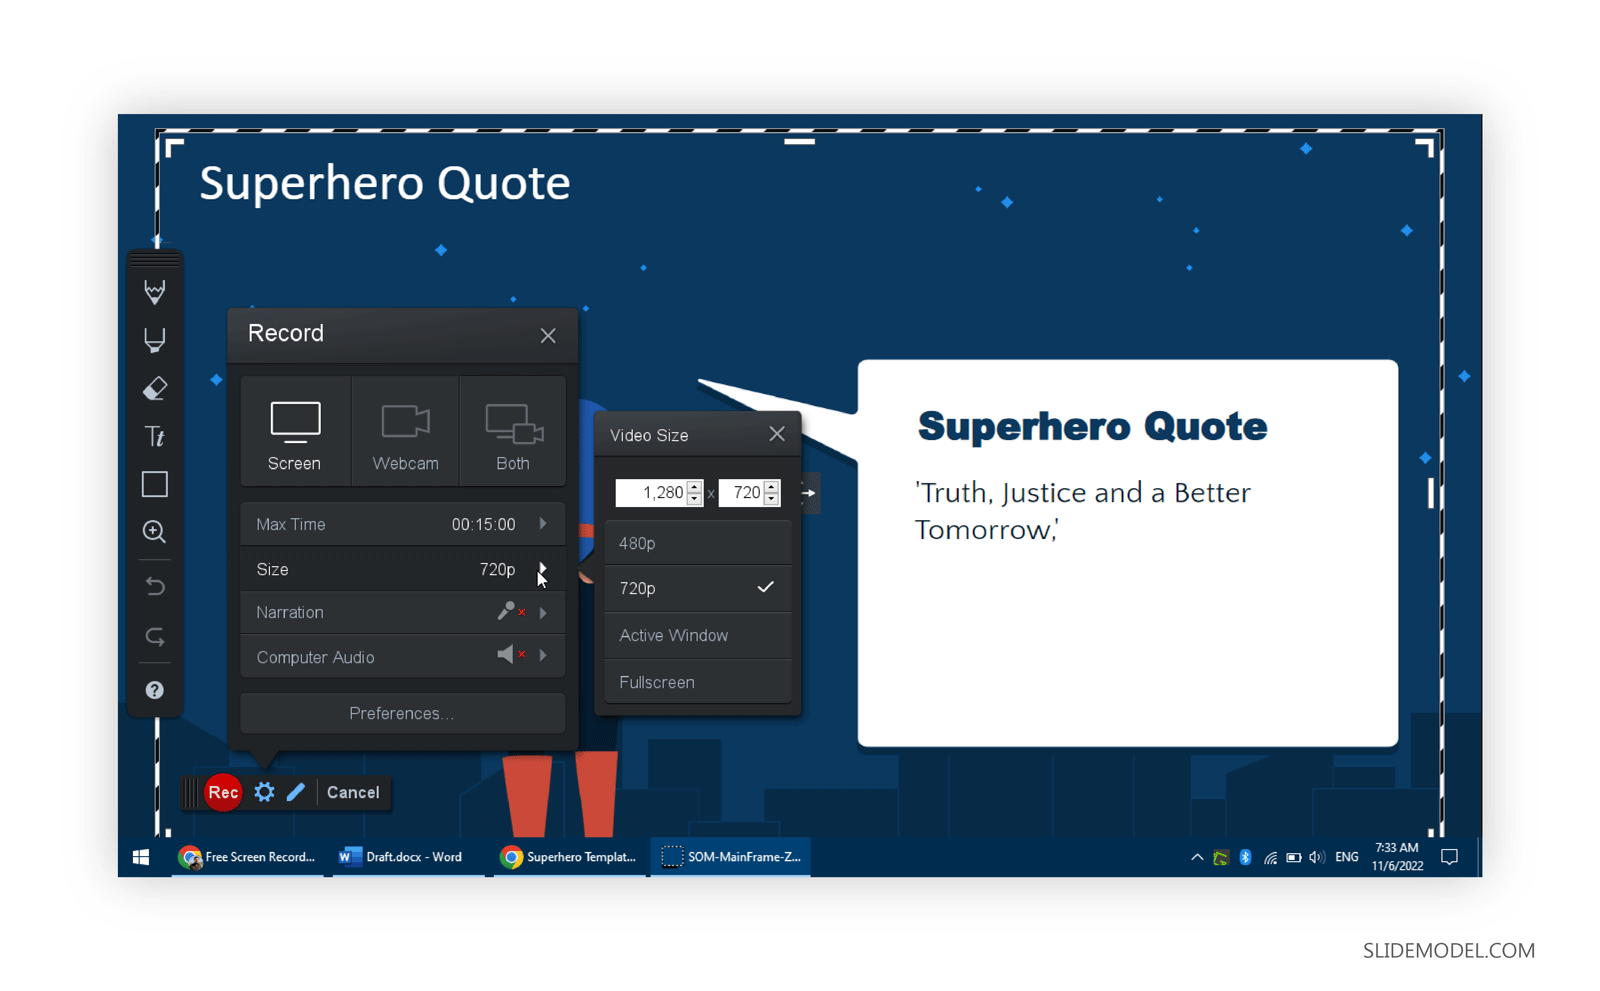
Step 3 – Select Screen Recording Settings
Select the area to record, video resolution, and a few optional features before proceeding further. These optional features include the ability to narrate audio by enabling the mic, enabling the camera, and capturing desktop sounds. Once you’re ready to present, click the Record button to start recording.
Note: It is always handy to know the hotkeys for your screen recording so that you can instantly start, pause, and stop recording. See the product page or developer’s instructions for the hotkeys of your screen recording app. You might also find them in a menu or just before you launch a recording. Alternatively, you might need to pause or stop recording via the system tray or onscreen option.
Step 4 – Record Your Presentation
Depending upon your screen recording app, once you start recording your presentation, you can narrate the slides, and annotate content as you present. If you feel the need to take a break, Pause the recording. Once you hit Stop, the recording will conclude.

Step 5 – Turn Google Slides into Video
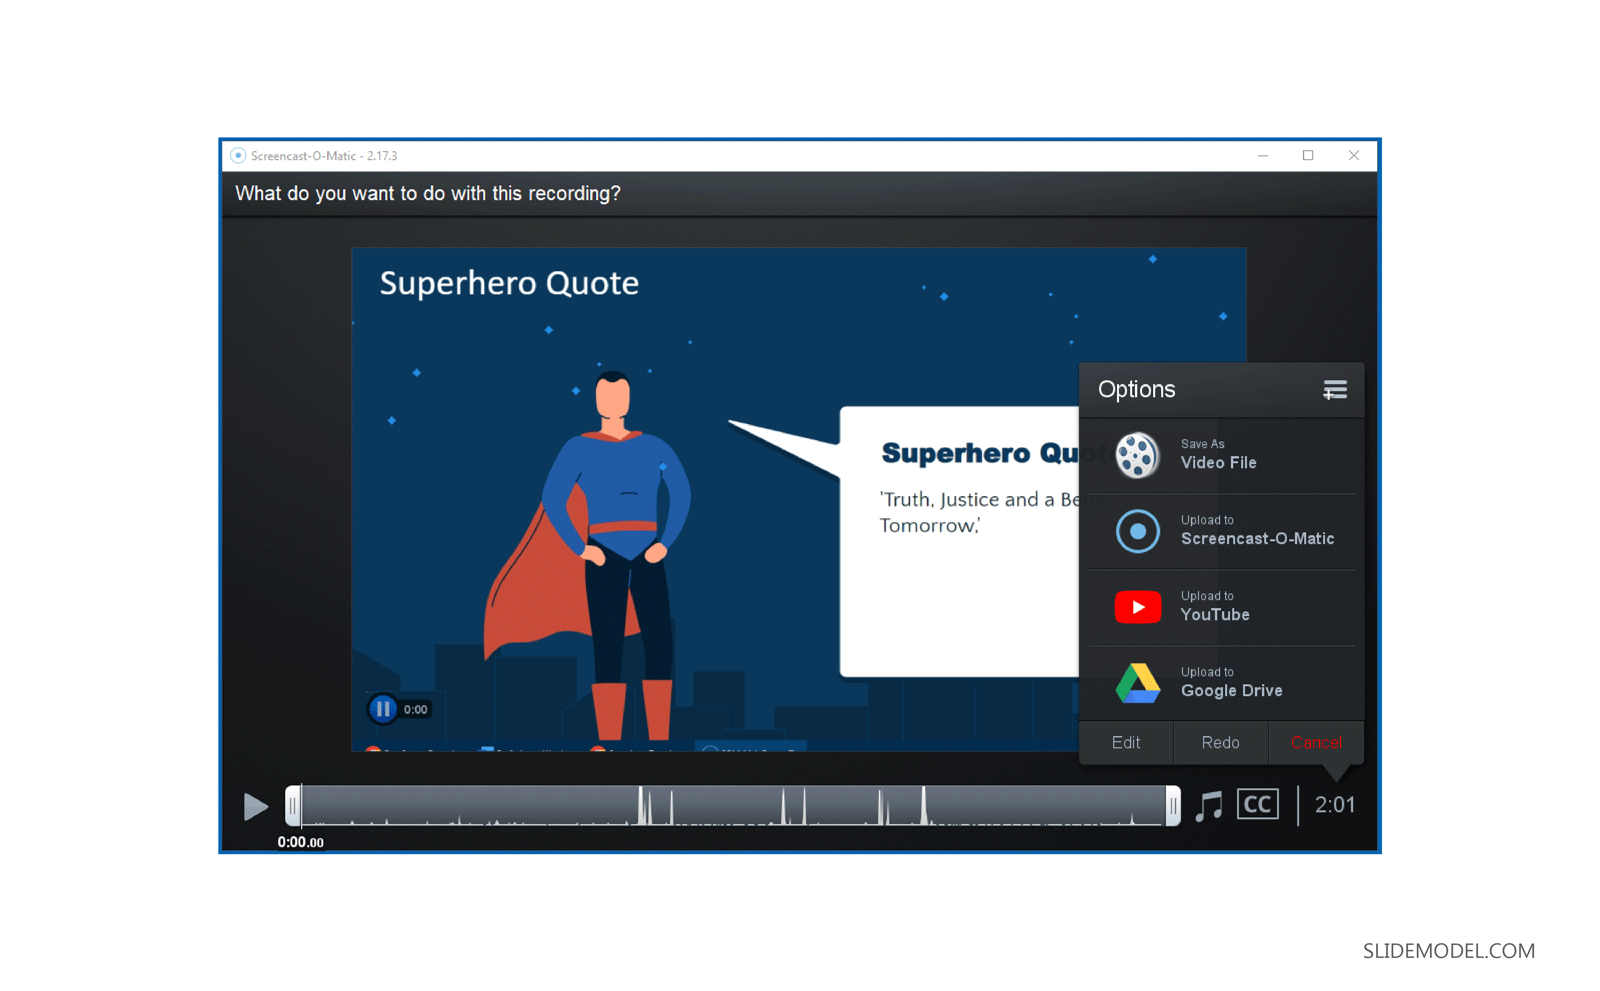
Screen recording apps come equipped with multiple features that can help turn Google Slides into video. You can either directly upload the video to YouTube or a file-sharing app like Google Drive or save it offline. If you’re looking for a file format that is universal, turning Google Slides to MP4 is the best option. Since other file formats like MKV, MOV, or WMV are not supported by all video players and video streaming websites.
Once you select the desired file format, the file will start rendering and might take some time before it is ready for use. Once ready, you can play to preview if everything is according to your liking.

Convert Google Slides to Video Using PowerPoint
If you’re wondering how to turn Google Slides into a video using PowerPoint, there is an easy method to do that as well.
Step 1 – Download Google Slides Presentation
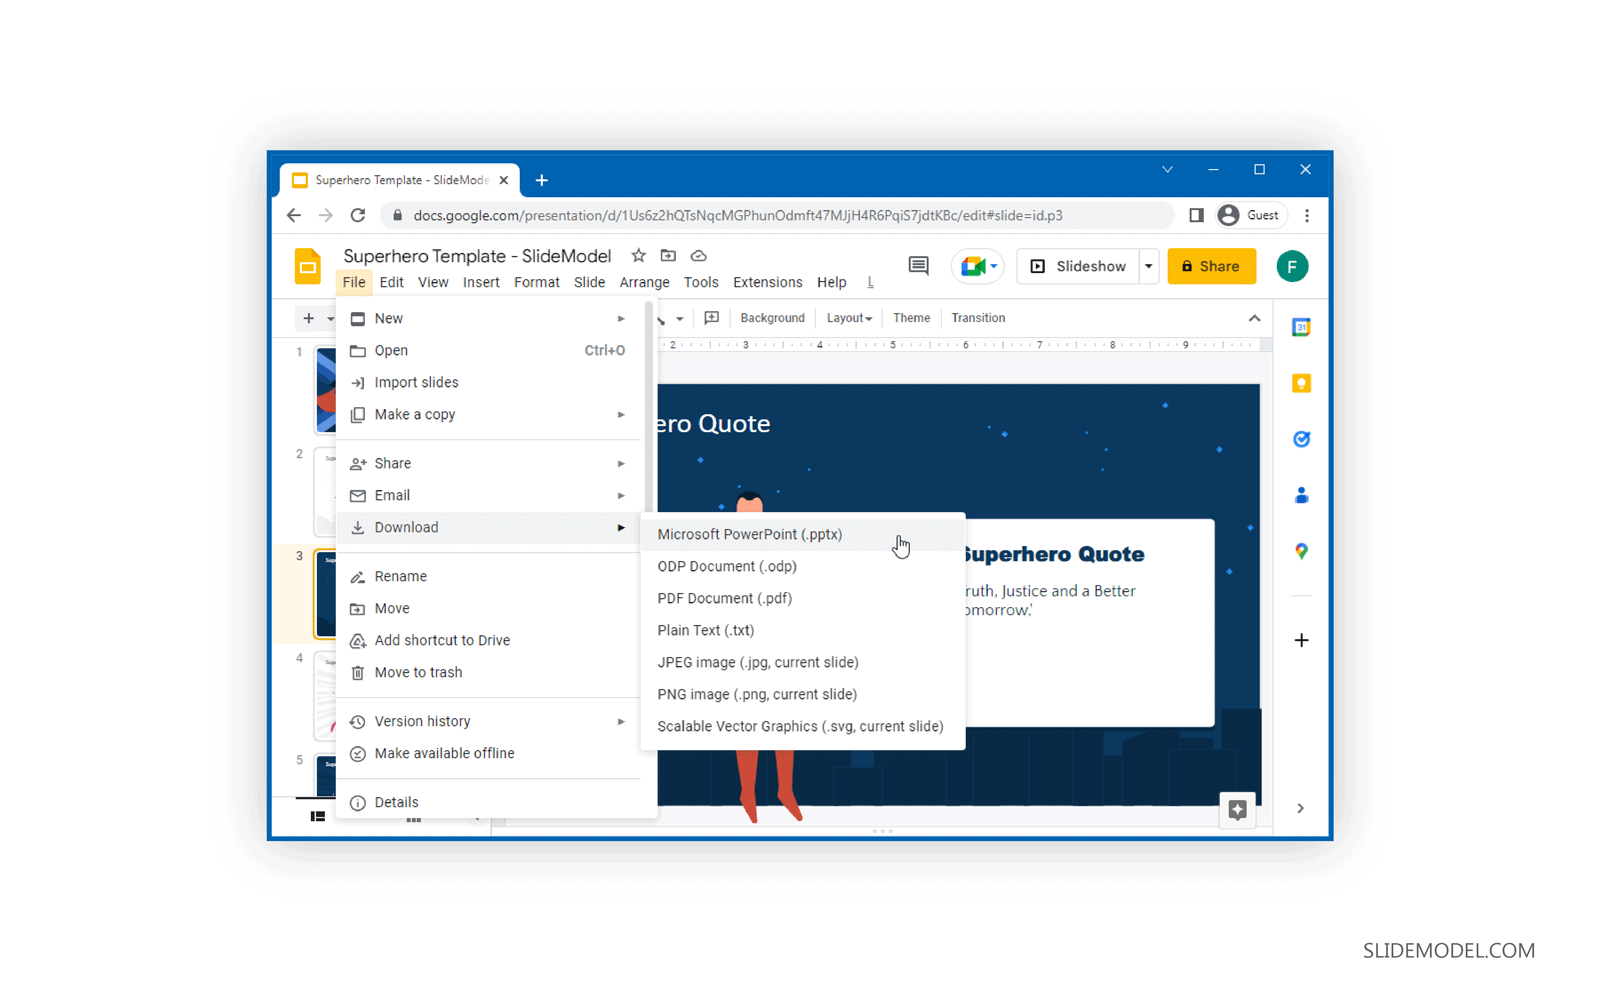
Download Google Slides presentation via File > Download as a PPTX file to your computer.
Step 2 – Export Presentation to Video
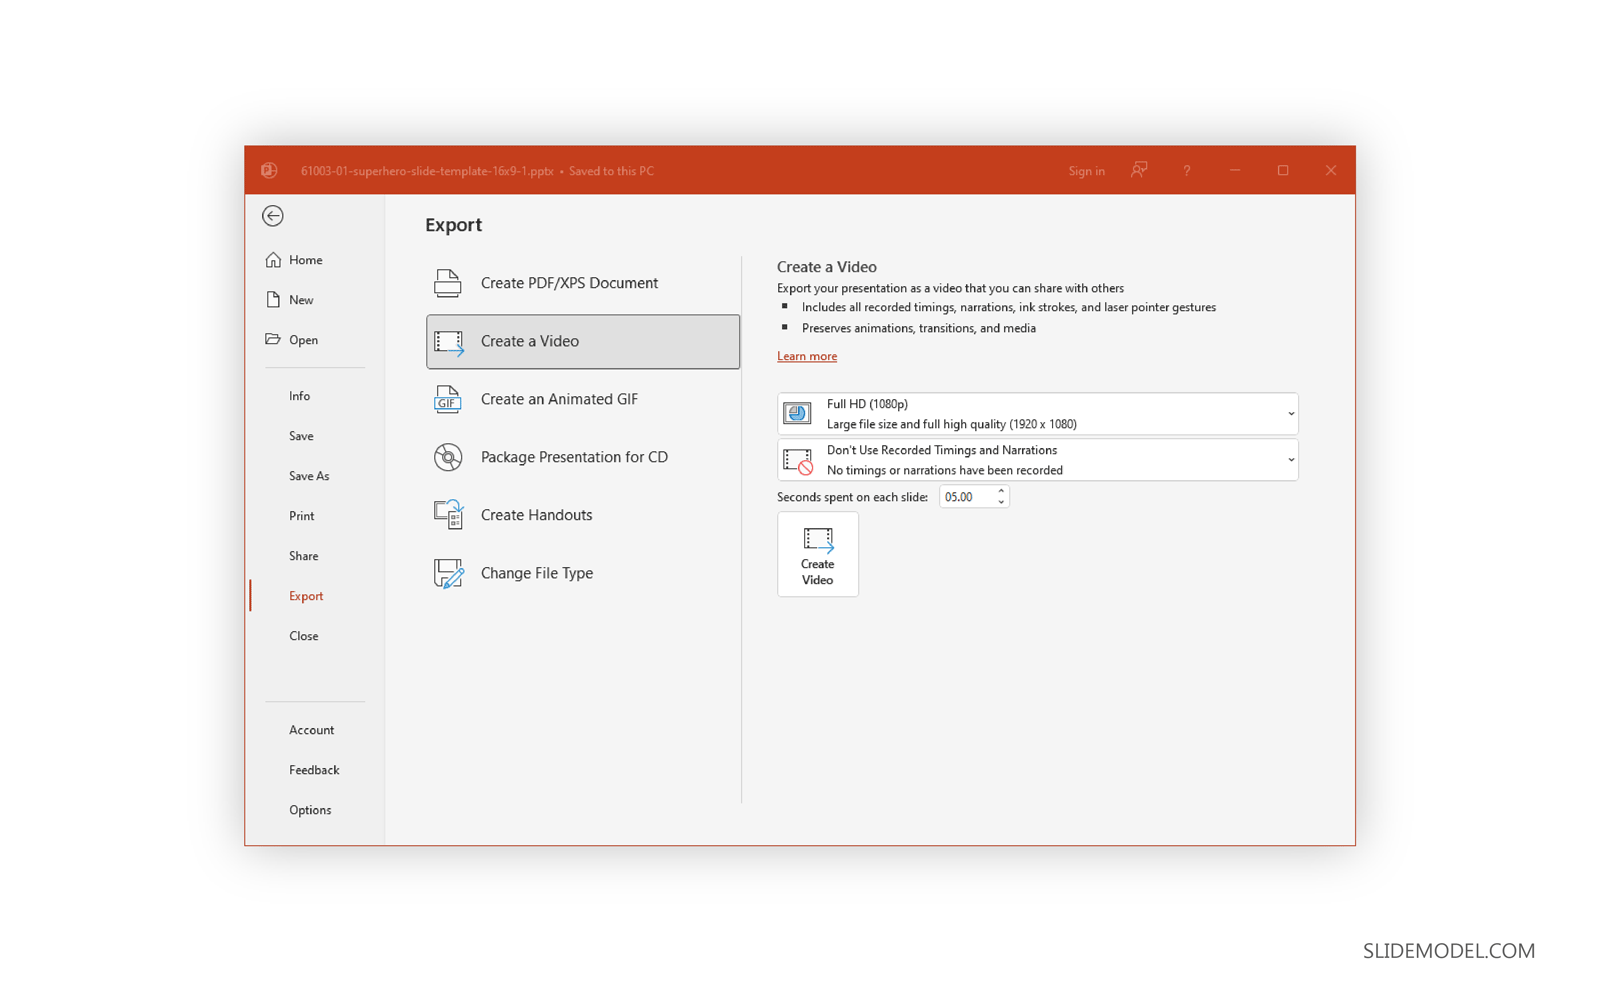
Open your downloaded presentation file and go to File > Export in PowerPoint > Create a Video. Using this option, you can export your Google Slides presentation to a video format using PowerPoint. If you are looking for more information, we recommend our article on How to Convert PowerPoint to Video to learn about what resolution and output formats you can use with the exported video.
And that’s how to turn Google Slides into a video using various methods that can provide you with the flexibility to convert your slides to a video format with a level of customization that best suits your needs.
When converting your Google Slides presentation with PowerPoint, you can also narrate your presentations and get all features you would get with a standard screen recording app. However, if you don’t have PowerPoint installed or wish to use an alternative method, the Creator Studio Add-on or a screen recording app can help you convert Google Slides to video.