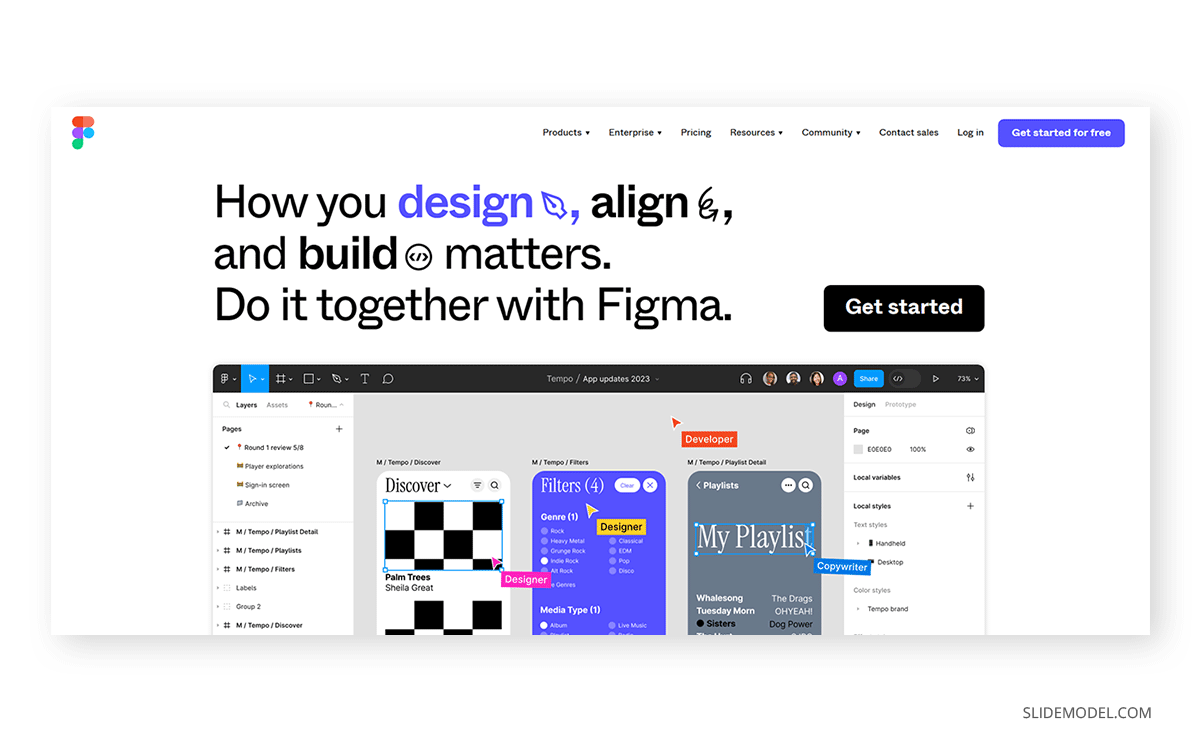
Figma is a familiar name to hear or even a work tool for those in the web development and graphic design industry. Still, for those unaware of what we’re talking about, Figma is a UI Prototyping software. Alongside Sketch and Adobe XD, they are the preferred tools for UX/UI projects due to their simplicity and collaborative features, but where does Figma fit for presenters?
In this article, we will explore how Figma can benefit presenters by creating more powerful graphics, such as how to use Figma slides for making and how to convert Figma graphics into PPT presentations. Let’s get started.
What is Figma and How Can it Help Presenters?
Before we dive into how Figma can transform your presentation game, let’s first understand what Figma is. Figma is a cloud-based design tool that enables collaborative design, prototyping, and user interface (UI) design. It’s renowned for its flexible design tools, accessibility, and real-time collaboration features.
Unlike Illustrator, Figma is intended for collaborative projects between web software designers, as it simplifies design decision revisions, helps accelerate the design-to-code transition, and its easy-to-share link access declutters the file-sharing process. In the case of presenters, it tailors a quite specific niche: teams inside IT companies that have to create presentations but don’t want to acquire other dedicated design software licenses. As the mastery of Figma is a common factor for this type of presenter, they intend to know how to properly apply those tools to presentation design.
Additionally, Figma natively supports SVG format, which allows users to import PowerPoint and Google Slides templates into its platform and customize them for the presentation requirements.
Getting Started with Figma
Go to Figma’s website and sign up for a free account (or premium) using the Get Started from Free button.
A new dialogue box will open, asking to provide the email and password for this new account or using Google to sign up.

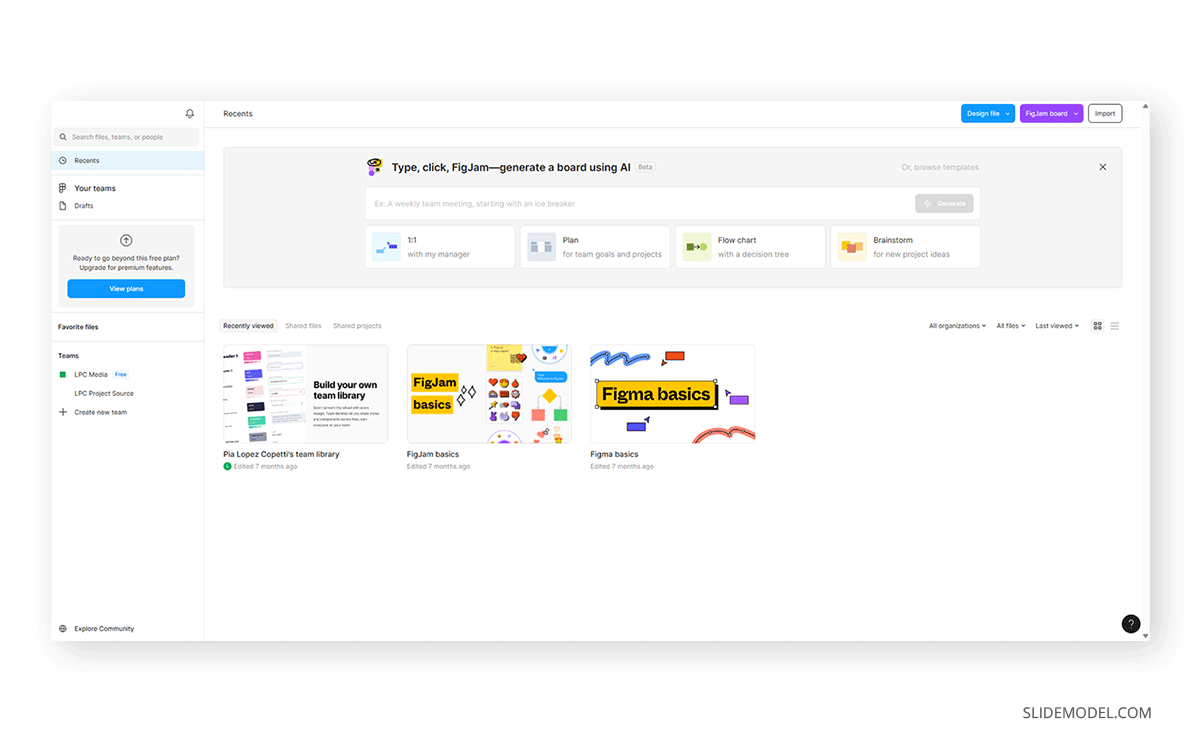
Now that we have created the account, this landing page will welcome us each time we log into Figma. It mainly displays the Teams in which we are members and any free team will be flagged with the Free logo in cyan color.
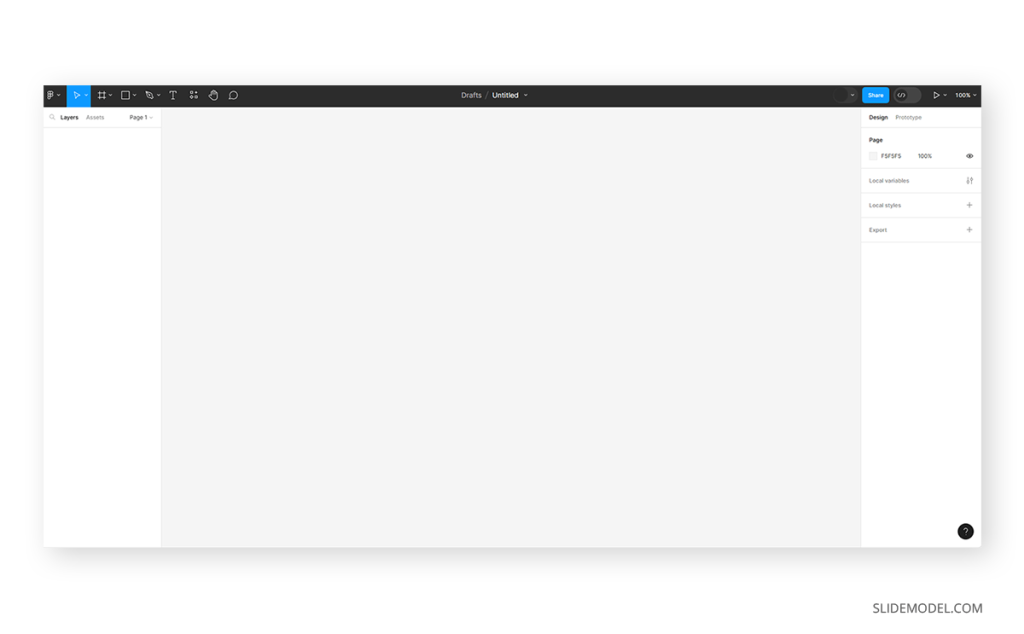
Click on Design File to start creating your new Figma document.
Designing Presentation Slides in Figma
Using Templates vs. Creating from Scratch
Figma templates are available by browsing in the library, and we can access a limited selection depending on the topic we choose. To locate this library, click the Or browse templates link in the dashboard.
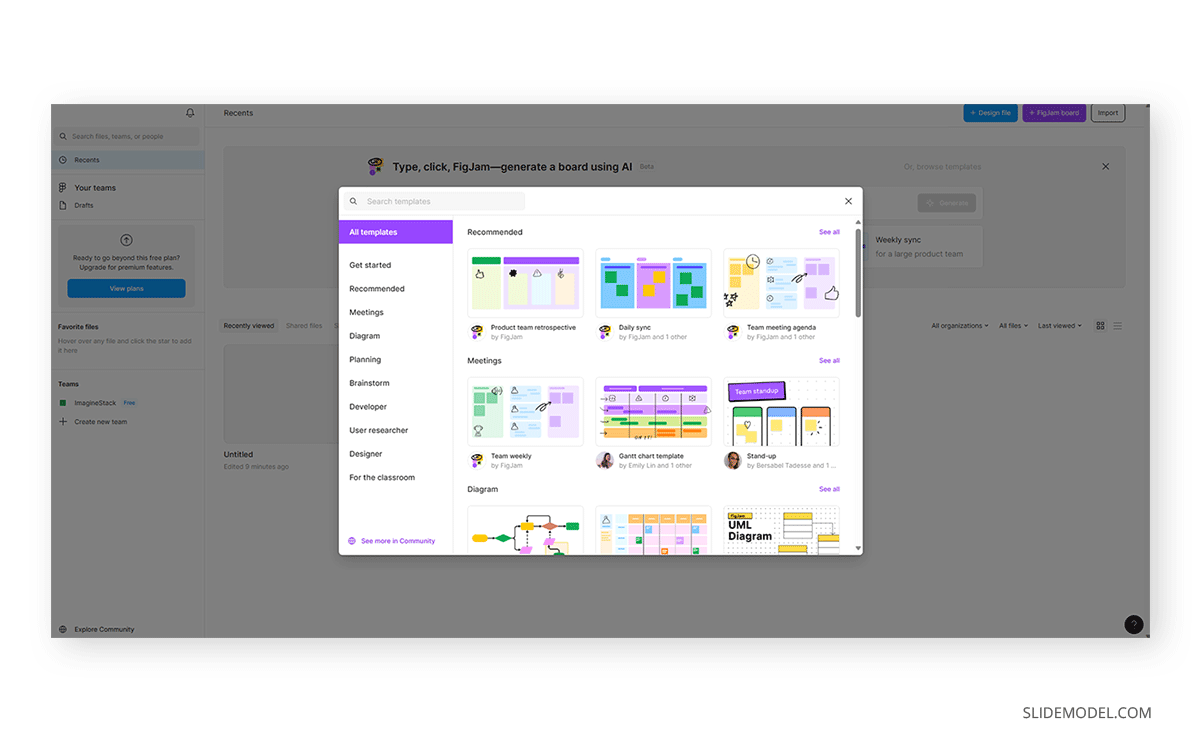
The Community, a resource intended for Pro users, has a broader selection arranged by topics.
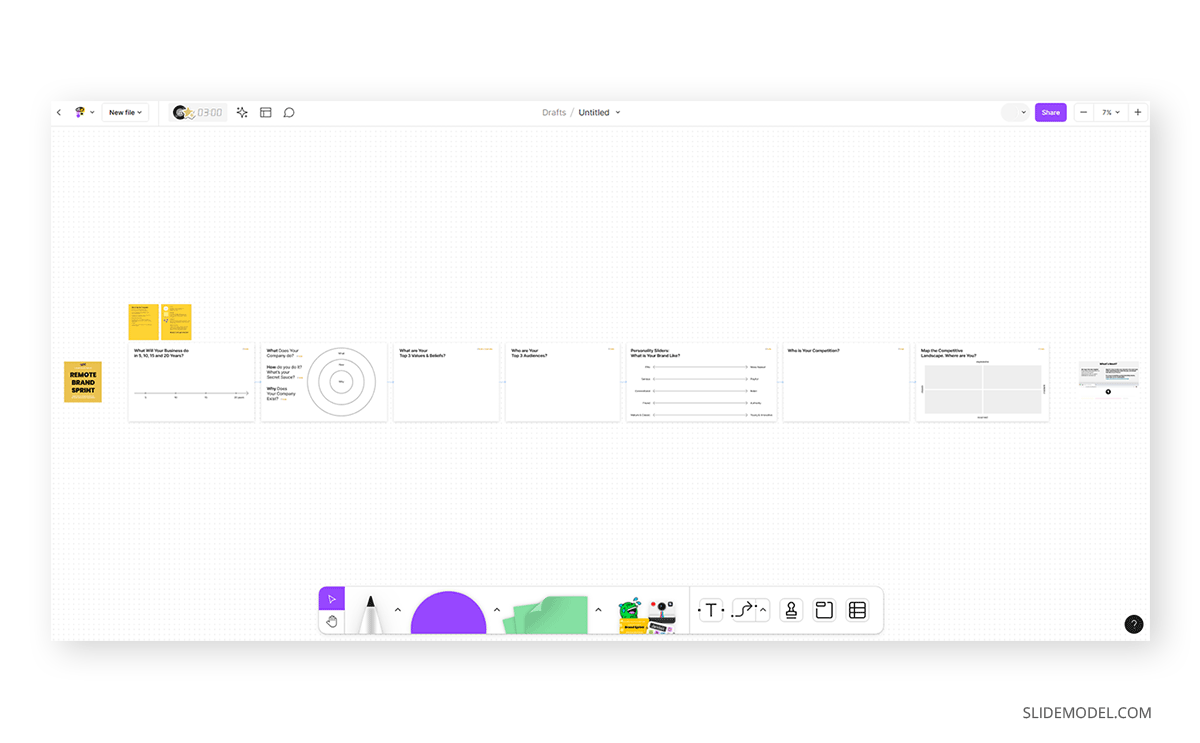
If you are a free user, to find Figma presentation templates you have to either work your way through the vast range of graphic design tools or pick from those limited presentation templates in the library, hence why we highly advise you to check our selection of professional PPT templates and Google Slides templates, which you can customize and import into Figma to save time and design decisions. Below, you can see an example of a Figma presentation template for branding.
This FigJam file (NB: FigJam is a whiteboard tool incorporated into Figma. Users can buy just a FigJam subscription if their intent is not to use advanced prototyping tools) is a simplified version of what you can do with Figma, and you can add – from left to right – the following options:
- Marker
- Shapes (the circle button, which allows you to switch to a square, rhombus, triangle, and a selection of simple shapes)
- Sticky notes
- Stickers – by clicking the More button, we can browse the library, import a new template, enable widgets or plugins, insert code blocks, and add a timer or media elements.
- Text
- Connector arrows
- Stamps
- Section boxes (to create new layouts)
- Tables
For the purpose of our tutorial, we will start from scratch, import a PPT presentation template, and customize it to suit our presentation’s needs.
Adding Frames to Figma
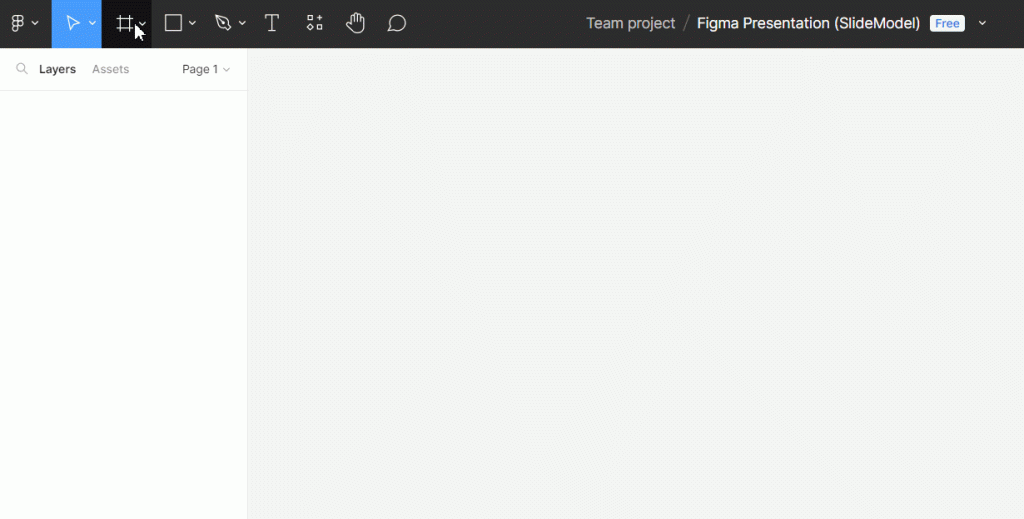
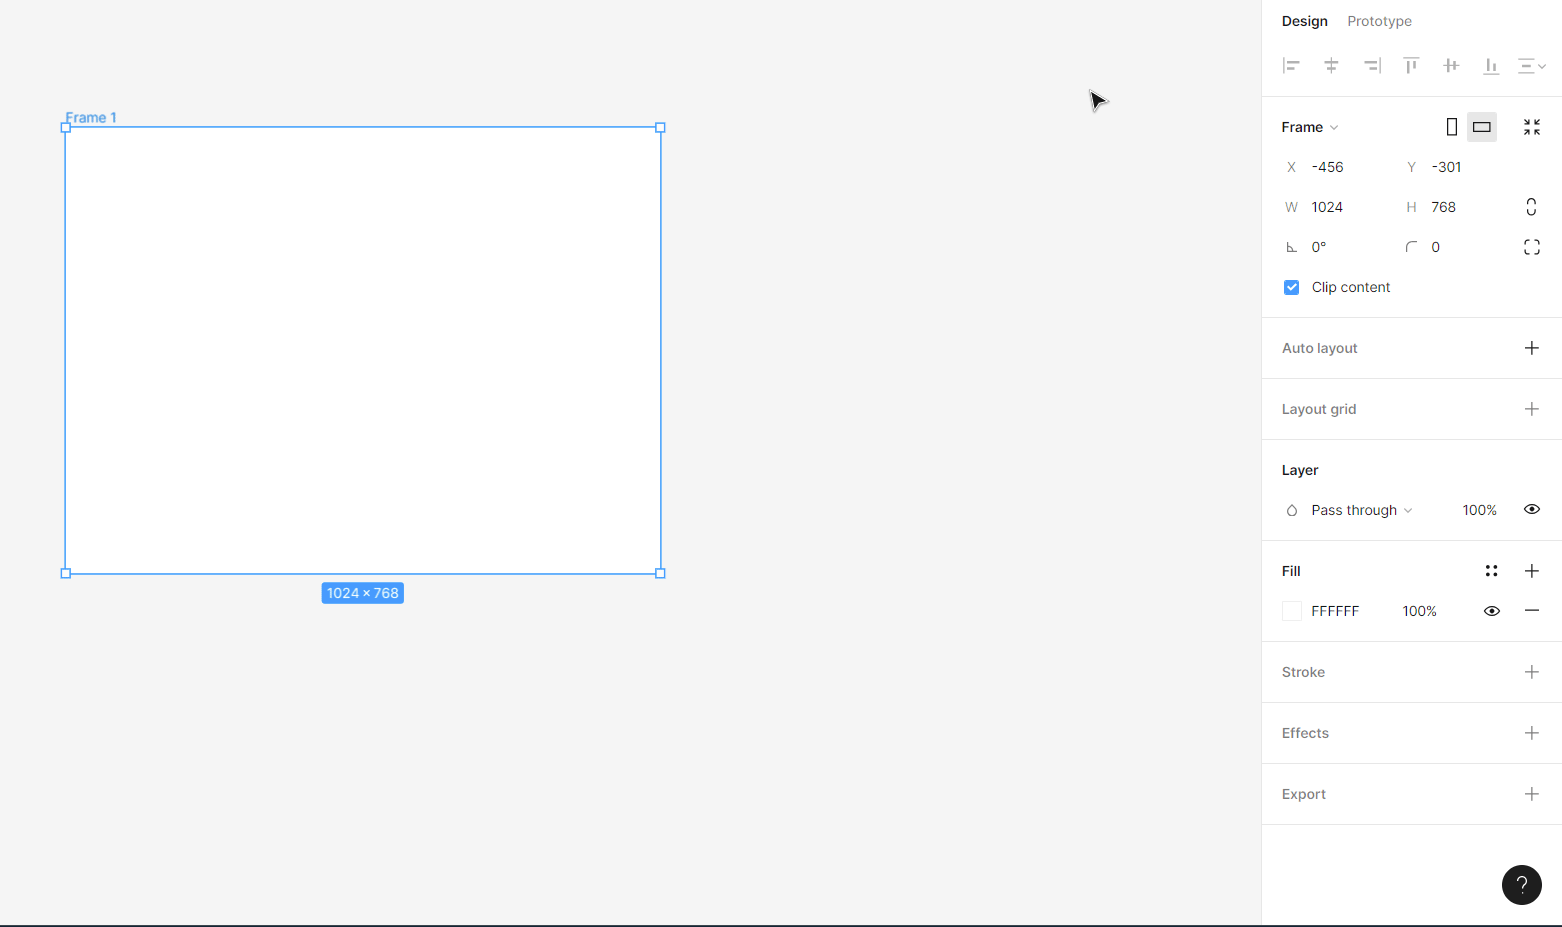
In Figma, we work with frames rather than slides. It is a common mistake presenters make, and it often leads to confusion when switching between slides. To create a new slide, access the Frame tool (it is the icon resembling a hashtag). You can create the frame by drag and drop to your preferred size.
Or you can save time by using the frame preset listed for presentation, in this case, in a 16:9 aspect ratio.
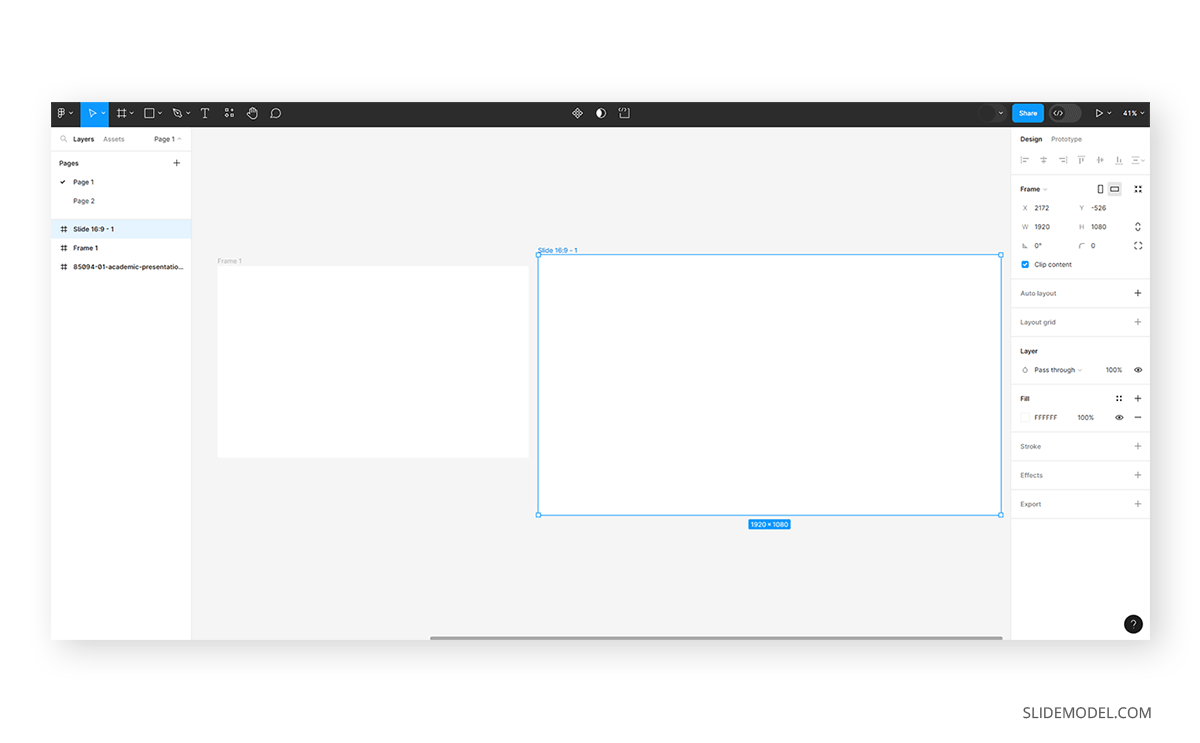
As you can see, by default, Figma places the frame too close to each other. We recommend moving them a bit apart so it gets easier if you intend to add some transition effect.
We can place elements like mockups inside our presentation slides using third-party plugins.
How to Import PPT Templates to Figma
Unlike other software options, native PPT or PPTX are not accepted. If we want to import PPT templates to Figma, we must convert the presentation slides to SVG format.
First, open PowerPoint and go to File > Export > Change File Type. Select the option Save as Another File Type.
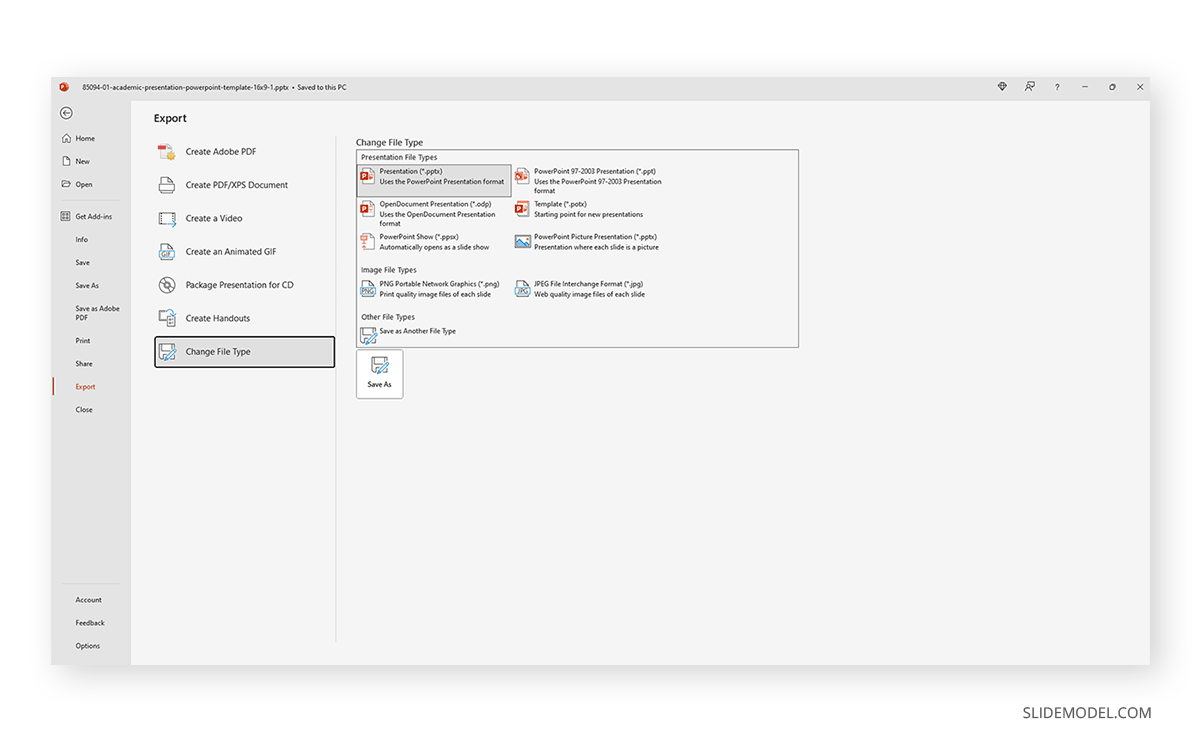
From the format list, select SVG format.
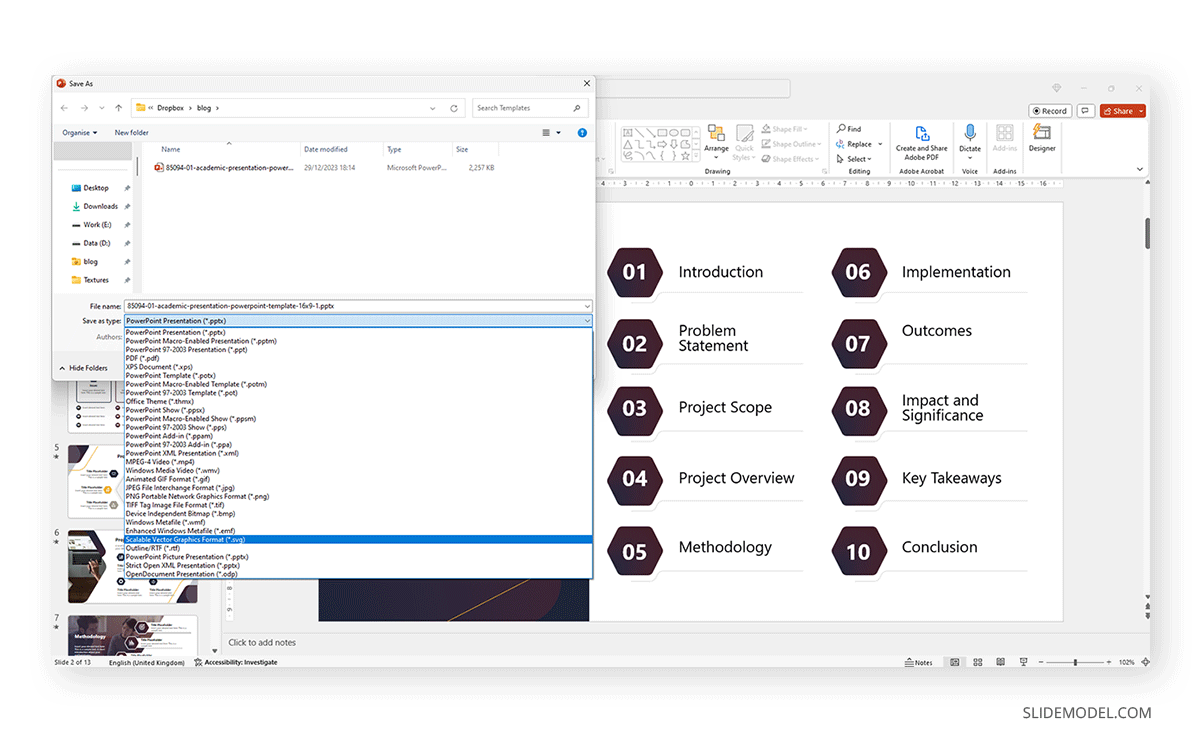
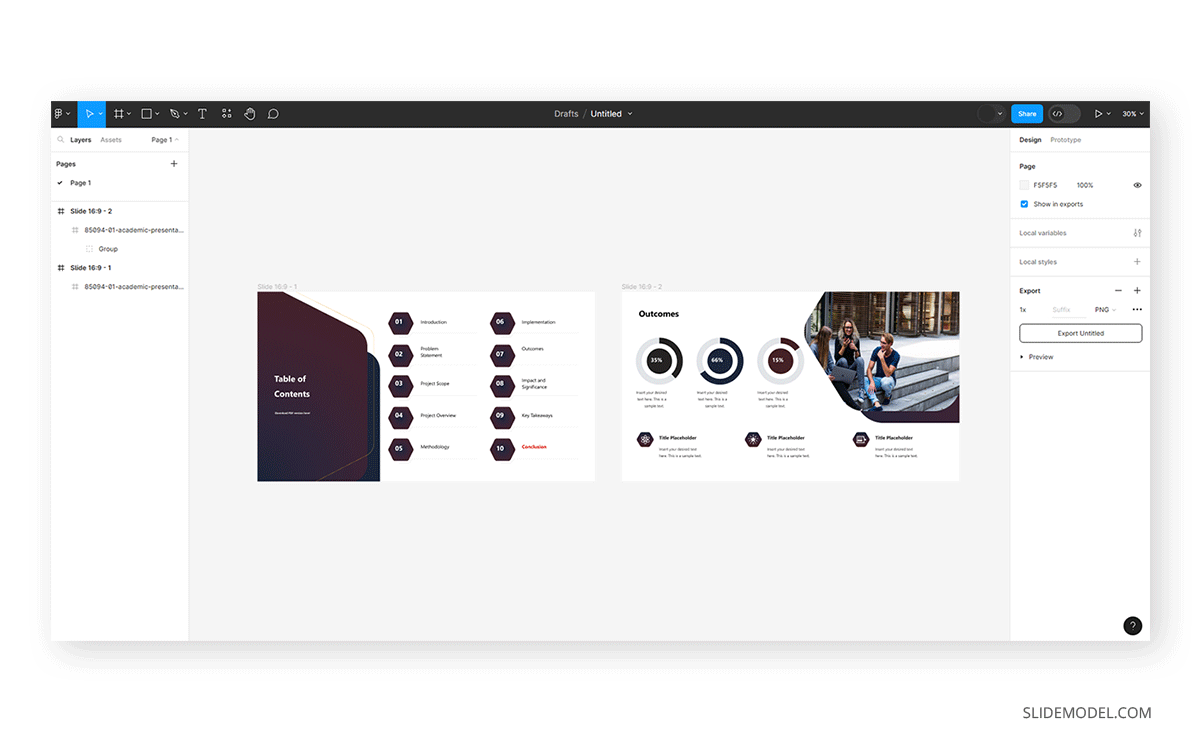
We can select just one slide or the entire slide deck. Then go back to Figma and click the F logo icon, File>Place Image. You have to click and drag to resize the image, and by holding SHIFT, you preserve the aspect ratio.
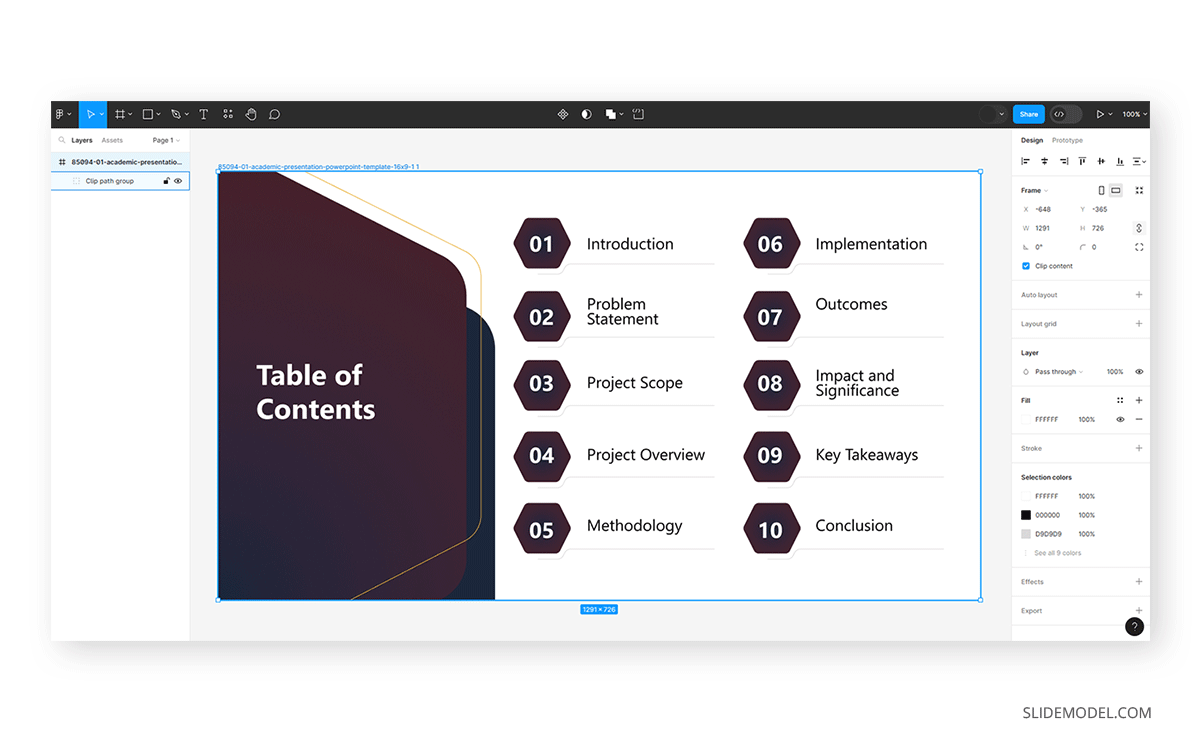
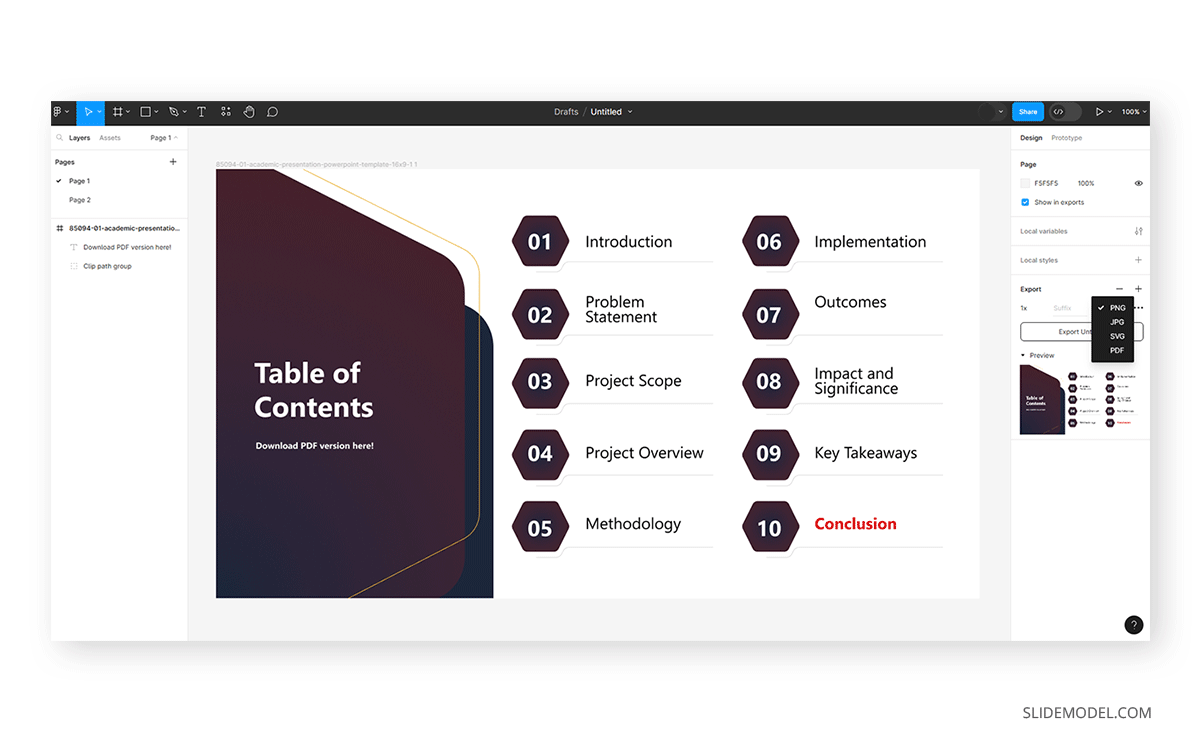
Because we’re working with SVG format, Figma will group the template elements together in a group called Clip Path Group. Expand it to access each individual element (it’s best to preserve them grouped so you can move the slide without any issues).
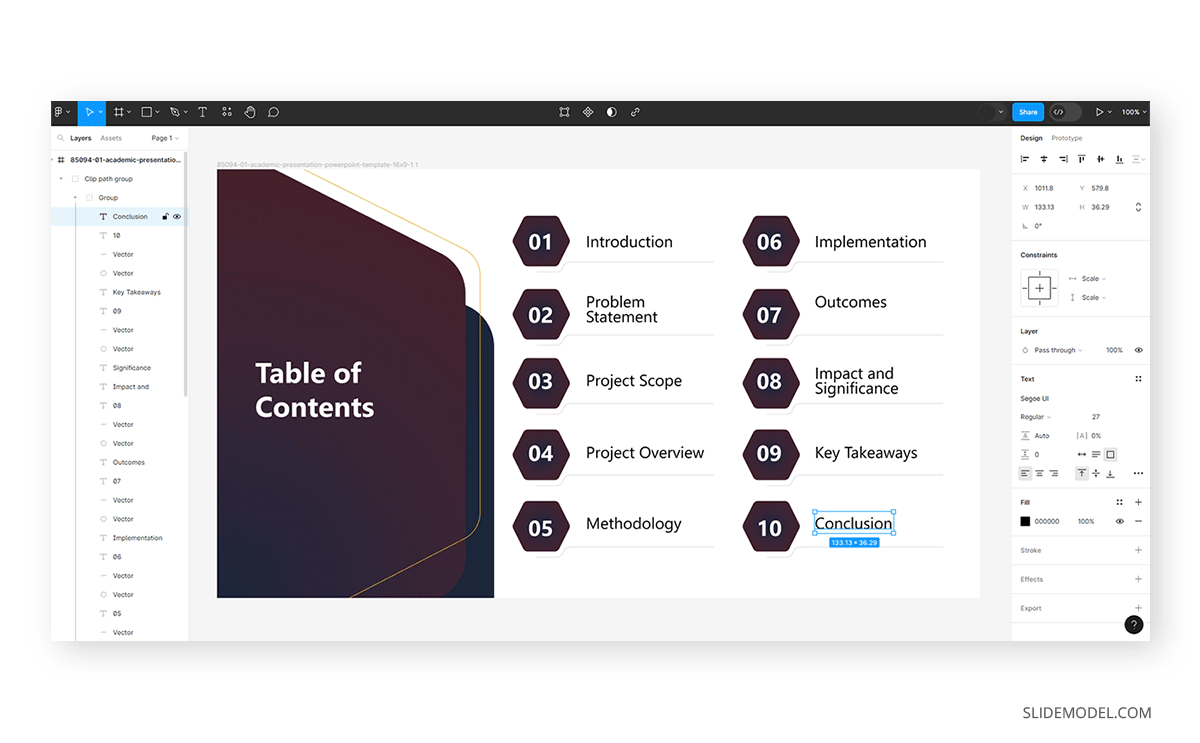
Adding and Editing Text
One of the advantages of the SVG format is that it allows us to edit the imported elements. For instance, if we select the Conclusion placeholder text and want to change font weight and color, we can do that at the right sidebar options.

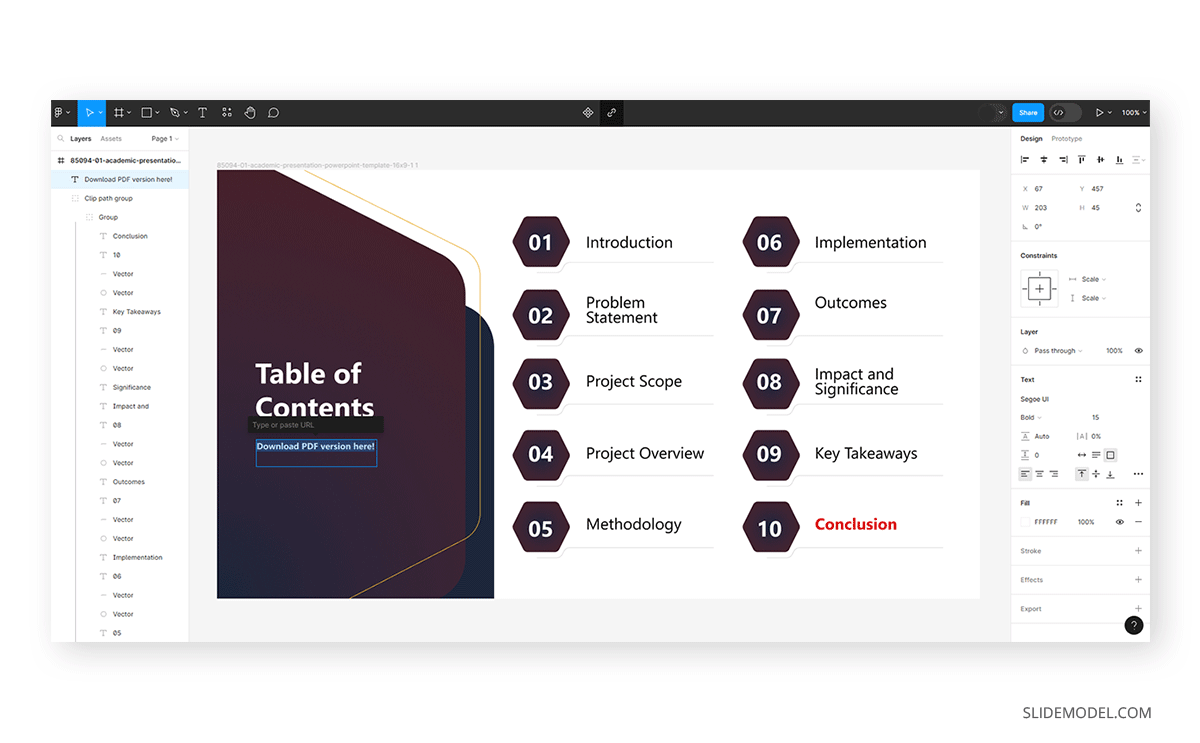
We can also add text boxes by clicking on the T icon at the top bar and dragging the text box wherever we need to place it.
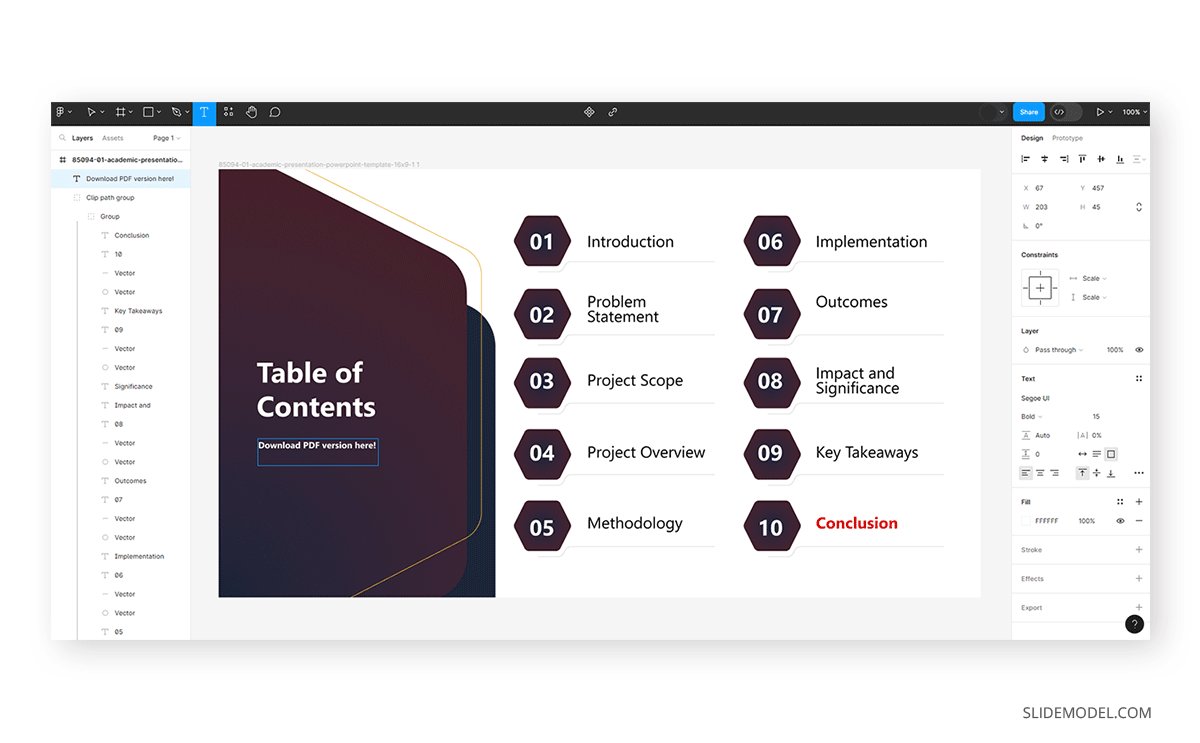
If we want to add a hyperlink to the text placed, click the Create Link tool and insert the desired URL.
Incorporating Visuals and Effects
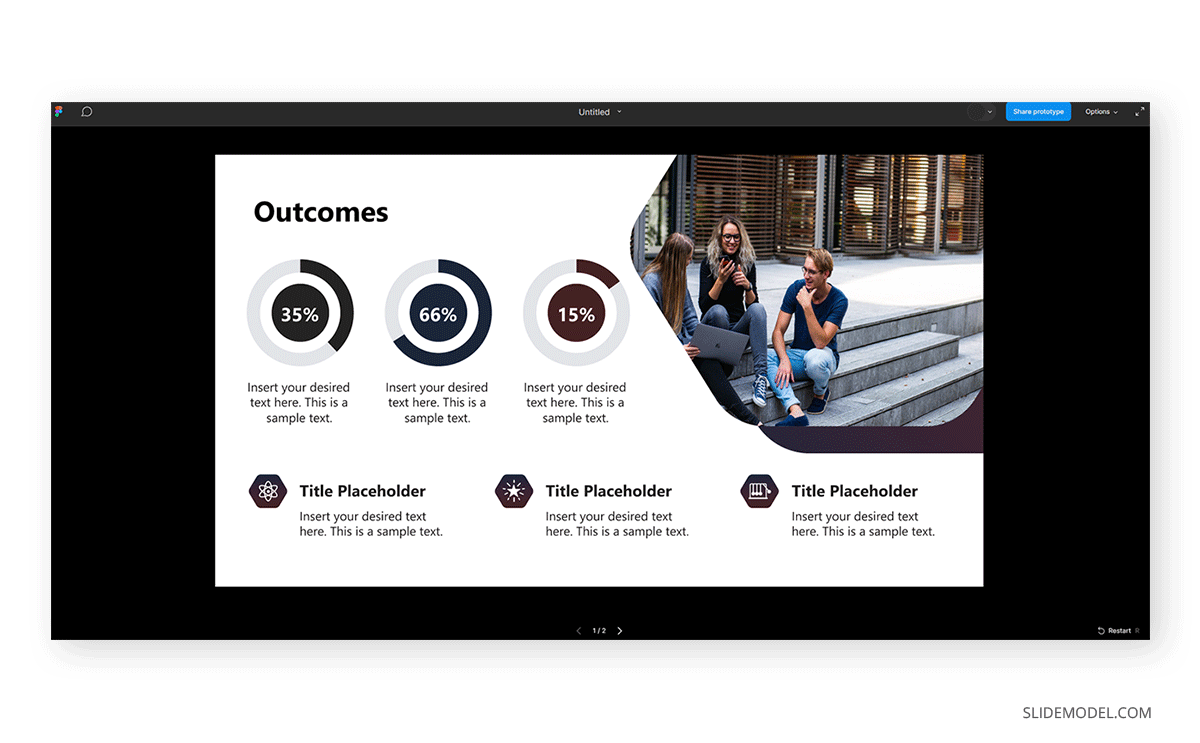
As we did with the slide, we can add or replace visual elements inside our Figma presentation design. Let’s take, for example, the following slide imported to Figma, which boosts an image of students in the park.
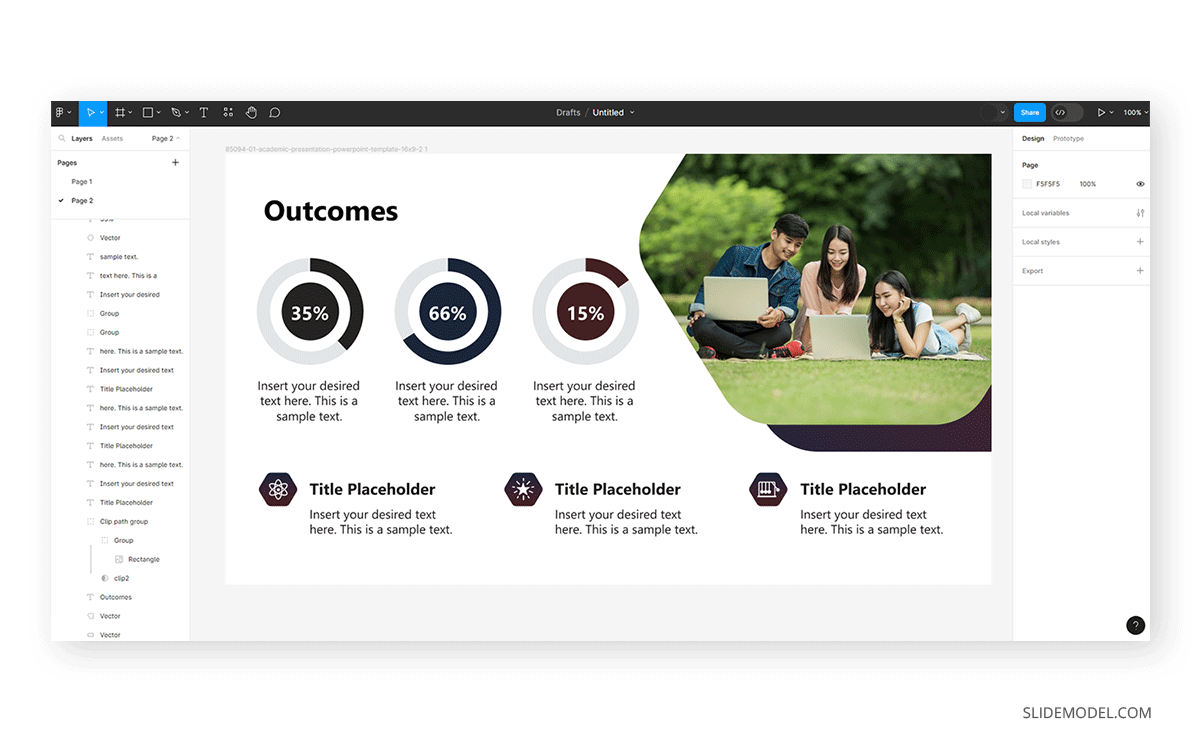
We want to replace that image from our PC with another. To do that, go to the right sidebar, and with the placeholder area selected (it should have an image icon), go to Fill > Image and then click Choose Image.
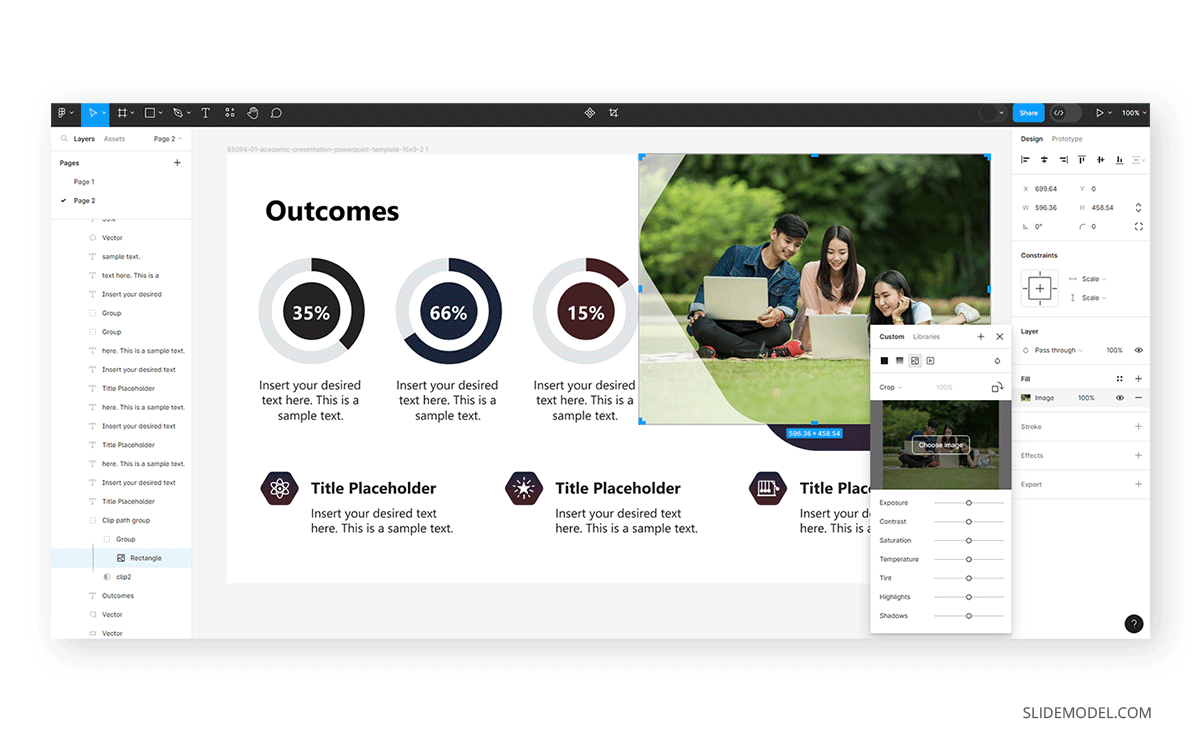
After that, the image is loaded, and we can crop, extend, reposition, and even work with the photo editing sliders available to make it suit our project’s needs.

Adding Transitions in Figma
A difference we need to consider is that Effects and Animations in Figma are intended for web design, meaning you won’t get the entire selection of effects you might be used to in PowerPoint or Google Slides.
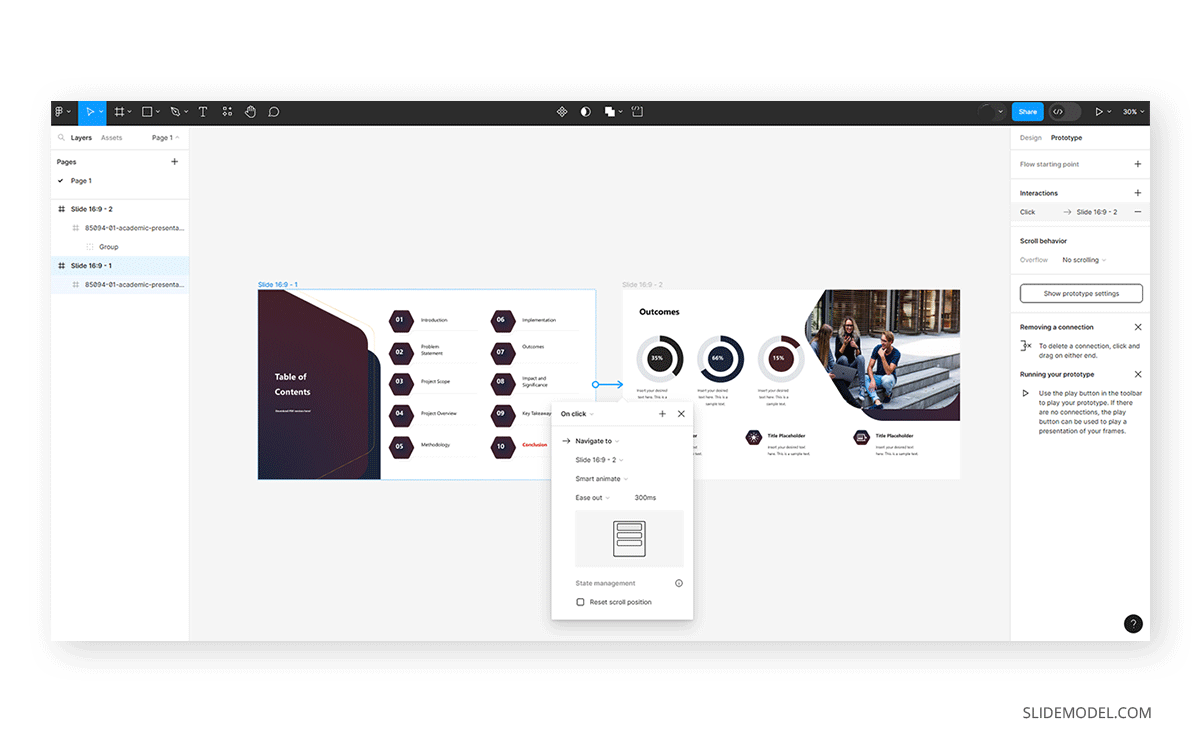
Also, animations are mostly geared toward navigating different pages rather than making elements stand out, like in presentation software. Some complex animation effects are only available to Pro users. However, you can still use Figma for presentations, and most of the transition functionalities can be achieved in prototype mode. This way, you can design your slides using frames define the interactions between them, and then press the play button and present it.
Go to the Prototype tab at the right sidebar menu to create a transition between slides. Hover over the first frame and locate a plus icon.
Click on it and drag the arrow into the next frame. A new menu will open with the effects available for the transition.
Out of the possible animation effects, here’s a brief description of each one.
- Instant: This transition immediately switches from one frame to another with no visible animation.
- Dissolve: This effect gradually fades out one frame while fading in the next, creating a smooth transition.
- Smart Animate: Figma’s Smart Animate recognizes matching layers between frames and animates these layers smoothly. It’s useful for creating more complex and realistic animations. We highly recommend using this one.
- Slide In / Slide Out: These transitions make the frames slide in or out from different directions (left, right, top, bottom).
- Push: Similar to Slide In/Out but also moves the current frame in the opposite direction, giving the effect that one frame is pushing the other out of the way.
- Move In / Move Out: These are similar to Slide and Push but typically have a more subtle movement, often used for modal or pop-up animations.
- Custom: Allows designers to create a more tailored animation experience by adjusting properties like easing and duration.
How to Export Figma Designs to PowerPoint
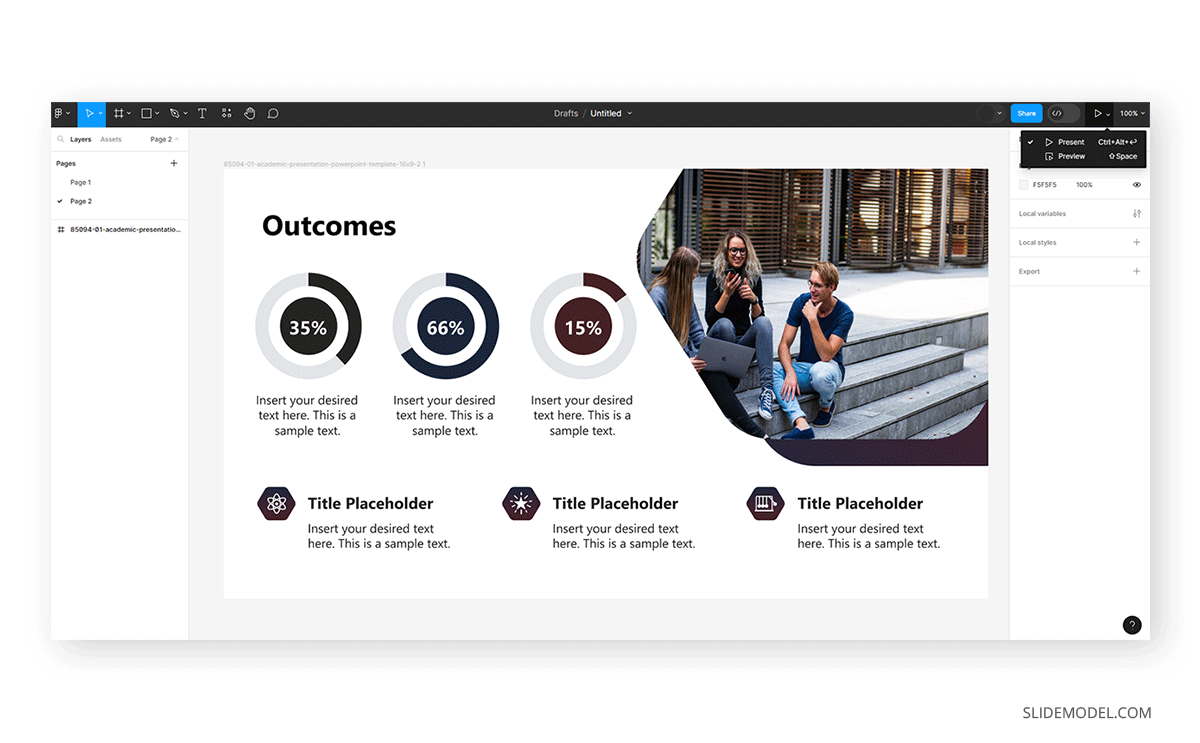
Exporting from Figma Slides or Figma to PowerPoint is the reversal process we did before. On the right sidebar, we find the option to export. Click on it to make it active, and you can select the scale for the created graphic and the format of your preference (between available options: PNG, JPG, SVG, and PDF).
The format to be selected depends on the kind of output you require. We recommend working with either SVG or PDF for editable files. For completed work, choose PNG as it’s the best quality format.
Presenting and Sharing Your Figma Presentation
Unlike PowerPoint, the slideshow mode in Figma works frame by frame, meaning you won’t be able to switch between slides if using Figma if you create them by page. Pages work like a new document in the same project. To fix this issue, copy the assets into a new frame and place it next to the previous one you did on the same page.
Click the play button at the top bar to access the slideshow mode.
Figma will open a new tab in your browser, focusing only on your selected page.
NB: Figma may show 1/2 page if you try to place the slide, but something went wrong with the sizing, and you try again. In this case, you will only get one page in the right size and a wrongly sized one, not the other pages you created. To fix this issue, check if you don’t have an extra asset of the imported presentation slide but in the wrong format.
If you work by frames, here’s the result when entering the slideshow mode.
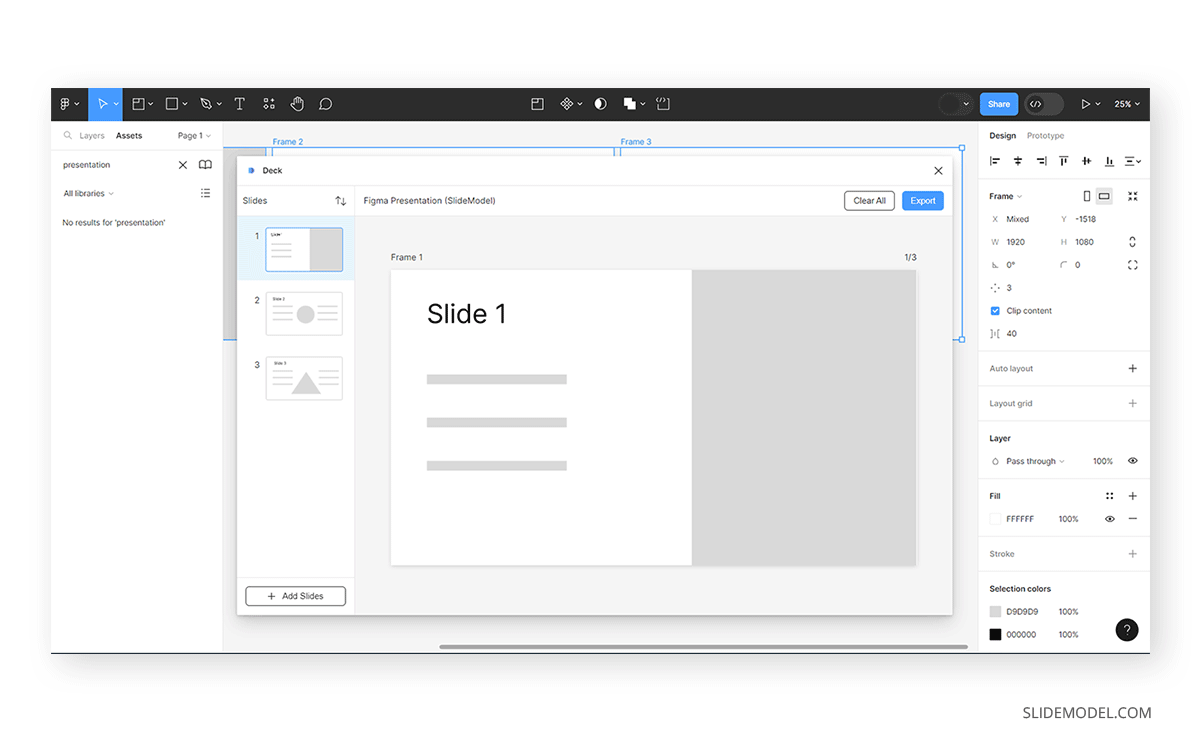
Alternatively, you may export your Figma presentation to PowerPoint and run the slideshow from there. A convenient way to export your presentation from Figma to PowerPoint is Deck. This plugin will allow you to choose the Frames to export and prepare a .pptx slide deck with your presentation in editable format.
Then, you can continue your work in PowerPoint or just use PowerPoint to present your slideshow.
Plugins and Tools to Check in Figma
Although Figma is a prototyping tool, we can find some useful plugins for presentation design.
- Deck: For users looking to take their Figma presentations into PowerPoint in a fully editable format, work with Deck. Remember that some effects, like complex transparency layers, may not be supported by PowerPoint.
- Font Replacer: A useful tool for replacing fonts across multiple frames simultaneously. It works best with the pro version, as its free mode has some limitations.
- Feather Icons: Offers a collection of open-source icons. The icons are uniform in size and stroke weight, but the collection is somewhat limited.
- Contrast: Useful for checking color contrast ratios (adhering to AA and AAA standards). It only works on solid fills.
- Max Line Length: Helps maintain typography rules by checking the maximum character count across text frames. It does not support mixed fonts.
- Datavizer: An alternative to Microsoft Excel. Great for creating data visualizations like charts and graphs, with the ability to feed in your data?.
- Remove BG: Efficiently removes background images with just one click. Another turnaround is to remove the background inside PowerPoint.
- Image Tracer: Converts raster images into vector graphics, simplifying the creation of vector assets. If you find this tool insufficient, you can check our selection of vector images for presentations.
Frequently Asked Questions
Can Figma fully replace PowerPoint or Google Slides for presentations?
No. Figma is not designed as a dedicated presentation tool, although many Figma enthusiasts and designers use it to create presentations. While it can be used to design slides and even present them via prototype mode, it lacks many presentation-specific features such as presenter view, speaker notes, advanced animations, and native slide management. Figma works best as a design and collaboration tool that complements PowerPoint or Google Slides rather than replacing them.
Can I open a PPT or PPTX file directly in Figma?
No. Figma does not natively support PPT or PPTX files. To import slides into Figma, you must first export them from PowerPoint as SVG files and then place those SVGs into a Figma file. This allows you to edit individual elements inside Figma. Alternatively, you can use a Figma Importer tool cretaed by the community to import .pptx into Figma.
Can I export an editable PowerPoint file from Figma?
Not natively. Figma exports designs as PNG, JPG, SVG, or PDF. To obtain an editable PowerPoint file, you need to use third-party plugins such as Deck. Even then, some visual effects may not translate perfectly due to differences between design engines.
Where can I find Figma Presentation Templates?
Figma presentation templates can be found in three main places: First, the Figma Template Library, accessible from the dashboard, offers a limited selection of presentation-ready layouts. Second, the Figma Community provides a broader range of presentation templates shared by other users, although quality and consistency may vary, and many files are oriented toward design exploration rather than structured presentations. A third and often more efficient option is to use professional PowerPoint templates or slides for Google Slides, export them as SVG files, and import them into Figma. This approach gives presenters access to well-structured slide layouts while still benefiting from Figma’s collaborative and vector-based design tools.
Conclusion
Figma shouldn’t be considered a presentation software alternative to PowerPoint, Google Slides, or Keynote. It is an extremely practical tool for specific presentation niches, like web development or product development, but it won’t fit the requirements of most industries. The secondary downsize is its steep learning curve compared to the customary presentation software options.
If you intend to create advanced or complex shapes for your presentations, pair PowerPoint or Google Slides with Adobe Illustrator and work around vector graphics. Presentation templates and online vector graphics simplify that process for most users. On the other hand, if you want a cloud alternative with collaborative options, we invite you to discover our guide on how to work with Canva and PowerPoint to create presentations.