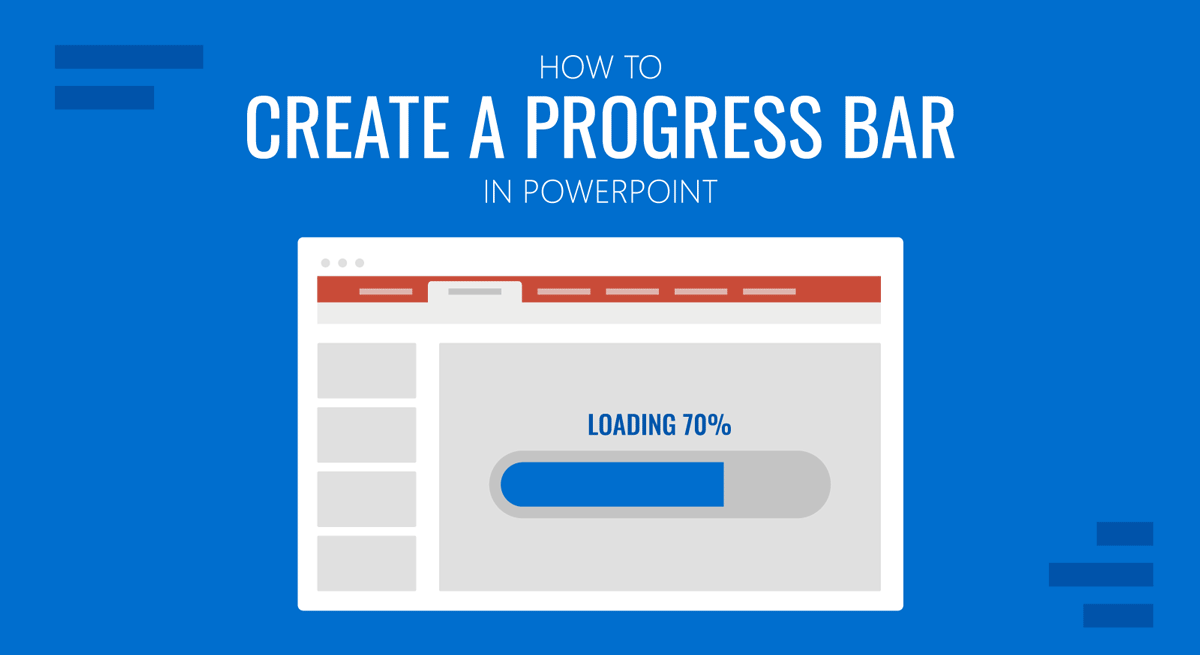
Progress Bars are visual aids that project the advancement of a process, regardless of its topic. Their application is not restricted to video games; presentation slide decks can become more attractive to the audience by checking where the speaker stands regarding the overall presentation length.
This guide will walk you through creating a progress bar in PowerPoint. Whether you’re a student, professional, or presenter or just stuck on how to make a presentation, adding progress bar templates PowerPoint to your slides can help visually track the completion or status of a project, task, or presentation. We’ll provide clear instructions and include screenshots from PowerPoint to make it easy for non-designers to follow along.
What is a Progress Bar?
We can define a progress bar as a graphical representation of the status of a specific process – but it can also be applied to tasks. There are multiple formats, like gradients, horizontal lines, shapes being filled as progress is made, and so on. Overall, the preferred format for progress bars in presentations is horizontal, as vertical progress bars are commonly associated with video games.
Advantages of Using a Progress Bar in Presentation Slides
As a visual cue, progress bars are used to illustrate different scenarios, such as:
- The progress of a presentation from the current slide.
- The completion status of a project or task.
- To showcase how many days are left prior to a product launch.
Progress bars help presenters to catch the audience’s attention and engagement as they reveal how much longer will a presentation last, and they can also represent the weight each element in the presentation has by how much the bar is filled after each topic. These bars can be static or animated and used with any PowerPoint template or Google Slides template.
How to Manually Create a Progress Bar in PowerPoint
These instructions will help you to build an animated progress bar for your presentation slides.
Start by opening a blank slide in PowerPoint.

Delete the title and subtitle boxes, then go to Insert > Shapes. Browse for a rectangle with rounded corners.
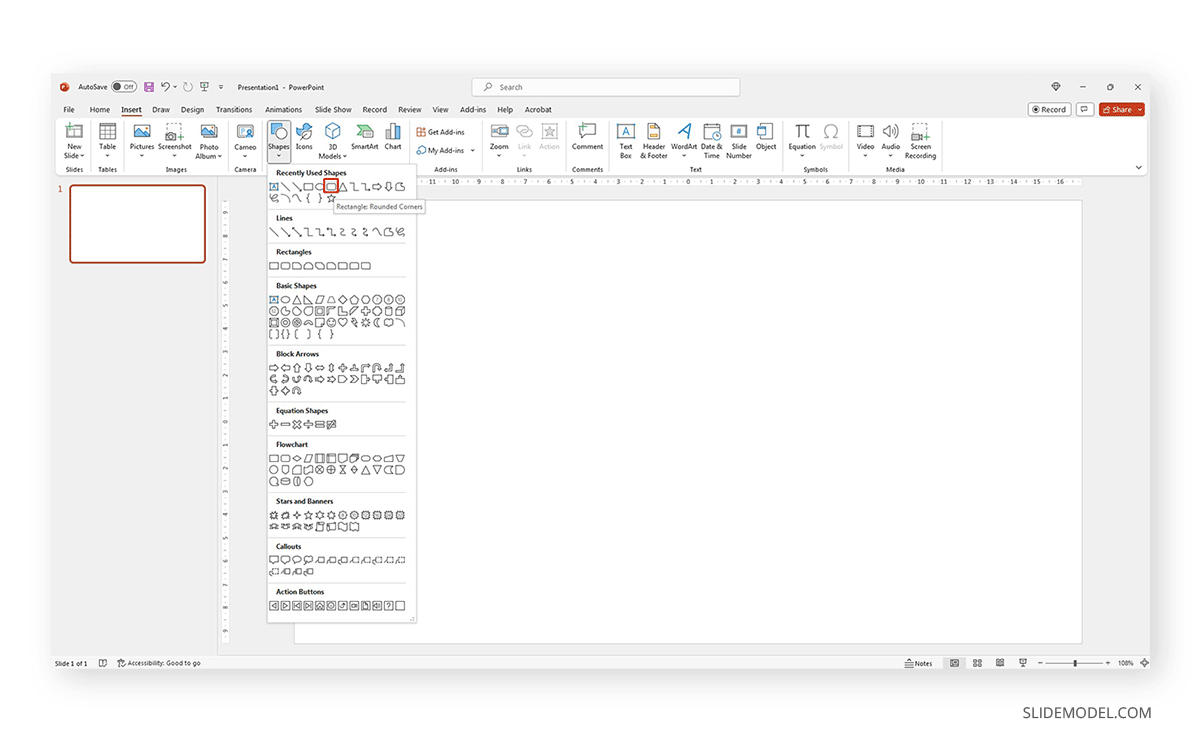
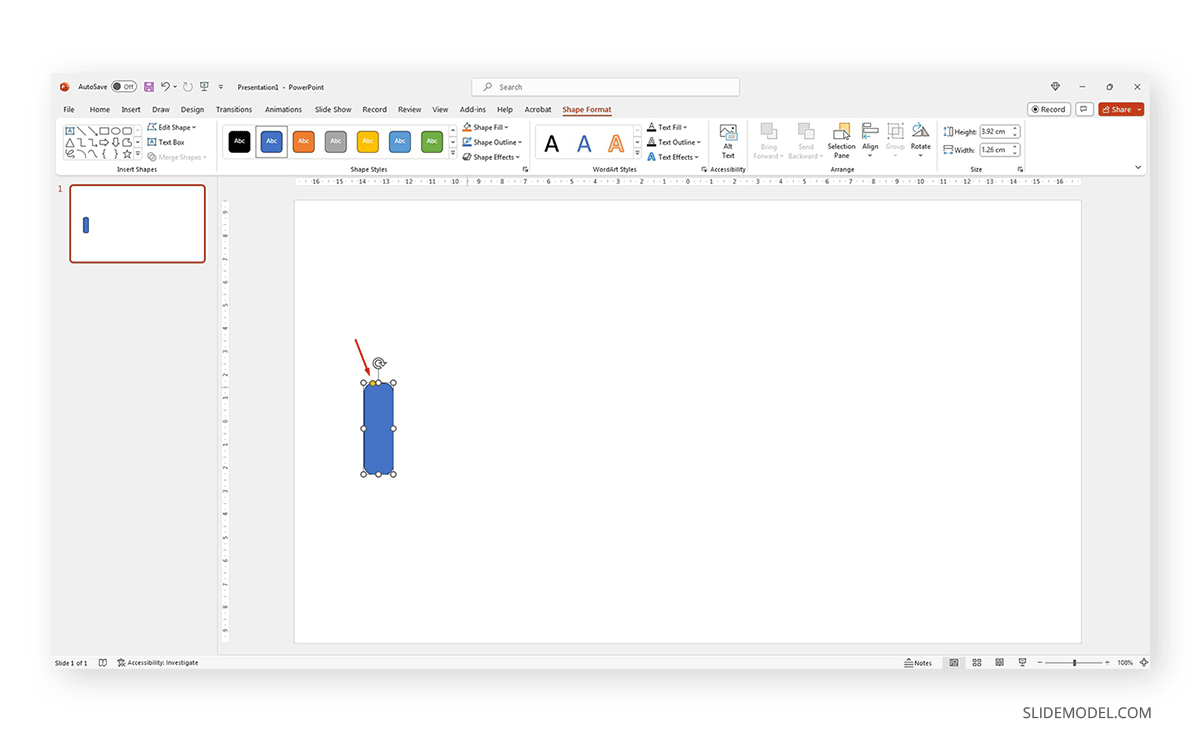
Generate the base layout for the progress bar in PowerPoint, remembering that there’s a yellow point handler that allows us to control how rounded the corners will look.
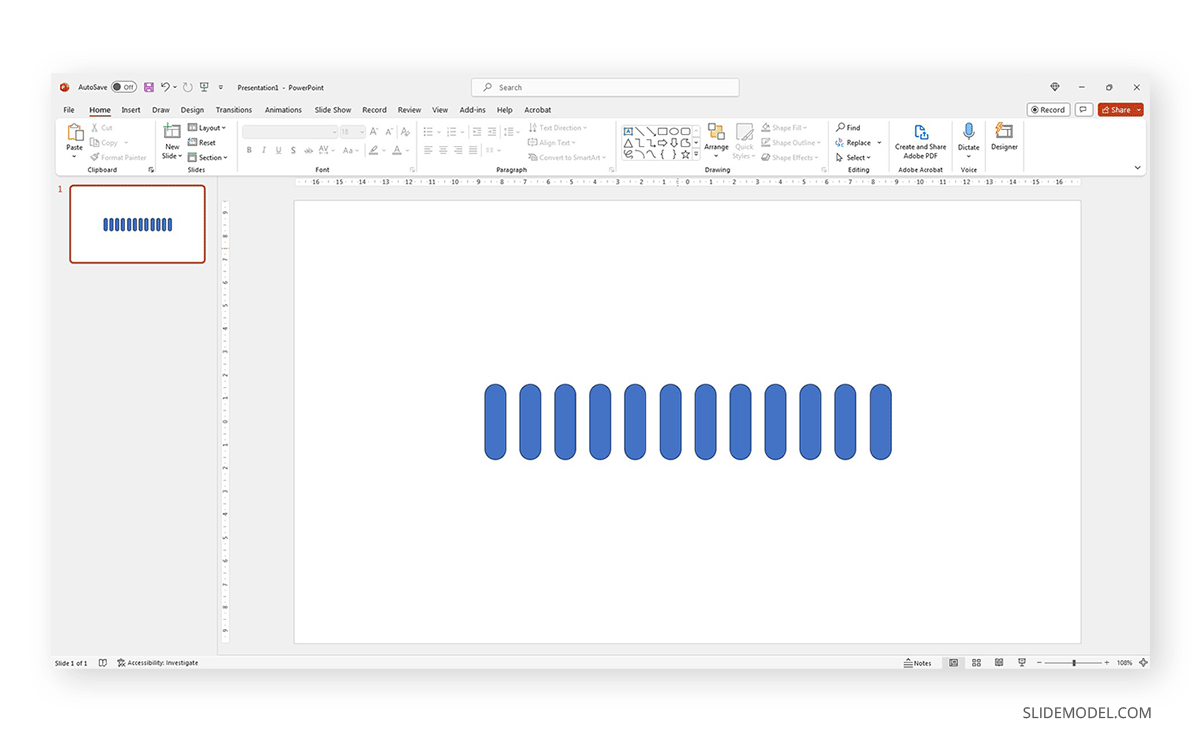
Now it’s time to create copies for the average length we expect the progress bar to be. It is good practice to take an eye on the guides provided by PowerPoint so we can align the elements properly.
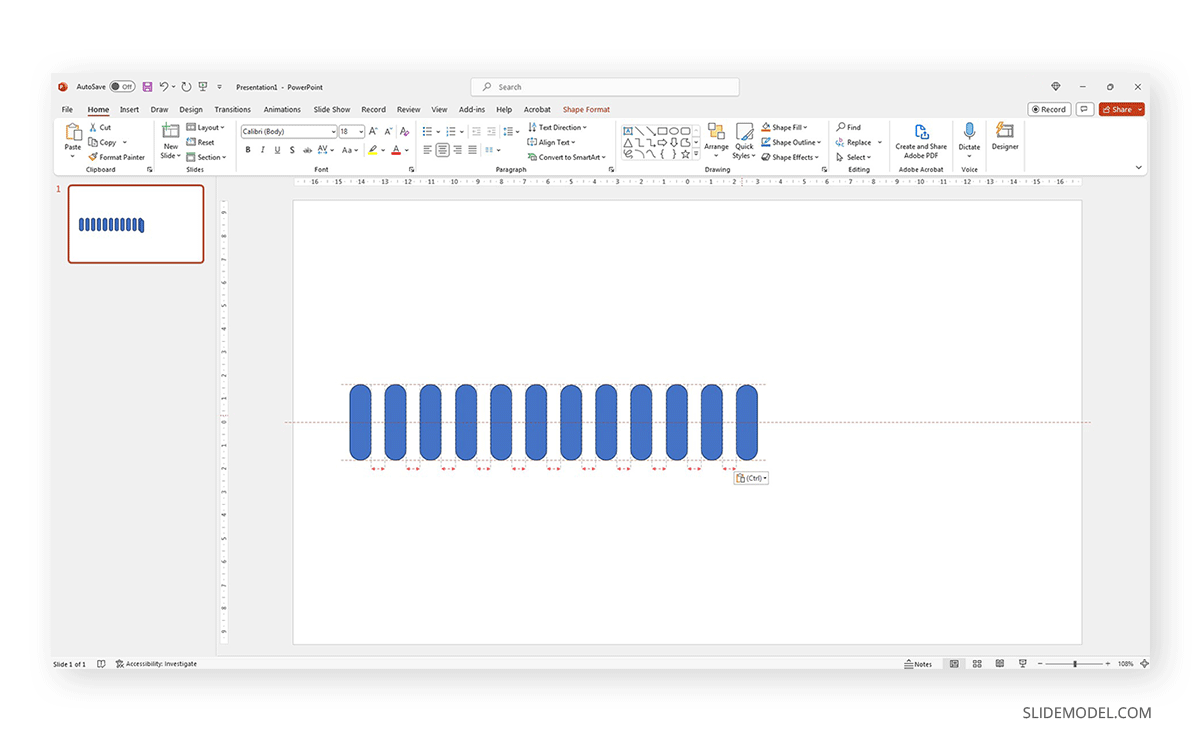
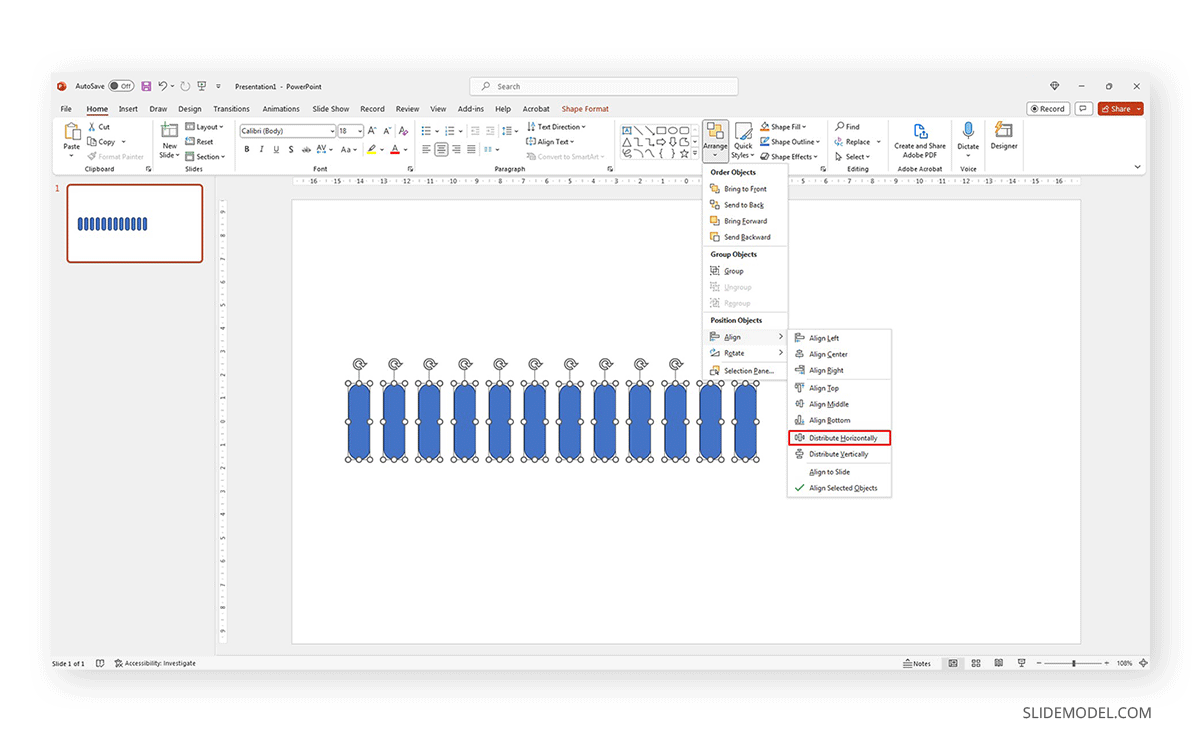
If not, you can opt for the Distribute Horizontally option in the Align menu.
To make this progress bar “workable,” we need to perform a series of steps:
- Preserve the first rectangle with fill and line color.
- Make the other rectangles have no fill but line color.
- Group the progress bar and place it where you desire in your presentation slides.
- Ungroup and alter the rectangles to contain fill across different slides to express the “progress” of your presentation.
This process may seem like a lot of work, but once you master it, it is just an automated series of steps.
How to Make an Animated Progress Bar in PowerPoint
Progress bars make the perfect intro slide for a presentation that is about to be launched. As you can see on many websites, the typical progress bar format loads gradually and then showcases the website or element of interest. We can emulate this effect in PowerPoint from the layout we created with the previous method.
Start from the point where you evenly placed the rectangles. Right-click and Group those rectangles to move them with ease. We want them centered on the slide.
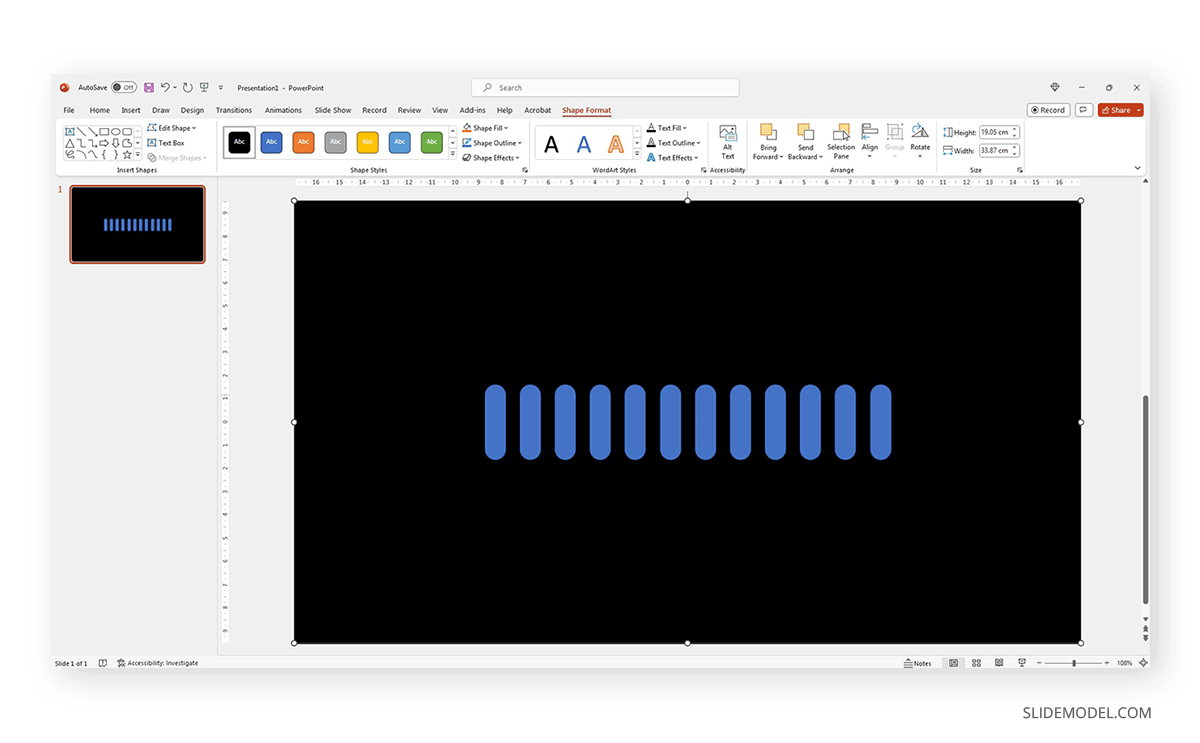
Create a new PowerPoint Shape in a rectangle format with a background color of your choice. It is recommended to work with a good color scheme between the background and foreground that guarantees contrast and a pleasing mix. You can check suggestions in our article on Color Theory. Send that new shape to the back.
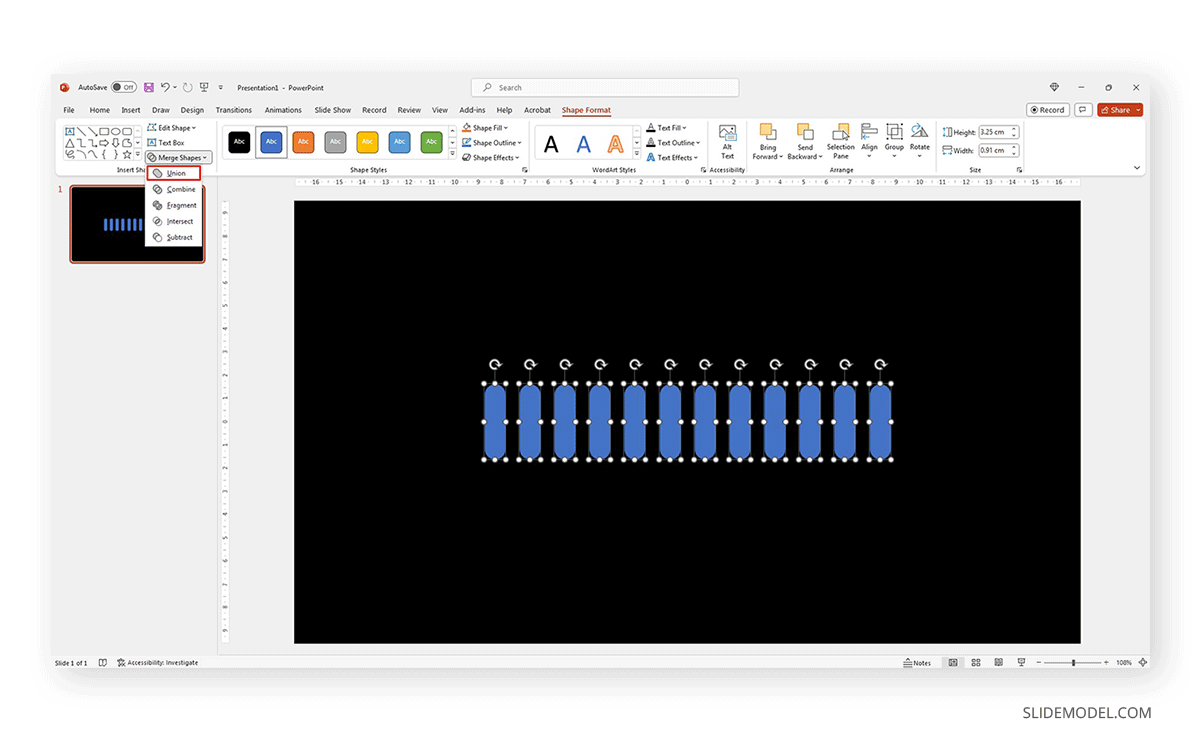
Select all the rectangles and click to make active the Shape Format tab. In there, locate Merge Shapes and apply Union.
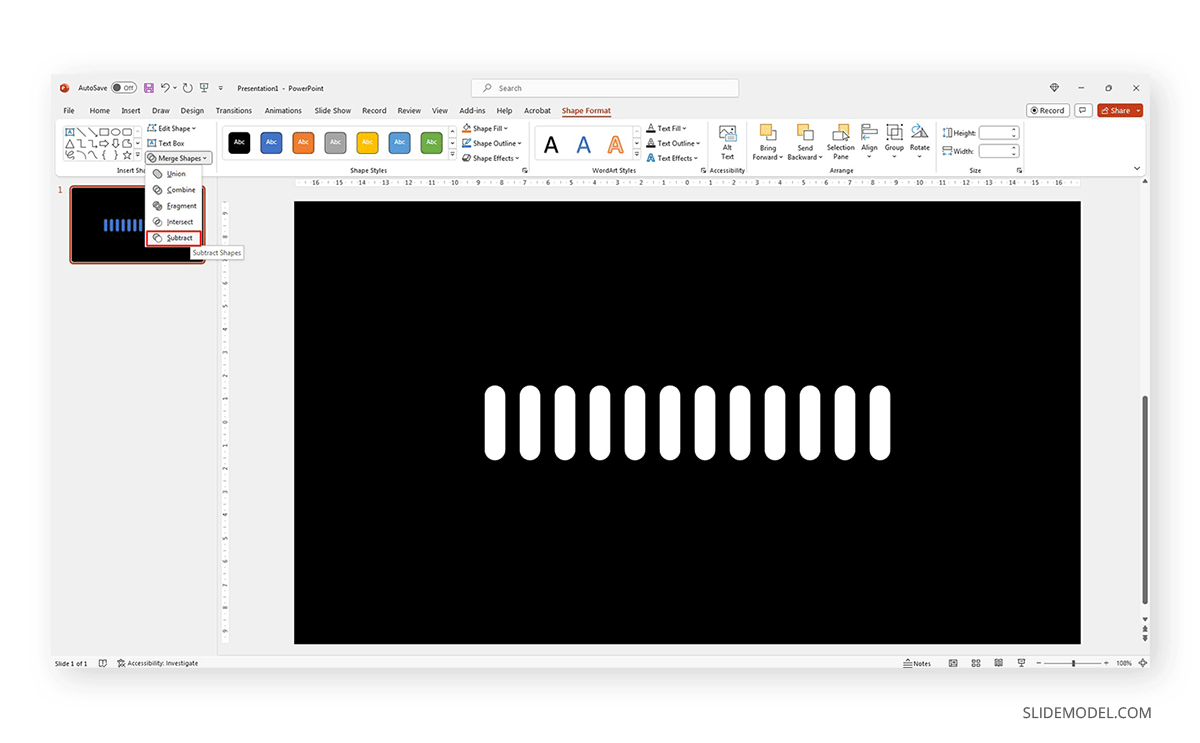
Proceed to select first the background figure, then the merged rectangles, and go to Merge Shapes > Subtract.
For the animated effect, we shall create a new rectangle shape with the color we intend to use for filling the bar. Place that shape behind the background.
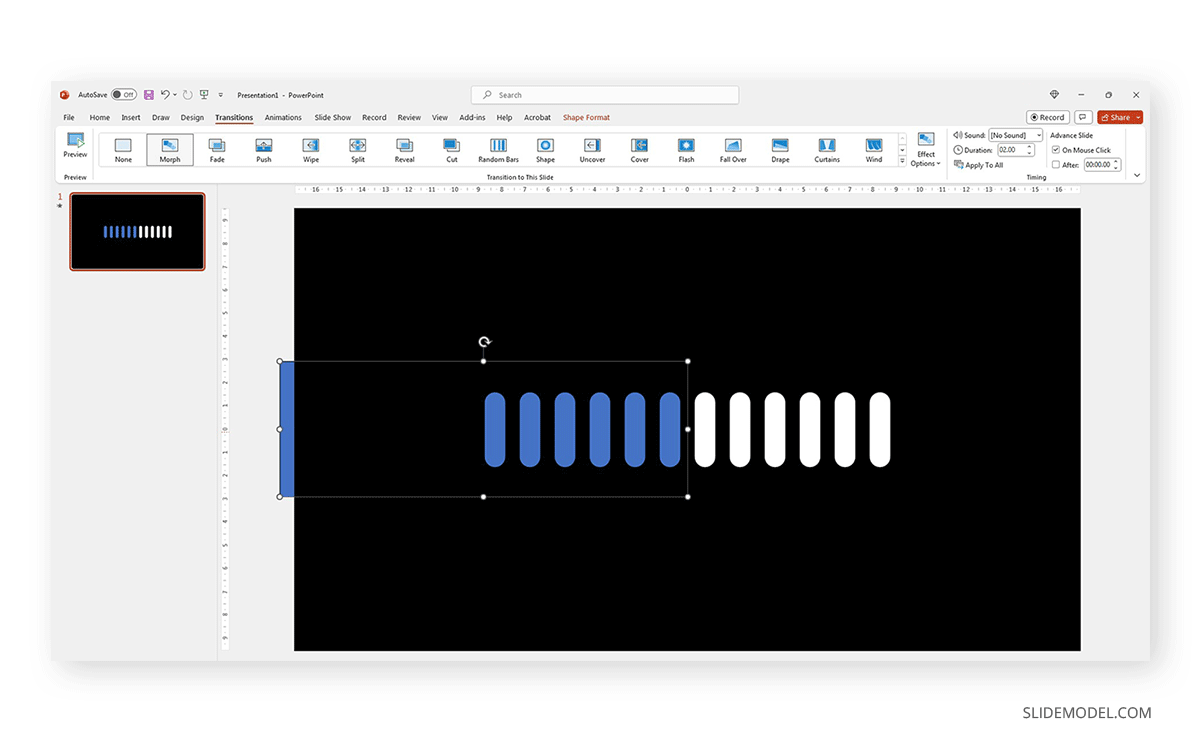
Reposition the shape so the bar is not covering any rectangles. Duplicate the slide and make the shape cover the rectangles to your desired point. Go to Transitions > Morph. Select a duration higher than 2s but less than a minute (this depends on your project).
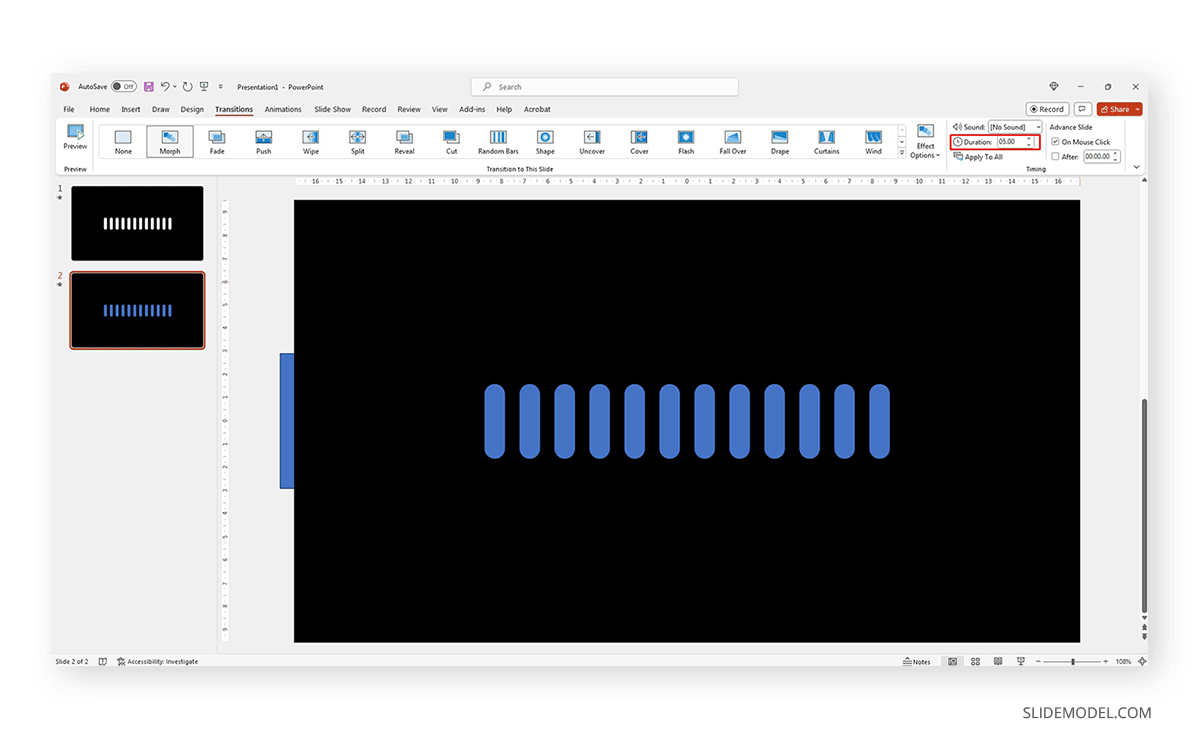
And that’s it. You can export that animated effect as a GIF format, which can be easily resized. Remember, you can use any background you prefer, even textured images or illustrations. Adding a text like “Loading” is a good measure to make the progress bar more engaging.

Presenters can also use progress bars when deciding how to end a presentation. These progress templates can be used to load a video to be released at the end of the presentation or as a preliminary to the Q&A session.