When editing your Google Slides templates, you might need to send a slide element backward or forward. This could be an image, shape, or text that needs to be adjusted to suit your design and branding needs. There is a simple way of sending slide elements back or forward.
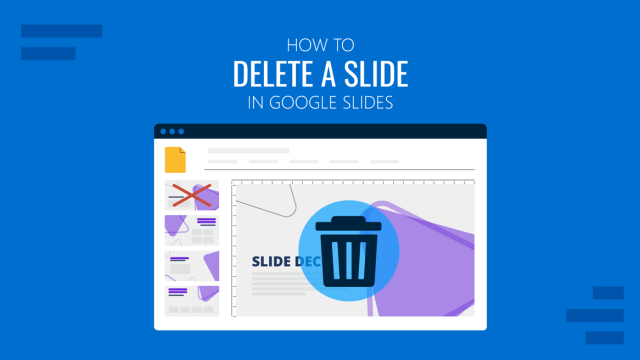
How to Send Slide Objects Back or Forward in Google Slides
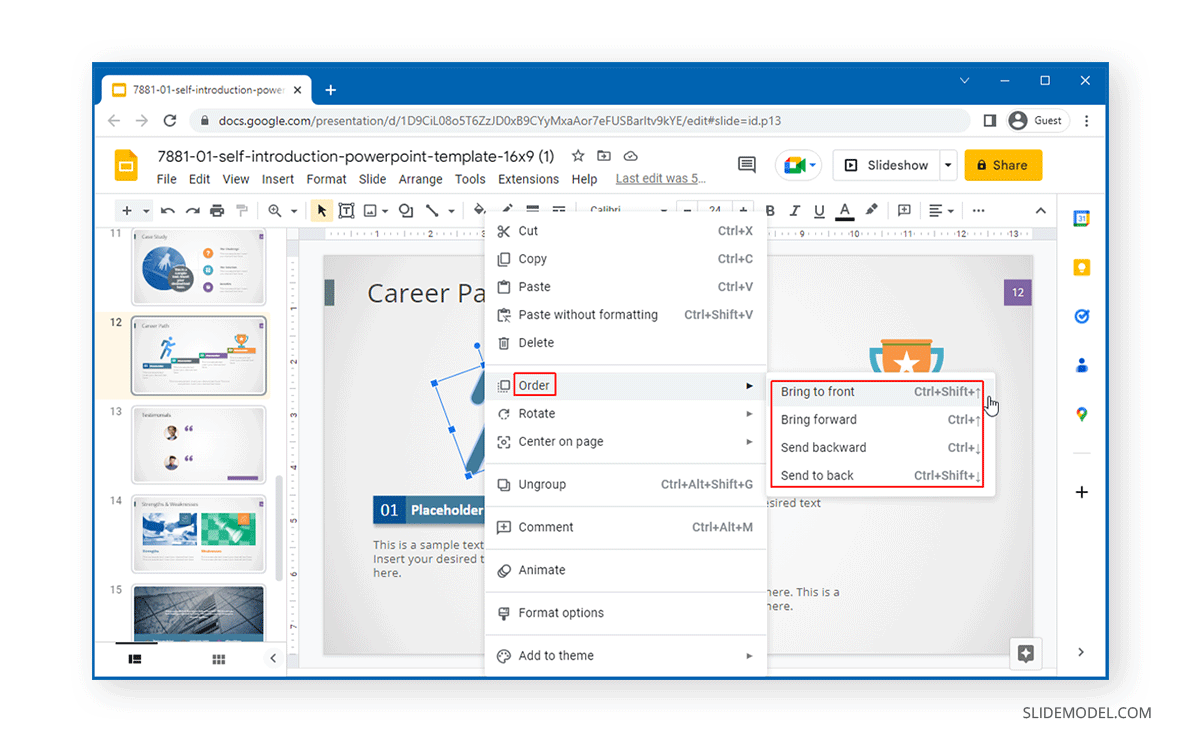
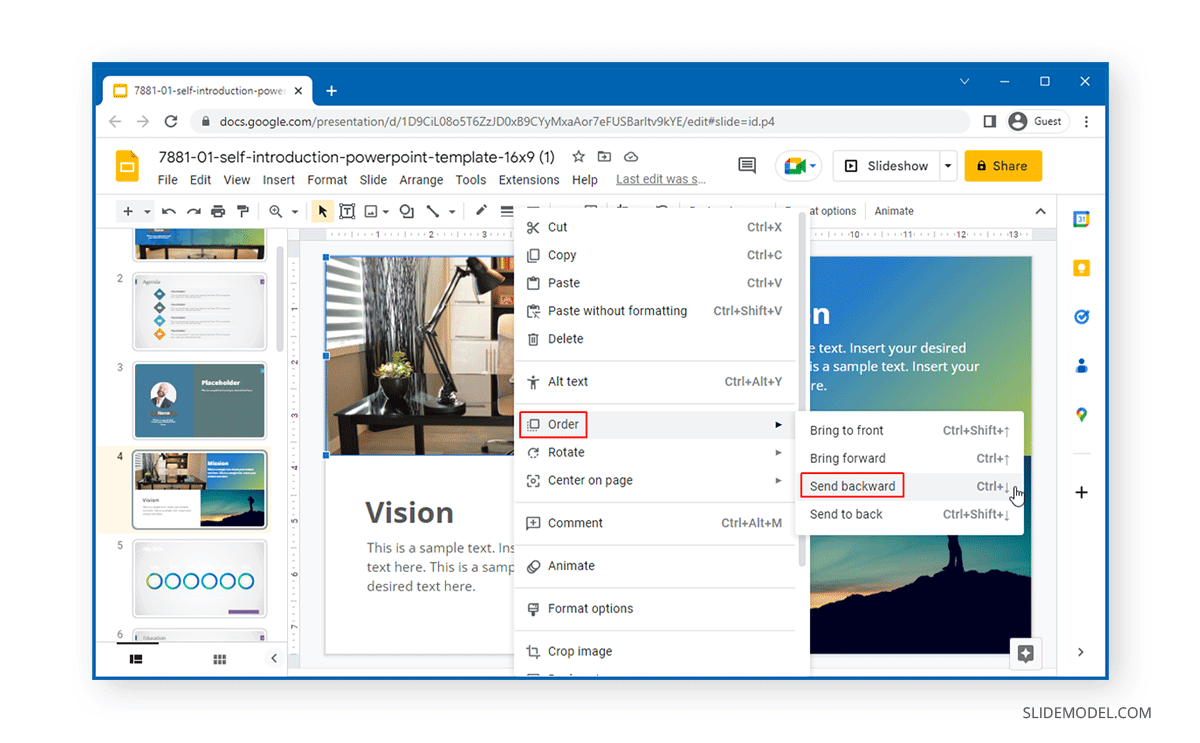
To move a slide object backward or forward, right-click the object and go to Order. This will enable you to send slide elements backward or forward. Let’s take a look at two examples to demonstrate this feature. You can find the following options:
- Bring to front: This brings the slide object to the front, regardless of how many layers it’s located beneath other objects.
- Bring forward: This brings the selected object one step forward.
- Send backward: This sends the selected object one step backward.
- Send to back: This sends the slide object to the back, beneath all other objects.
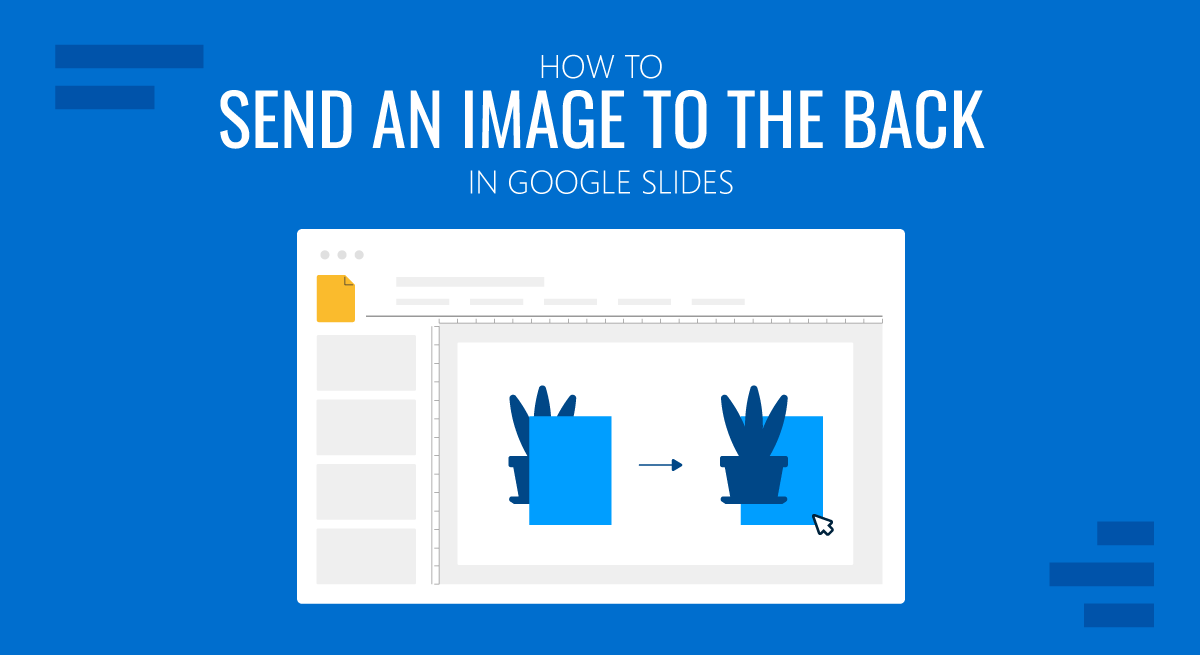
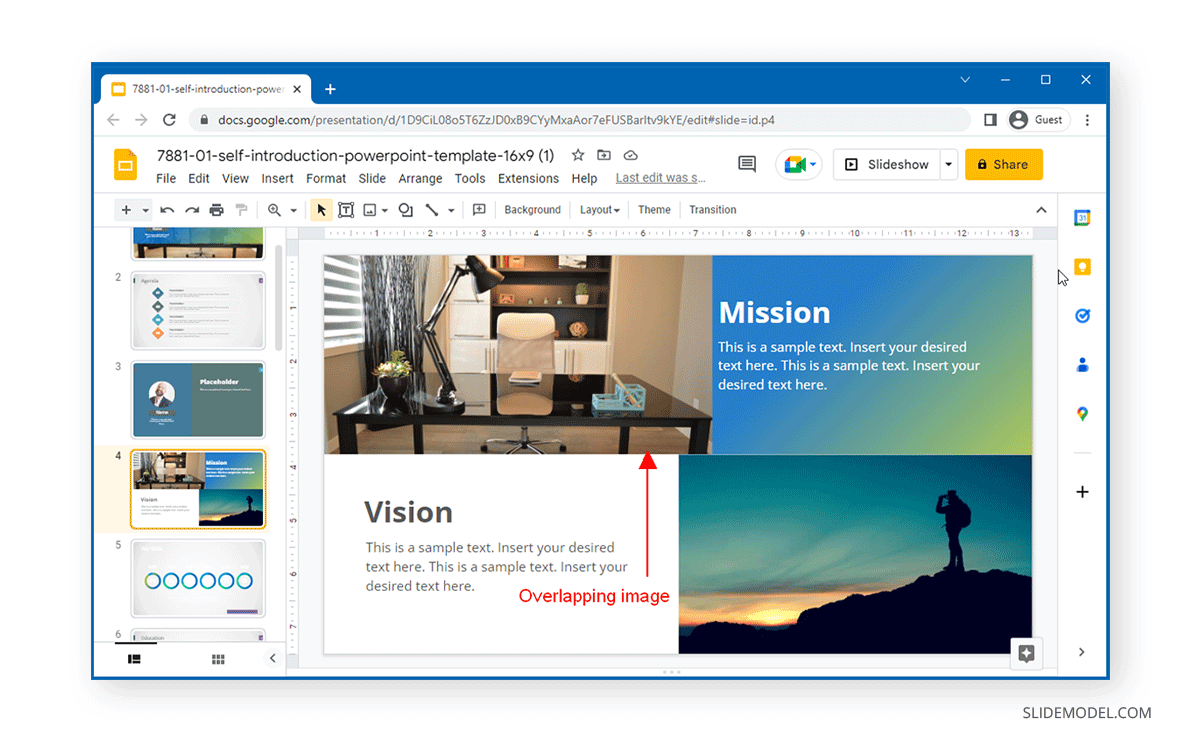
Example: How to Move an Image to the Back in Google Slides
In this example, we will move the overlapping image on the left backward to give the slide layout a proportionate look.
By right-clicking on the image and going to Order > Send Backward.
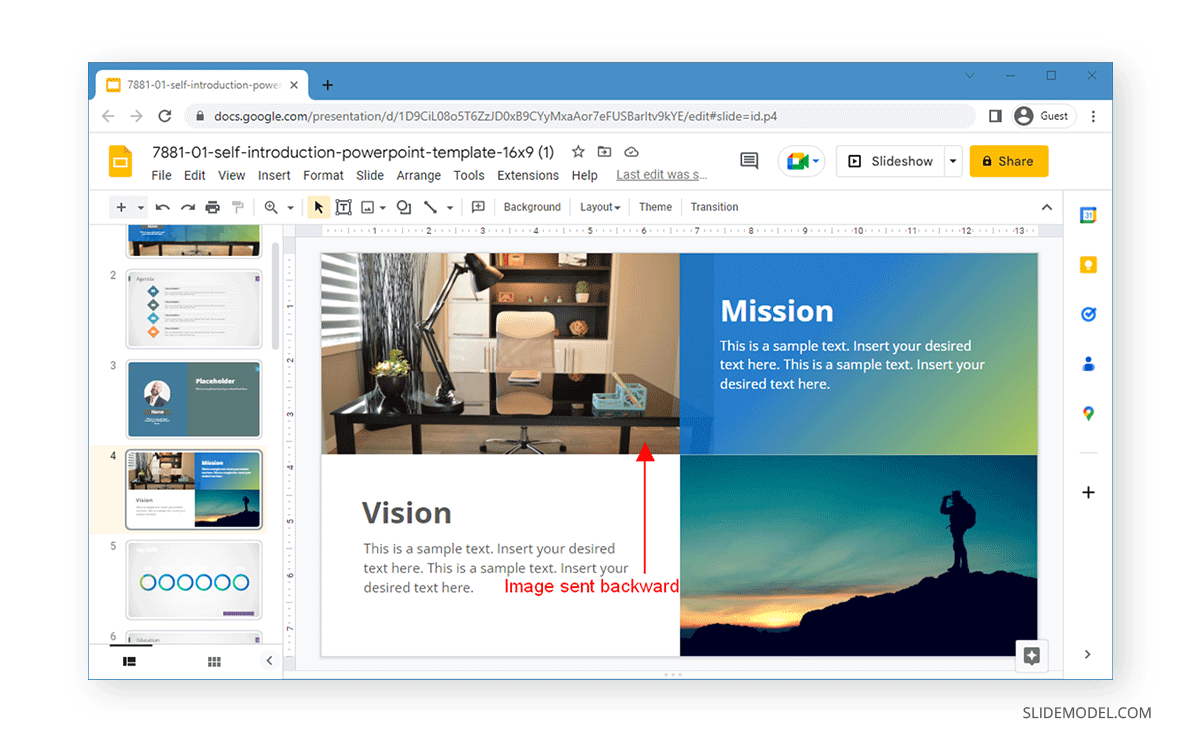
This pushed the image backward, bringing the Google Slides shape on the right forward, which made the slide layout proportionate.
FAQs
How can I send an image to the back in Google Slides?
To send an image to the back, right-click on the image, go to Order, and select Send to back. This will place the image behind all other slide elements.
What are the different ordering options for slide objects in Google Slides?
The ordering options in Google Slides are:
– Bring to front: Moves the object to the front of all other objects.
– Bring forward: Moves the object one layer forward.
– Send backward: Moves the object one layer backward.
– Send to back: Moves the object behind all other objects.
How do I bring an object to the front in Google Slides?
To bring an object to the front, right-click the object, go to Order, and select Bring to front. This will place the object on top of all other elements.
Can I move multiple objects at once to the back or front in Google Slides?
Yes, you can select multiple objects by holding the Shift key and clicking each one. Then, right-click, go to Order, and choose whether to bring them to the front or send them to the back.
What’s the difference between ‘Send backward’ and ‘Send to back’?
Send backward moves an object one layer behind the object directly in front of it, while Send to back moves the object behind all other elements on the slide.
Can I move text to the back in Google Slides?
Yes, you can move text backward or forward just like images and shapes. Right-click the text box, go to Order, and choose the desired option.
How do I make sure my slide layout stays proportionate when sending objects to the back?
Adjust the order of objects carefully by sending images or shapes backward or forward until the layout looks balanced. You can preview the design after each adjustment to ensure it remains proportionate.
Is there a shortcut to send objects backward or forward in Google Slides?
While there is no specific keyboard shortcut for this, you can right-click an object and quickly access the Order menu to send it backward or forward.
Final Words
Using the Order via right-click context menu, you can send images, text, and shapes backward, forward, to the very back, or the front according to need. Doing so can help you design and redesign slides to make them appear proportionate or move around newly added objects to match your design requirements.