Although many users prefer to stick to Google Calendar for scheduling their tasks, inserting a calendar in a Google Slides presentation is a helpful resource for building a timeframe in any project.
In this article, we’ll explain step-by-step how to quickly insert a calendar in Google Slides.
Method #1: Working with a calendar image
Start by opening your Google Slides presentation.

In this case, the idea is to insert a slide with a calendar between the 4th and 5th slide.
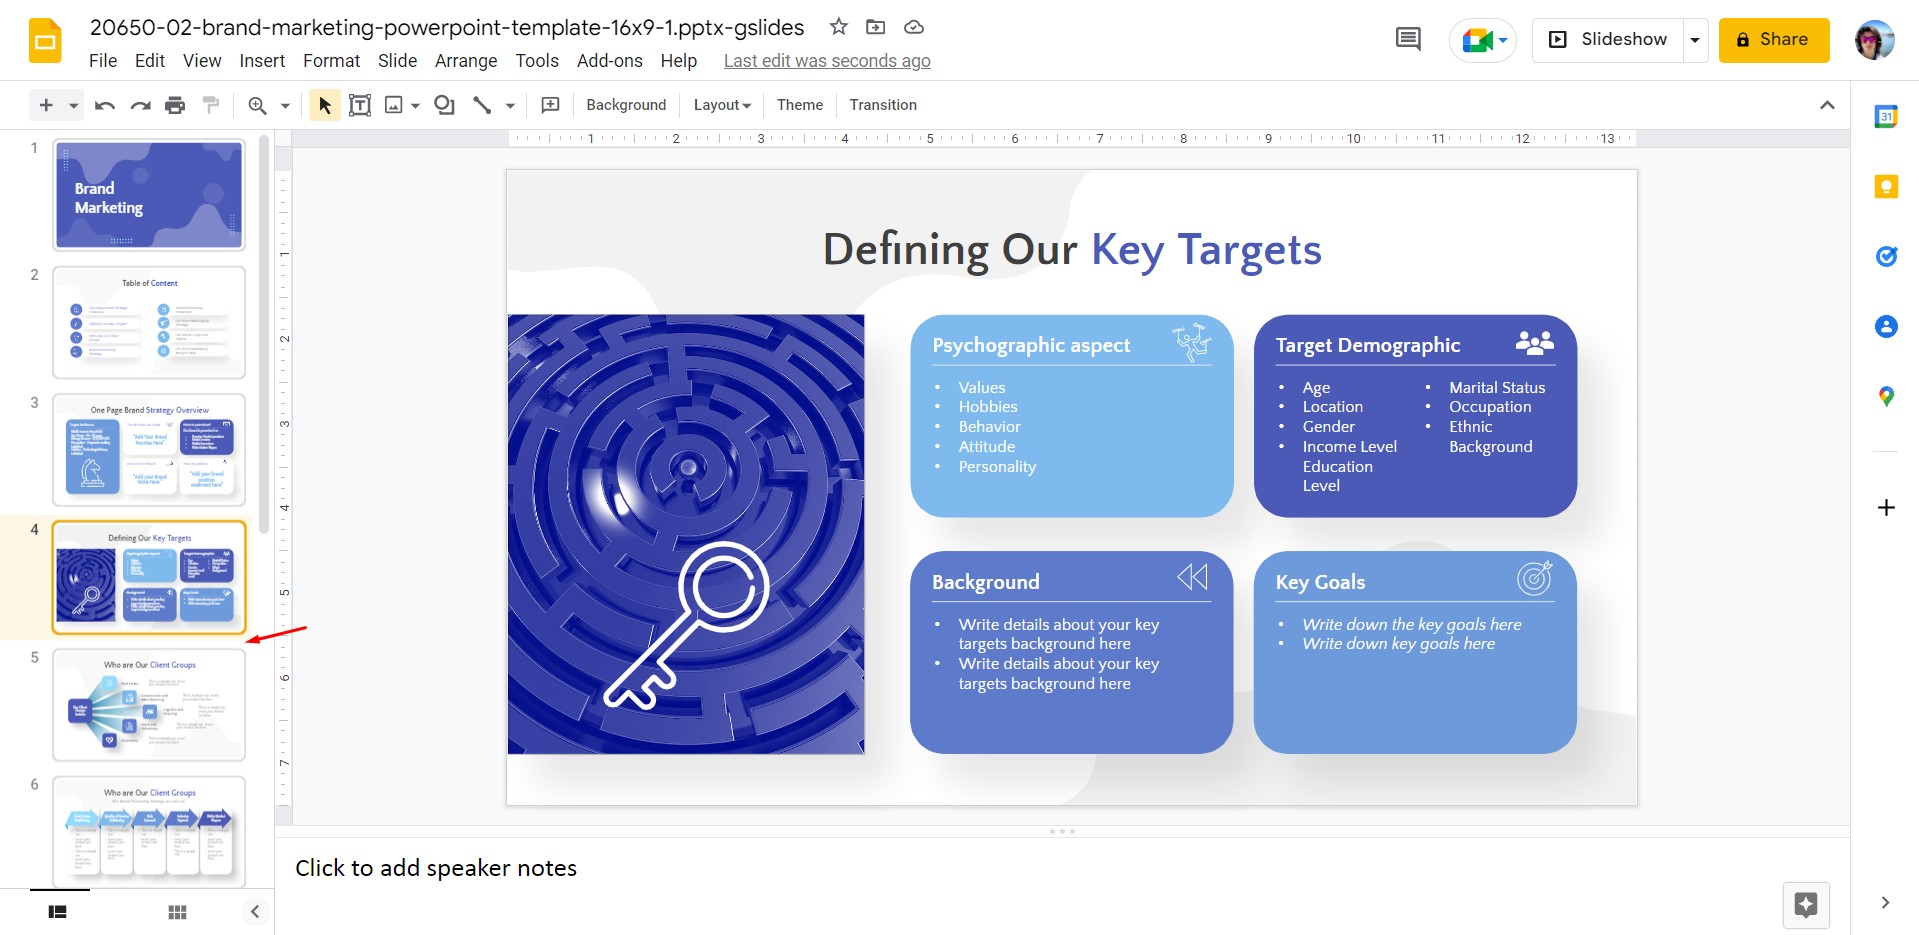
We create a new blank slide by either pressing CTRL + M (Windows) or going to the Slide menu, New Slide.
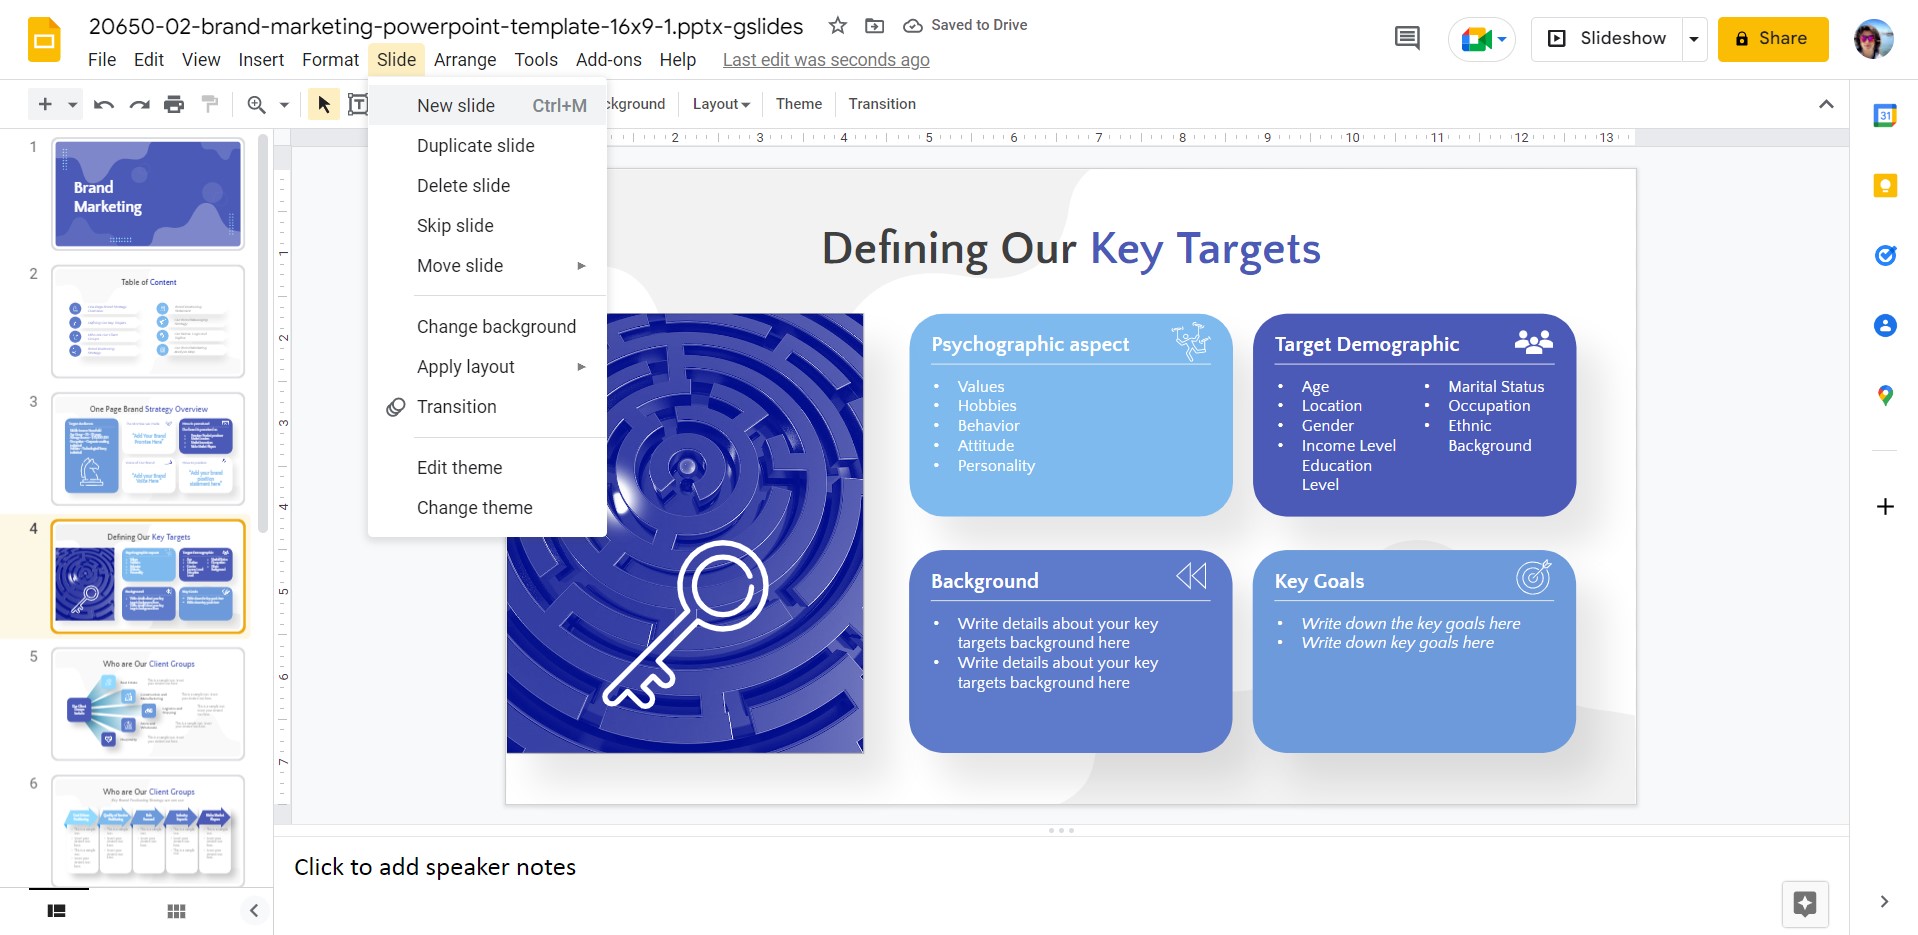
Insert the desired title and decide where to locate the calendar. Someplace inside that red rectangle is the desired area for it.
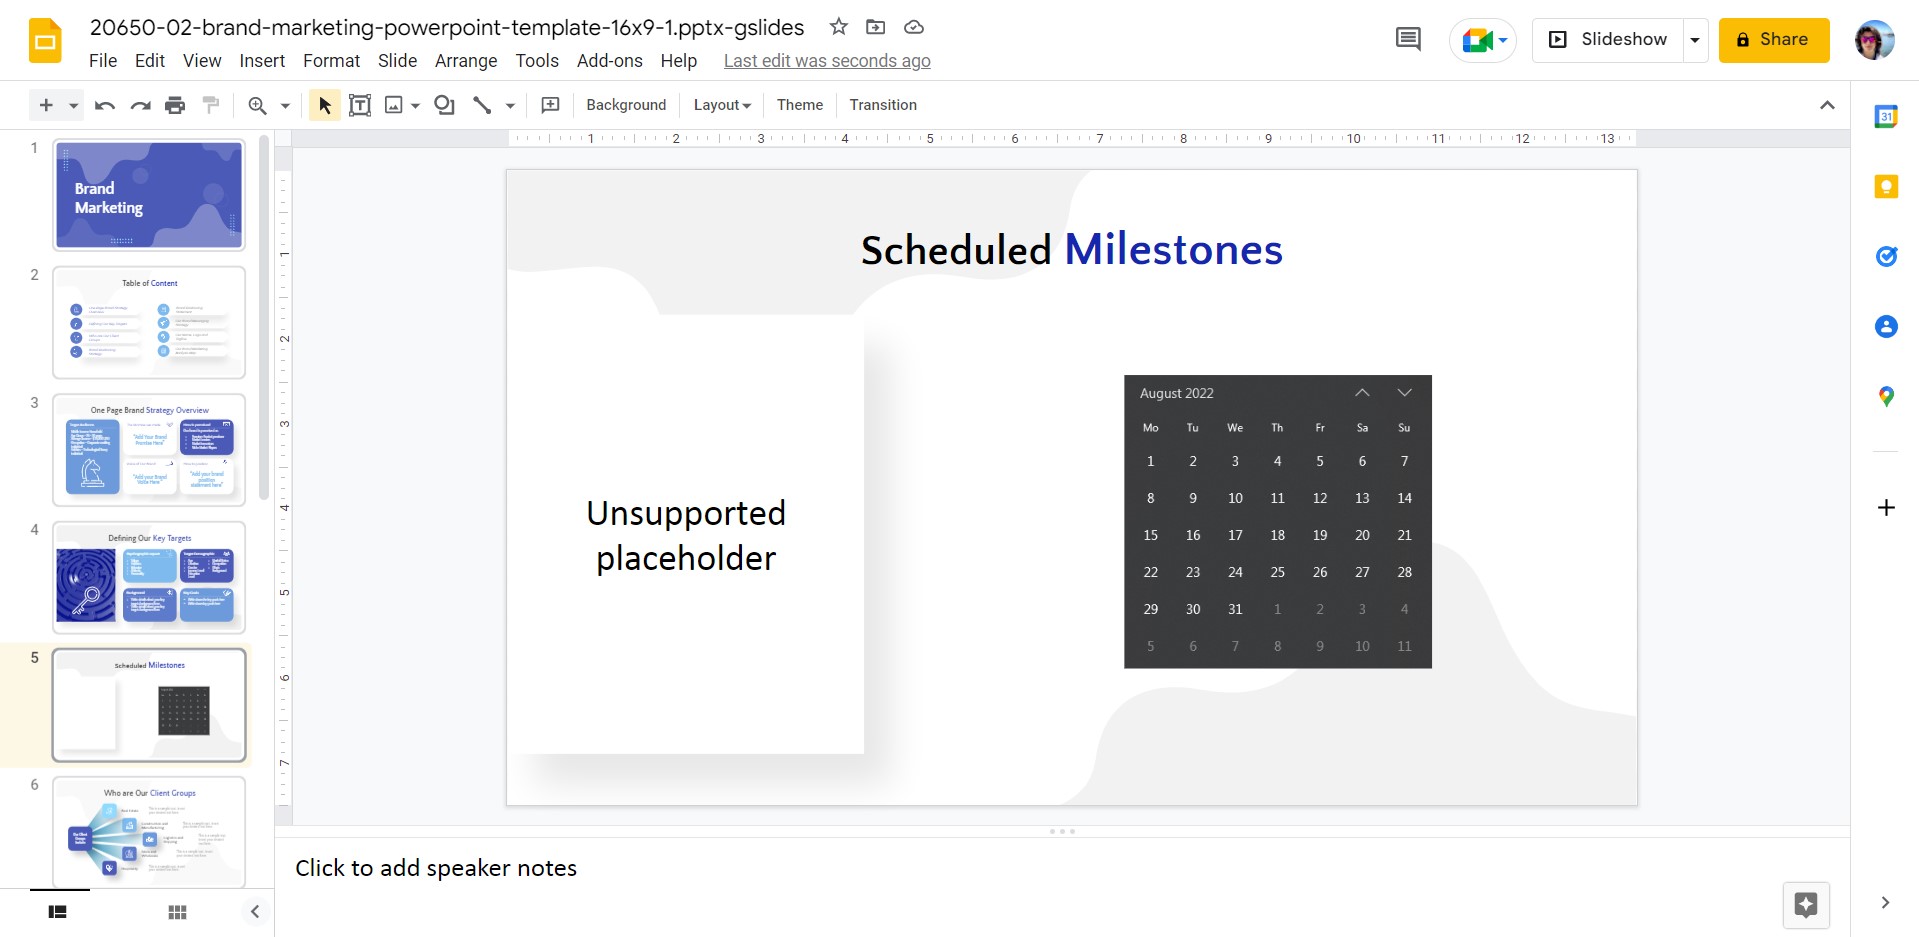
Next, copy/paste a calendar image file you have, a screenshot of your PC’s calendar, or insert a template file, made image. Resize as desired. Just to show an example, this is how a screenshot of MS Windows calendar would look like
Method #2: Work your way with Calendar Templates for Google Slides
Our preferred method is to use professional-made calendar templates for Google Slides with our presentations. To show this method, we will use our 2022 Calendar PowerPoint Templates, which are also compatible with Google Slides.
Open the calendar template and browse for the month you need to use.
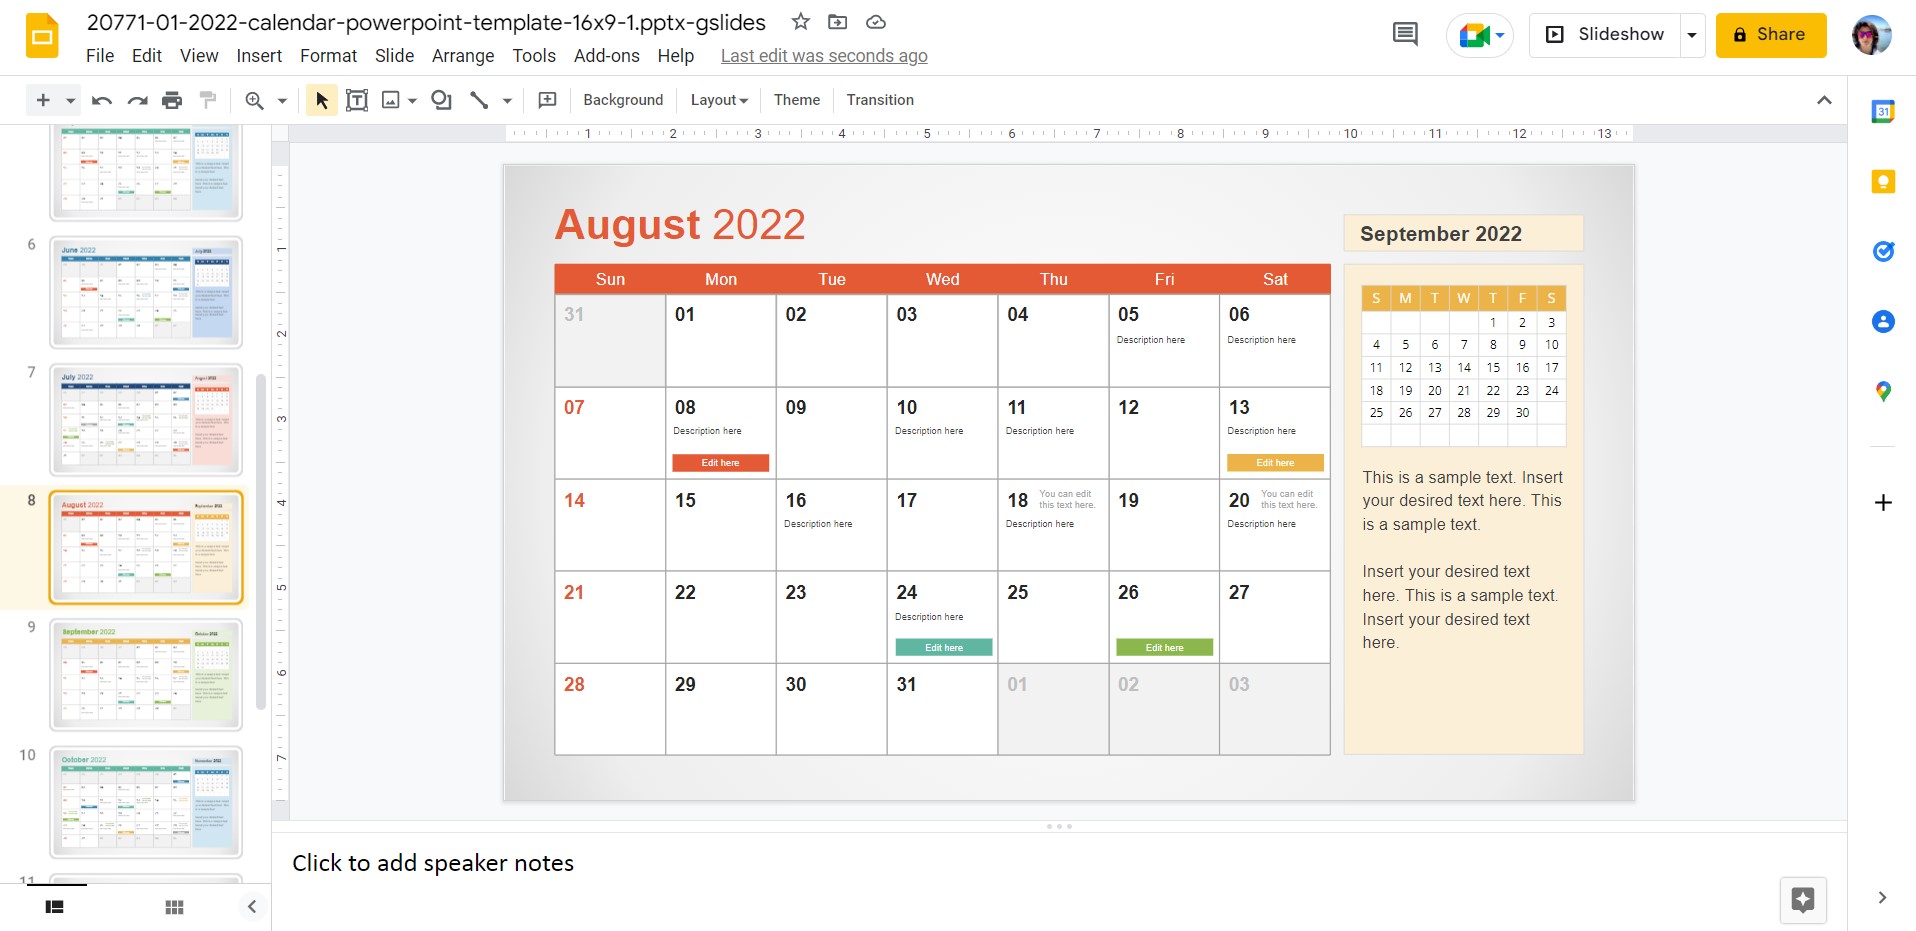
If you intend to make the changes here, do them beforehand. Otherwise, follow these steps.
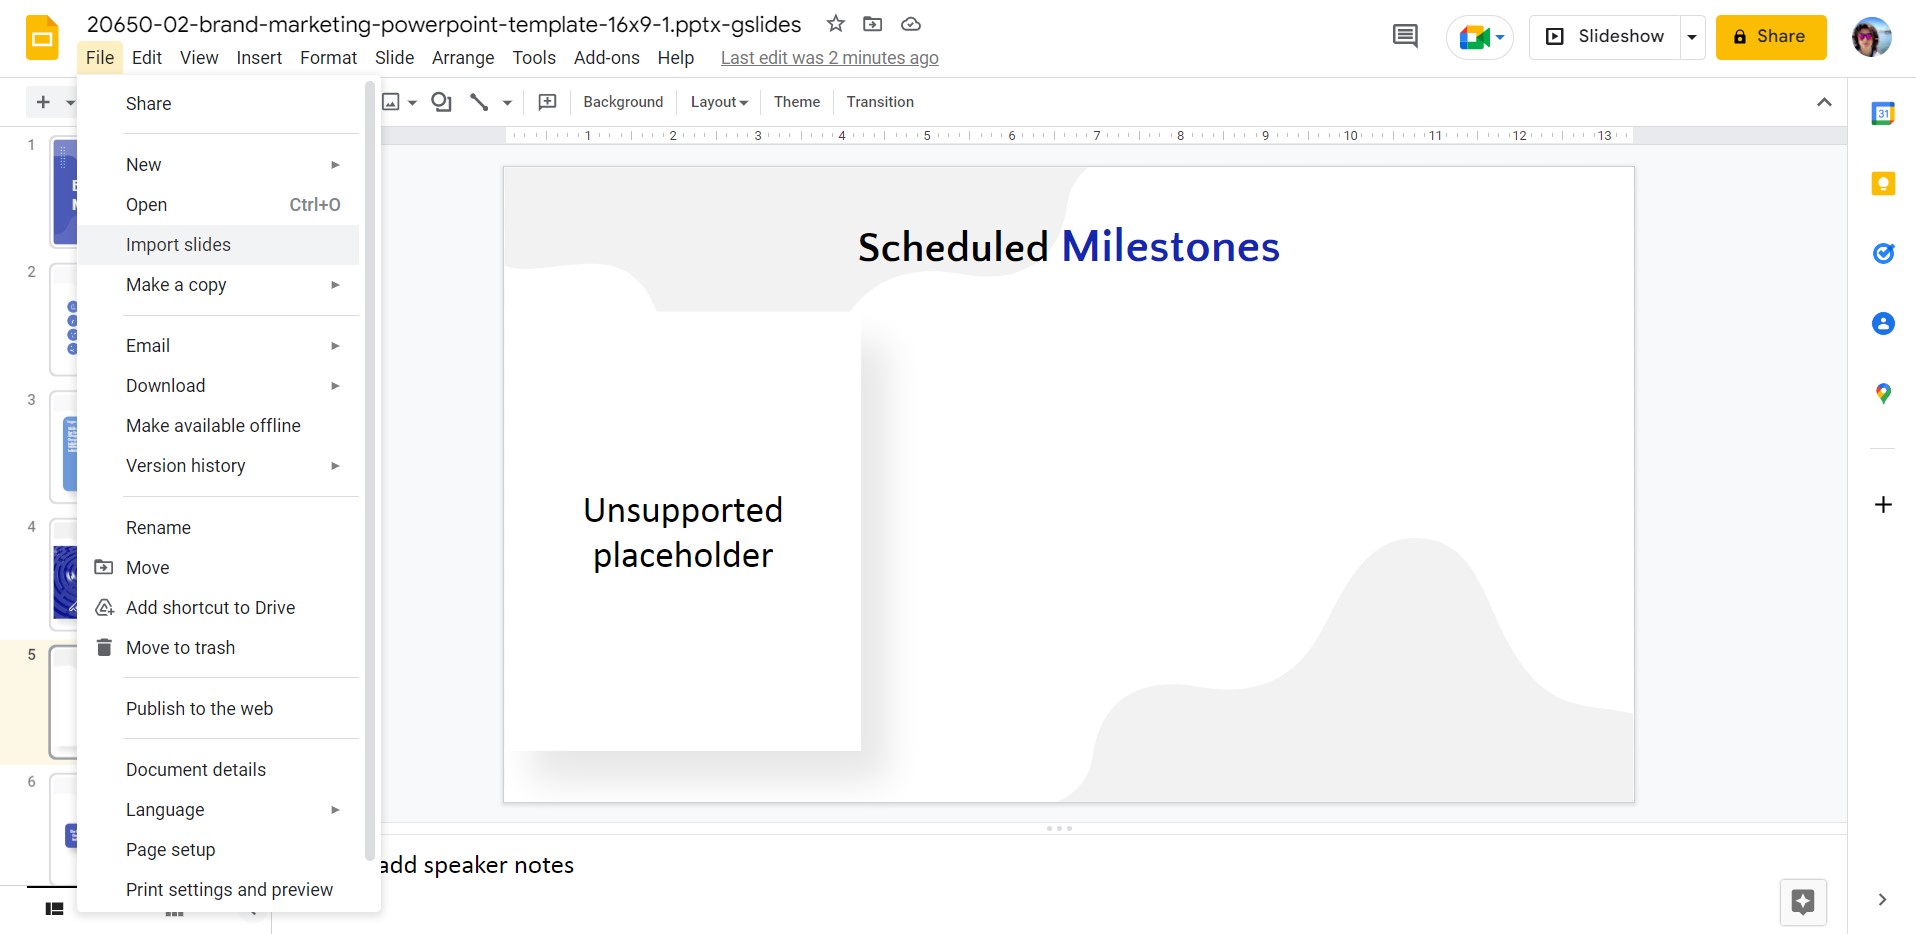
Return to your presentation’s file. Click on File, Import Slides. This is why you should open the calendar template first; otherwise, Google Cloud won’t make the file available to import the slides.
Select now the calendar template file.
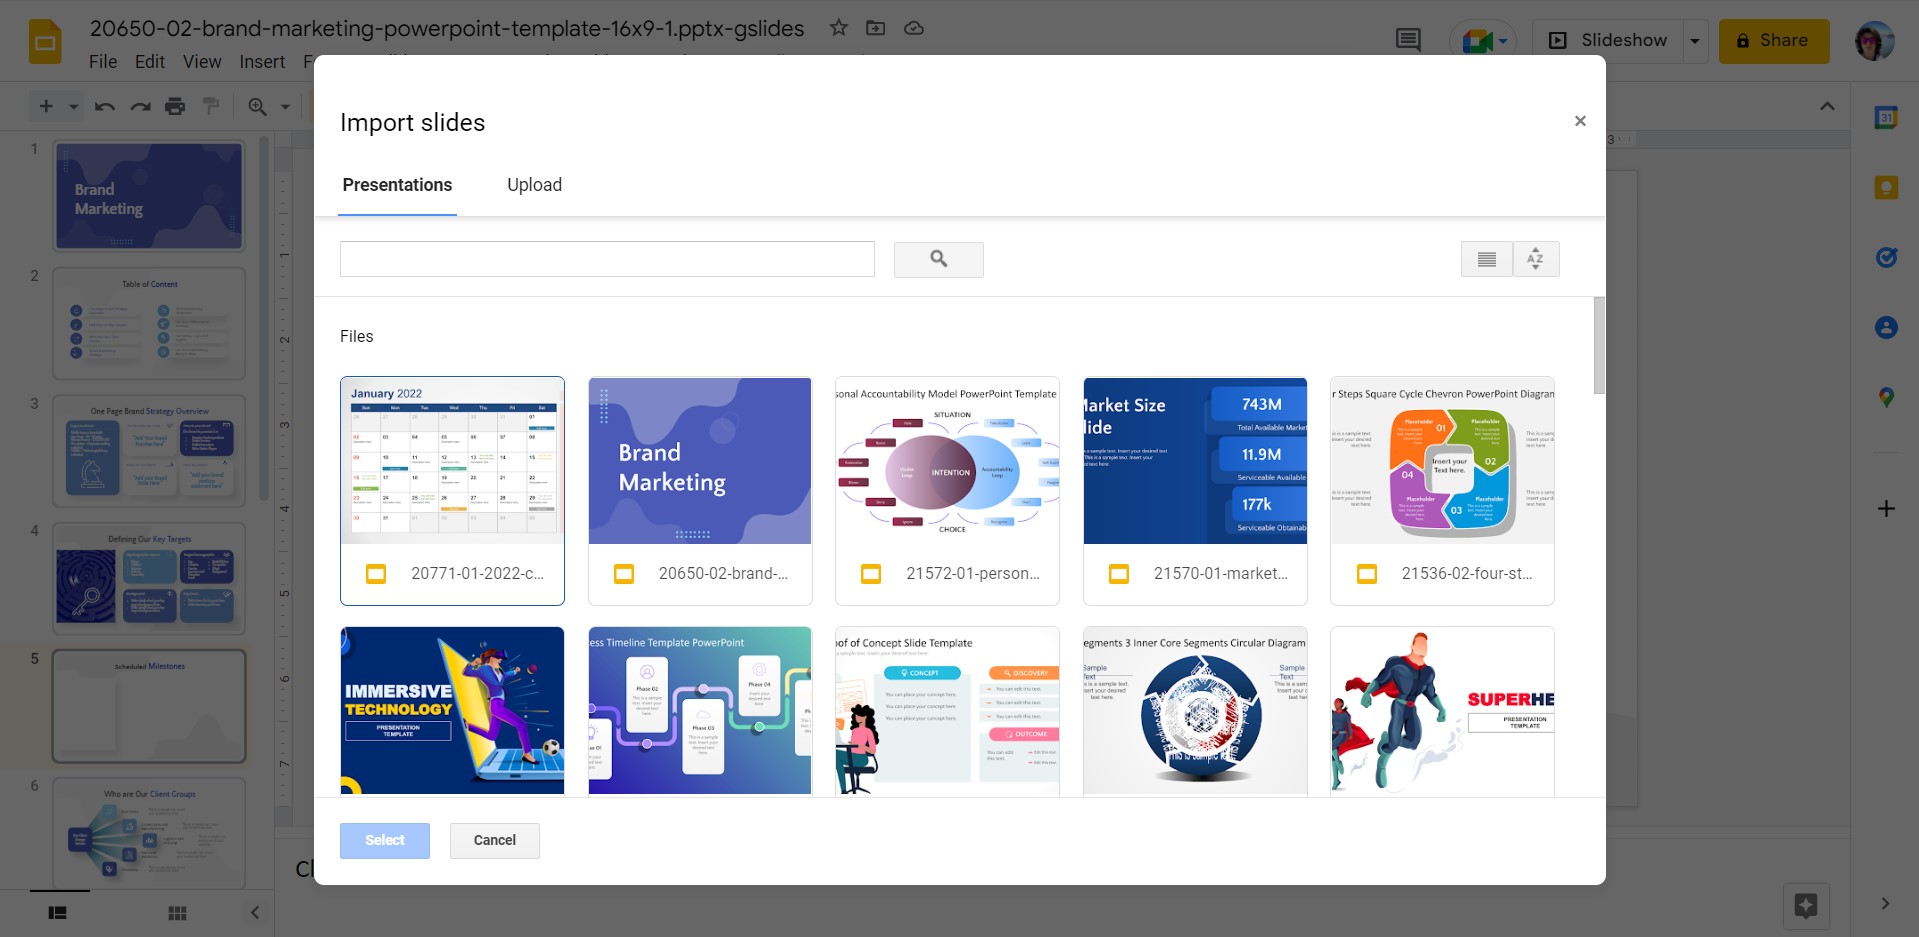
A new window will open, allowing you to pick which slides to insert. Amongst its options, you should check the one at the bottom that says Keep Original Theme. By default is ON; for this case, we’ll turn it off.
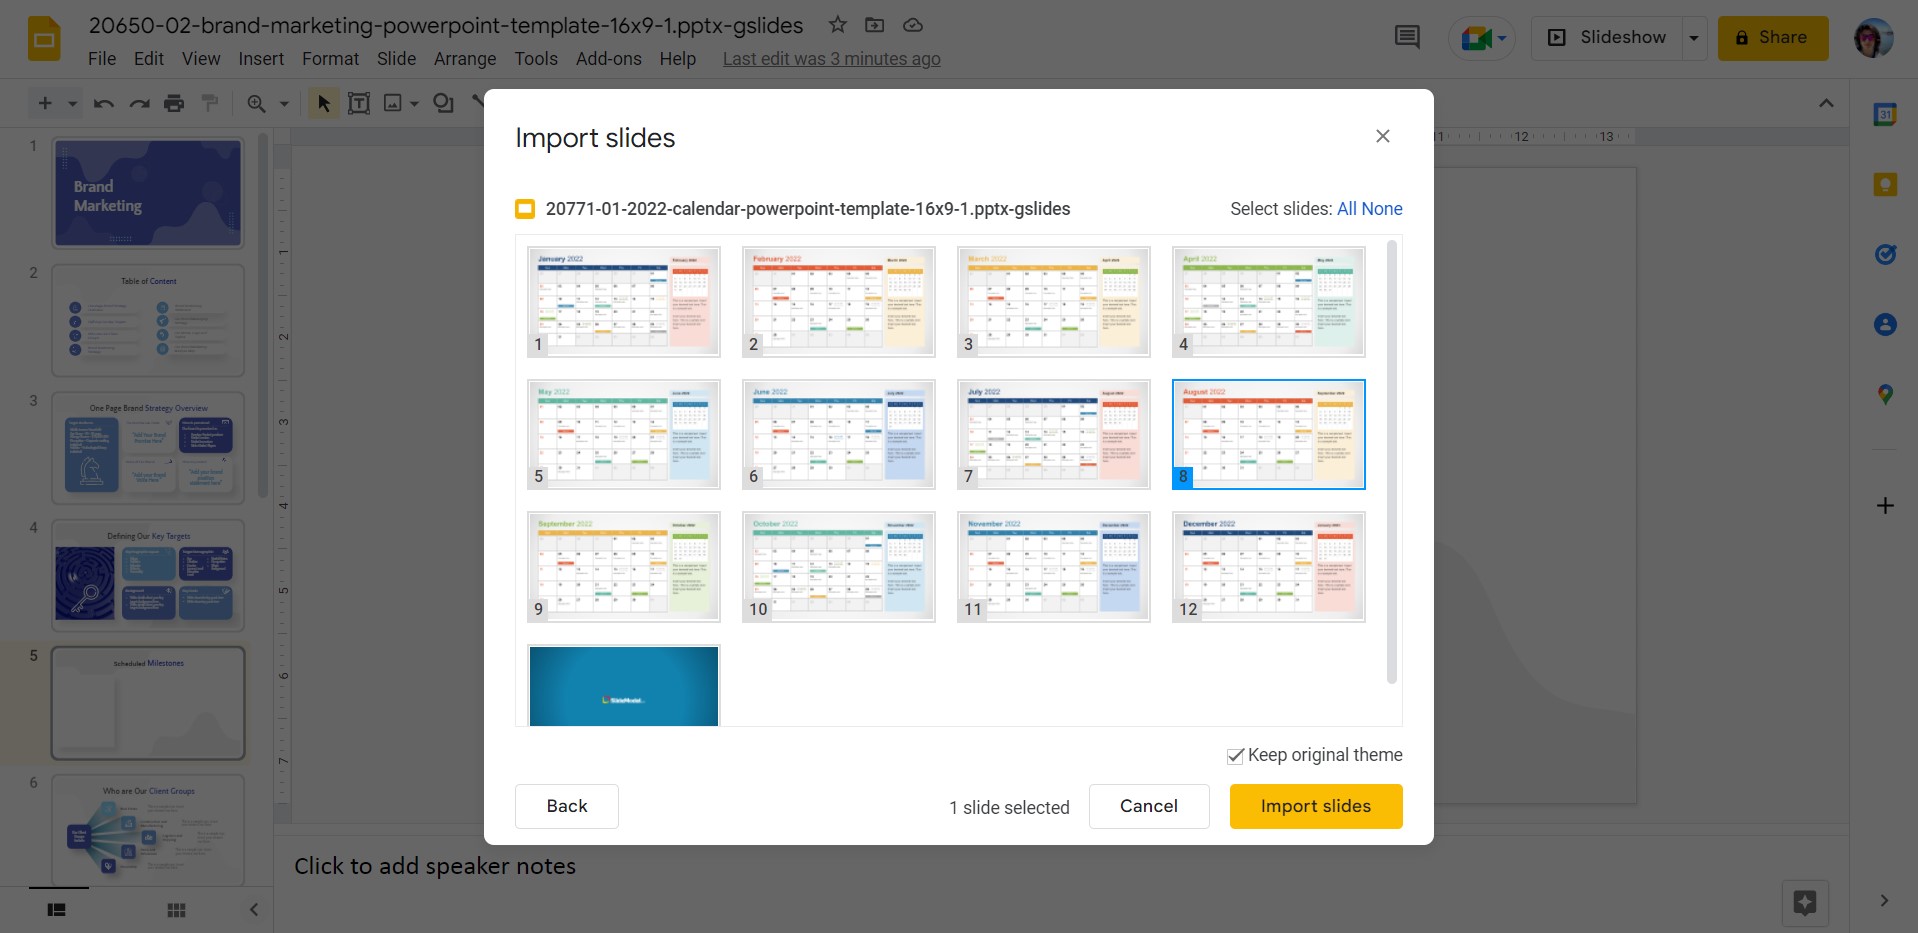
Click on Import Slides one ready. If you removed the Keep Original Theme option, the imported slides merge with your presentation’s theme.
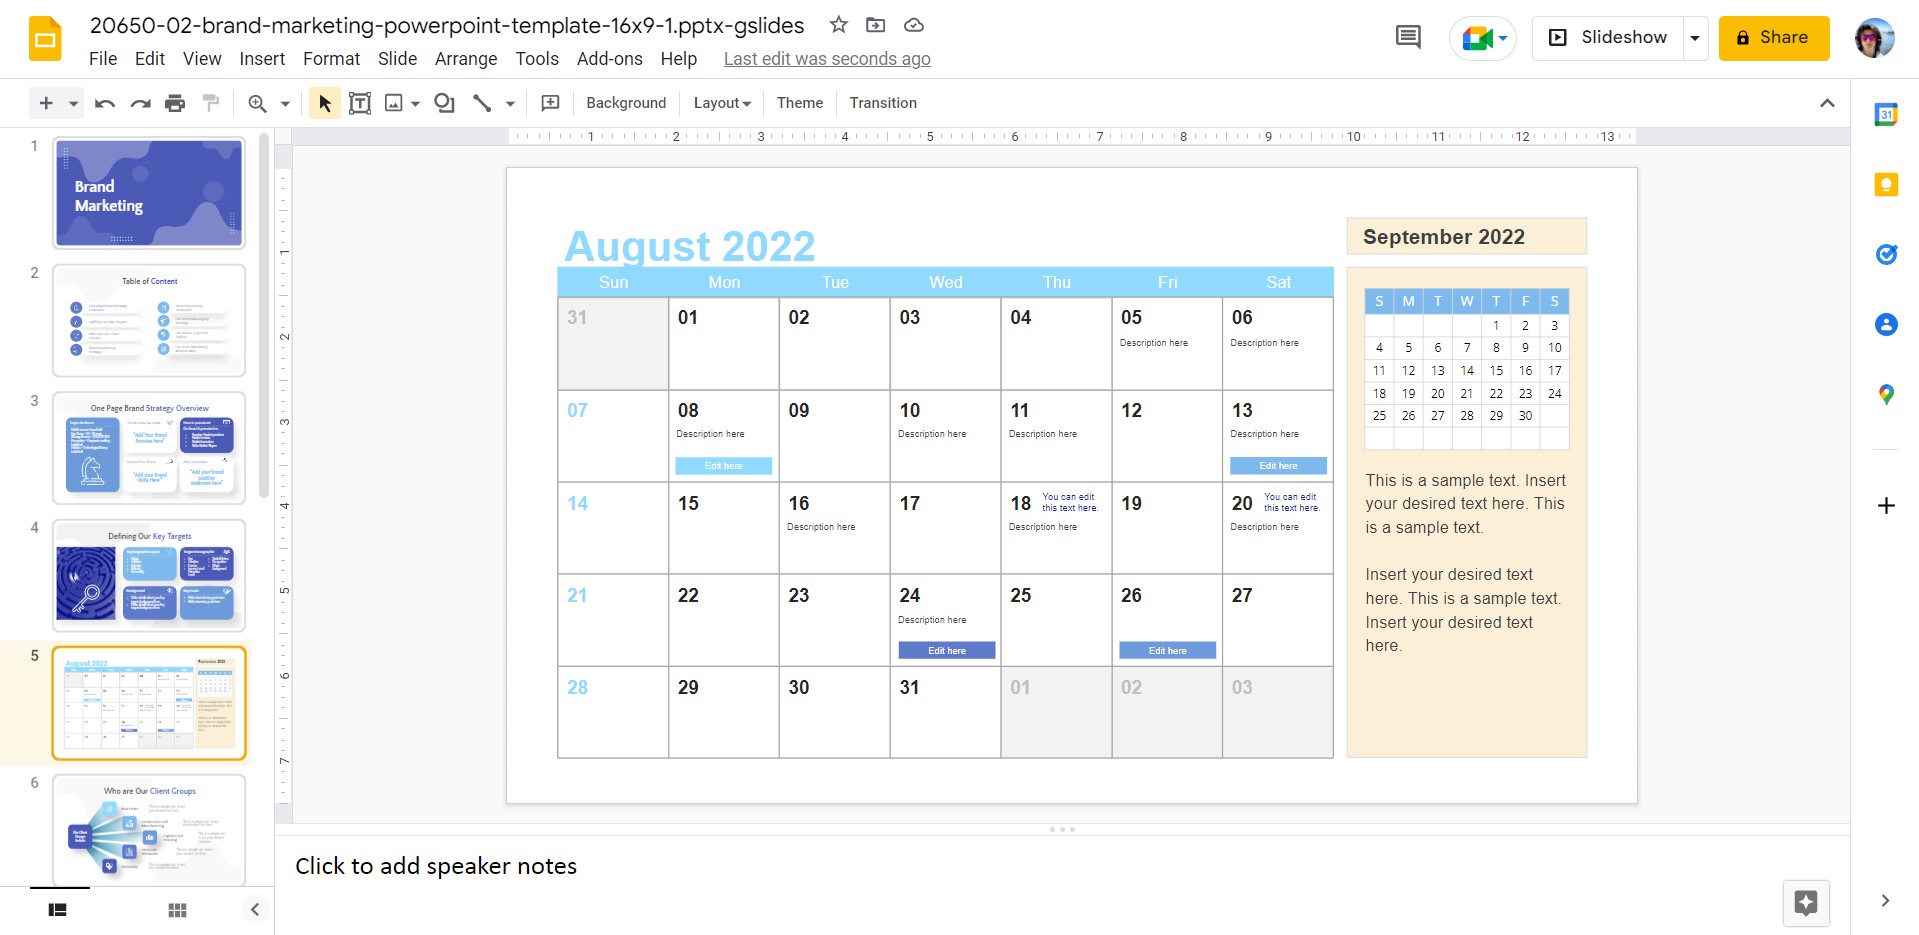
The main advantage of this method is that you end with a theme-paired calendar to show, and the inserted calendar is fully editable, as shown below.
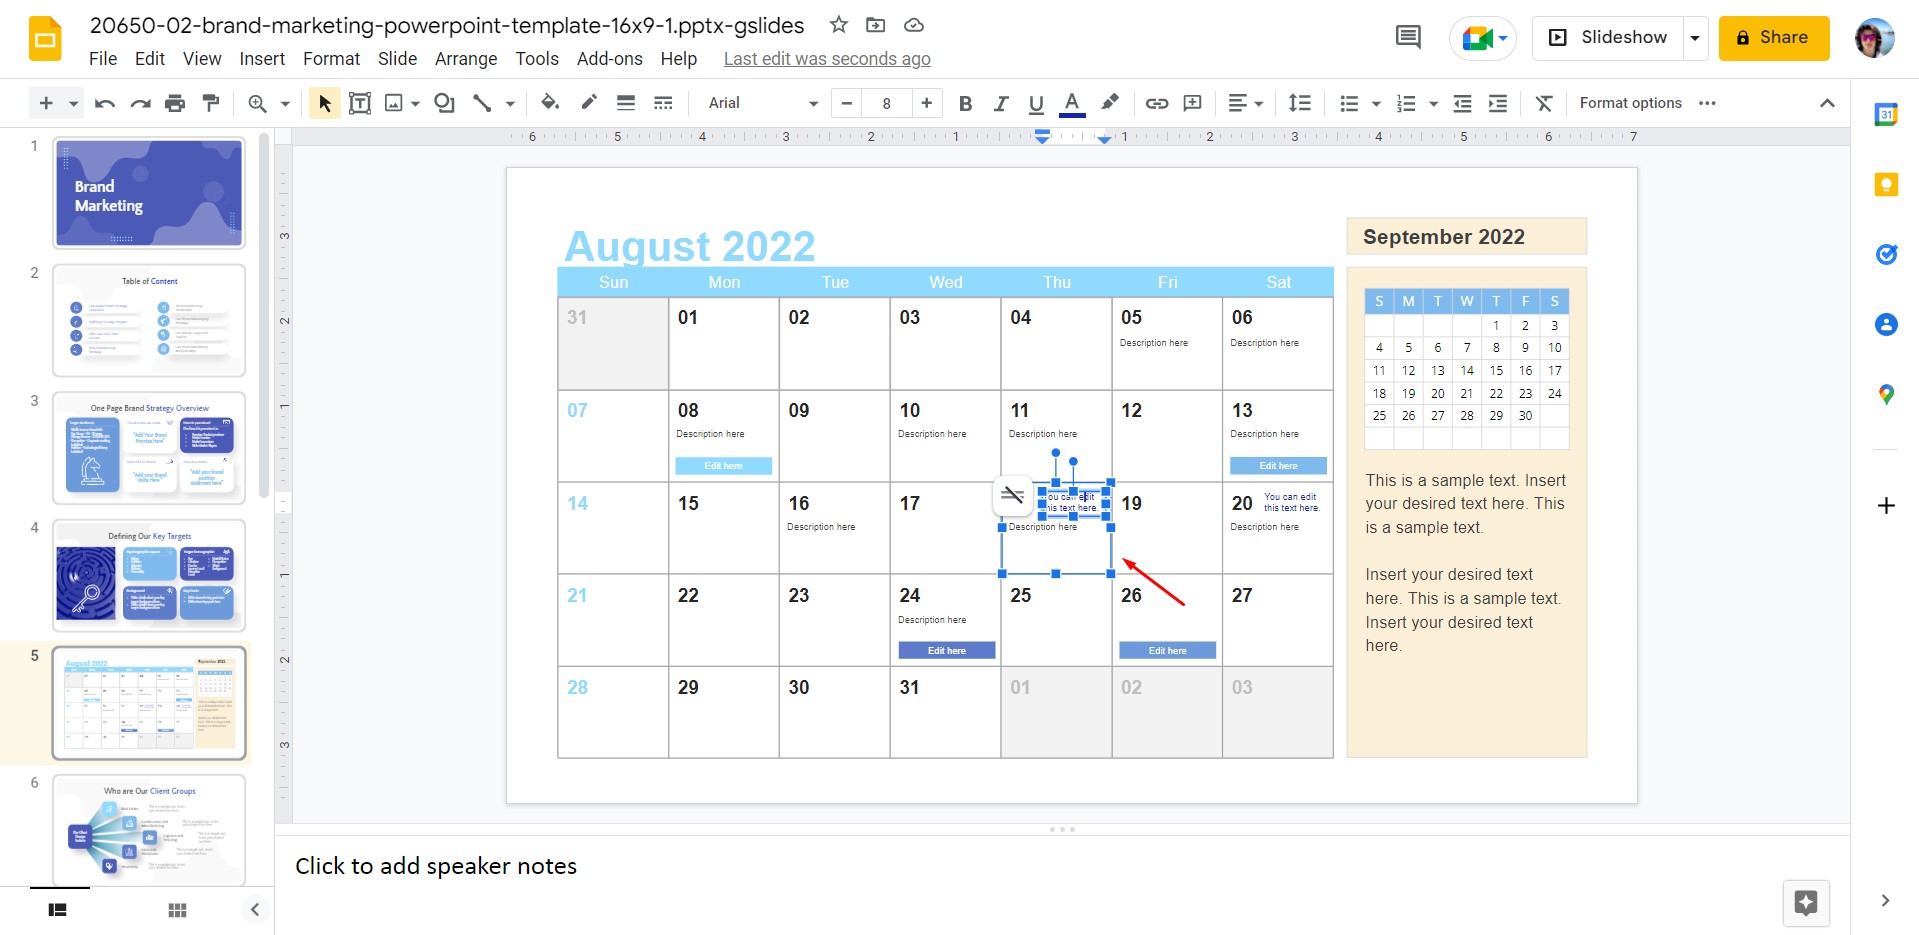
And that’s how you insert a calendar in Google Slides. Remember, the first method is mostly intended for those users that design their proper calendars in software like Adobe Illustrator or Canva.
FAQs
How can I insert a calendar into a Google Slides presentation?
You can insert a calendar by either using a calendar image or by importing a calendar template. These methods are explained in detail in the article.
What are the steps to insert a calendar image into Google Slides?
First, add a new blank slide by pressing CTRL + M or going to Slide > New Slide. Then, copy and paste a calendar image, screenshot, or a template into the slide and resize it as needed.
Can I use a pre-designed calendar template in Google Slides?
Yes, you can use a pre-designed calendar template by opening the template and importing the slides into your presentation using File > Import Slides.
How do I import a calendar template into my Google Slides presentation?
Open your calendar template first, then go to your main presentation and select File > Import Slides. Select the template file, choose the slide with the calendar, and click Import.
Can I customize the calendar after inserting it into Google Slides?
Yes, if you import a calendar slide from a template, it is fully editable. You can modify the text, colors, and layout to fit your presentation’s theme.
What is the advantage of using a calendar template instead of an image?
Using a calendar template allows you to fully edit and customize the calendar directly within Google Slides, while an image calendar cannot be edited without external tools.
How do I ensure the calendar template matches the theme of my presentation?
When importing the calendar template, you can choose to turn off the Keep Original Theme option, which will adjust the imported calendar to match your current presentation theme.
Can I use a calendar designed in another software like Adobe Illustrator or Canva?
Yes, you can insert a calendar designed in other software by exporting it as an image and then copying and pasting it into Google Slides.
Where should I position the calendar in my Google Slides presentation?
You can position the calendar anywhere on the slide by resizing and adjusting its location. The article suggests placing it in a designated area within the slide for better organization.


