A header and footer in PowerPoint are often used to add company branding, trademark, timestamp, author’s name, and slide numbers. Presenters often need to edit PowerPoint templates or Google Slides templates edited using PowerPoint to replace the default header and footer information. There is more than one way to add or edit a PowerPoint header, with some methods that can help embed more comprehensive branding features across your slides, such as SlideMaster.
How to Edit Automatically Added Header in PowerPoint
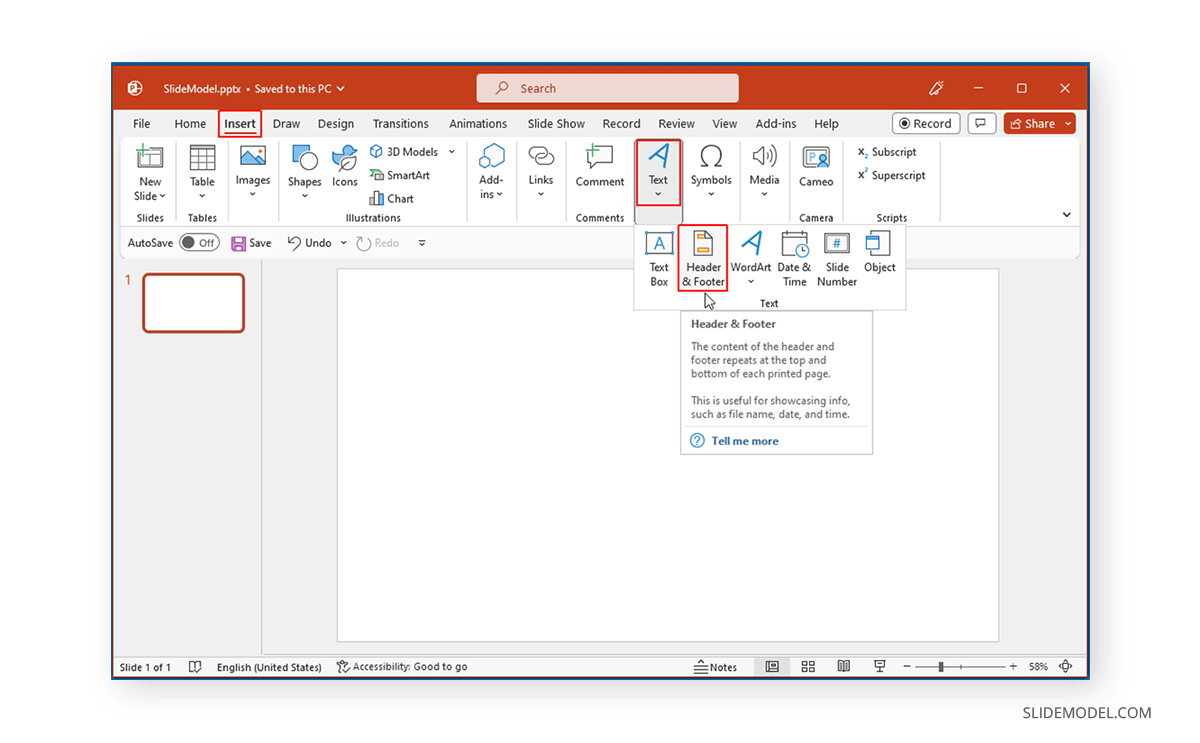
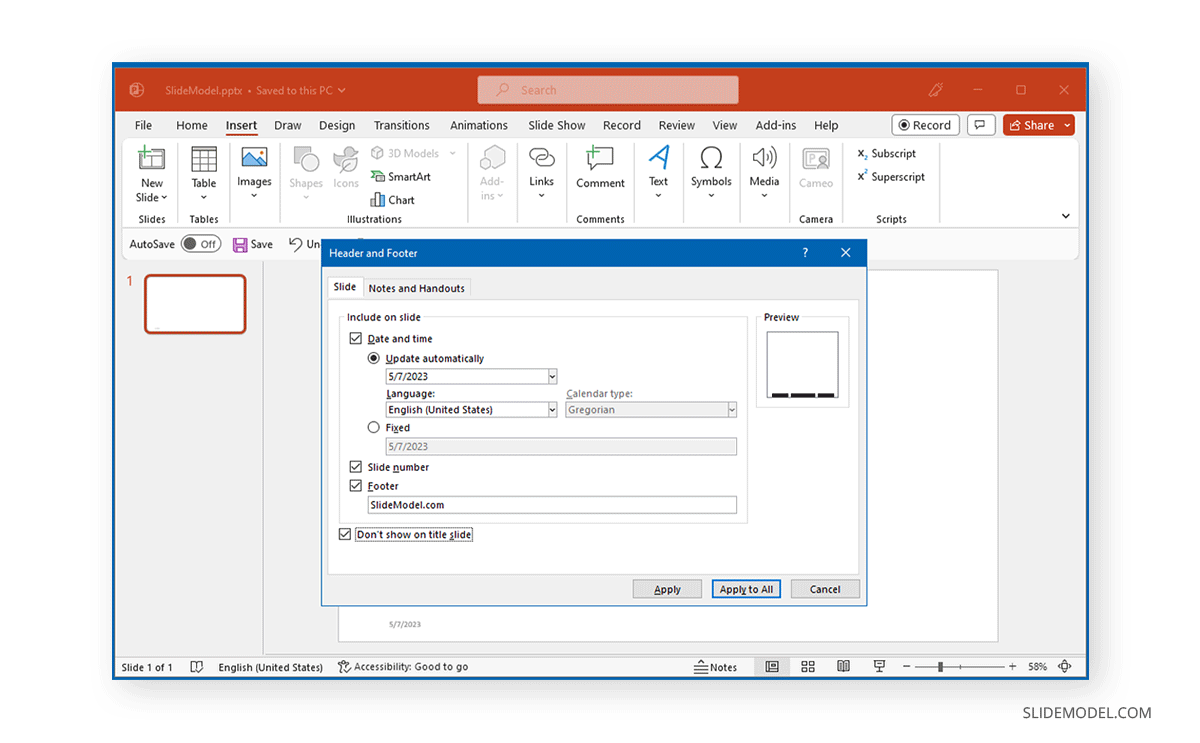
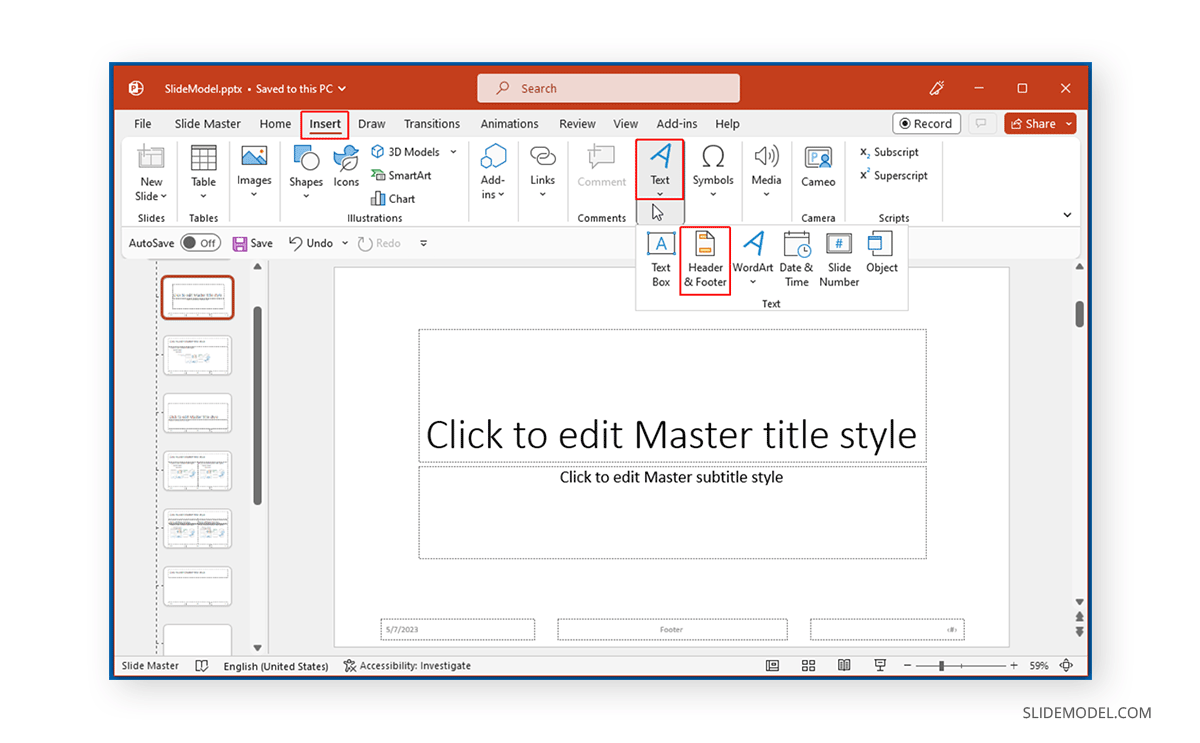
If you want to edit the header in PPT or make changes to the footer, go to Insert -> Text -> Header and Footer.
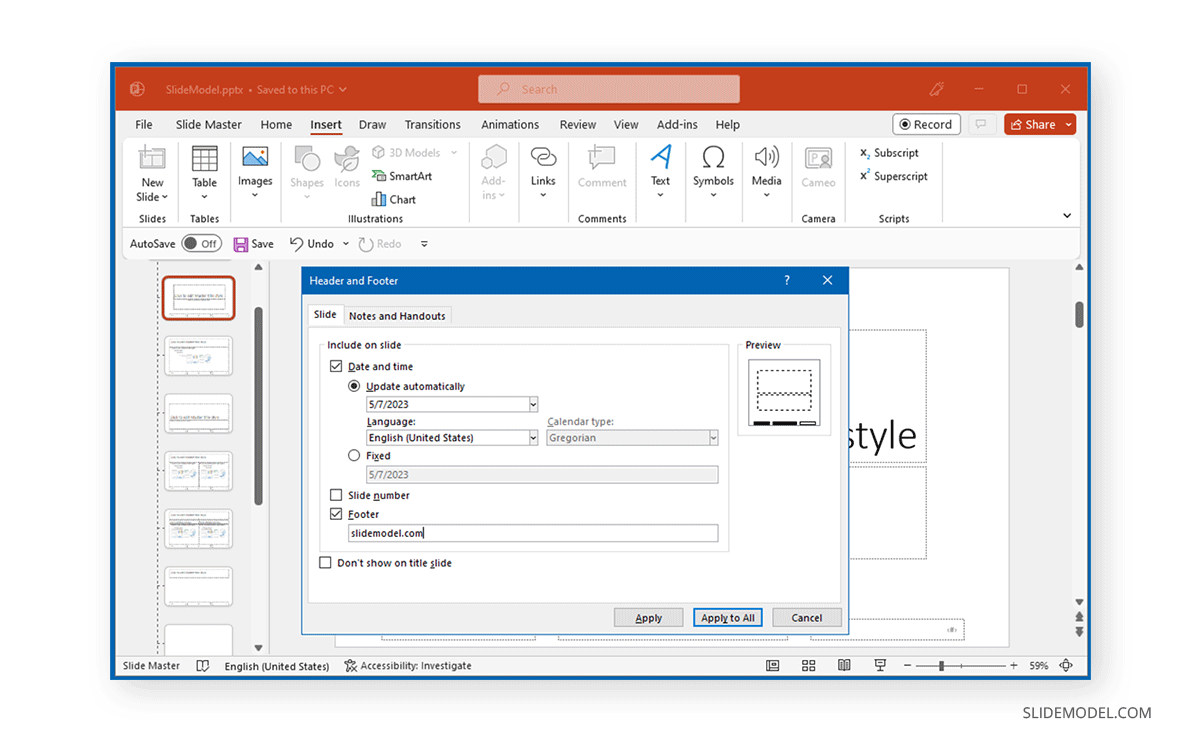
The Slide tab gives the options to add and edit the header and footer for your slides. You can add a fixed or automatically generated date, slide number, and footer text from here. These changes can also be hidden from the title slide by selecting the Don’t Show on the title slide option. Select Apply to apply the change to the current slide, or select Apply to All to apply the changes to all slides.
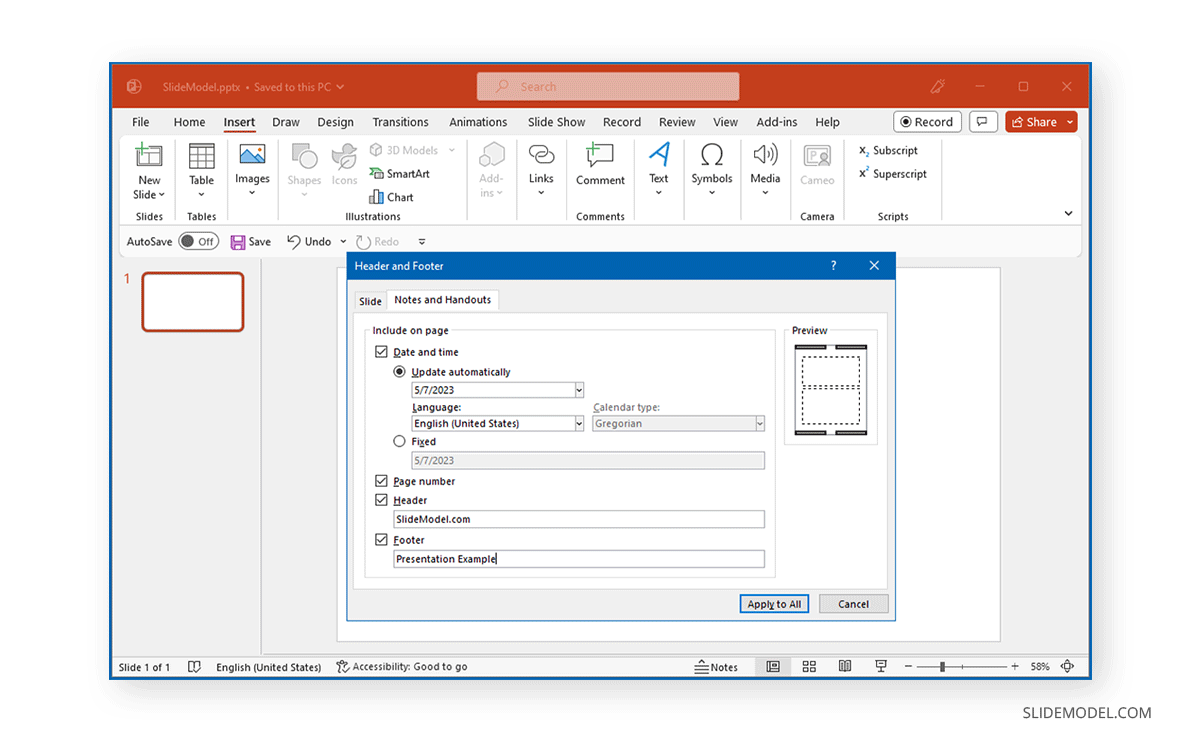
If you’re wondering how to edit the header in PPT for your handouts, or make changes to the footer, head over to the Notes and Handouts tab to edit the date and time, page number, header, and footer text. If you need additional guidance regarding this method, you might want to see our guide on how to edit footer in PowerPoint. Google Slides users can also see our guide on how to edit header and footer in Google Slides.
How to Edit Manually Added Header in PowerPoint
Sometimes, presentations might contain manually added headers and footers. Presenters add these individually by inserting images (such as a logo) and text boxes.
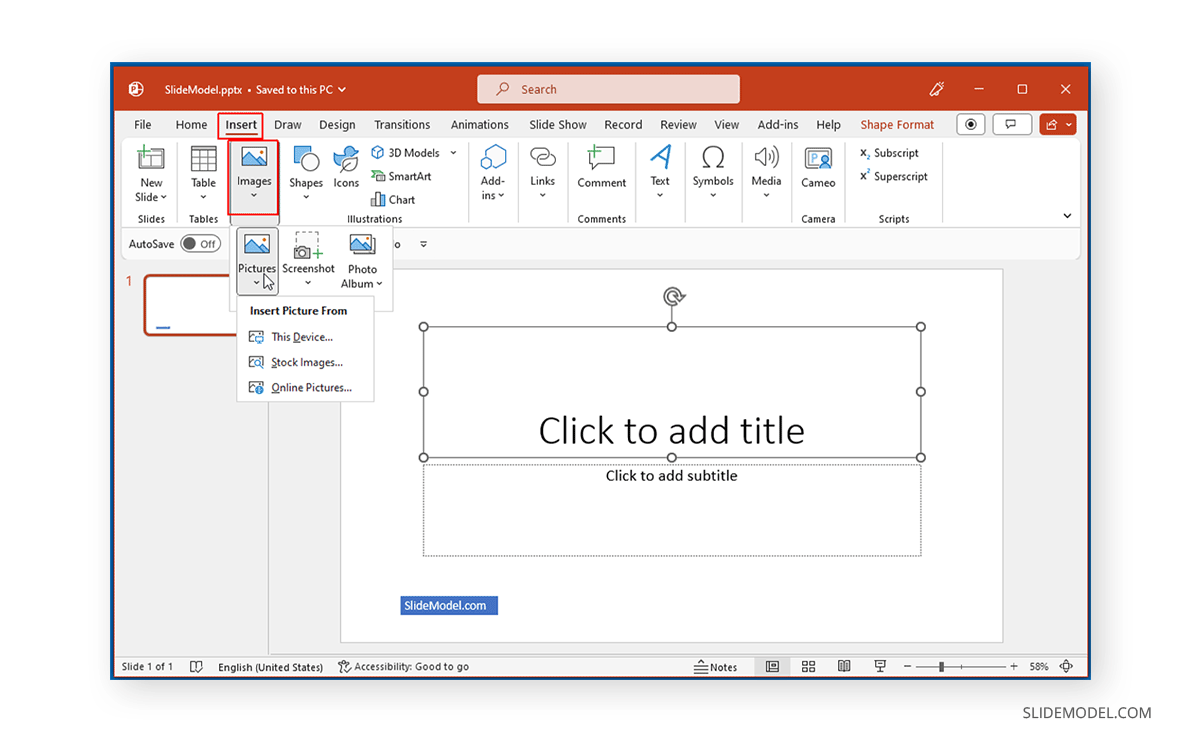
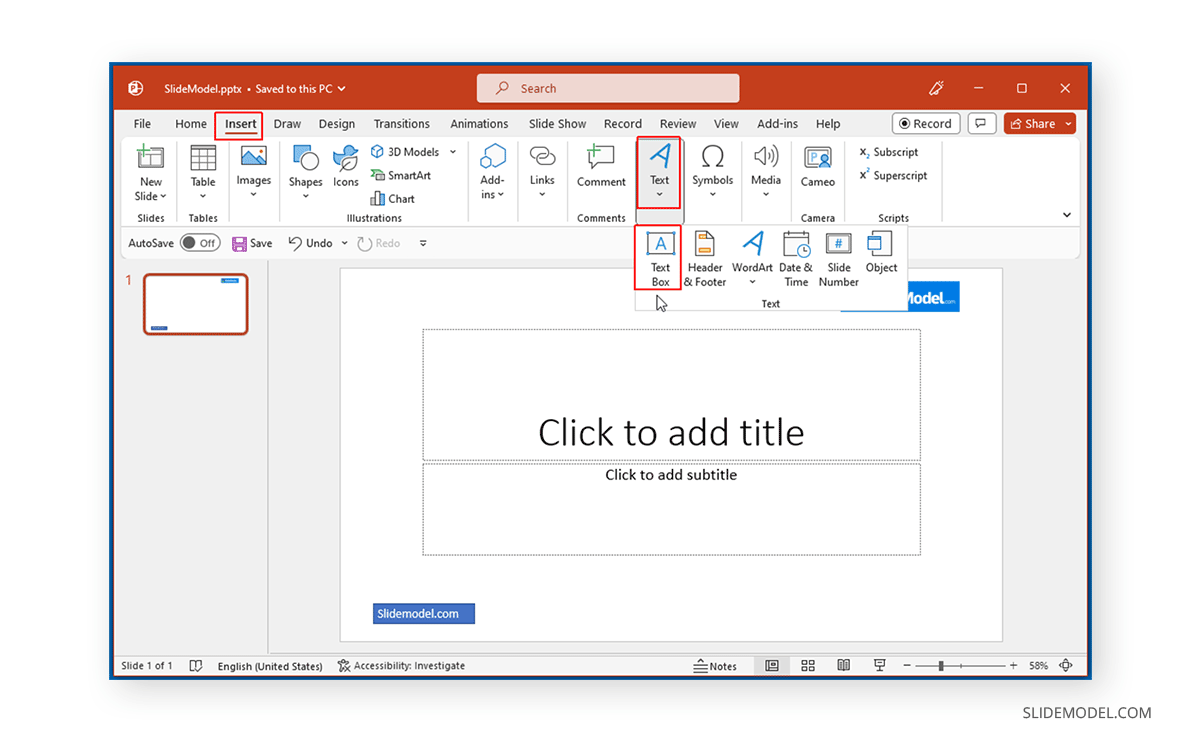
Similarly, you can add a textbox via Insert -> Text -> Text Box to insert a manual header.
If the information is already added, you can simply edit it by selecting and editing text or adding or removing images. In such a case, the added header and footer can be edited in Normal mode. However, if you cannot edit it, you might need to switch to Slide Master.
How to Edit Header using SlideMaster
A header in PPT that is applied across one or more slides and isn’t editable in Normal mode will need to be edited via SlideMaster. To access SlideMaster go to View -> SlideMaster.

Go to the Master Slide and head over to Insert -> Header and Footer.
The changes made here can be applied to one or more slides in your slide deck by editing the Master Slide.
You can also insert a logo and place slide elements to adjust your header.
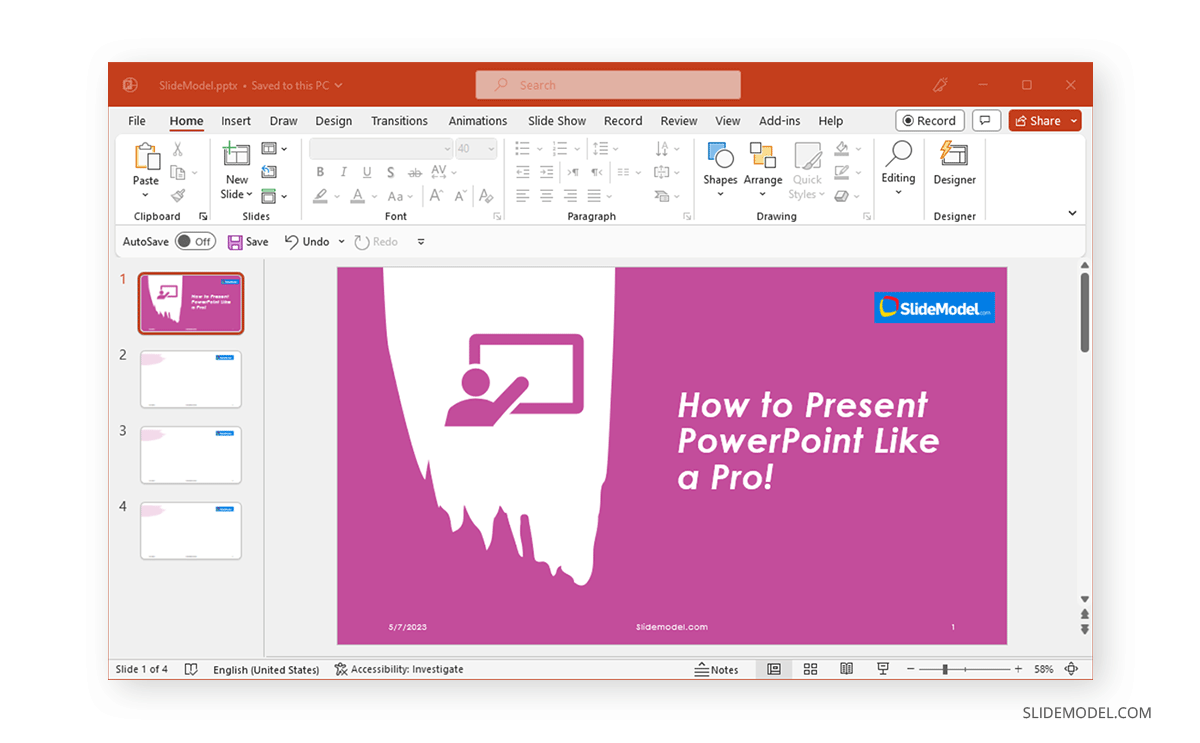
The below image shows a header and footer edited using SlideMaster.
We changed all slides to keep your slide deck uniform with a standard header using SlideMaster. This method can help make it easier to incorporate branding and other information necessary for the presentation automatically.
Final Words
To add a simple header with text, timestamp, and other information, you can use the default option via Insert -> Text -> Header & Footer either from Normal view or via SlideMaster to make more sweeping changes to your slide deck. Additionally, you can add a logo or other images and related information in SlideMaster or manually in Normal mode to suit your needs.