Hanging indents are commonly used in documents for citations or bibliographies. However, you might also need to use hanging indents in presentations, such as when using Google Slides.
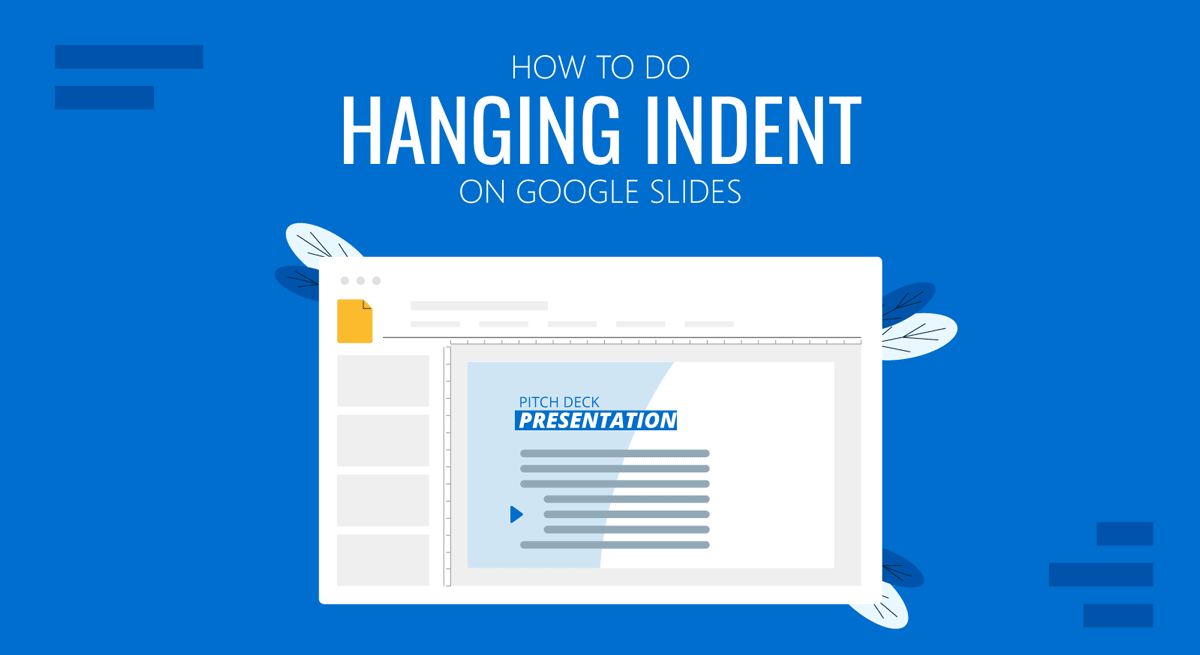
How to Do Hanging Indent on Google Slides
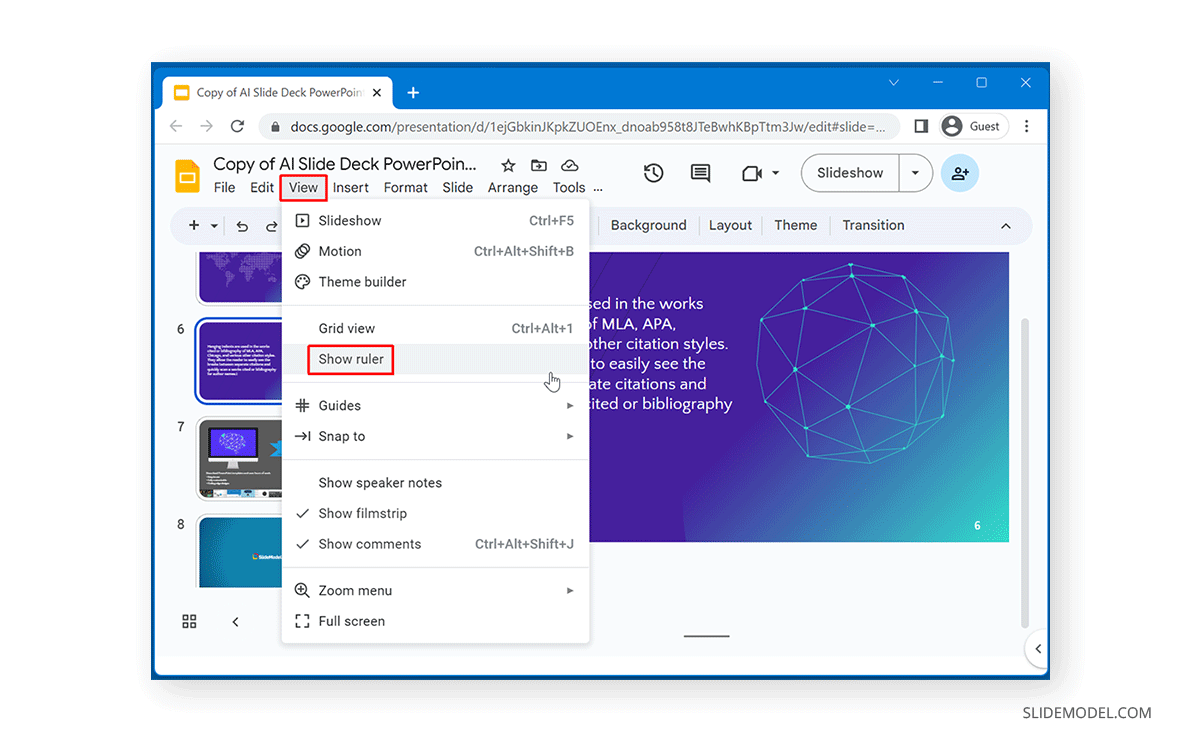
For the purpose of this tutorial, we will use the AI Slide Deck Google Slides Template, which is a part of Slide Model’s Google Slides templates. To use hanging indent on Google Slides, you can start by enabling the ruler in case it isn’t already visible. To do this, go to View –> Show Ruler.
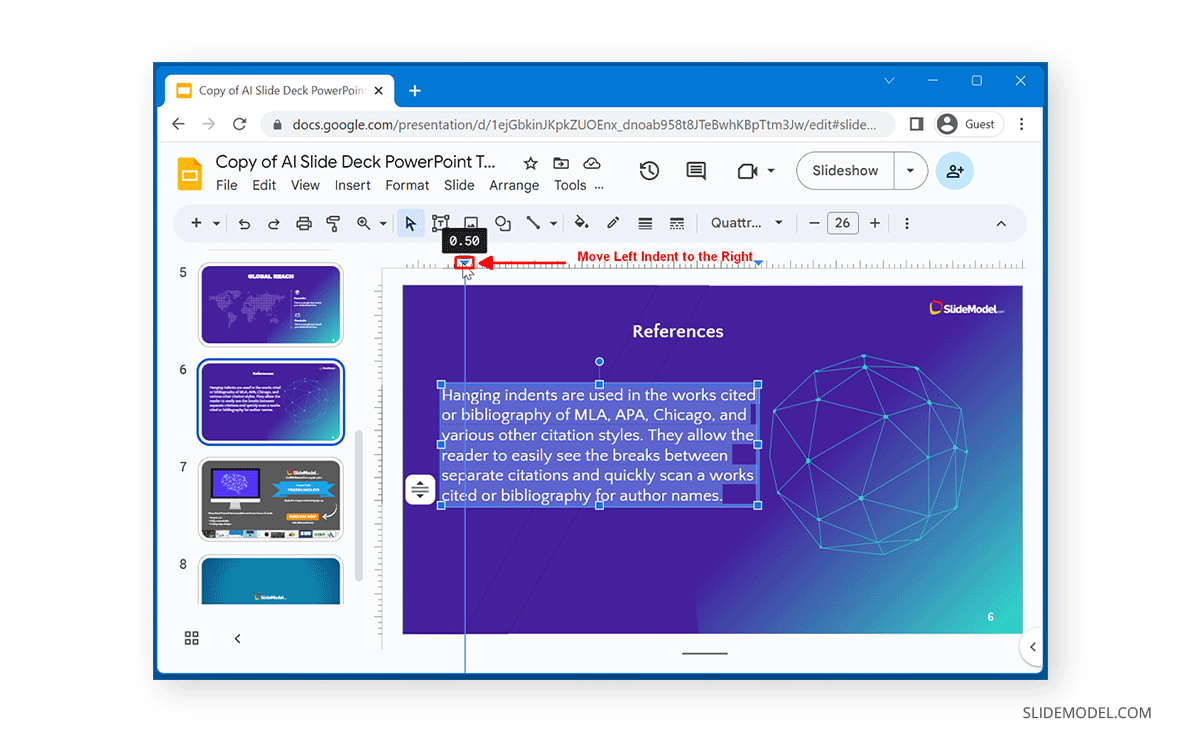
Select the entire text in the text box and move the Left Indent button from the top towards the right. You can indent text as per your needs (e.g., 0.5 points).
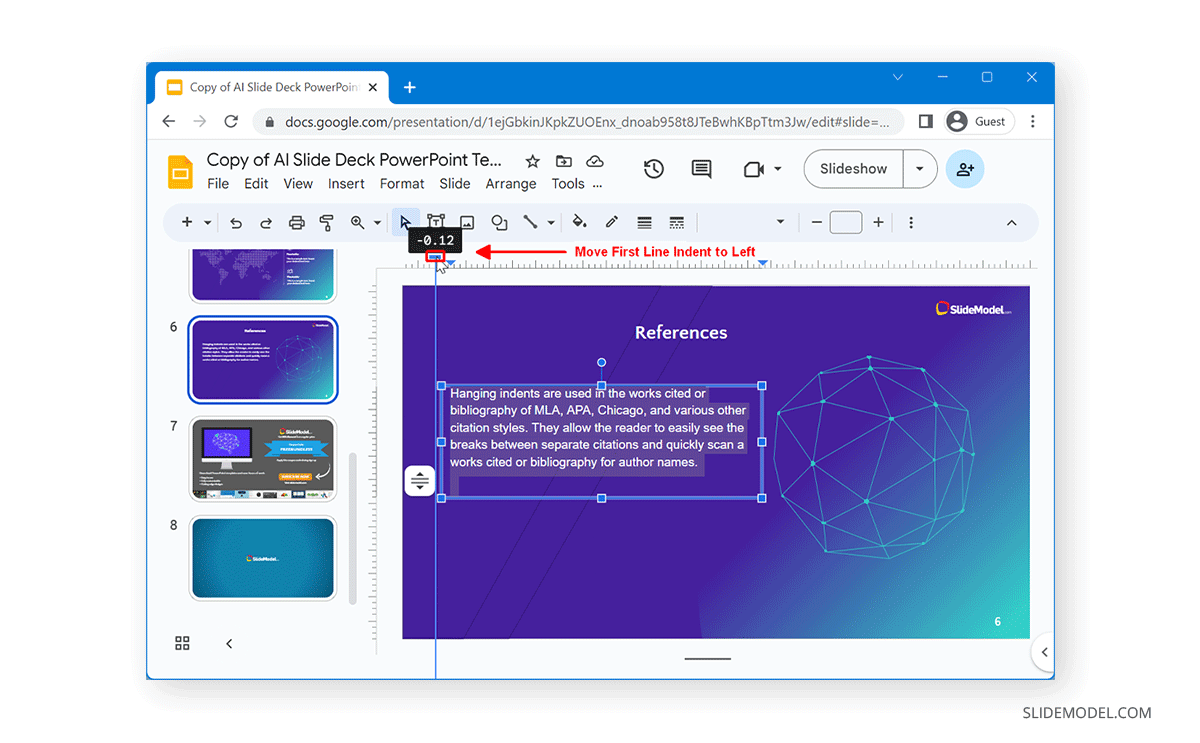
Now, move the First Line Indent option and move it to the right to convert your text to a hanging indent.
As you create more paragraphs, the hanging indent will automatically start occurring for new text.
This might be useful when using hanging indent, such as when making citations or bibliographies in Google Slides.
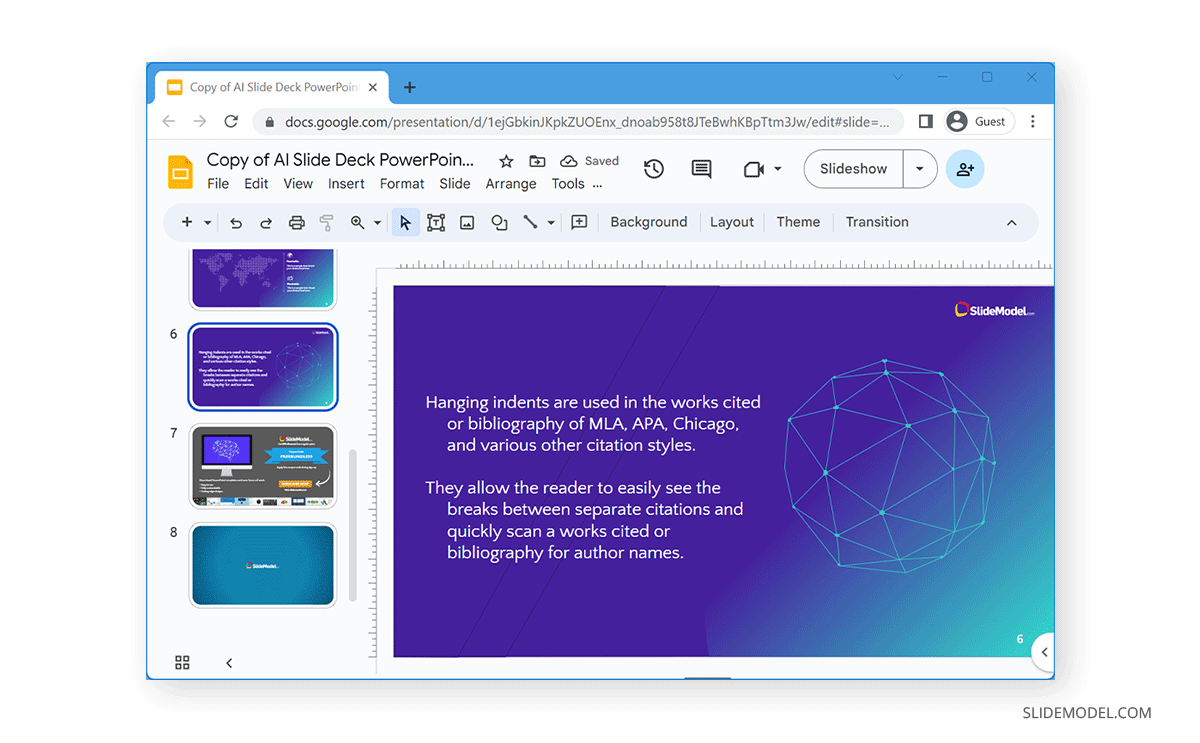
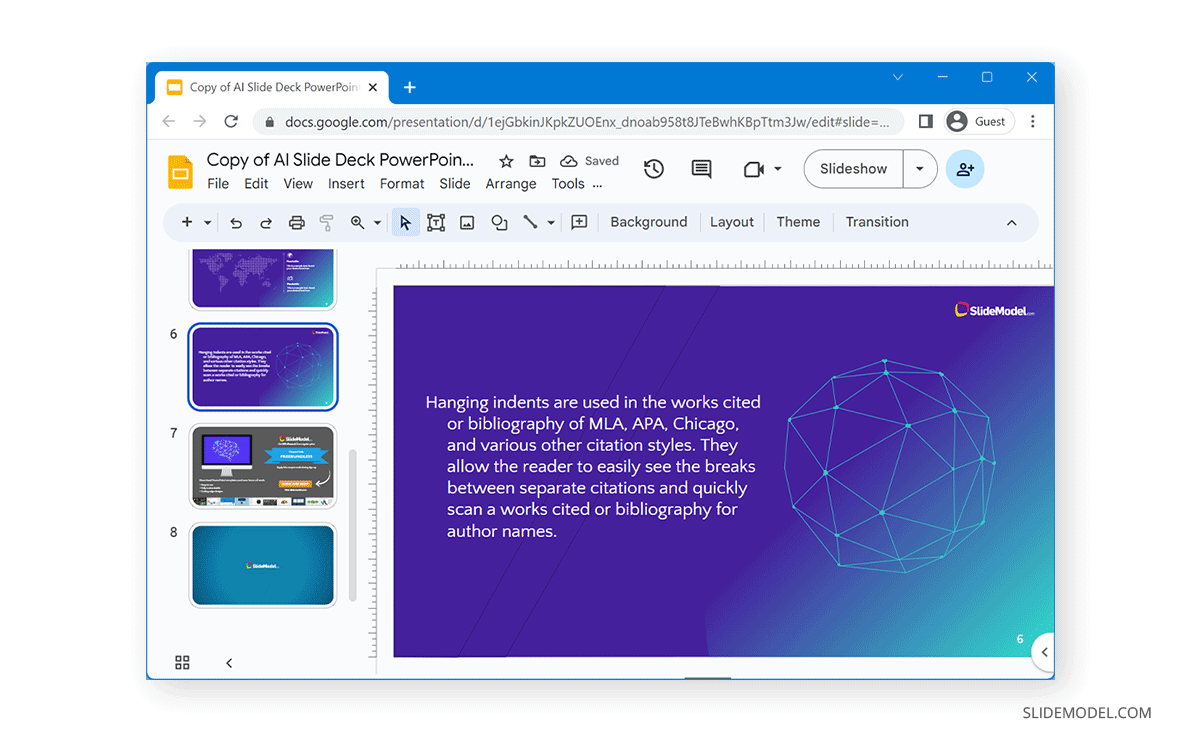
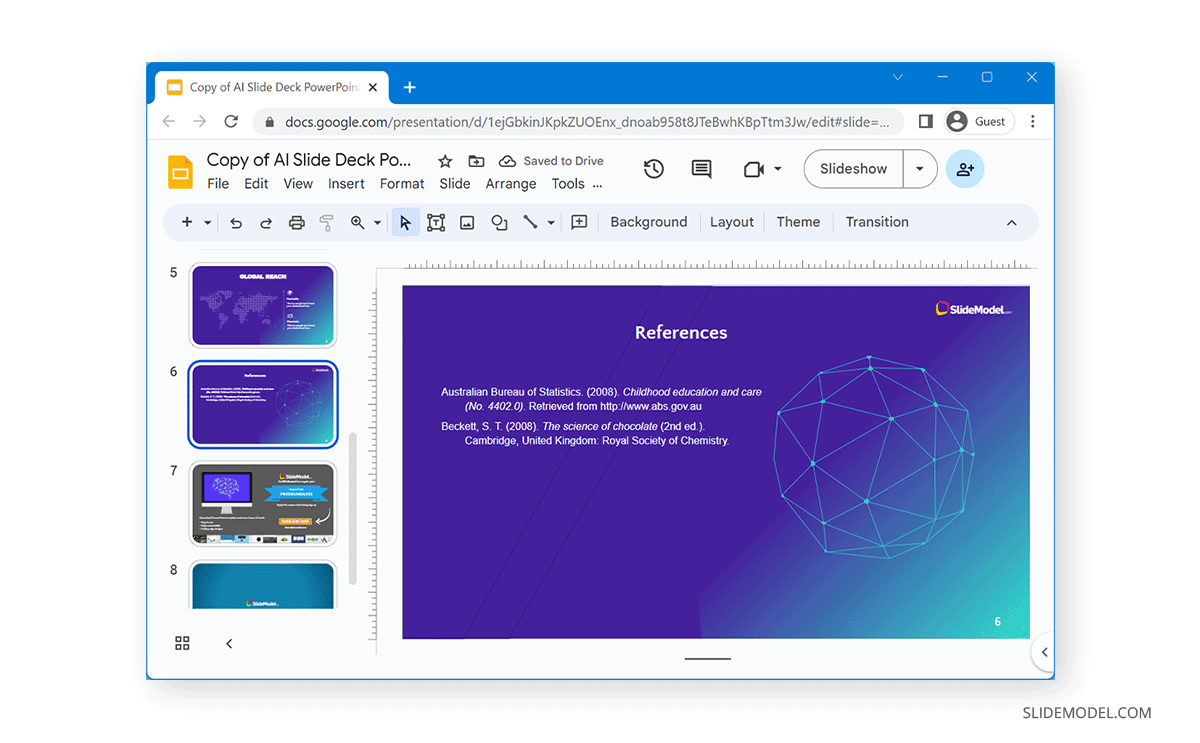
As a final example in this section, let’s see what a Reference slide would look like with a hanging indent after applying the concepts in this article.
If you enjoyed reading this article on how to apply hanging indent in the text of your slides on Google Slides, we recommend you to learn how to make Google Slides look good by applying design tips from expert designers.
How to Do Hanging Indent on Google Docs
Now that you know how to do a hanging indent on Google Slides, you might be wondering how to do a hanging indent on Google Docs. Multiple ways of hanging indent in Google Docs include adjusting the right and left indent sliders and specifying indentation via Special Indent.
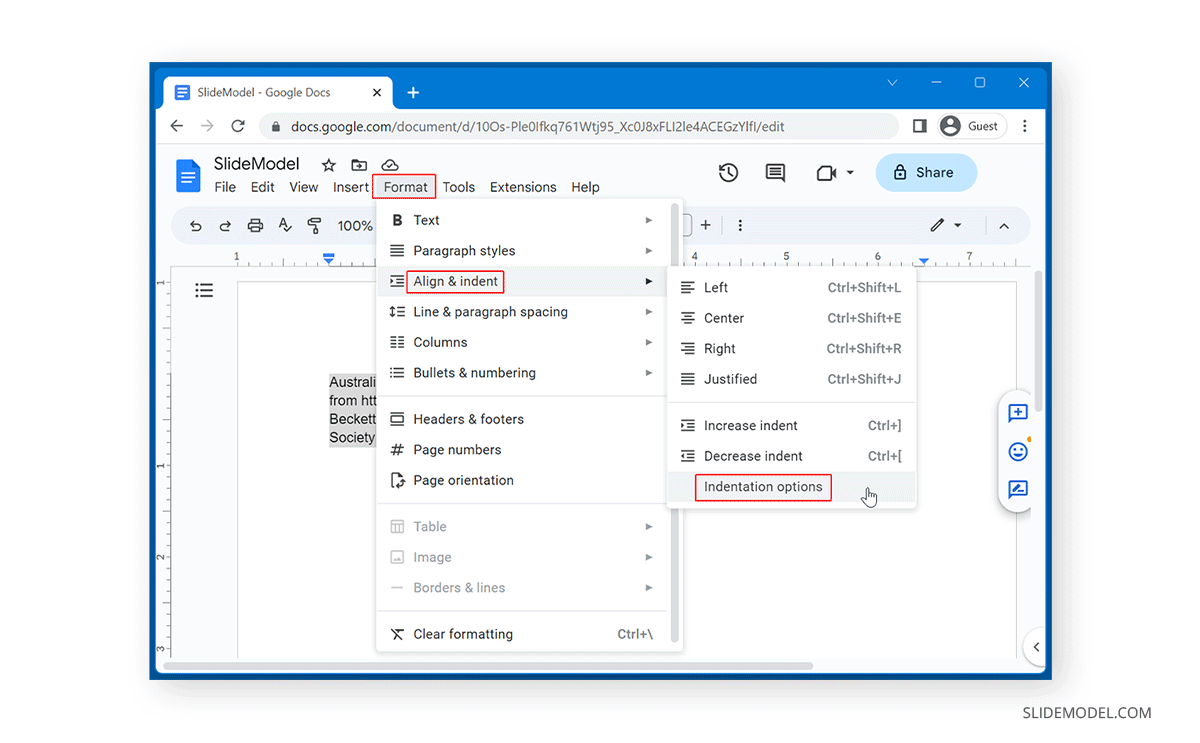
To do hanging indent on Google Docs, highlight the text you need to indent and go to Format -> Align & Indent -> Indentation Options.
Select Hanging Indent from the Special Indent dropdown menu.
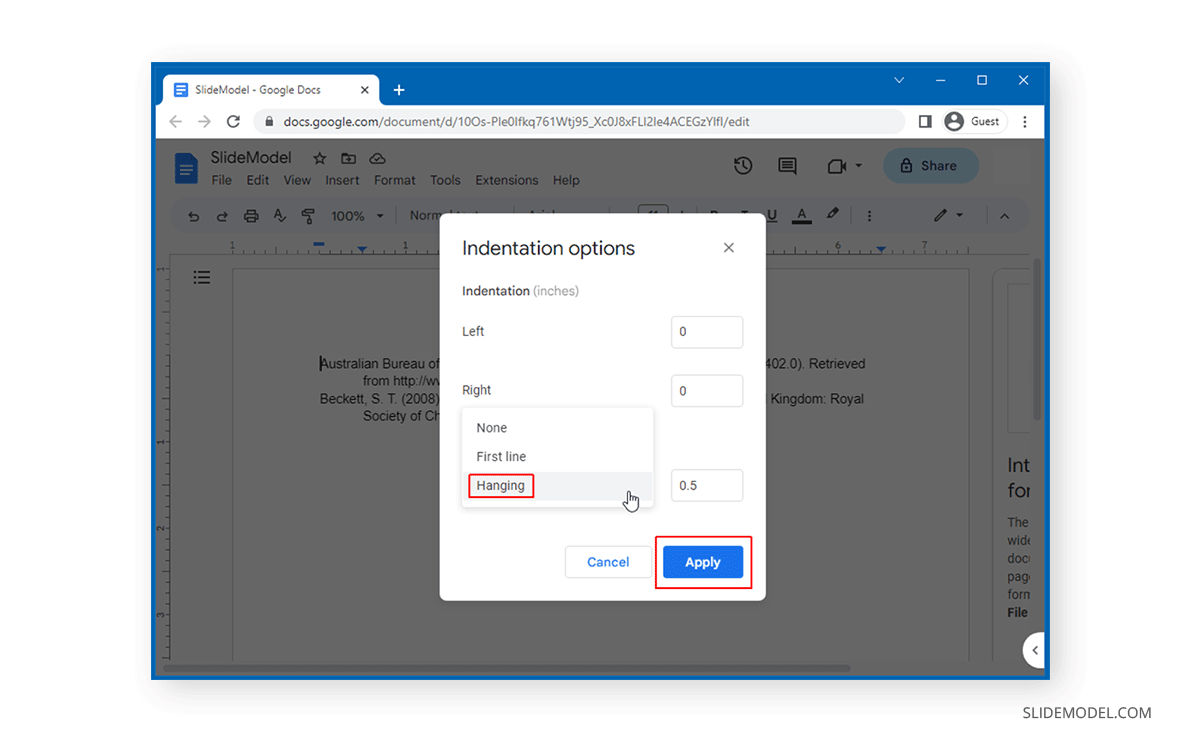
The default indent is 0.5, but you can also adjust this by entering a different value. Click Apply to indent your text.
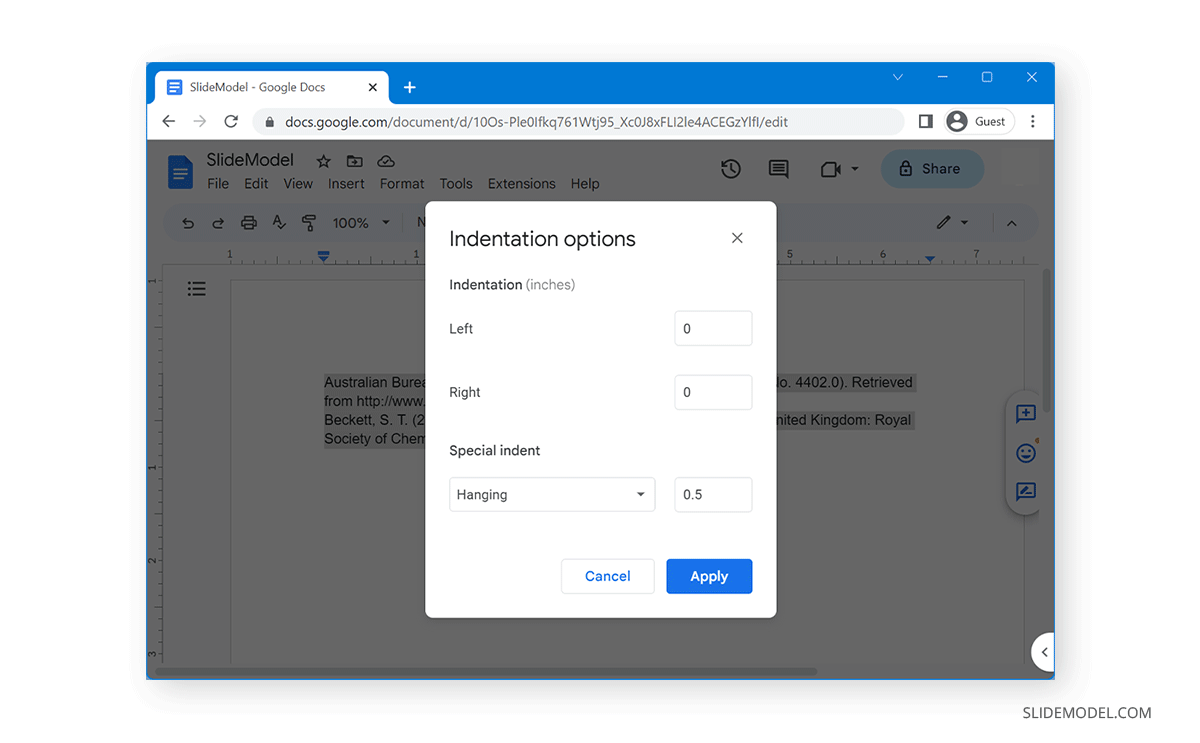
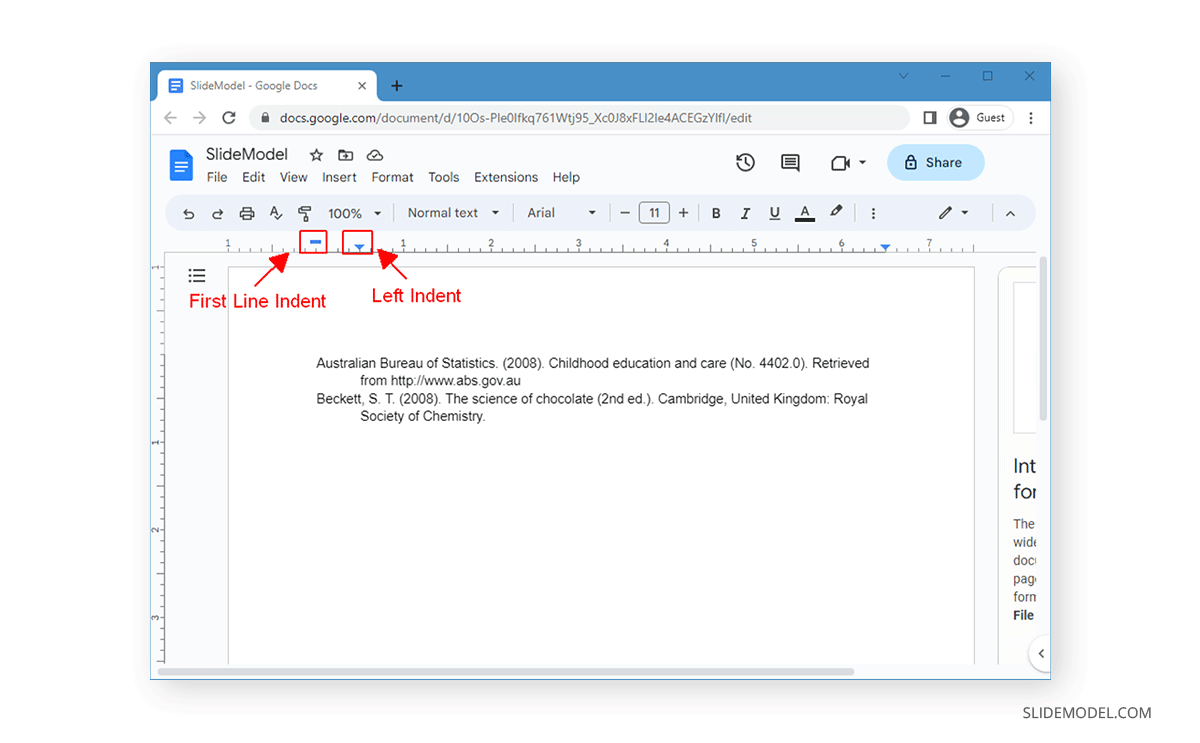
This will apply the hanging indent to your text in Google Docs. You can also make further adjustments to indent your text using the First Line Indent and Left Indent options.
Final Words
Hanging indent is often used for citations and bibliographies; you might need to use it in Google Slides or Google Docs. At the same time, both Google Slides and Google Docs contain the First Line Indent and Left Indent options that can be used for this purpose. You can also enable hanging indent in Google Docs via Format -> Align & Indent -> Indentation Options.