When refining your content, removing duplicates, or cleaning up a draft, knowing how to delete a slide in Google Slides can save time and keep your presentation organized. While deleting a slide is simple, sometimes it can go quite wrong, especially when working with shared presentations. In this guide, we will show you a few quick methods to delete slides in Google Slides and share practical tips to avoid accidental deletions.
Why You Might Need to Delete Slides in Google Slides
You might want to remove slides when cleaning duplicate slides, outdated information, simplifying a long presentation deck, removing placeholder slides from templates, fixing mistakes, or adjusting the flow of your presentation. Deleting unnecessary slides helps keep your deck focused and easier to present.
How to Delete a Slide in Google Slides
You can use various easy methods to delete a slide in a Google Slides presentation. This includes the right-click context menu, using the Delete key, and using the CTRL/Command hotkey combination to delete multiple slides. For this post, we will use the Market Research Diagram PowerPoint Template to demonstrate the various Google Slides options for deleting slides.
Method 1: Use the Delete Key to Remove Slides
If you prefer working quickly on the keyboard, this is the fastest way to delete slides.
Step 1: Select the slide you want to remove via left mouse click or keyboard (e.g., via the arrow keys).
Step 2: Press the Delete key (or Backspace on some keyboards). That’s it, the slide will disappear instantly.
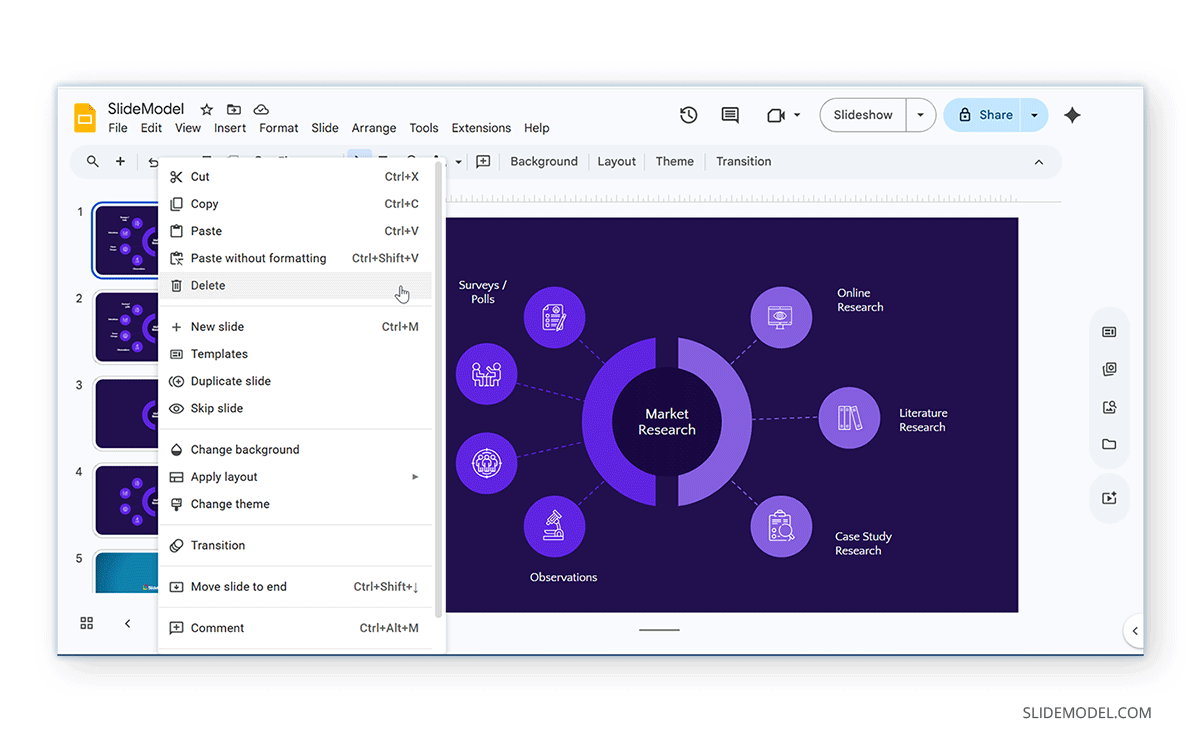
Method 2: Delete a Slide Using Right-Click
The most common and straightforward way to remove a slide in Google Slides is to use the right-click menu.
Step 1: Open your Google Slides presentation and locate the slide in the left-hand panel.
Step 2: Right-click on the slide thumbnail and select Delete. The slide will be removed immediately from your presentation.
Method 3: Delete Multiple Slides Simultaneously
If you need to clean up several slides, you don’t have to delete them one by one.
Step 1: Click on the slides you want to delete by holding down Ctrl (Windows) or Command (Mac).
Step 2: Select multiple slides, either in a sequence or out of sequence (as needed), and press Delete or use the right-click menu to select the Delete option. This method is especially useful when editing large presentations.
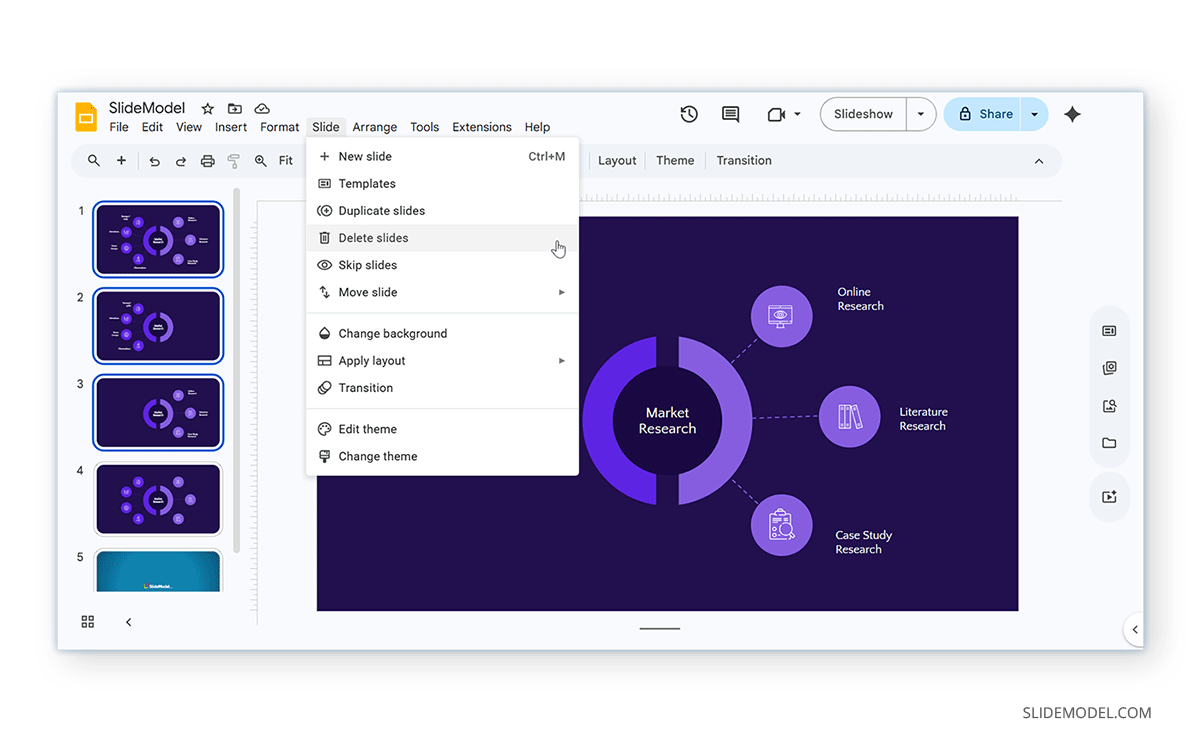
Method 4: Delete Slides from the Slide Menu
Another way to delete a slide is through the top menu.
Step 1: Select the slide(s) to delete, and go to Slide in the top menu.
Step 2: Select Delete slides to remove the selected slides. This method works well if you prefer menus to shortcuts.
How to Undo a Deleted Slide
Mistakes happen, especially when editing slides quickly. If you accidentally delete a slide, you can easily recover it.
Method 1: Press Ctrl+Z (Windows) or Command+Z (Mac) to undo the deletion.
Method 2: Click Edit -> Undo to recover your slide.
Using either option, Google Slides will restore the most recently deleted slide. For similar options in PowerPoint, see our post about how to add, delete, and rearrange PowerPoint slides.

Preventing Accidental Deletions in Collaborative Work
When multiple people are working on the same presentation, slides can sometimes be deleted unintentionally. This is one of the most common issues in shared Google Slides files. Here’s how to avoid it.
1. Assign Editing Permissions Carefully
Not everyone needs full editing access. Once you hit the Share button, make sure each user has the required permissions. You can control permissions using the following user access privileges to reduce the risk of accidental deletion.
- Giving Viewer access (no edits allowed).
- Giving Commenter access (can suggest changes).
- Limiting Editor access to key team members.
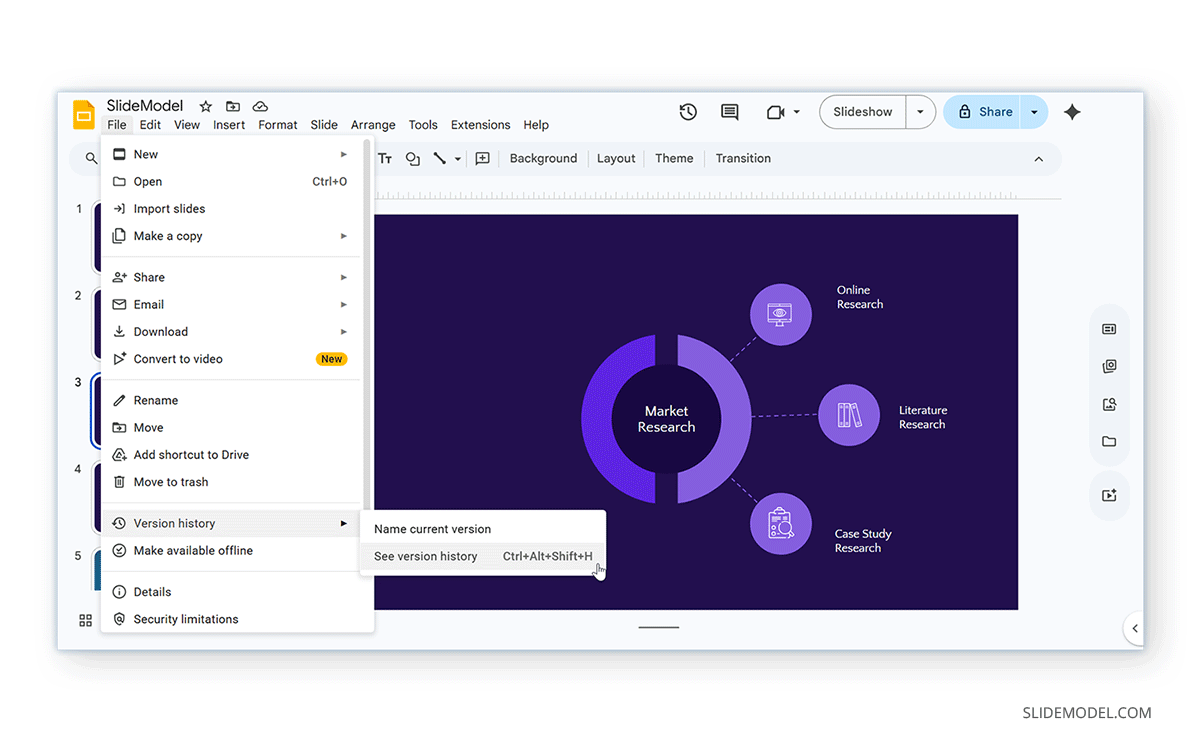
2. Use Version History
Google Slides automatically tracks changes. To access it, go to File -> Version History -> See Version History. From there, you can view who made changes and restore previous versions or deleted slides.
3. Duplicate Important Slides
Before making major changes, right-click a slide and click Duplicate Slide to create a backup you can return to if something is deleted.
4. Communicate Changes in Team Projects
If multiple people are editing slides, inform your team before deleting slides, use comments to suggest removals, and agree on structure before editing. This avoids confusion and lost work.
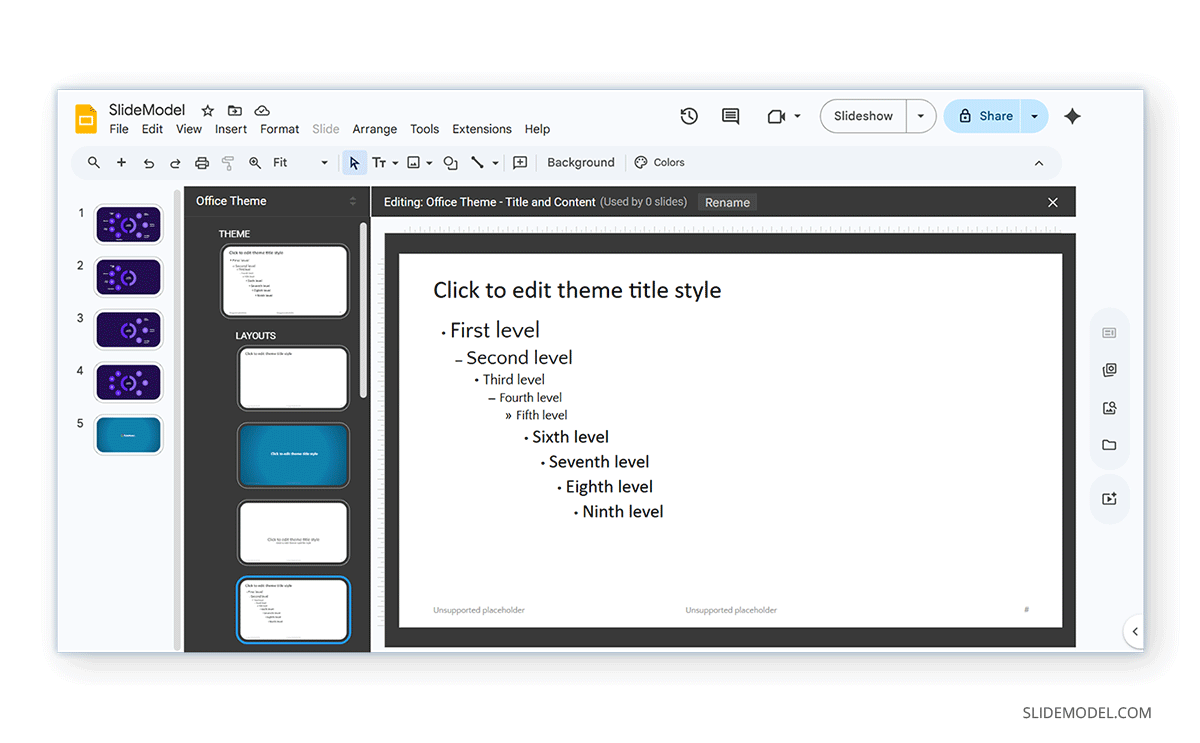
5. Lock Layout with Master Slides
While Google Slides doesn’t fully lock slides, using layouts helps reduce accidental edits. Use predefined layouts and keep key elements in master slides. This ensures important content isn’t easily removed.
Final Words
If your presentation feels cluttered, learning how to delete page in Google Slides using menu options can help you streamline your slides and improve clarity for your audience. One of the easiest ways to delete a slide in a Google Slides presentation is to simply select the slide and press the Delete key for a quick cleanup. Learning how to delete a slide in Google Slides is simple, but using this feature carefully is important, especially when collaborating on slide decks.
When cleaning up your presentation or refining your message, knowing how to safely delete a slide in Google Slides helps you stay organized and avoid pitfalls. Even small actions like deleting a slide can have a big impact on your presentation, so it’s always worth doing it thoughtfully.