Drop Shadows effects are powerful tools for presentation design. They make elements stand out tridimensionally from the scene and can help animate a flat design. In our article about drop shadows in PowerPoint, you can see more suggestions about the proper usage of shadows in presentation design. Today, we will learn how to apply drop shadows in a Google Slides Template.
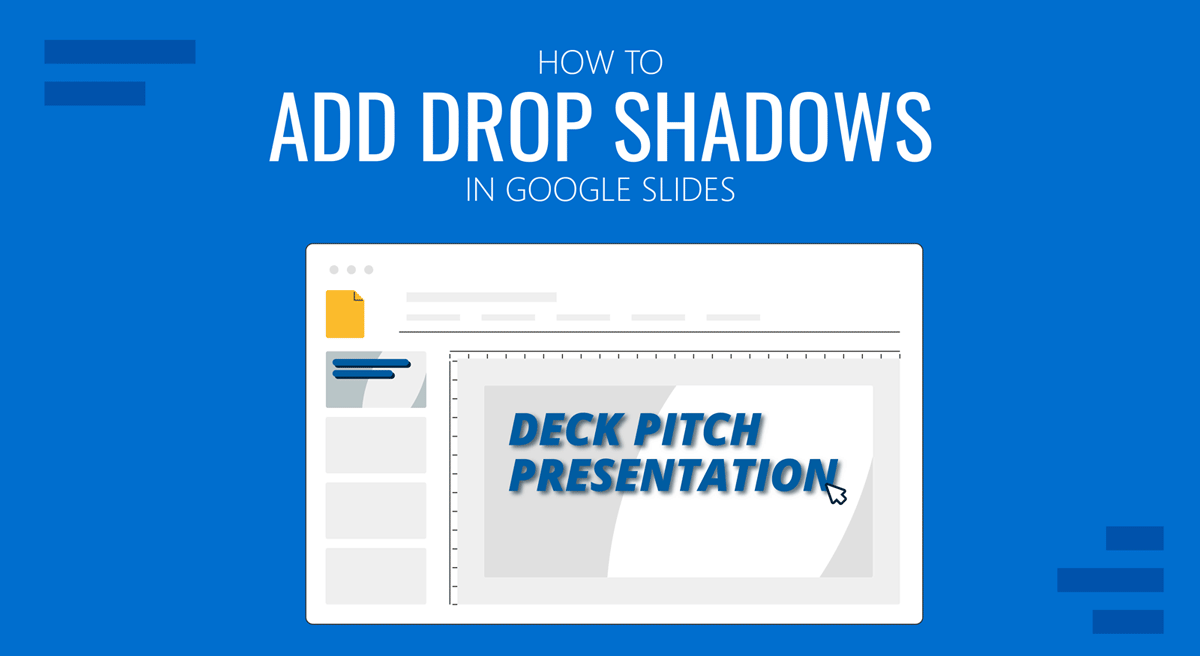
Our first step is to open an empty Google Slides file. After entering the Google Slides site, we click on the plus icon at the bottom-right corner.

A new blank presentation file is created.
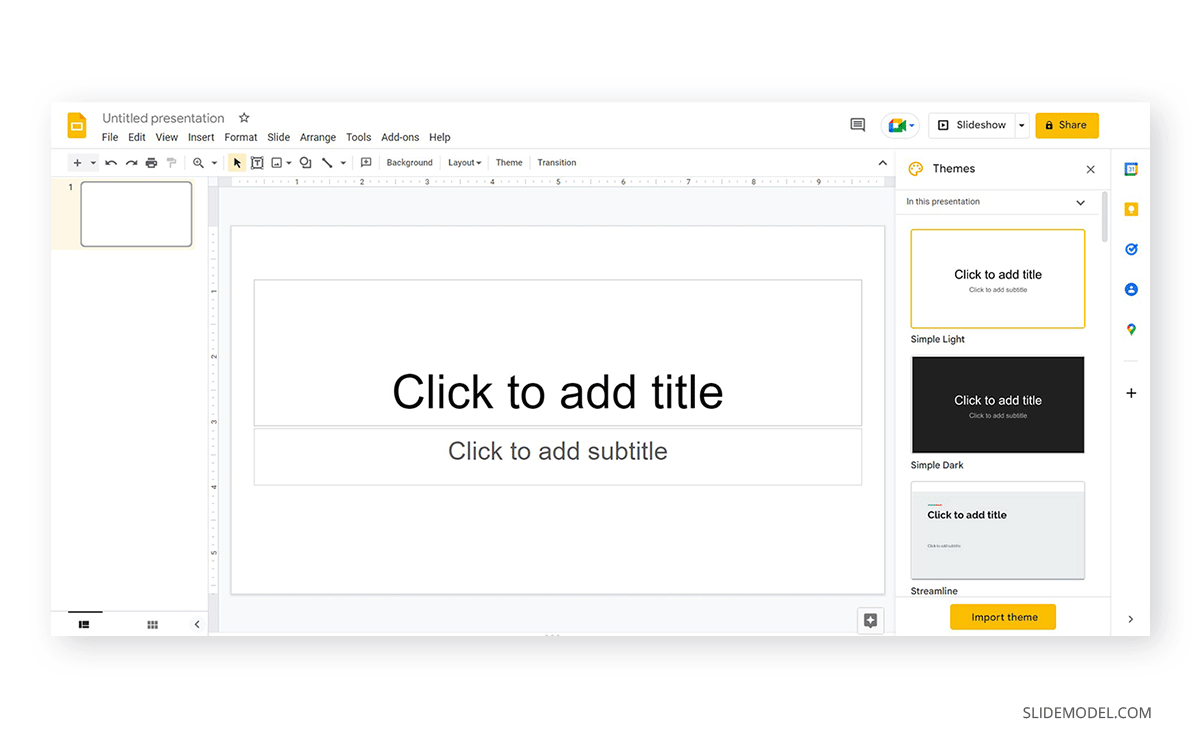
For this tutorial’s purpose, we will delete the placeholder text areas and place a vertical-format image, which shall have the drop shadow effect.
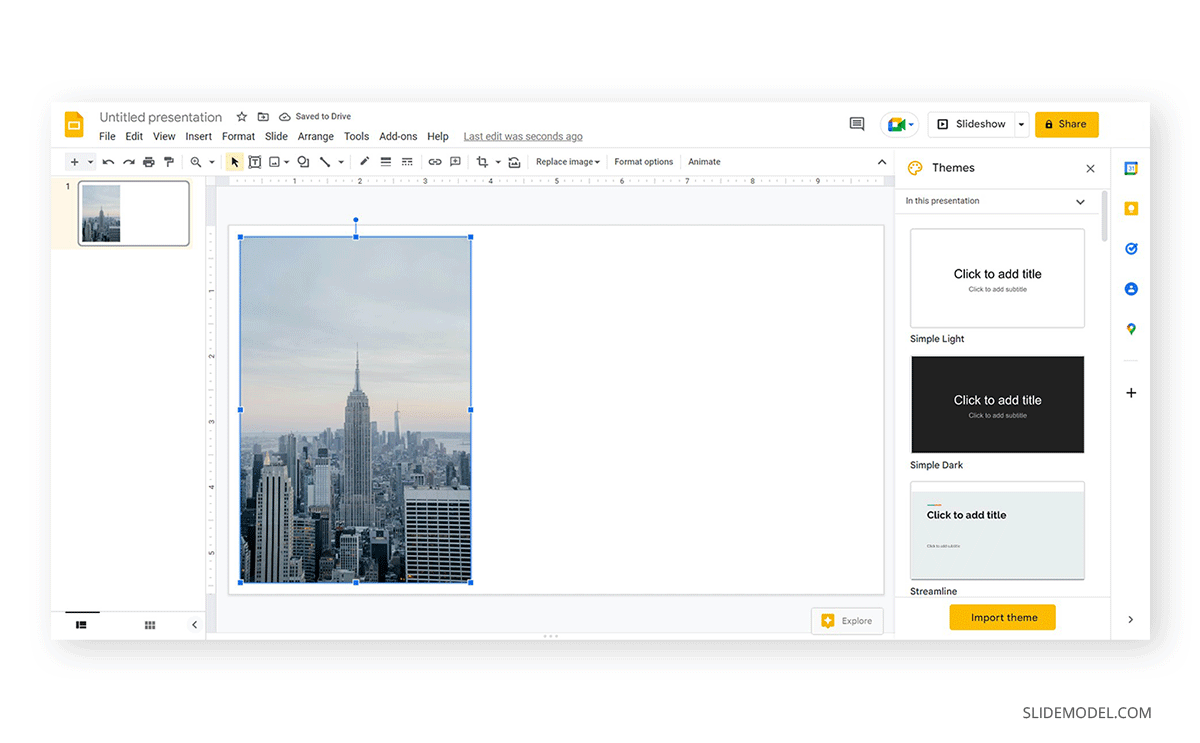
Next, we ought to locate the Format Options. Right-click the picture, and click on Format Options. This shall open a new panel on the right side.
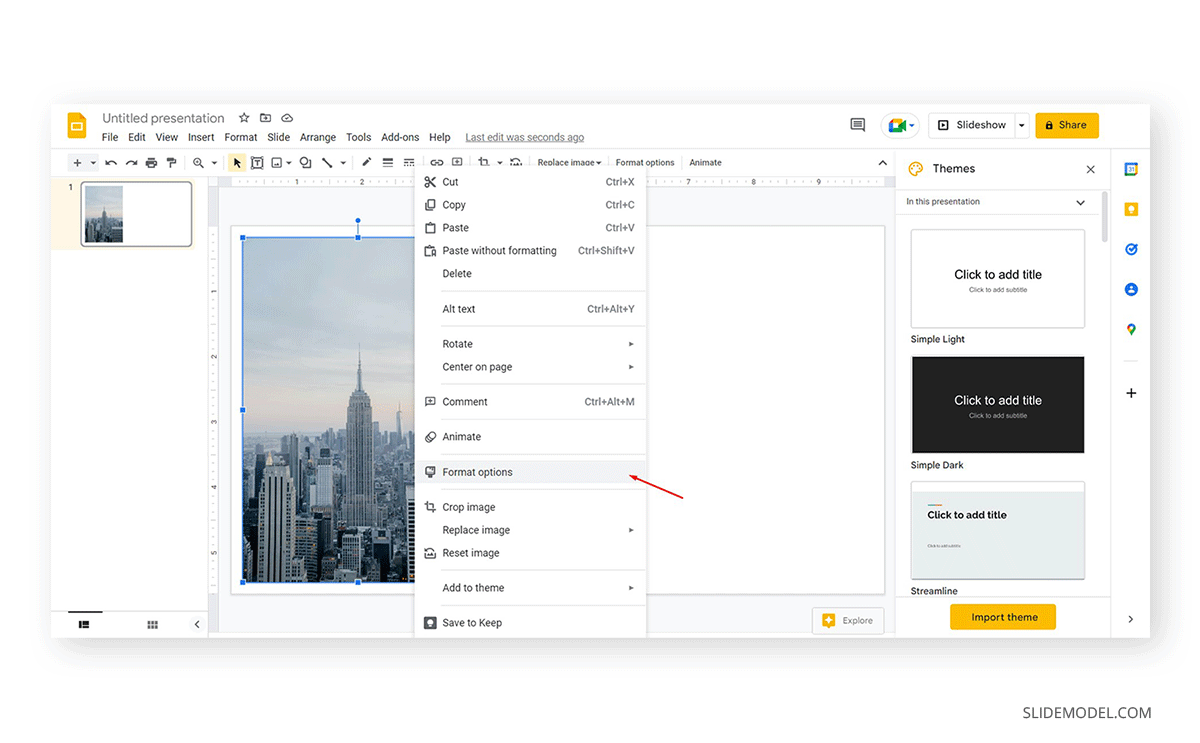
This Format Options panel has multiple options to work. The options displayed depend on whether you work with an image/graph or if you apply drop shadows to text in Google Slides.
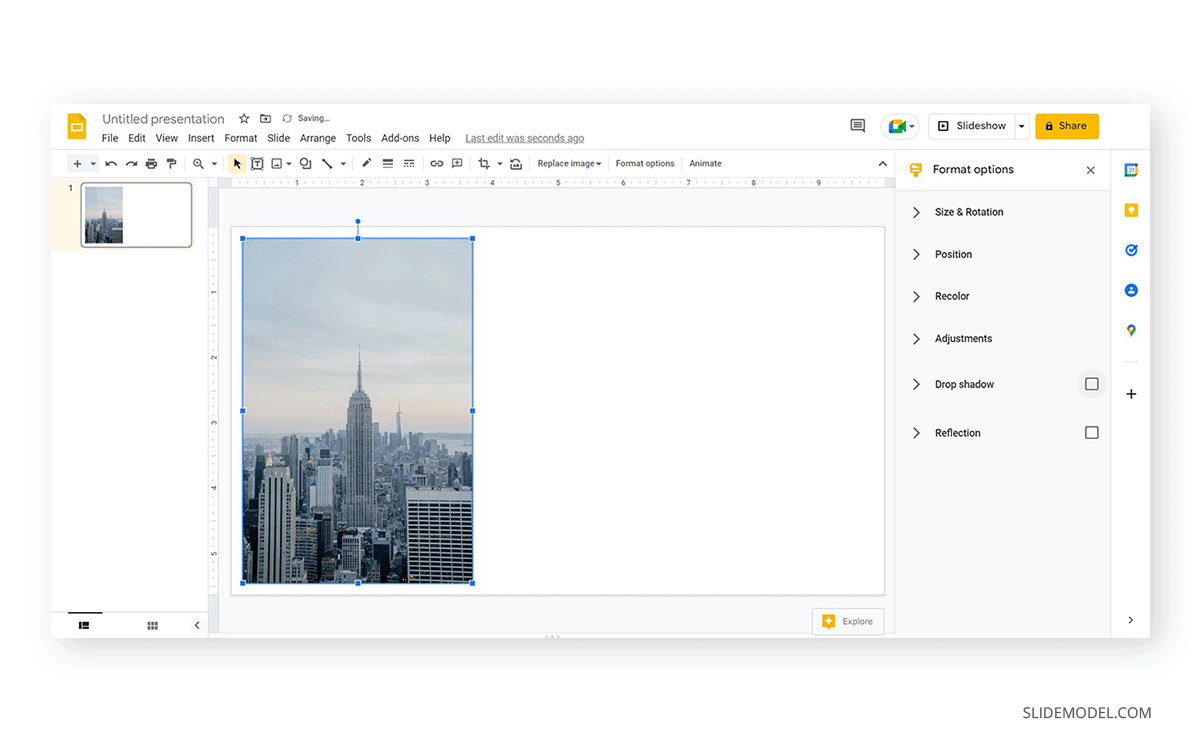
Select Drop Shadow, and open the options for it. The first thing you’ll notice is you have these options:
- Color
- Transparency
- Angle
- Distance
- Blur Radius
Color is usually left in the default value. Transparency, Angle, and Distance are important sliders since they control the behavior of the shadow effect. Overall, try to work with Transparency values between 70-80% unless your project requires unique settings. The angle cannot be entered via number, just moving the slider – which is really uncomfortable.
Blur Radius controls how blurred the shadow effect is – and as a rule, try to stick to the default value.
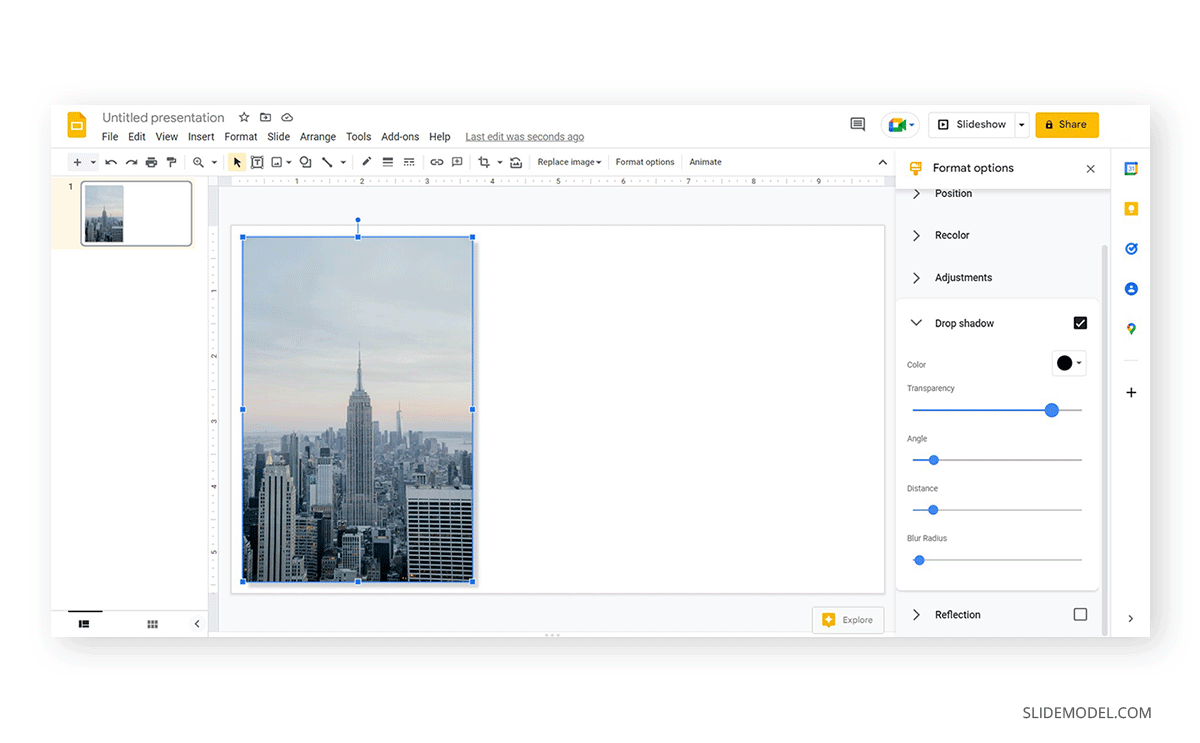
Altering these values will generate different shadow effects. Remember that you can stack multiple images together and apply a drop shadow to each one, so each image’s effect should be subtle. Legibility should be the primary concern when working with text shadows or shadows effects, so don’t abuse the transparency and distance sliders.
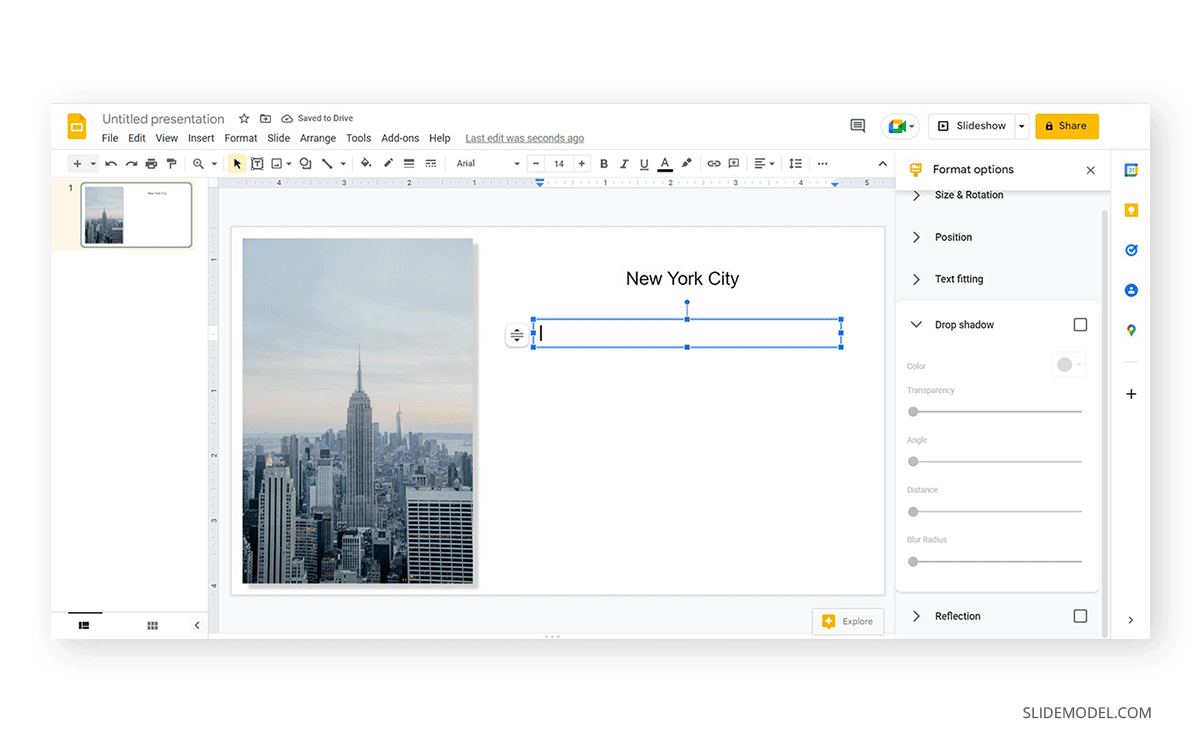
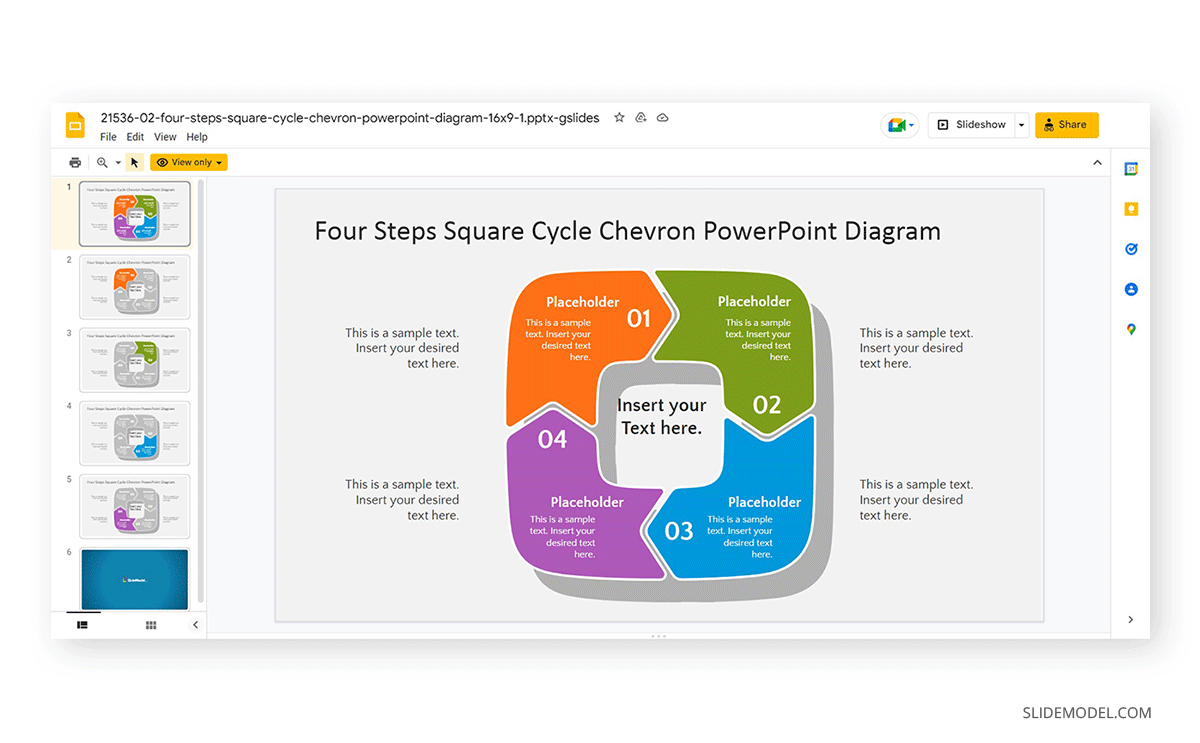
This is how our slide looks right now: a light shadow effect and the placeholder areas on the right side. Although it may seem simple, this is one of the most versatile tools available in Google Slides. Below, you can appreciate how professional presentation design applies the drop shadow effects for quality results.
FAQs
How do I add a drop shadow to an image in Google Slides?
To add a drop shadow, right-click the image, go to Format Options, and select Drop Shadow. You can then customize settings like color, transparency, angle, distance, and blur radius to achieve the desired effect.
Can I add drop shadows to text in Google Slides?
Yes, you can apply drop shadows to text by selecting the text box, opening Format Options, and choosing the Drop Shadow effect. Adjust the settings to control how the shadow appears behind the text.
What are the main options for customizing drop shadows in Google Slides?
The main options include:
– Color: Changes the shadow color (usually left as default).
– Transparency: Adjusts how see-through the shadow is.
– Angle: Controls the direction of the shadow.
– Distance: Determines how far the shadow is from the object.
– Blur Radius: Adjusts how blurred the shadow appears.
How do I access the Format Options panel in Google Slides?
To access Format Options, right-click the image or text you want to modify and select Format Options. A panel will appear on the right side of your screen with customization options, including drop shadows.
What are the recommended transparency settings for drop shadows?
It is recommended to use transparency values between 70-80% for a subtle and professional shadow effect unless your project requires a different look.
Can I stack multiple images with drop shadows in Google Slides?
Yes, you can stack multiple images and apply drop shadows to each one. Be cautious when adjusting transparency and distance sliders to maintain clarity and prevent visual clutter.
Is there a way to manually input the angle for the drop shadow?
No, in Google Slides, the angle of the shadow can only be adjusted using the slider. There is no option to input a specific angle manually.
What is the Blur Radius in drop shadows, and how should I use it?
The Blur Radius controls how soft or sharp the shadow appears. It’s generally best to use the default setting, but you can adjust it to make the shadow more blurred or defined, depending on your design preference.
