Shadow effects are a common resource in graphic design to make an element stand out from a layout, but how to properly do it? This tutorial will explain how to create a drop shadow effect in PowerPoint to power up your designs like a professional.
Some considerations when applying drop shadow effects
The main aspect when working with shadow effects is not overdoing it. With this, we imply the following things:
- Don’t abuse the distance of the shadow – as lengthy shadows are not natural for these effects.
- Don’t increase the opacity for the shadow unless strictly needed.
- Take a look at which direction light comes to the object. That’s the key point to making shadows look natural.
- Too blurry shadows don’t go along with presentations since it distracts the user.
Always opt for subtle shadow effects since the idea is to make the object in question noticeable, not the shadow itself.
Step-by-Step tutorial for adding drop shadows in PowerPoint
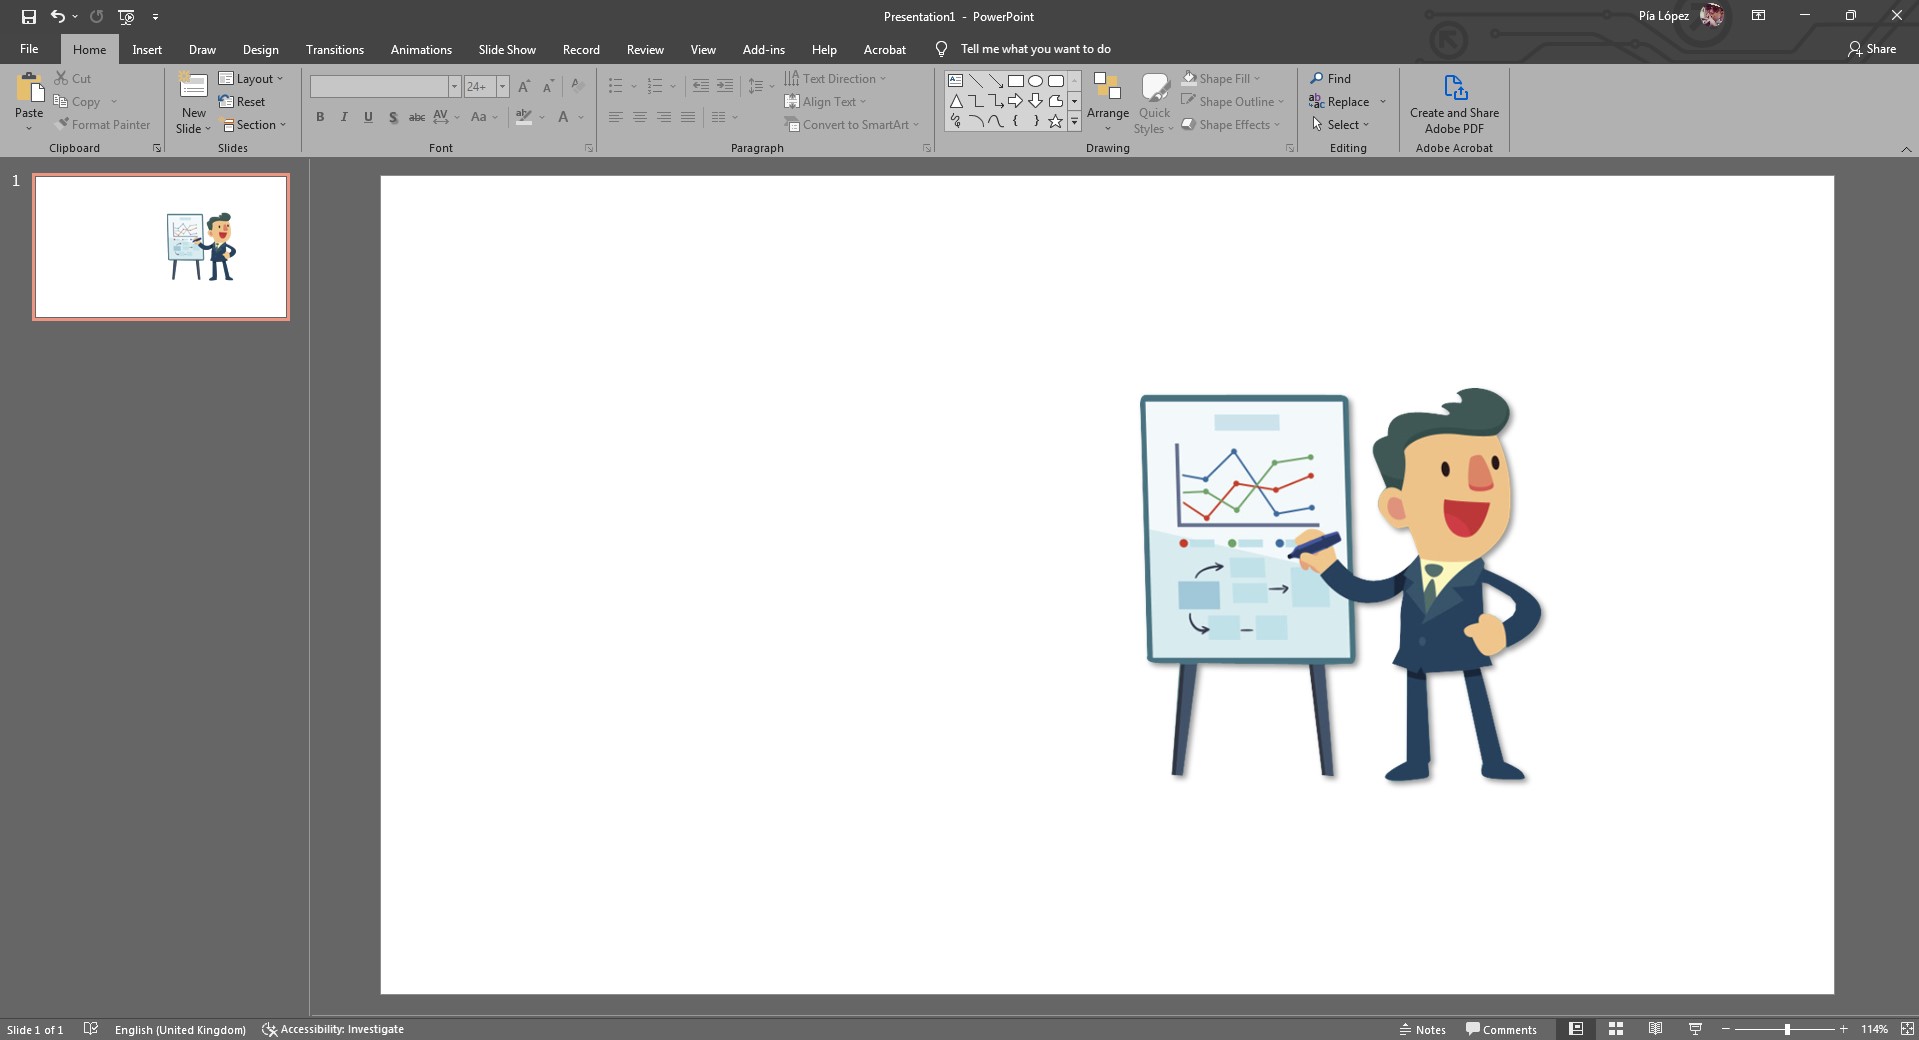
For this guide, we’re going to open a blank PowerPoint presentation.
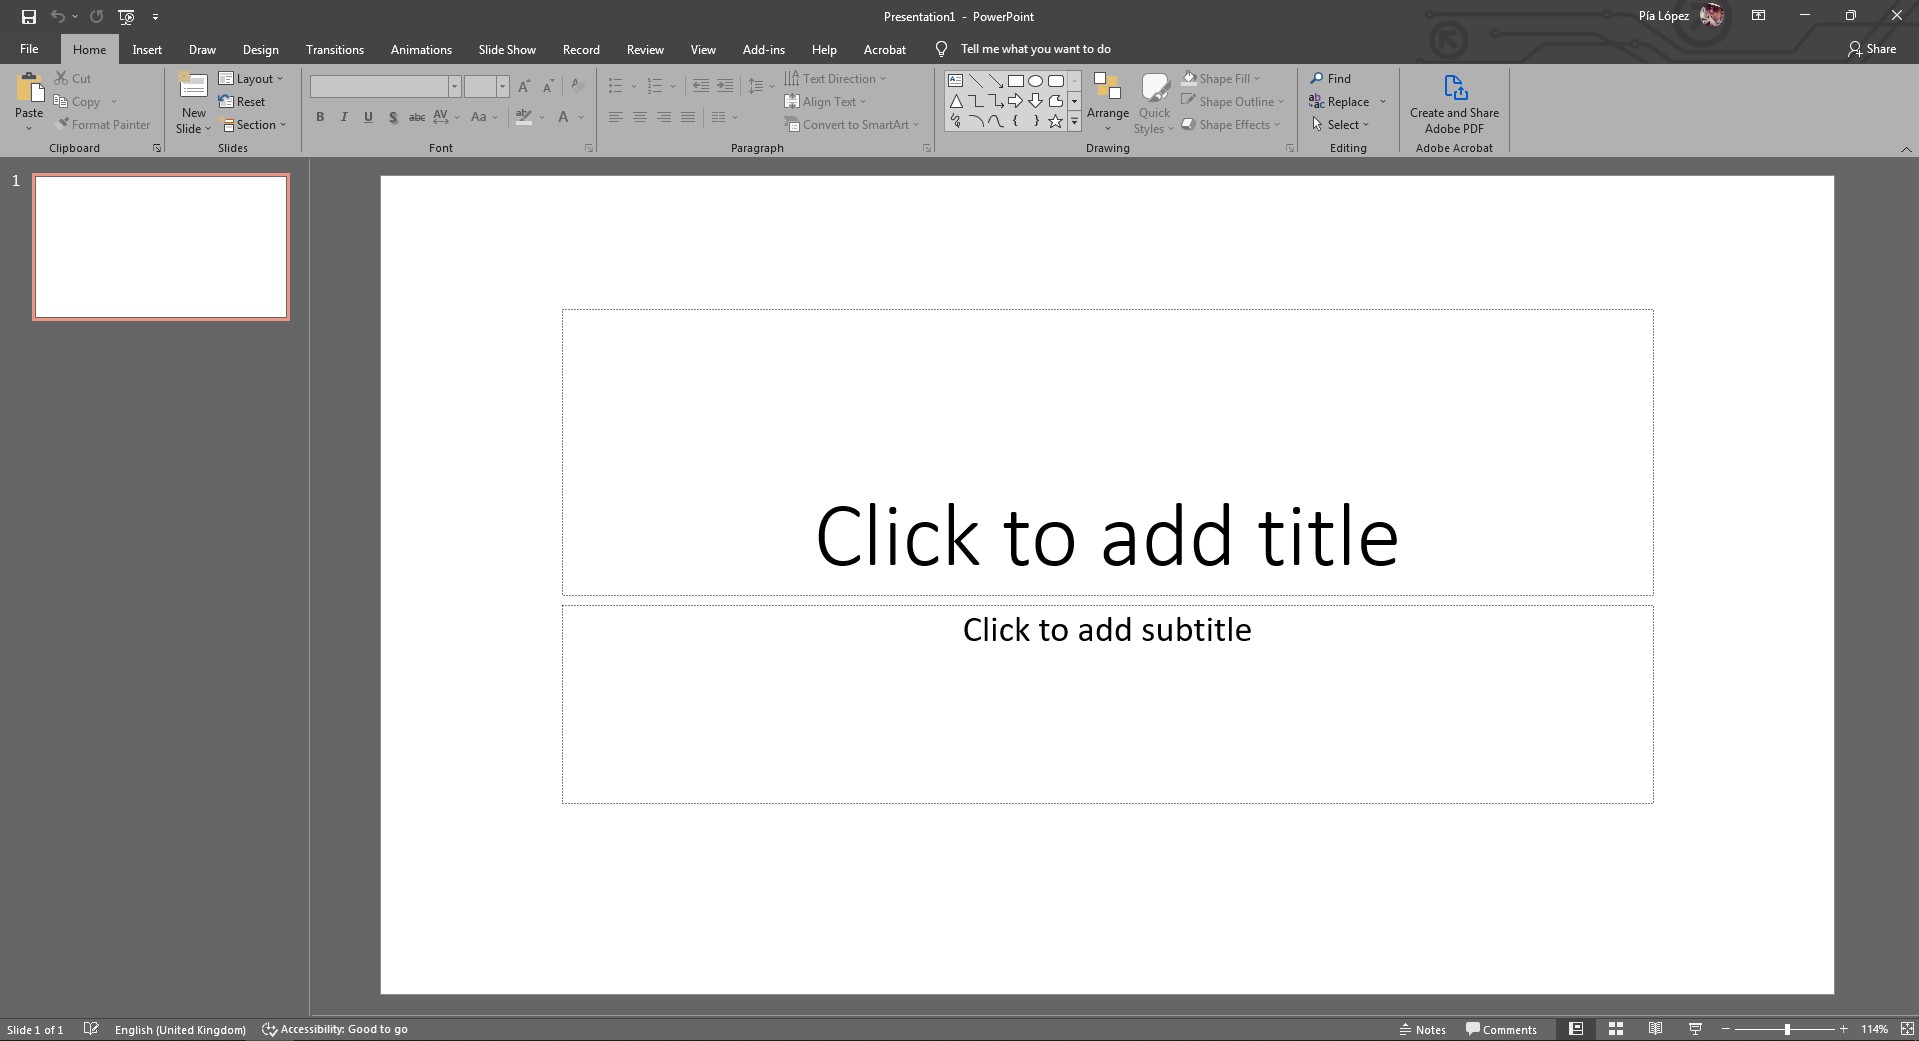
Remove the title and subtitle sections since they are not needed. Then, we drag and drop the clipart element that we want to apply drop shadow in PowerPoint.
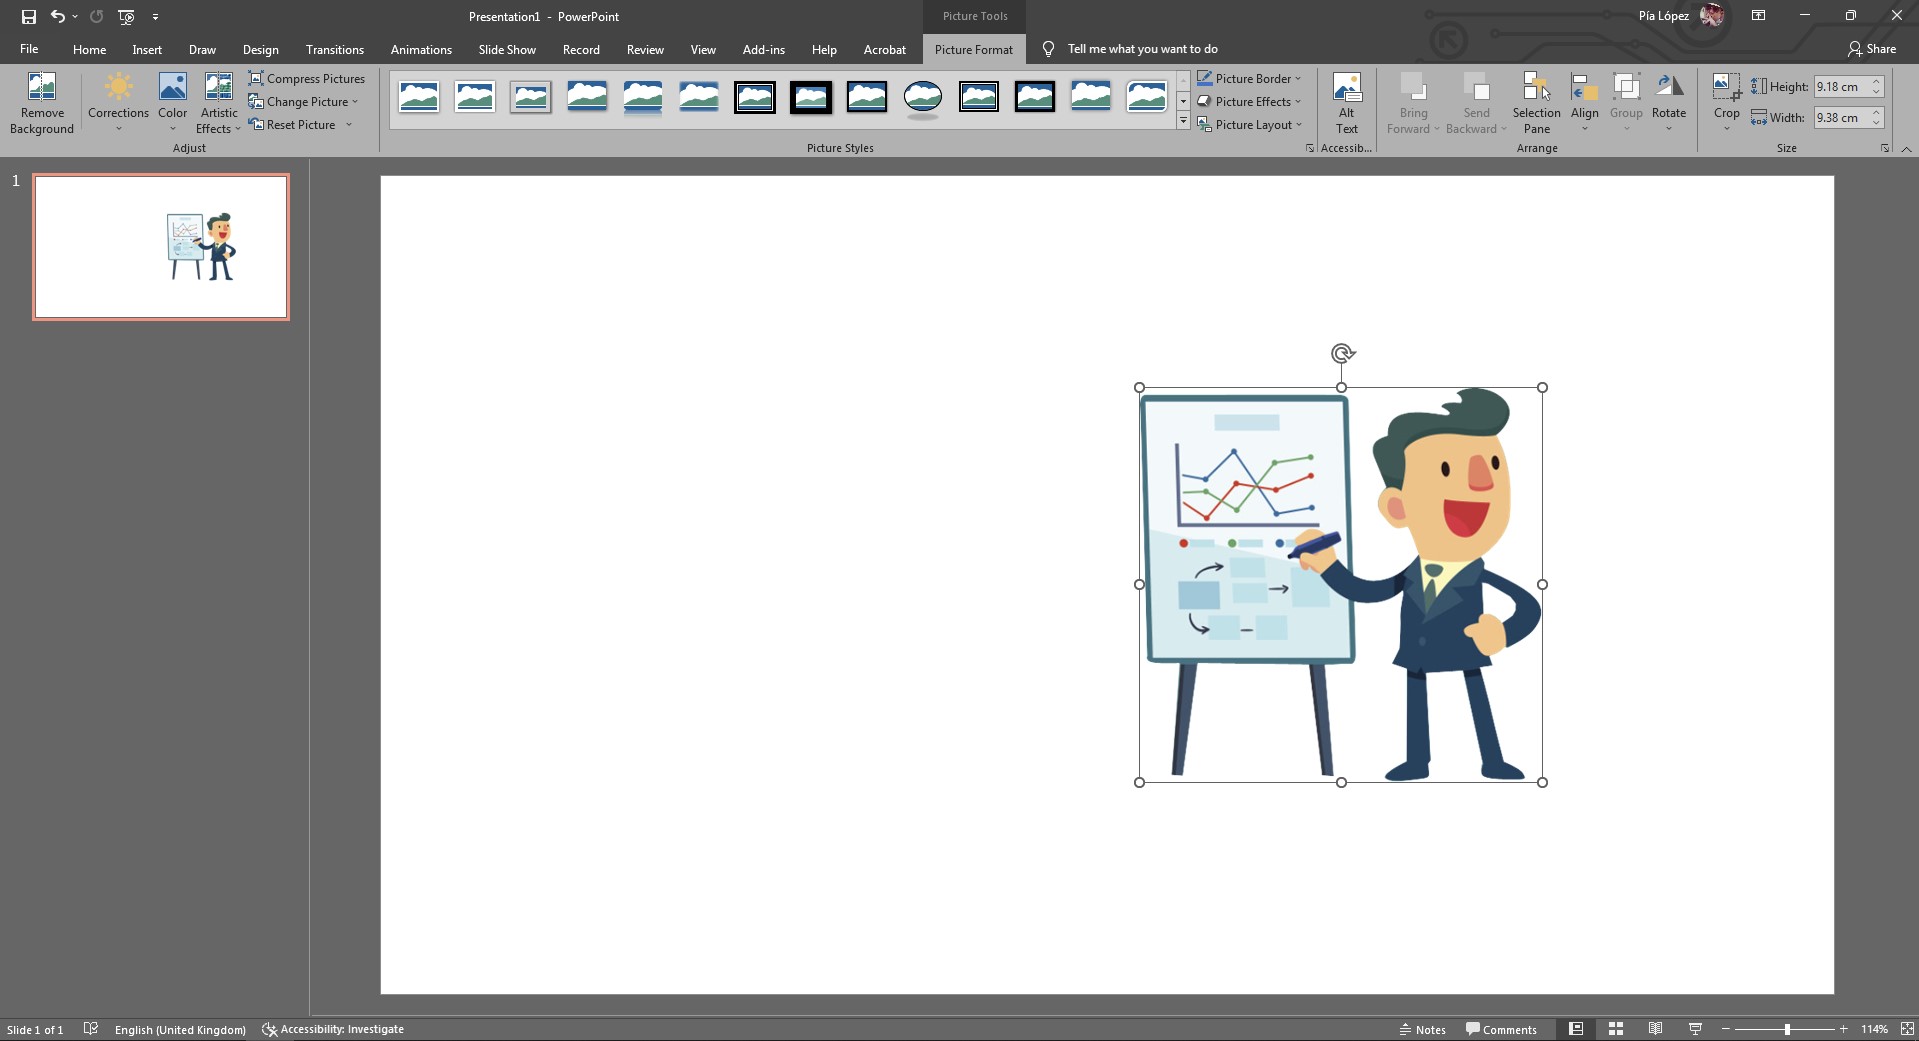
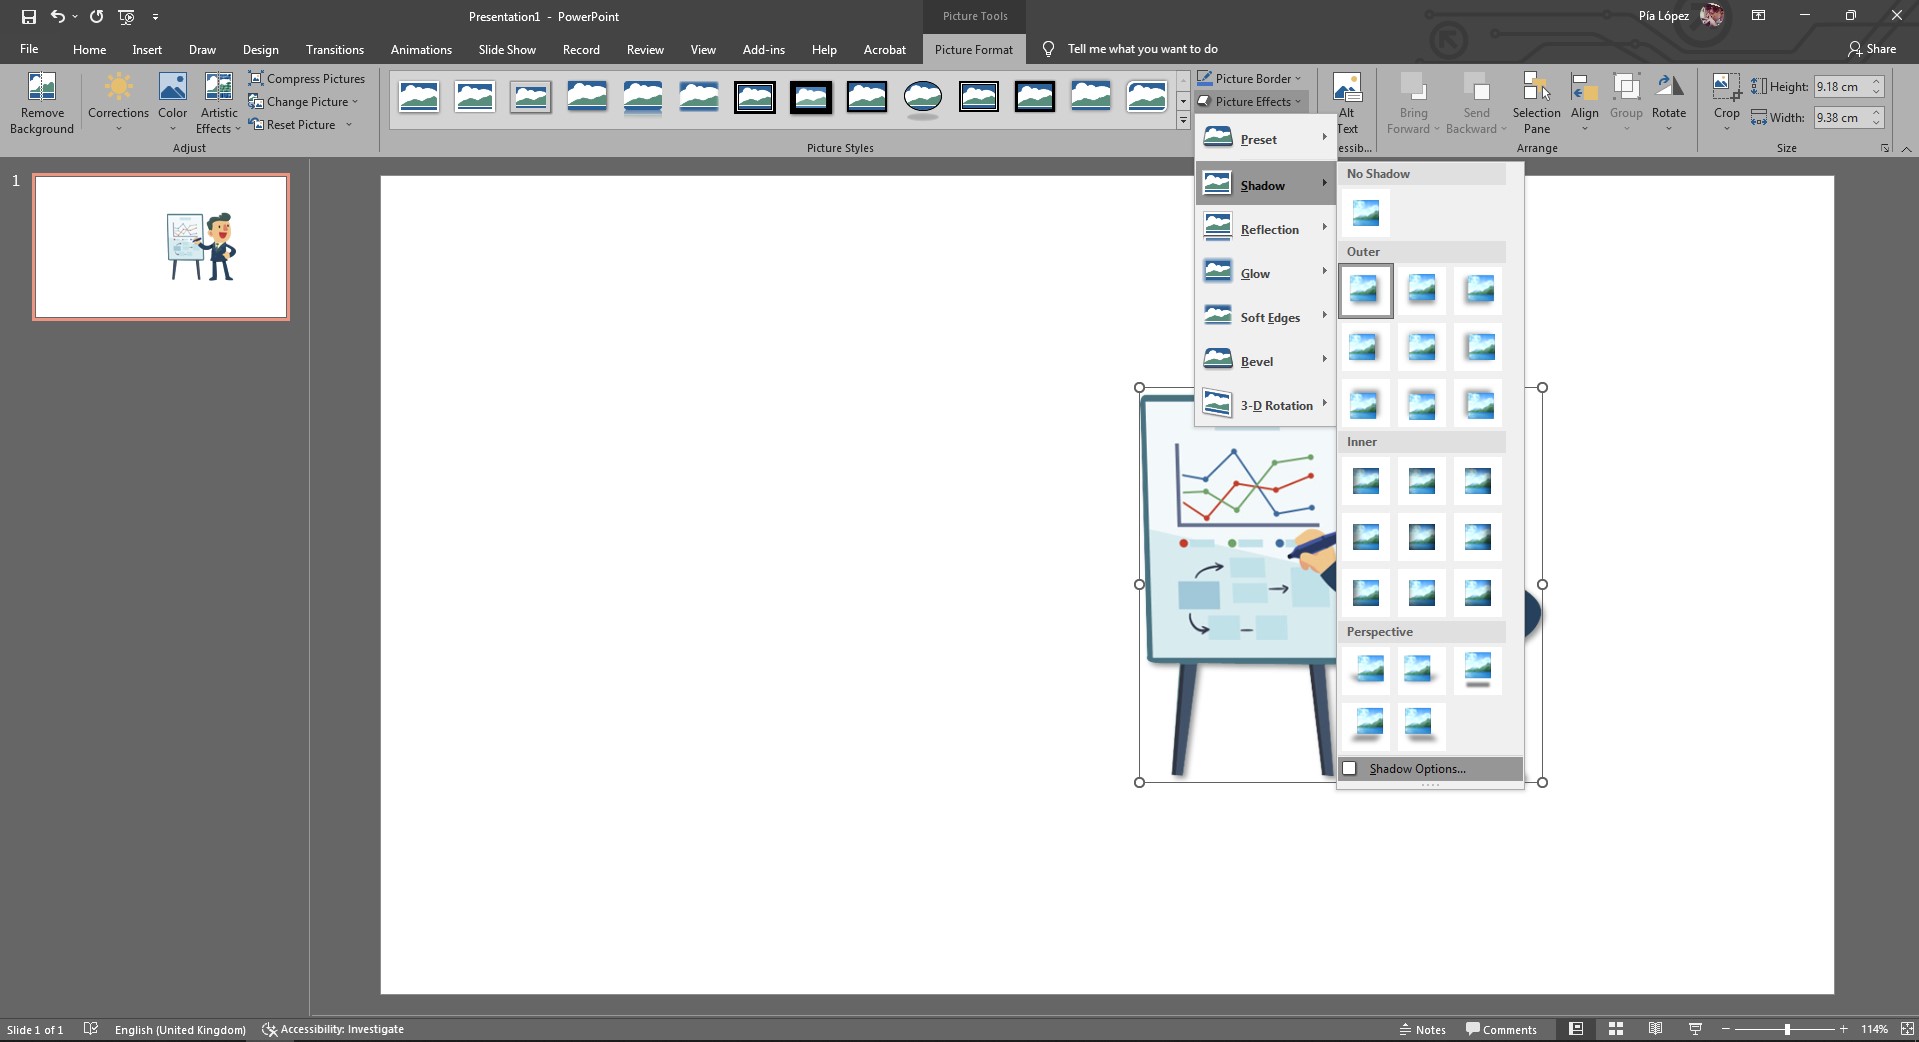
As you can see, multiple options are available in the Picture Format tab from PowerPoint’s ribbon. What we are going to use now is the Picture Effects option, and locate Shadows. The selected option, in this case, is Offset Bottom Right to cast a shadow from behind the object in the right direction.
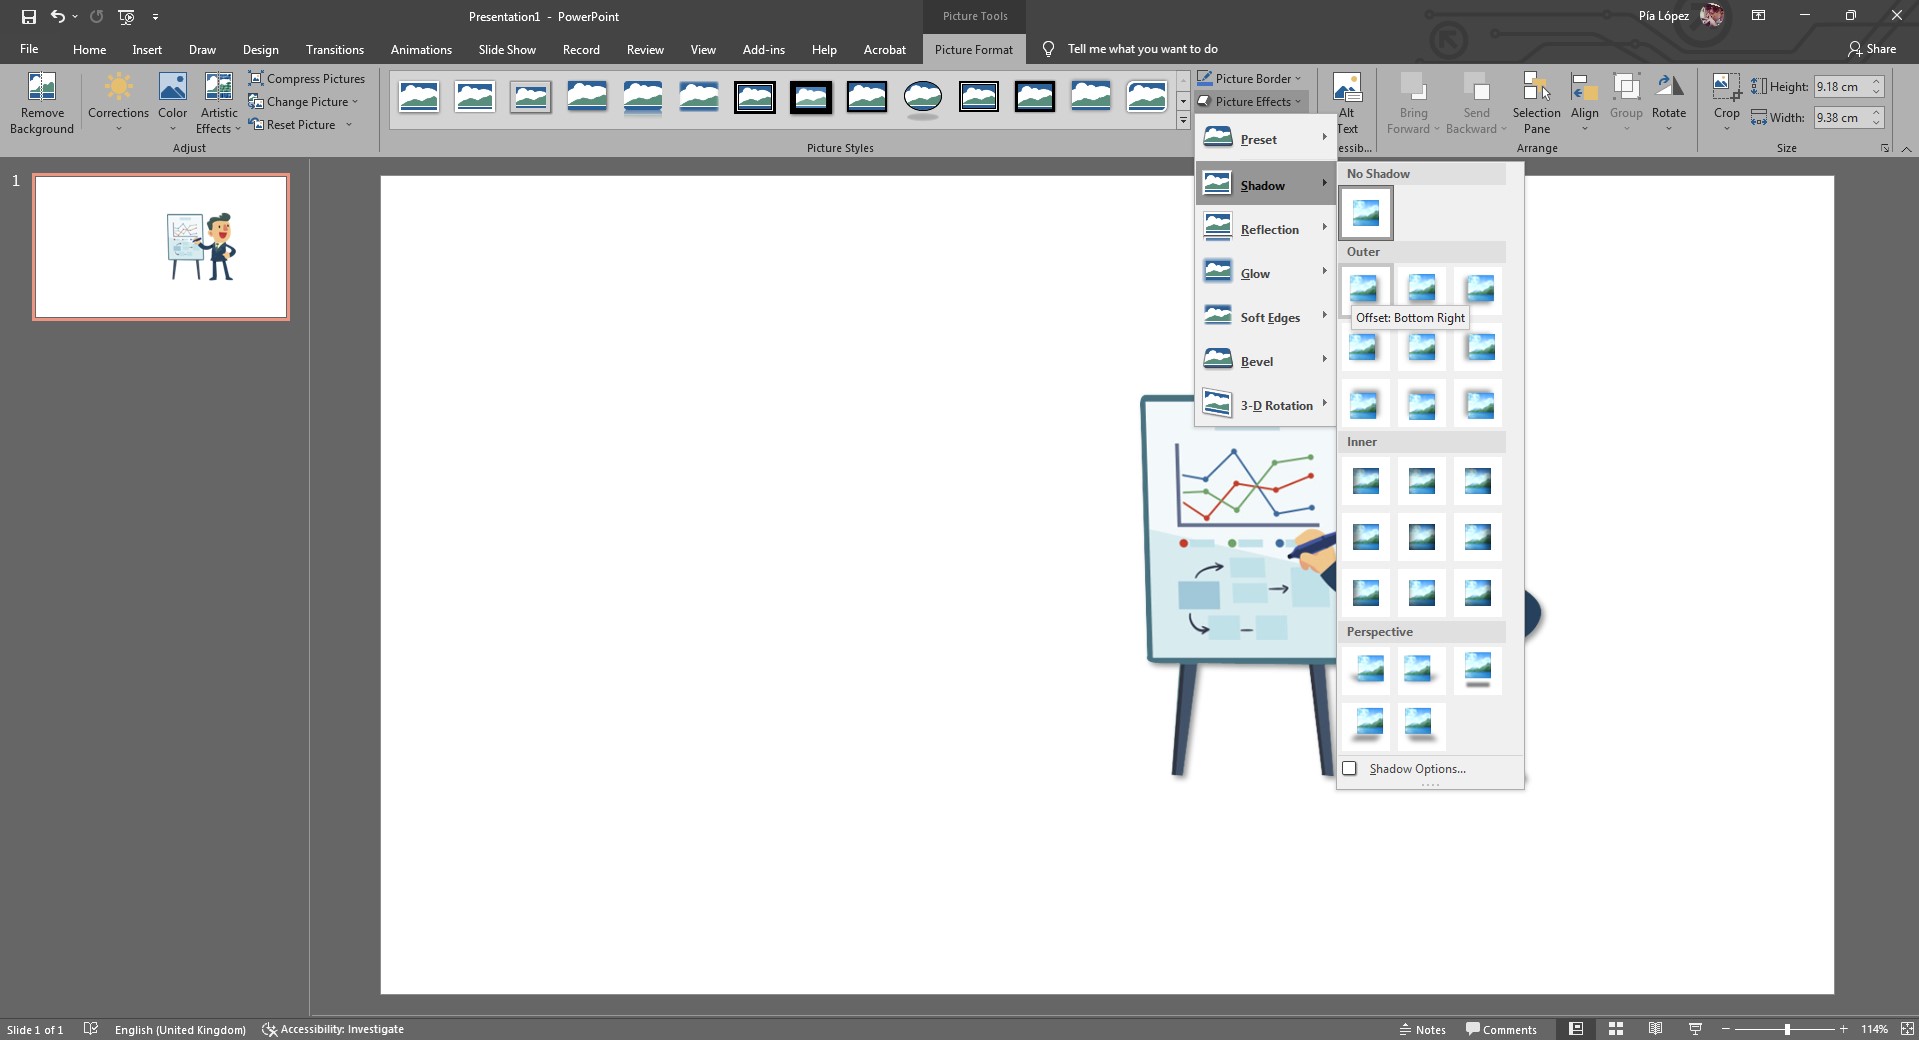
There are multiple options to pick from; that entirely depends on the kind of effect you wish to apply to your design. After selecting the shadow, the clipart should look like this.
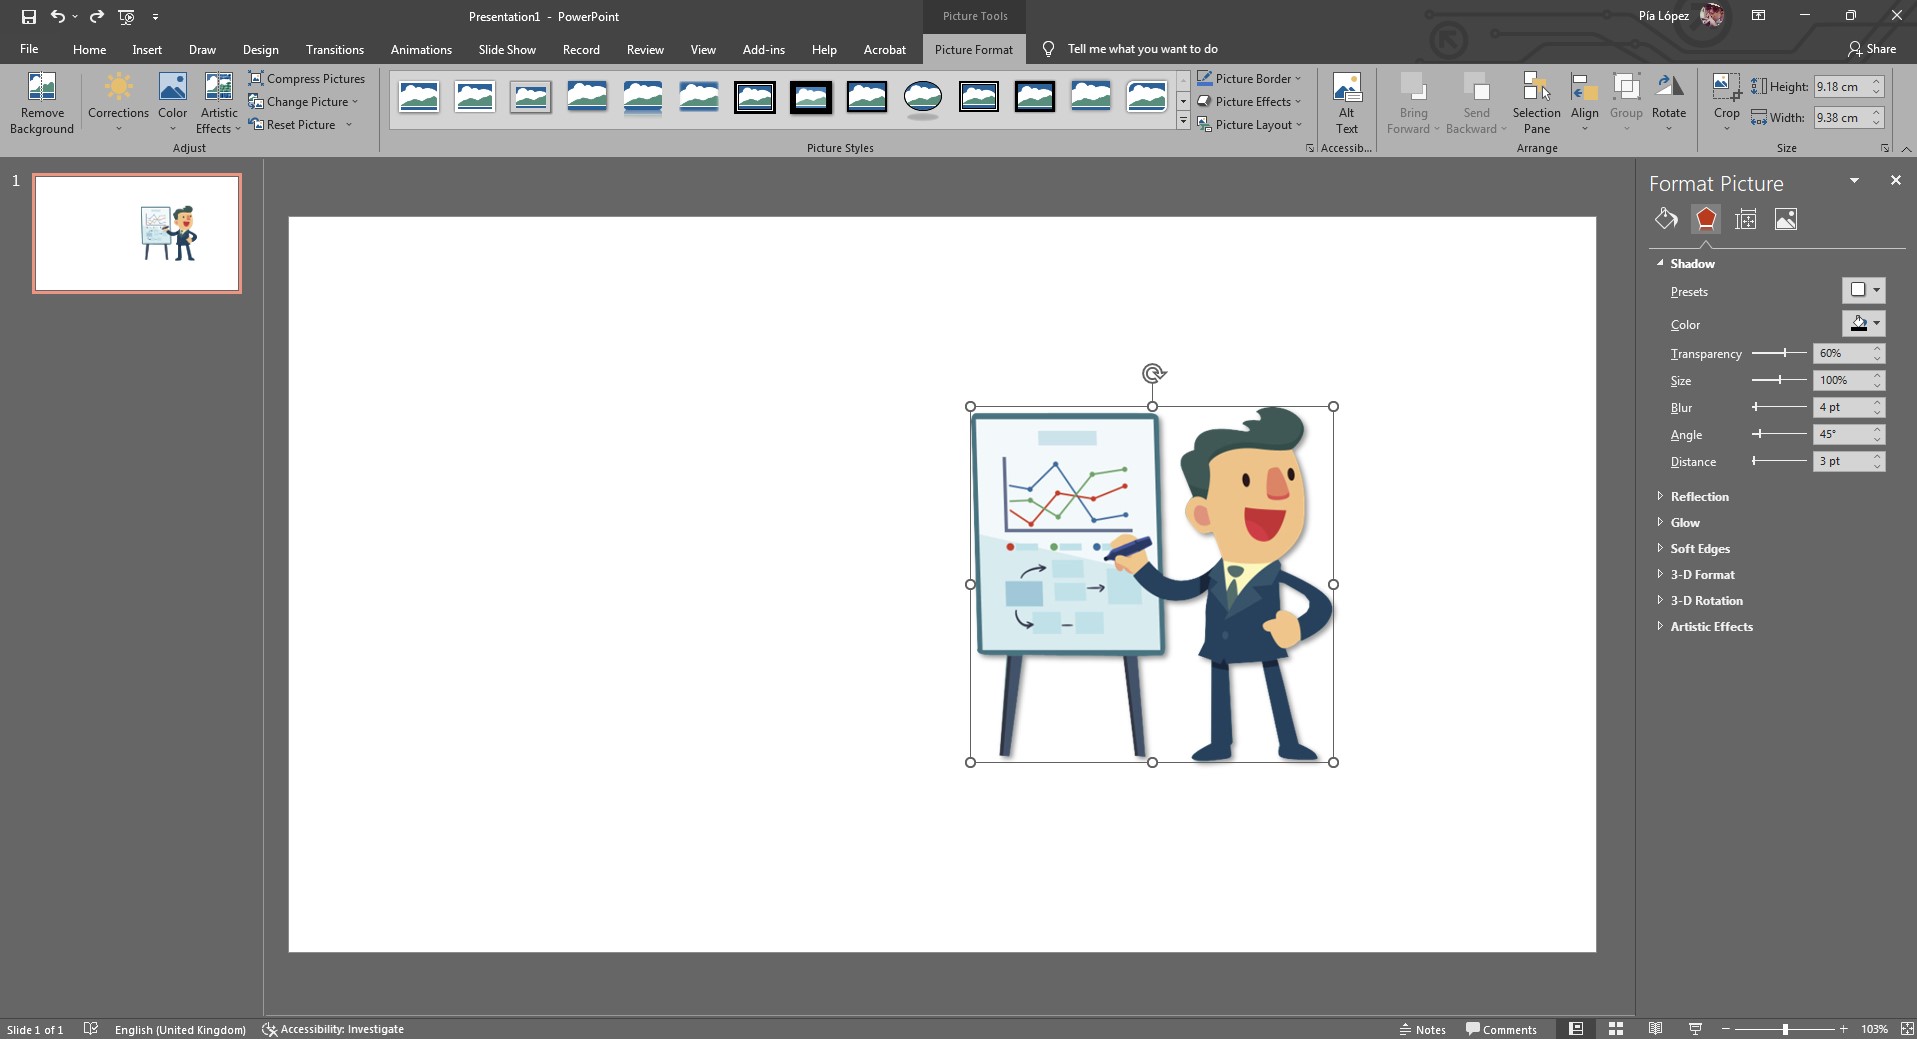
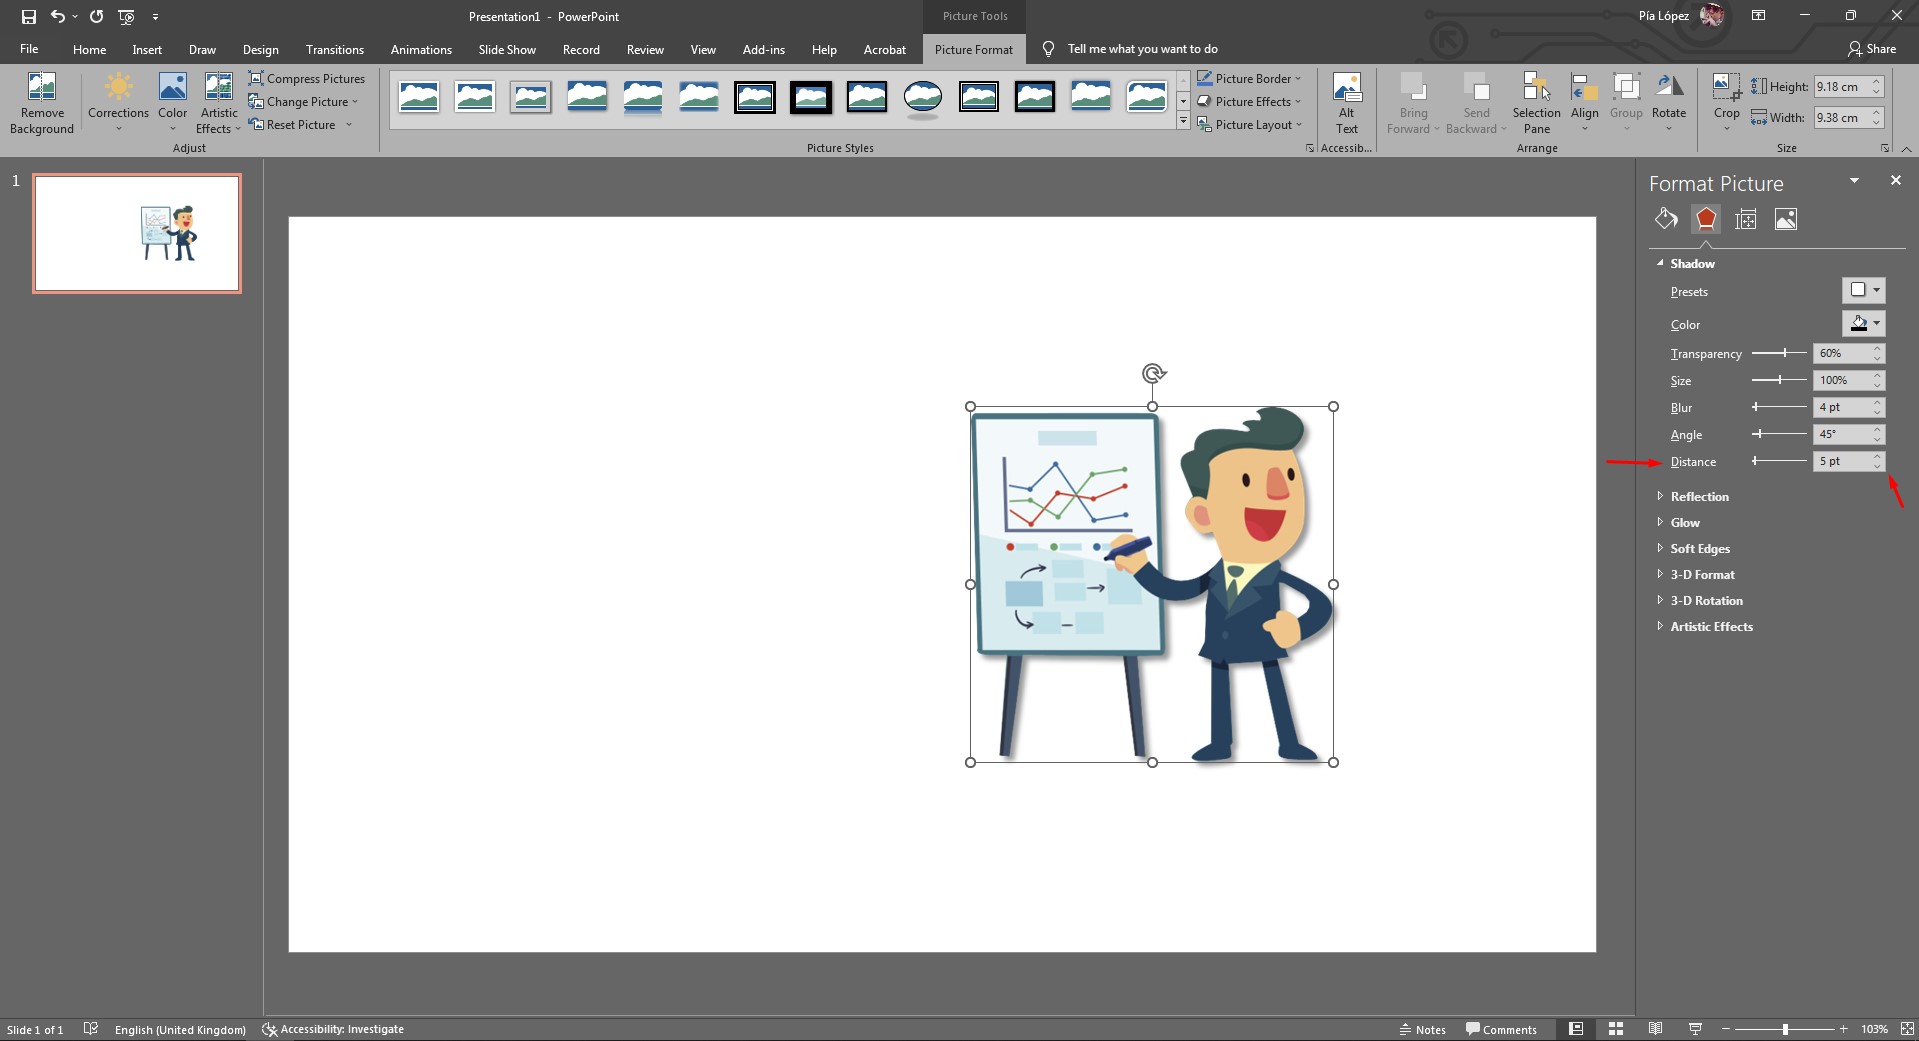
Subtle but realistic. Since we can customize the options for this shadow effect, it’s best to familiarize ourselves with the Shadow Options panel. You can access it at the bottom section of the Shadow menu.
A new menu opens on the right side. In there, you can find multiple options for tweaking the shadow effect to your liking: color, transparency (opacity), size, blur, angle, and distance.
For instance, by altering the size value, we’re making the shadow effect go behind the figure more noticeably, so much it overlaps with parts of our design, as seen below.
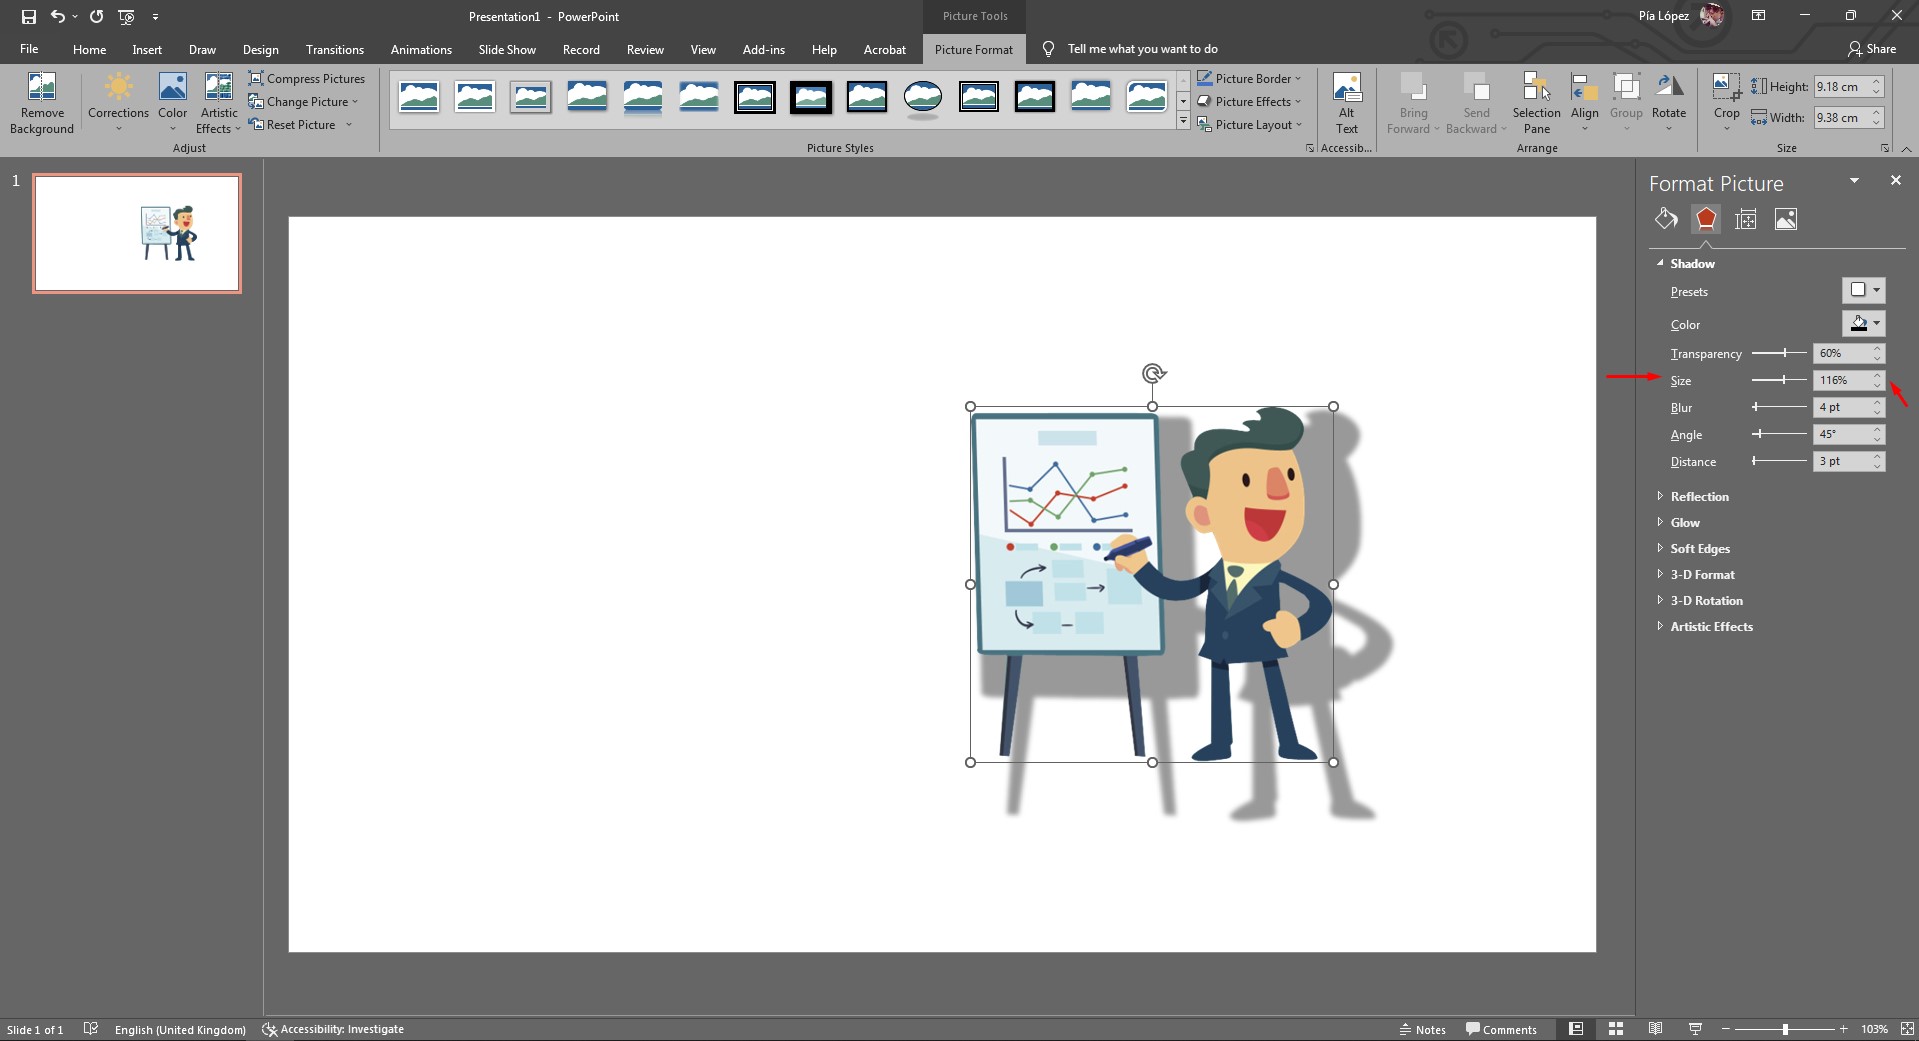
This config obviously looks fake, but so does altering the slide in the opposite direction, and lowering the value by 100%.

By lowering from 100%, the shadow is cast behind the clipart figure but looks overly worked, non-natural. Instead, we’re going to stick with a value of Size in 100%, but alter the Distance slider value to make the shadow effect a tiny tad bigger.
And that’s the final result. Feel free to practice these steps until you feel comfortable with the drop shadows effect in PowerPoint. Changing color can be suitable for certain designs, although it’s best to stick with the default color value in most situations.
FAQs
What is a drop shadow effect in PowerPoint?
A drop shadow effect in PowerPoint adds a shadow behind an object, such as text, shapes, or images, to create depth and make the object stand out from the slide background.
How do I add a drop shadow to an image in PowerPoint?
To add a drop shadow to an image:
– Select the image.
– Go to the Picture Format tab.
– Click Picture Effects.
– Select Shadow and choose a shadow style.
Can I customize the drop shadow effect in PowerPoint?
Yes, you can customize the drop shadow effect by accessing the Shadow Options panel. Select Shadow Options at the bottom of the Shadow menu. You can adjust color, transparency, size, blur, angle, and distance settings.
What are the best practices for applying drop shadows in PowerPoint?
Some best practices include:
– Avoiding excessive shadow distance to maintain a natural look.
– Keeping shadow opacity subtle unless a specific effect is needed.
– Aligning the shadow direction with the light source direction is necessary for realism.
– Avoiding overly blurry shadows to prevent distractions.
– Subtle shadow effects are used to enhance the object, not overshadow it.
How do I access the Shadow Options panel in PowerPoint?
To access the Shadow Options panel:
– Select the object (image, shape, or text) with the shadow.
– Go to the Picture Format or Shape Format tab.
– Click Picture Effects or Shape Effects.
– Select Shadow.
– Click Shadow Options at the bottom of the Shadow menu.
Can I change the color of the drop shadow in PowerPoint?
Yes, you can change the color of the drop shadow:
– Open the Shadow Options panel.
– Select the Color dropdown menu.
– Choose your desired color for the shadow.
What happens if I increase the size value of the drop shadow in PowerPoint?
Increasing the size value makes the shadow appear larger and extends it behind the object, creating a more pronounced effect. However, increasing the size too much can make the shadow look unnatural.
How do I adjust the transparency of a drop shadow in PowerPoint?
To adjust the transparency:
– Open the Shadow Options panel.
– Use the Transparency slider to increase or decrease the shadow’s transparency.
What is the purpose of the blur option in the Shadow Options panel?
The Blur option controls the sharpness of the shadow edges. Increasing the blur value softens the shadow edges while decreasing it makes the edges sharper.
How can I make a drop shadow look more natural in PowerPoint?
To make a drop shadow look more natural:
– Align the shadow direction with the direction of the light source.
– Use subtle opacity and distance values.
– Avoid excessive blur.
– Keep the shadow size proportional to the object.