When you remove outdated information, shorten a presentation for a specific audience, or eliminate duplicate content, deleting unnecessary slides helps keep your presentation focused. Knowing how to delete slides in Google Slides can help you edit presentations more efficiently.
Google Slides offers several ways to remove slides. You can delete a single slide using the slide thumbnail, keyboard shortcuts, or the application menus. If you need to reorganize a larger presentation, you can also delete multiple slides at once to streamline your deck. This tutorial explains different methods, including how to delete one or more slides, recover an accidentally deleted slide, and hide slides you want to keep but don’t want to use when presenting your slide deck to an audience.
Why Delete Slides in Google Slides
Presentations often evolve, and as content is updated, some slides may become outdated, repetitive, or no longer support your message. Deleting unnecessary slides helps keep your presentation focused and easier for your audience to follow. You might remove outdated information, eliminate duplicate slides, shorten a presentation to fit a specific time limit, create audience-specific versions of the same deck, or clean up draft content before sharing it with others. If you’re unsure whether you’ll need a slide later, consider hiding it instead of deleting it. We’ll cover that option later in this guide.
How to Delete a Slide in Google Slides
You can delete a slide in Google Slides using the left-hand editor, a shortcut, or the Google Slides menu.
Method 1: Delete a Slide Using the Slide Thumbnail
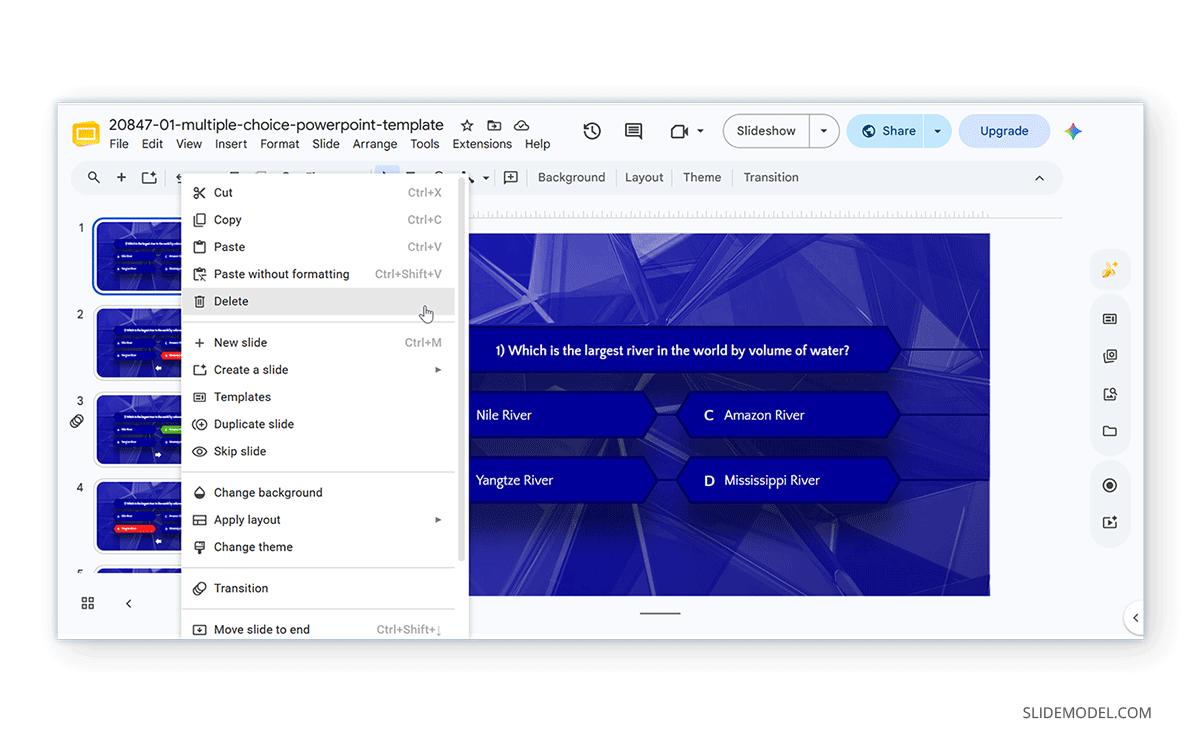
The quickest way to delete a slide in Google Slides is from the slide thumbnail pane on the left side of the editor. This method is particularly convenient when reviewing a presentation because you can quickly identify and remove unwanted slides without navigating through menus.
Step 1: Open your Google Slides presentation and, from the left-hand thumbnail pane, select the slide you want to delete.
Step 2: Right-click the slide thumbnail and choose Delete from the context menu. The slide is removed immediately, and the remaining slides are automatically renumbered.
Method 2: Delete a Slide with the Delete Key
If you prefer keyboard shortcuts, you can remove a slide even more quickly. This is one of the fastest ways to edit presentations, especially when you need to remove several slides during a review.
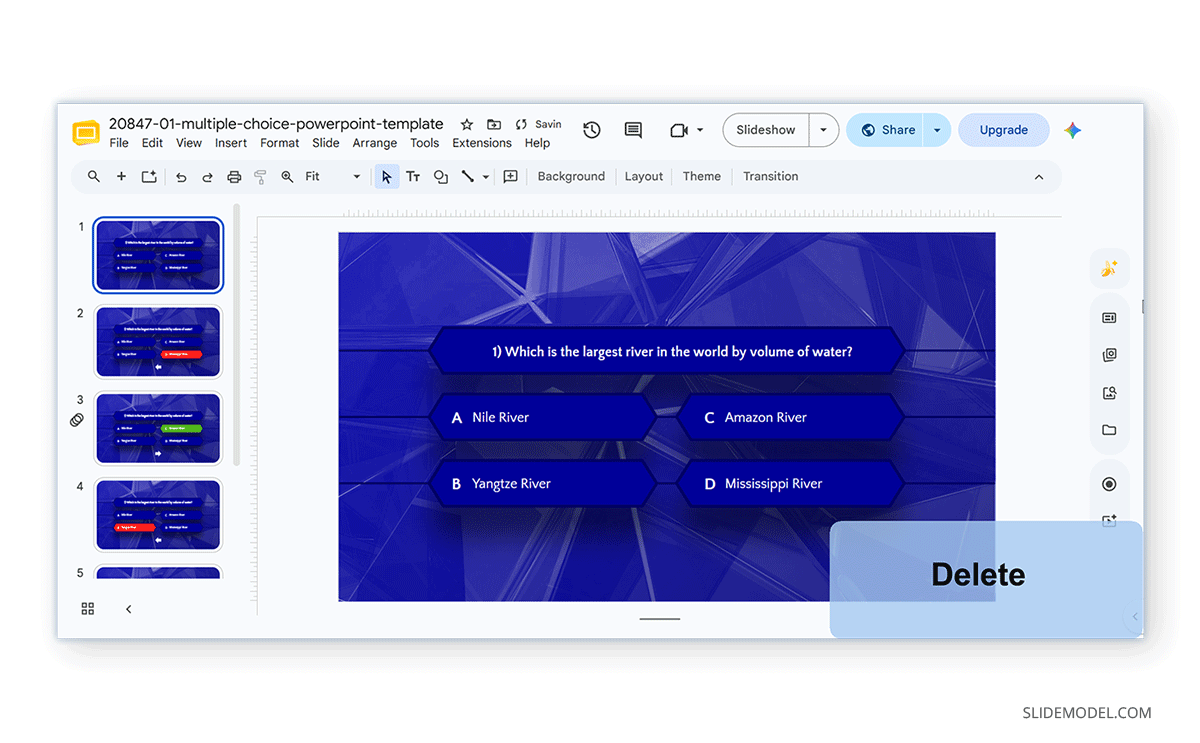
Step 1: Select the slide thumbnail in the left pane.
Step 2: Press the Delete key on your keyboard. The selected slide is removed from the presentation immediately.
Method 3: Delete a Slide from the Google Slides Menu
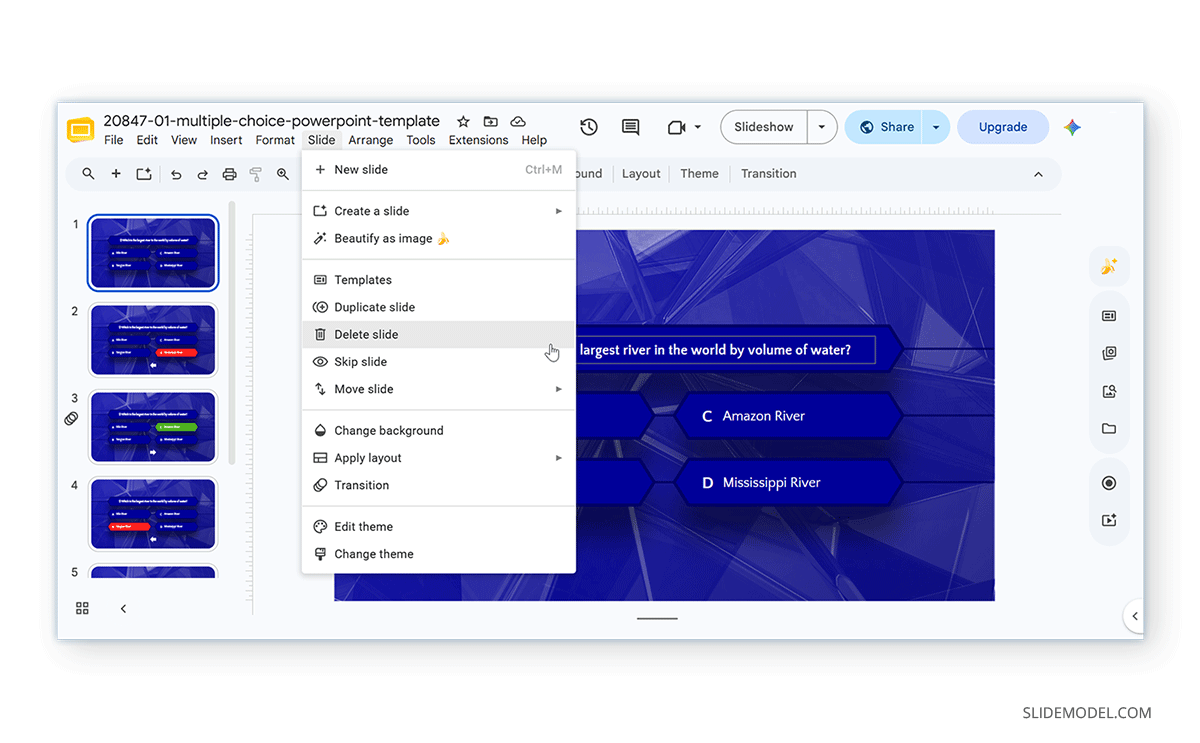
Google Slides also offers a menu option to delete slides. Although slightly slower than right-clicking or using the keyboard, the menu option is useful for users who prefer to navigate the interface rather than use shortcuts.
Step 1: Select the slide you want to remove.
Step 2: Go to Edit -> Delete to remove the selected slide.
How to Delete Multiple Slides in Google Slides
When editing larger presentations, removing slides one at a time can become time-consuming. Google Slides lets you select and delete multiple or all slides simultaneously.
How to Delete Non-Consecutive Slides
Sometimes you only want to remove specific slides scattered throughout a presentation.
Step 1: Hold the CTRL (Windows) or Command (Mac) key.
Step 2: Click each slide you want to delete.
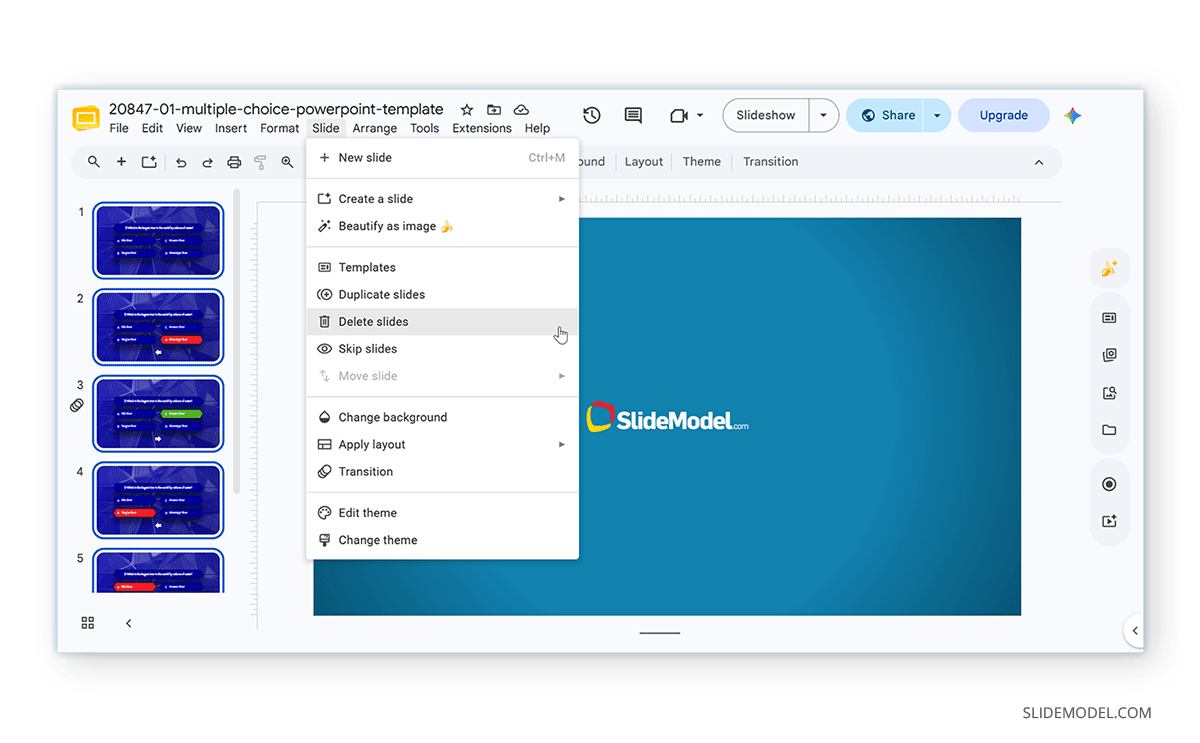
Step 3: After selecting the required slides, delete them using the right-click context menu, the Delete key, or Edit -> Delete or Slide -> Delete Slides.
How to Delete All Slides in Google Slides
You can also select all slides and delete them in Google Slides using various methods.
Step 1: Click the first slide in the group.
Step 2: Hold the Shift key and select the last slide in the range.
Step 3: Once selected, right-click any highlighted slide and select Delete, or use the Google Slides delete-slide shortcut by pressing the Delete key. Alternatively, you can also use Edit -> Delete or Slide -> Delete Slides.
Note: You can also use the CTRL+A (Windows) or Command+A (Mac) hotkey to select all slides and skip Steps 1 and 2.
How to Undo, Hide, and Unhide Slides in Google Slides
Like any common presentation app, you can undo, hide, and unhide slides in Google Slides using simple menu options and hotkeys.
How to Undo a Deleted Slide
Accidentally deleting a slide is common, especially when editing large presentations. Fortunately, Google Slides lets you restore a deleted slide immediately using the Undo command. You can use either of the two methods mentioned below:
- Press CTRL+Z (Windows) or Command+Z (Mac).
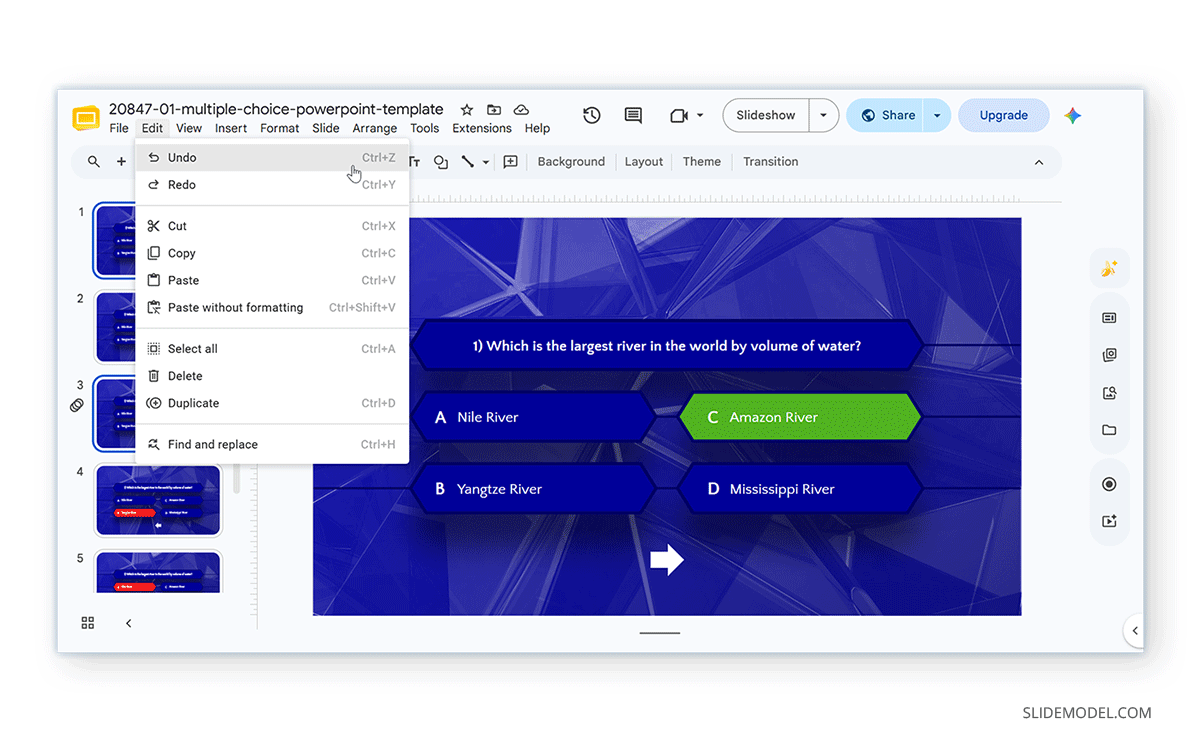
- Select Edit -> Undo from the menu.
Google Slides undo delete slide restores the deleted slide to its original position in the presentation. However, undo the deletion as soon as possible. Once you continue making other edits, recovering the deleted slide may become more difficult.
How to Hide a Slide in Google Slides
Deleting a slide isn’t always the best option. Sometimes you may want to keep a slide in your presentation file without it appearing during a slideshow. In these situations, you can hide the slide instead. This feature is useful when you are preparing different versions of the same presentation, skipping optional content for shorter presentations, keeping a backup of slides, or creating presentations for multiple audiences. Because the slide remains part of the presentation, you can restore it at any time without recreating its content.
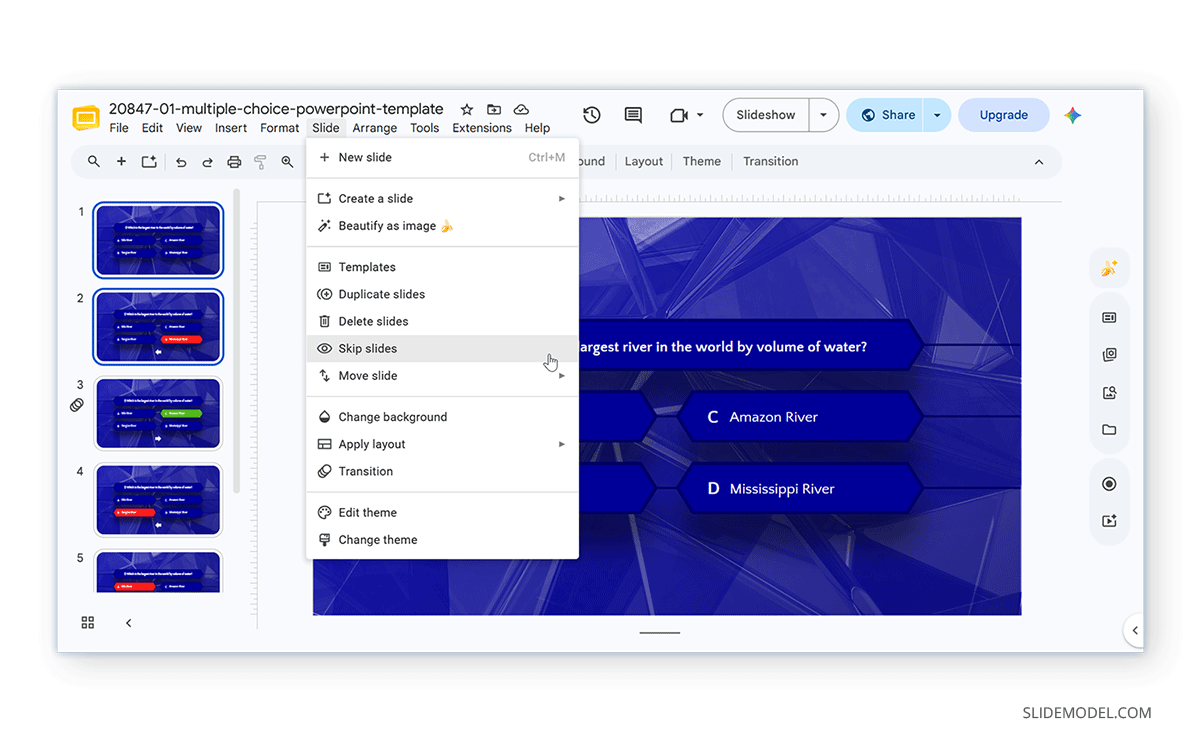
Method 1: To hide a slide in Google Slides, select the slide you want to exclude and right-click the slide thumbnail. Choose Skip slide(s). Google Slides marks the slide as skipped, indicating that it will not appear during the presentation. The slide remains fully editable and still appears in the thumbnail pane.
Method 2: Select the slide to skip, and go to Slide -> Skip Slide(s).
How to Unhide a Slide in Google Slides
If you decide to include the skipped slide again later, simply follow one of the methods mentioned below.
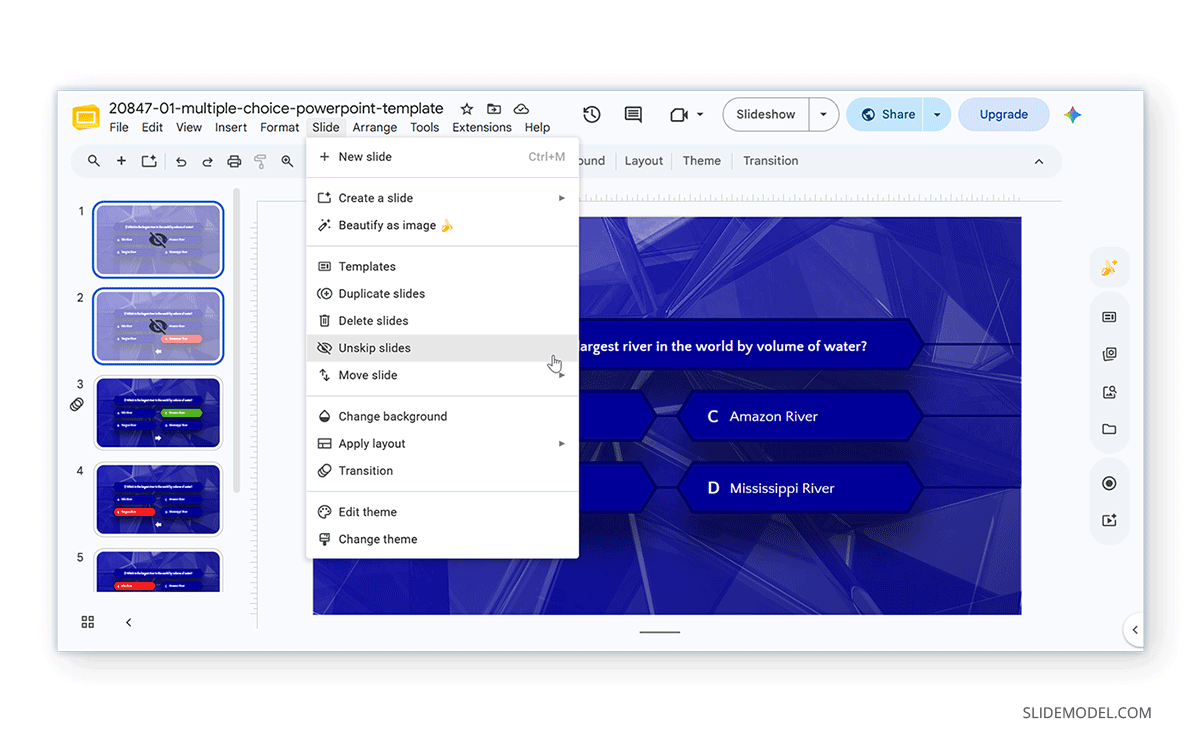
Method 1: Right-click the skipped slide and select Unskip slide(s) to remove the checkmark. The slide will once again appear during your presentation.
Method 2: Alternatively, select the slide to delete and select Slide -> Unskip slide(s).
Note: You can use the CTRL (Windows) or Command (Mac) key to select multiple slides to hide or unhide slides. In such a case, you will see the option Skip/Unskip slides instead of Skip/Unskip slide.
Common Mistakes to Avoid
Deleting slides in Google Slides is simple, but a few common mistakes can lead to lost work or an inconsistent presentation. Keeping these considerations in mind will help you edit your slides more efficiently and avoid unnecessary revisions.
Deleting the Wrong Slide
Before deleting a slide, confirm that you’ve selected the correct one in the thumbnail pane. This is especially important when working with large presentations or decks that contain several similar-looking slides. Taking a moment to review the slide’s content before pressing Delete can help prevent accidental removals and save time spent restoring or recreating the slide.
Forgetting to Use Undo
If you accidentally remove a slide, use Ctrl+Z (Windows) or Command+Z (Mac) immediately. Google Slides restores the slide to its original position, making it easy to recover from accidental deletions. However, once you continue editing the presentation, undoing earlier actions may become less practical, so it’s best to restore the slide as soon as you notice the mistake.
Deleting Instead of Hiding
Not every slide needs to be permanently removed. If you think you might need the content later, use Skip slide(s) instead of deleting it. Hidden slides remain part of the presentation but are omitted during the slideshow, making them ideal for backup information, optional discussion points, or audience-specific content. This lets you reuse the slide later without recreating it.
Removing Slides Without Reviewing Dependencies
Before deleting a slide, consider how it fits into the overall presentation. A slide may introduce a topic, explain a chart, or define terminology that later slides rely on. Removing it without reviewing the surrounding content can leave gaps in your narrative or make subsequent slides more difficult for your audience to understand. After deleting a slide, briefly review the remaining presentation to ensure the flow still makes sense.
Not Backing up Slides
Before making significant changes to a content-rich presentation, it’s good practice to copy the file or duplicate the presentation. A backup ensures you can return to the original version if you delete important slides or can’t undo your changes later.
Final Words
Once you learn how to remove slide from Google Slides presentation, it gets easier to keep presentations organized and concise. This is particularly true for users new to presentation-making or to Google Slides. Regardless of whether you’re removing a single slide, deleting multiple slides at once, or using keyboard shortcuts to speed up editing, Google Slides provides several simple ways to manage your presentation.
Just as importantly, remember that deleting isn’t your only option. If you may need a slide again in the future, using Skip slide lets you exclude it from the presentation while keeping it available for later use.