When images, shapes, icons, and text overlap in Canva, their layer order determines which elements appear in front and which remain behind. If an image is covering a title, for example, you do not necessarily need to resize or move it. You can simply change its position in the layer stack. Canva provides four main controls: Forward, Backward, To Front, and To Back. This guide explains how to send an image to the back in Canva, how each layer control works, how to use the Canva Layers tab for more complex designs, and how the workflow compares with PowerPoint.
Forward, Backward, To Front, and To Back in Canva
The four layer controls perform two different kinds of movement. Forward and Backward move an element through the stack incrementally, while To Front and To Back move it directly to one end of the stack.
Forward: Moves the selected element one level closer to the front. Imagine a slide with a photograph, a coloured rectangle, and a title. If the photograph is behind both other objects, selecting Forward once may place it above the rectangle while still keeping it behind the title. This is useful when you want precise control over the Canva layer order rather than moving an object all the way to the top.
Backward: Moves the selected element one level toward the back. This is handy when the object only needs to move behind one other element. You can repeat the command if it needs to move through several layers.
To Front: Moves the selected object to the front of the stack. Use the Canva To Front option when, for example, a title, icon, callout, or label has accidentally disappeared behind another object and needs to become the topmost visible layer.
To Back: Moves the selected element to the back of the stack. Use this when an image is intended to sit behind all text, shapes, icons, and other foreground elements.
How to Send an Image to the Back in Canva
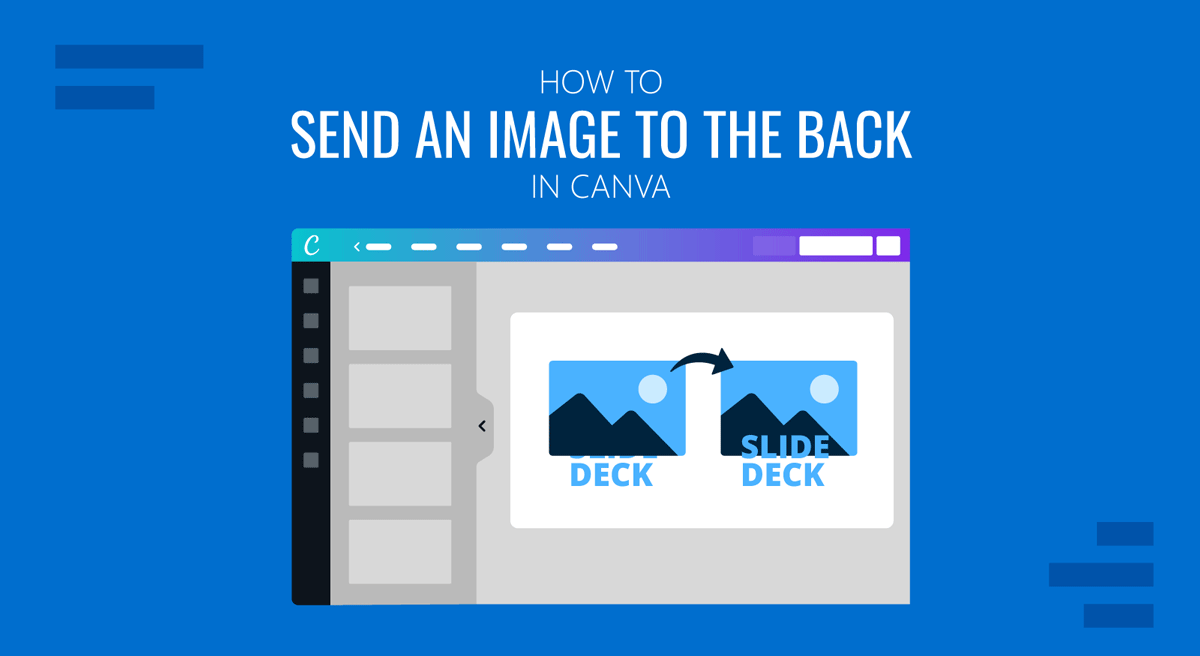
The quickest way to place an image behind other elements is through the Position menu. To send an object to the back in Canva, select it, open Position, and choose To Back.
Step 1: Select the image you want to move.
Step 2: Click Position in the toolbar above the Canva editor.
Step 3: Choose To Back. The image moves behind the other elements on the page. If you only need to move it behind one nearby object rather than behind everything, choose Backward instead.
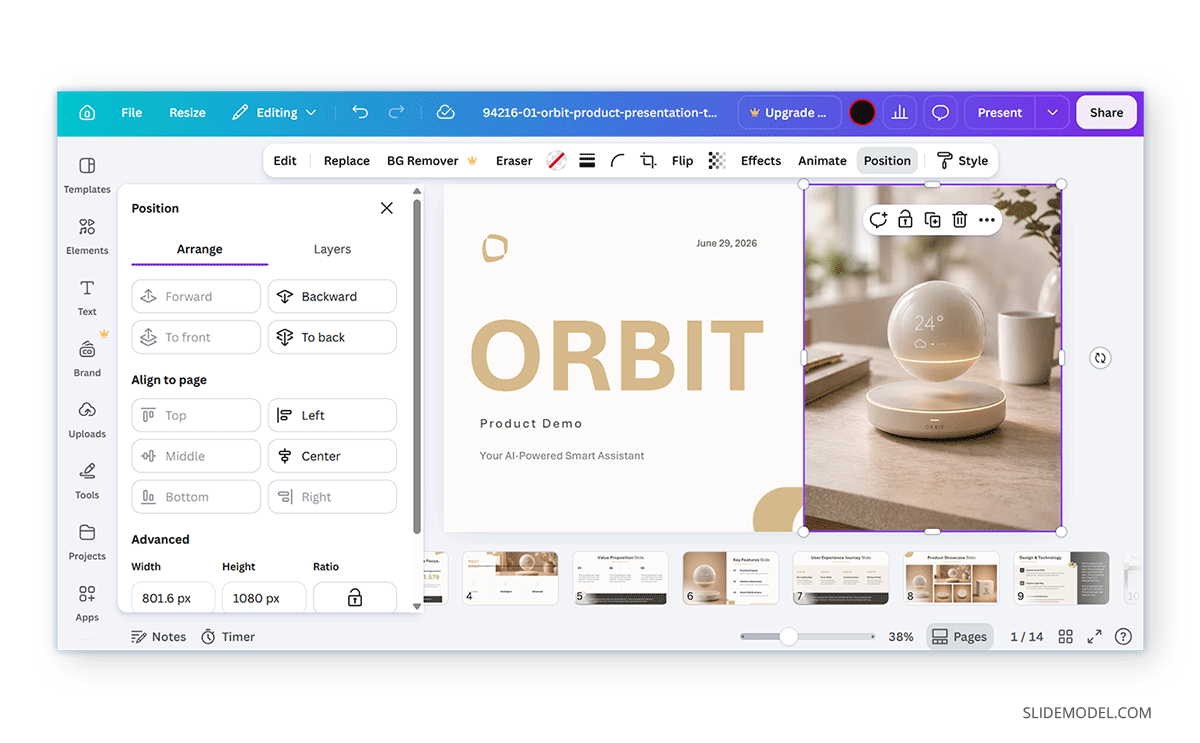
How to Layer Images in Canva
Learning how to layer images in Canva is useful when a design includes overlapping photos rather than a single background image. For example, a presentation slide might contain a full-width photograph, a second image positioned partly over it, a coloured shape behind the second image, or a heading in the foreground. Each of these objects occupies a place in the stacking order. Select the object you want to change, open Position, and use Forward, Backward, To Front, or To Back until the overlap works as intended.
A useful presentation-design example is a portrait placed partly over a coloured rectangle. The rectangle can stay behind the portrait while both remain above the slide background. A title can then sit above both.
Using the Canva Layers Tab
The four Position commands work well when only a few objects overlap. Once a slide becomes more complex, repeatedly moving elements Forward or Backward can make the overall stacking structure hard to understand. This is where the Canva Layers tab becomes more useful. Canva’s current workflow is as follows:
Step 1: Select the page, background, or an element.
Step 2: Open Position from the toolbar.
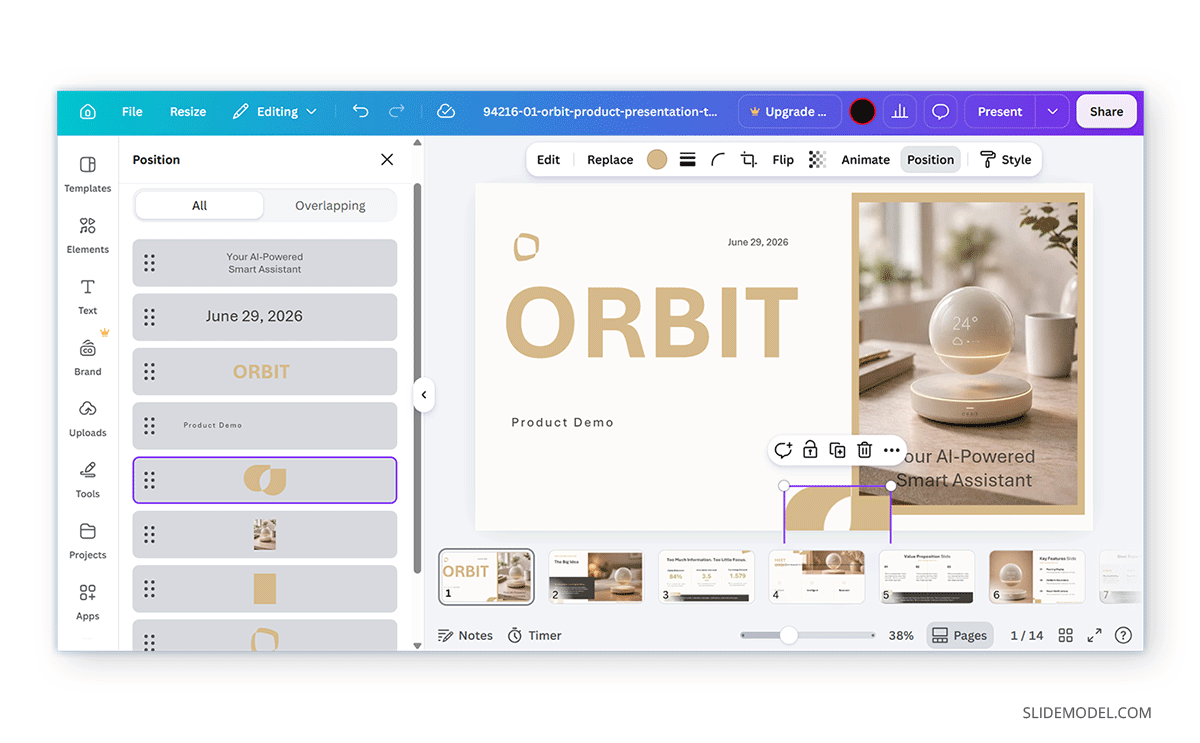
Step 3: Select the Layers tab. The panel displays the layers on the current page.
Step 4: To change the order, select and hold a layer, then drag it upward or downward in the panel. Canva displays an insertion line showing where the layer will be placed. The Layers panel also lets you select and rearrange multiple layers.
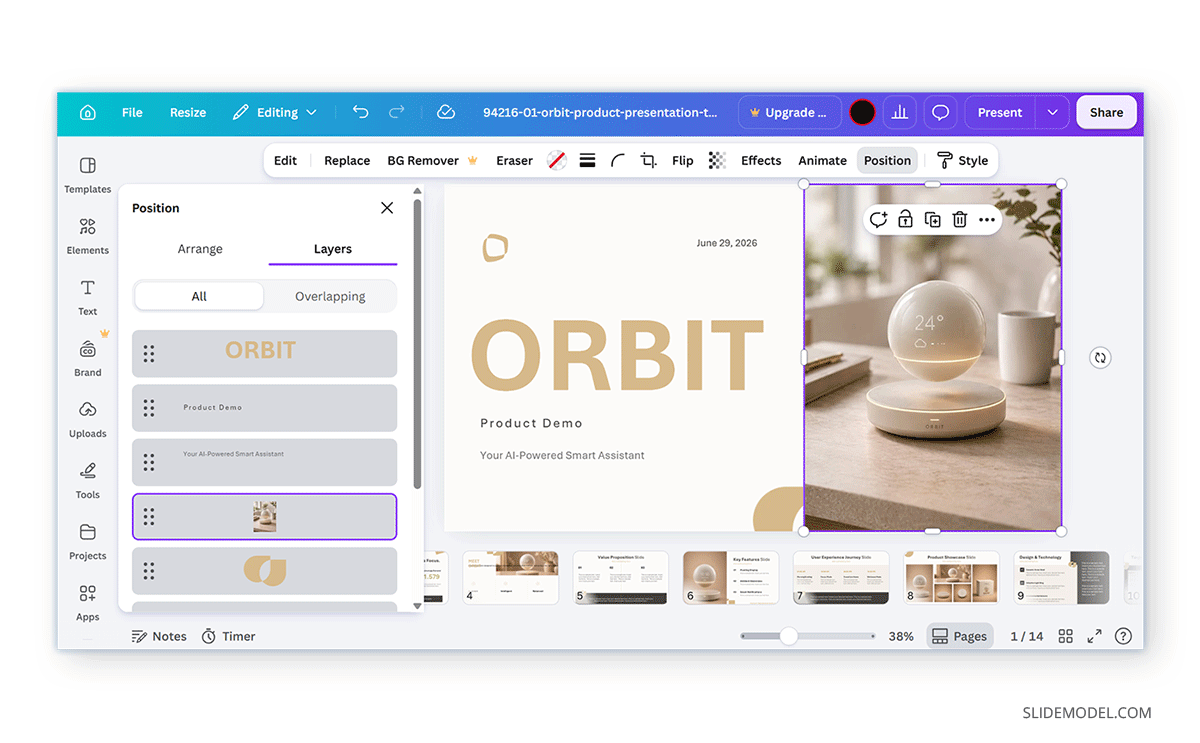
Changing Canva Layer Order on Mobile
Canva includes layer and alignment controls for both desktop and mobile interface, so the same basic stacking logic applies in the mobile editor. On mobile, select the image or element first and open the available Position controls. Then use the relevant Forward, Backward, To Front, or To Back option to adjust its position in the stack.
The exact location of a control can vary with screen size and interface updates, but the principle remains the same: select the element first, then change its position relative to the other layers.
For slides with many overlapping objects, the desktop editor is generally easier because the larger workspace makes it simpler to see and manage the full composition.
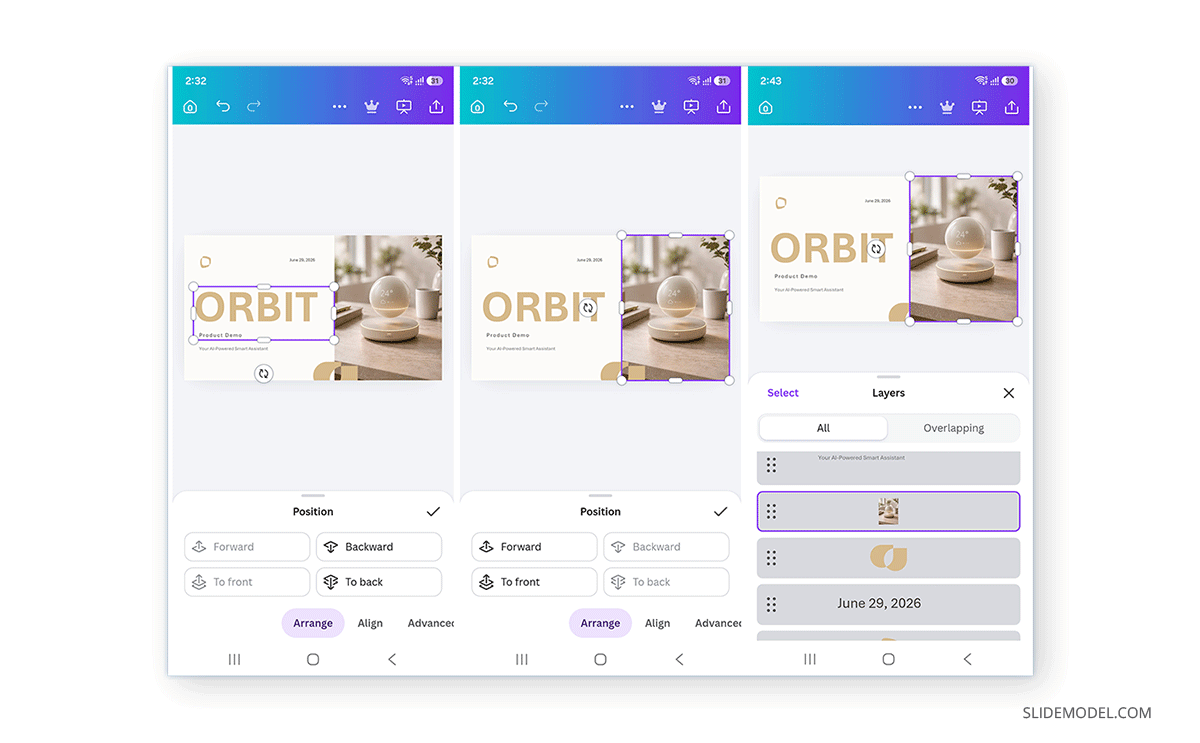
How to Move an Element Behind an Image in Canva
To move an element behind an image, use the Position menu.
Step 1: To move an element behind an image in Canva, select the shape, not the photograph.
Step 2: Open Position and choose Backward until the image appears in front. If the shape belongs behind everything on the slide, use To Back instead. This distinction helps because you don’t always need to rearrange the main image. Sometimes moving the supporting object is easier and preserves the rest of the composition.
Step 3: Drag to adjust the element as needed. In the example below, we moved a rectangle shape behind an image.
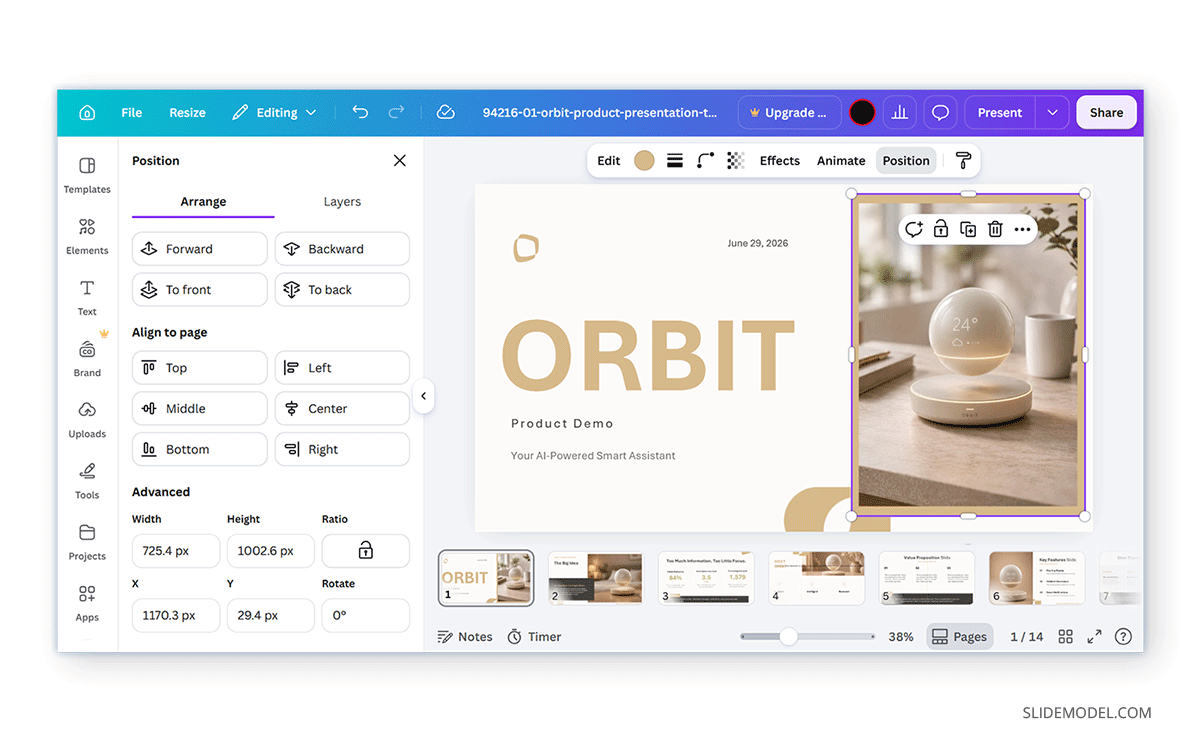
How to Place an Image Behind Text in Canva
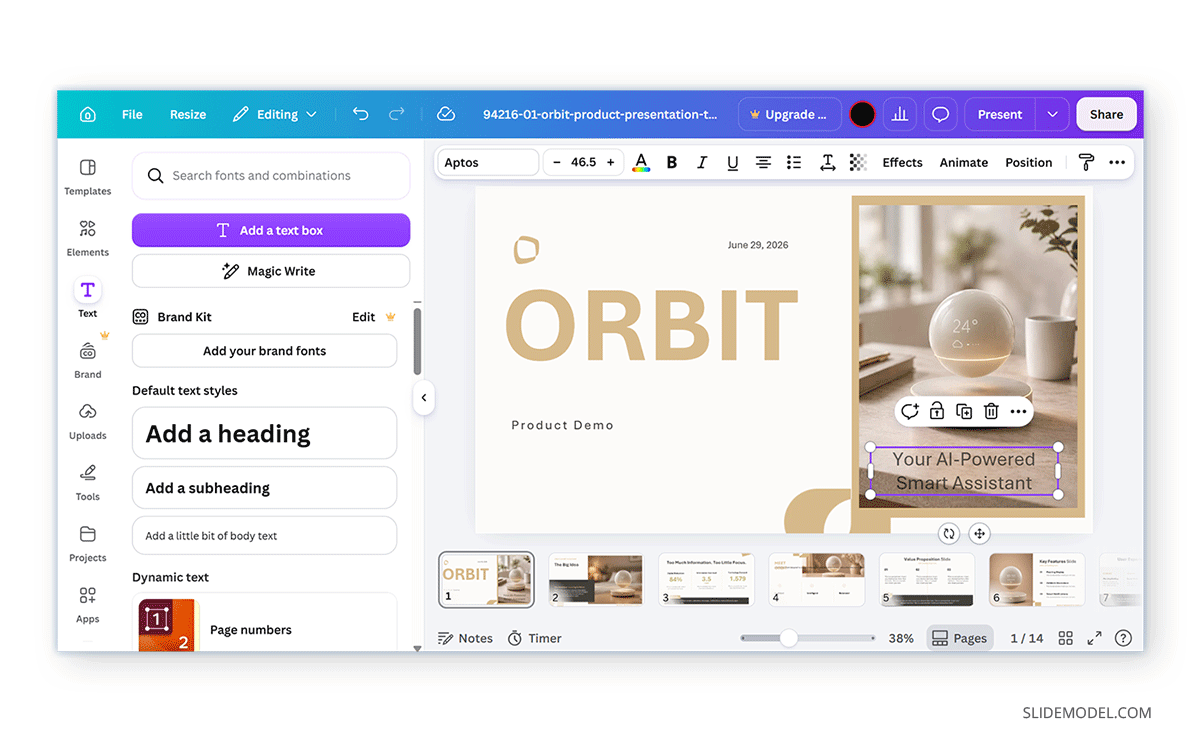
One of the most common uses of Canva layer controls in presentation design is positioning a photograph behind text. You can add a text box over the image, or use the steps below if the image is placed over the text.
Step 1: Place the image where it should appear on the slide. Then add the title, subtitle, or body text.
Step 2: If the image appears over the text, select it and open Position.
Step 3: Choose Backward if it only needs to move behind the text, or choose To Back if it should sit behind every other element. This will send the object to the back Canva layer.
Once the order is correct, check readability. A photograph can sit behind text and still make the words hard to read. You may need to darken the image, reduce its transparency, or place a semi-transparent shape between the image and text. This technique works particularly well for title slides, section dividers, quote slides, and full-bleed presentation backgrounds.
How to Arrange Elements in Canva
You can access layer controls both via the Position menu and the right-click context menu. From there, you can reorder and adjust layers as needed.
Layer Order vs Alignment
Layer order and alignment solve different problems. Layer controls determine which elements appear in front of or behind others, while alignment controls change where an element sits on the page or in relation to other selected objects. For example, if a photograph covers a text box, changing the layer order can fix it. If the photograph is simply too far to the left, you need an alignment or positioning adjustment instead. When you select one element, Canva aligns it relative to the page. With multiple elements selected, alignment is based on the selected objects.
Layering Shapes for Visual Depth
Layering is not limited to photographs. Presentation designers can use the same controls to create visual depth with shapes. For example, you can place a rectangle behind a title to create a label, position a circle partly behind an image, place a larger shape behind a smaller one to create a card effect, or add a shape behind a chart to visually separate it from the background.
Canva Layer Order vs PowerPoint
Canva and PowerPoint use similar layering concepts, but they organize them quite differently.
Canva Layer Order
In Canva, Forward, Backward, To Front, and To Back are the main layering options. The Position interface also gives access to the Layers tab, where you can inspect and manually reorder objects.
PowerPoint Layer Order
PowerPoint uses comparable commands such as Bring Forward, which moves an object one level forward; Bring to Front, which places it above the other slide objects; Send Backward, which moves it one level toward the back; and Send to Back, which places it behind the remaining objects. PowerPoint also provides the Selection Pane, which lists slide objects and helps users select or manage overlapping items. Conceptually, PowerPoint’s Selection Pane and Canva’s Layers tab solve a similar problem: both provide a structured view of objects that may be difficult to select directly on the page.
The main difference is that Canva places much of its arrangement functionality within the Position panel, while PowerPoint more clearly separates its Arrange commands from the Selection Pane.
Final Words
Knowing how to send an image to the back in Canva mainly comes down to understanding the stacking order of objects. Forward and Backward provide incremental control, while To Front and To Back move an element directly to the front or back of the stack.
For simple slides, these four controls are usually enough. For presentation designs with many overlapping images, shapes, and text boxes, the Canva Layers tab offers a clearer way to inspect and manually reorganize the full layer structure. Once you have the layer order under control, you can place images behind text, create overlapping image compositions, and build visual depth while keeping every element editable.