Most presentations are designed in a horizontal format, but there are many situations where vertical slides work better. While Canva, like other presentation-making platforms, offers widescreen, horizontal layouts, a vertical Canva slide can have certain benefits. This might be the case when making mobile-friendly presentations, social media slides, or infographic-style content, with a vertical layout to improve how your content is viewed and shared.
If you’re wondering how to make a Canva slide vertical, the process depends on whether you’re starting from scratch or modifying an existing presentation. In this tutorial, we will discuss these approaches and share practical tips for designing vertical Canva presentations.
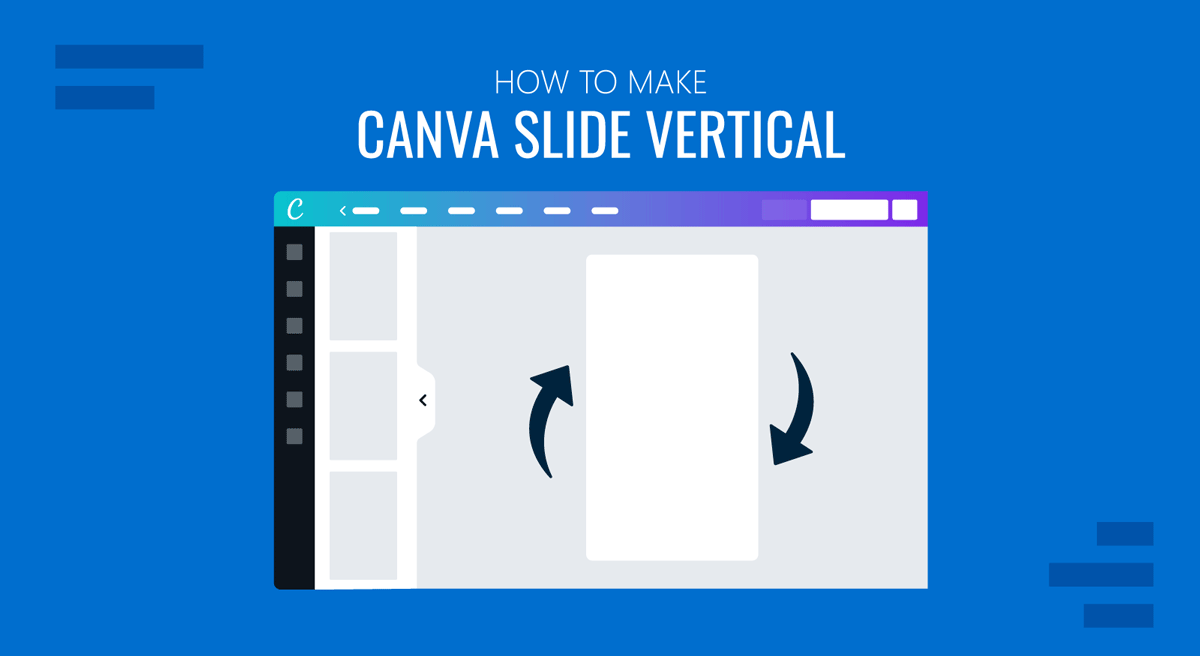
What is a Vertical Canva Slide and When Should You Use it
A vertical slide uses a portrait orientation, meaning the height is greater than the width. Unlike the commonly used widescreen layout, this layout is often used for mobile-first presentations, infographics, and social media posts on platforms like Instagram and Pinterest, and is also useful for slides related to reports and one-page summaries.
Compared to traditional widescreen slides (16:9 landscape), vertical slides are easier to scroll and view on smaller screens. A vertical Canva presentation is especially useful when your content is intended for mobile screens. This format works well for sharing slides on social media, creating scrollable presentations, or designing visual reports and summaries. It is also ideal for presenting to audiences who are more likely to view content on smartphones than on large screens.
How to Create a Vertical Canva Presentation
To create a Canva slide layout in vertical format, you can use different built-in presets, start from scratch, or resize your slides.
Method 1: Create a Vertical Canva Slide from Scratch
The easiest way to create a vertical Canva presentation is to set the dimensions before you start designing. You might use this method when you are starting a new presentation from scratch, designing infographics, or targeting mobile-friendly or social media platforms for sharing slides (e.g., slides converted into social media carousels).
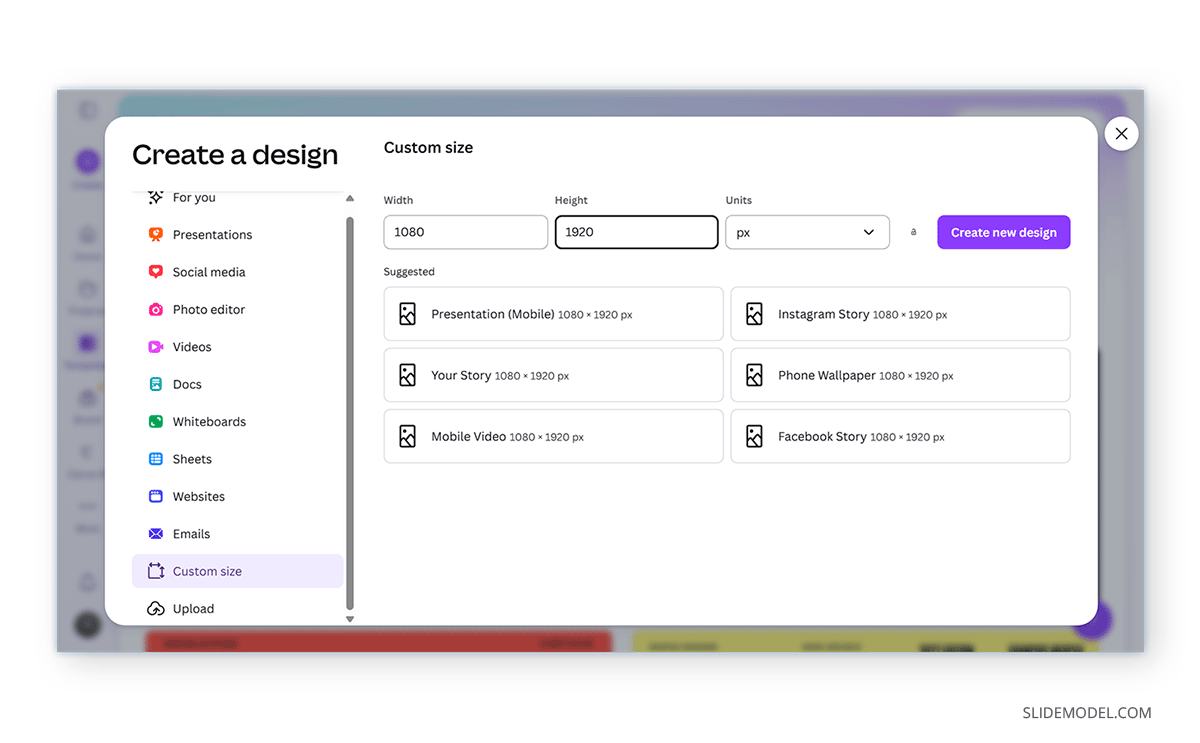
Step 1: Open Canva and click Create -> Custom Size or browse through templates.
Step 2: You can choose from vertical presets from different templates or keep a custom size, such as 1080×1920 px.
Step 3: Add text, images, and elements as you would in a standard presentation, but optimized for vertical viewing.
Method 2: Resize an Existing Canva Presentation
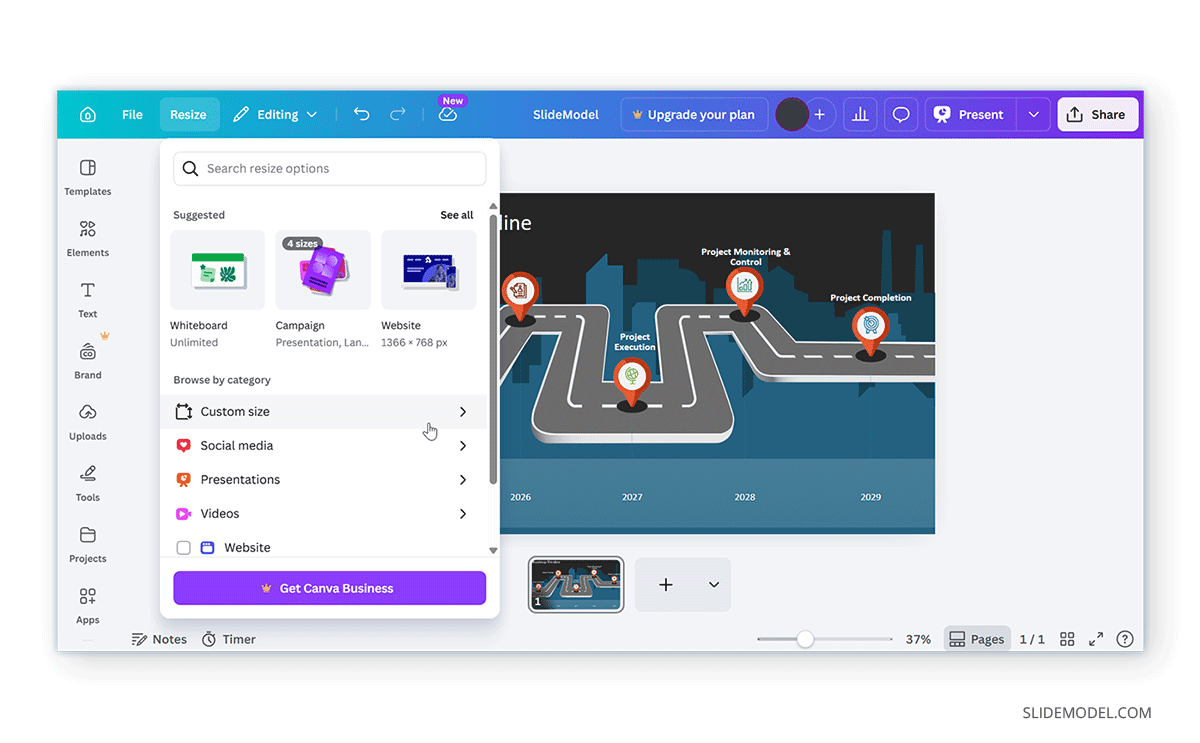
If you already have a horizontal presentation, you can convert it into a vertical Canva slide using the Resize option. It is worth mentioning here that the Resize feature is typically available in Canva Pro.
Step 1: Open your existing design and select Resize from the top menu.
Step 2: Enter new vertical dimensions (e.g., 1080×1920 px) or choose a preset.
Step 3: Choose the Resize option to change the current design or select Copy & Resize to preserve the original design.
Note: Once resized, some slide elements may shift position, the text may need adjustment, and the layout may require reorganization.
Method 3: Rebuild Slides in a Vertical Layout
If resizing doesn’t produce good results, rebuilding may be the better option. This might be suitable when complex designs don’t convert well or when you are looking for better layout control.
Step 1: Create a new vertical design via Create -> Custom Size.
Step 2: Copy content from your original slides and paste it into the new slide deck.
Step 3: Rearrange elements for vertical flow.
Tips for Choosing Dimensions and Designing Vertical Canva Slides
Creating a successful vertical Canva slide starts with selecting the right dimensions and applying design principles that suit a portrait layout. Since vertical presentations are often viewed on mobile devices or shared digitally, both size and structure play a key role in how your content is perceived.
Choosing the Right Dimensions
The ideal size for your vertical Canva slide depends on how you plan to use it. For mobile-friendly or social media content, 1080×1920 px is a popular choice because it matches common screen aspect ratios. If you’re designing infographic-style content, a slightly shorter format, such as 800×1200 px, can work well. For more formal documents or printable presentations, using an A4 portrait layout provides a familiar and professional structure. Selecting the right dimensions early helps ensure your content fits naturally within the layout.
Designing for Vertical Flow
Unlike traditional slides that are viewed left to right, vertical slides are typically scanned from top to bottom. This means your content should follow a logical sequence, guiding the viewer through the information step by step. Start with key points at the top and move toward supporting details below. Spacing is equally important. Avoid placing elements too close together, as this can make the slide feel crowded. Instead, use consistent spacing to separate sections and improve readability. Since vertical slides are often viewed on smaller screens, using larger text ensures your content remains legible without requiring zooming.
Prioritizing Information
To improve clarity, prioritize the most important information near the top of the slide. Combine this with a strong visual hierarchy, using headings, subheadings, and spacing, to help viewers quickly understand the structure of your content.
Common Mistakes to Avoid
When converting or designing vertical slides, a few common issues can reduce effectiveness. Below are some common mistakes to avoid when resizing Canva slides.
Some Layouts Might Need to be Redesigned
One of the most frequent mistakes is trying to force a horizontal layout into a vertical format. This often leads to cluttered designs that feel unbalanced. Instead, redesign the layout to suit the vertical orientation.
Avoid Overloading Slides
Overloading the slide with too much content is another issue. Vertical space may seem larger, but filling it with excessive text or visuals can overwhelm the viewer. Keeping content concise improves clarity.
Optimize for Small Screens
It’s also important to consider mobile viewing. Since many users will view vertical slides on phones, designs should be optimized for smaller screens. Additionally, images should be adjusted carefully after resizing, as they can become stretched or cropped if not properly aligned.
Final Words
Once you understand how to make a Canva vertical, it gives you more flexibility when designing slides. While traditional horizontal slides are still widely used, vertical layouts are becoming increasingly important for mobile-first and digital content.
A vertical Canva slide made from scratch, a resized existing design, or a rebuilt layout all provide the option to optimize your slides for a clean vertical layout. The focus should be on making your content more engaging and easier for the intended audience to view, especially on smaller screens.