For a Google Slides beginner, some fundamental questions might be as simple as how to delete a text box on Google Slides. While this question might appear simple for people who are used to making presentations regularly, for someone new to creating and editing presentations and Google Slides templates, such basic tasks can be confusing.
How to Delete Text Boxes in Google Slides
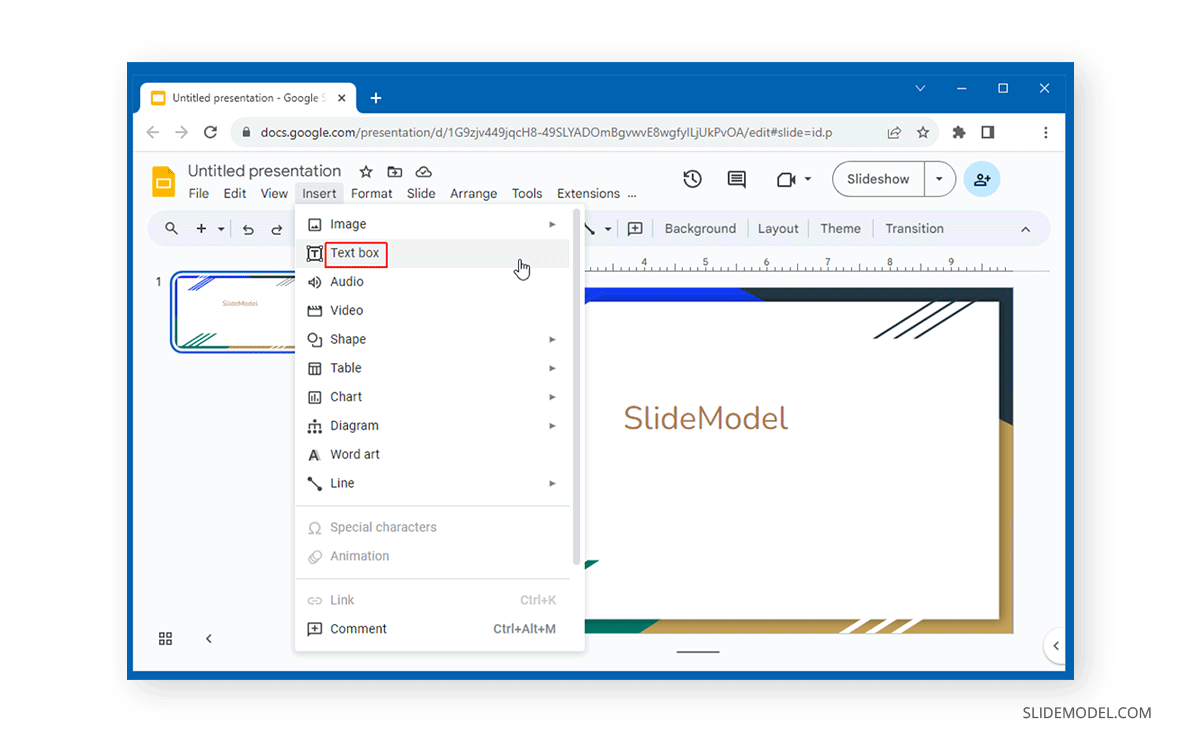
Let’s first see how to add a text box in Google Slides, followed by how to delete one. To insert a text box in Google Slides, go to Insert -> Text box.
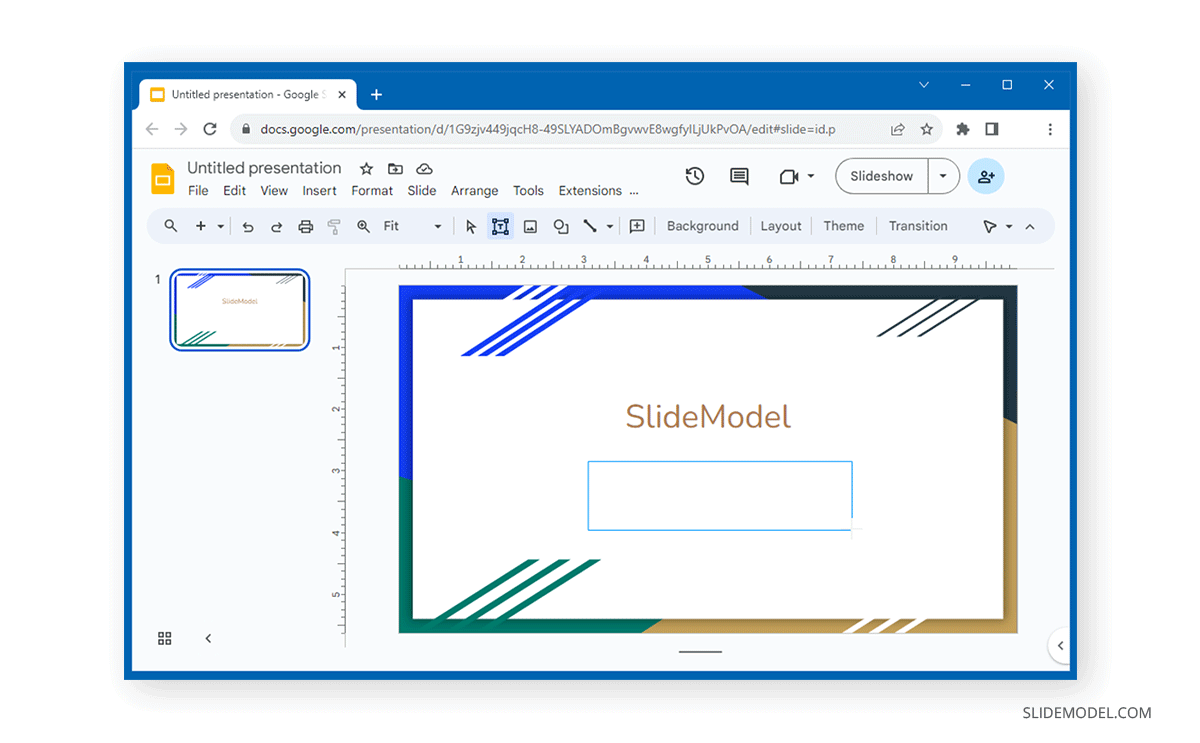
Drag to create a text box and type in the required text. You can also change the text size, font, colors, and other types of formatting according to need using the options from the top toolbar.
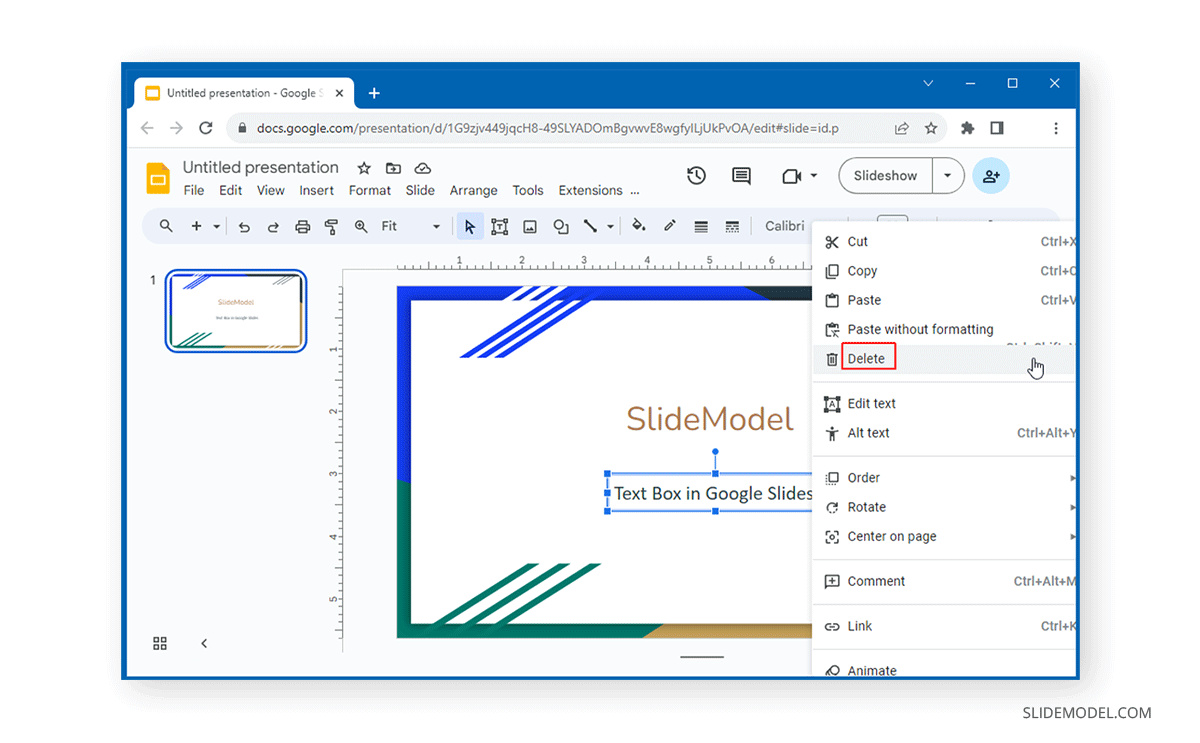
To delete any text box, right-click the text box border and select Delete from the context menu. If you can’t find the delete option, scroll to locate it. Alternatively, you can also use the Delete key on your keyboard after selecting the text box to delete it.
The below GIF animation shows how to add and delete a text box in Google Slides.
FAQs
How do I add a text box in Google Slides?
To add a text box, go to Insert > Text box. Then, drag on the slide to create the text box and type the required text.
How can I delete a text box in Google Slides?
To delete a text box, right-click on the text box border and select Delete from the context menu, or simply press the Delete key on your keyboard after selecting the text box.
Can I delete multiple text boxes at once in Google Slides?
Yes, you can select multiple text boxes by holding the Shift key and clicking on each one, then press the Delete key or right-click and select Delete.
What should I do if I can’t find the Delete option in the context menu?
If the Delete option isn’t immediately visible in the right-click menu, scroll through the menu to locate it or press the Delete key on your keyboard as an alternative.
Can I undo the deletion of a text box in Google Slides?
Yes, you can undo the deletion by pressing Ctrl + Z (Windows) or Cmd + Z (Mac), or by clicking the Undo button in the toolbar.
Is there a quick keyboard shortcut for deleting a text box?
After selecting the text box, simply press the Delete or Backspace key on your keyboard to quickly remove it.
Why can’t I delete a text box in Google Slides?
If you’re unable to delete a text box, ensure that you have selected the text box by clicking its border. The text inside must not be selected; you need to select the entire box.
Final Words
A text box in Google Slides is easy to add or delete. You can use the Insert menu to add a text box, whereas deleting one requires either using the Delete key from the keyboard or selecting the Delete option from the right-click context menu.