Back in the day, people used to exclusively buy laser pointer gadgets to direct the audience toward key aspects of a presentation slide. Later, these pointers became available with presentation remotes. However, most modern presentation apps now provide a virtual laser pointer that enables turning your mouse into an onscreen laser pointer. If you want to ensure that you can turn your audience’s attention toward key parts of your slides, you can use the laser pointer in Google Slides.
How to Enable Google Slides Laser Pointer
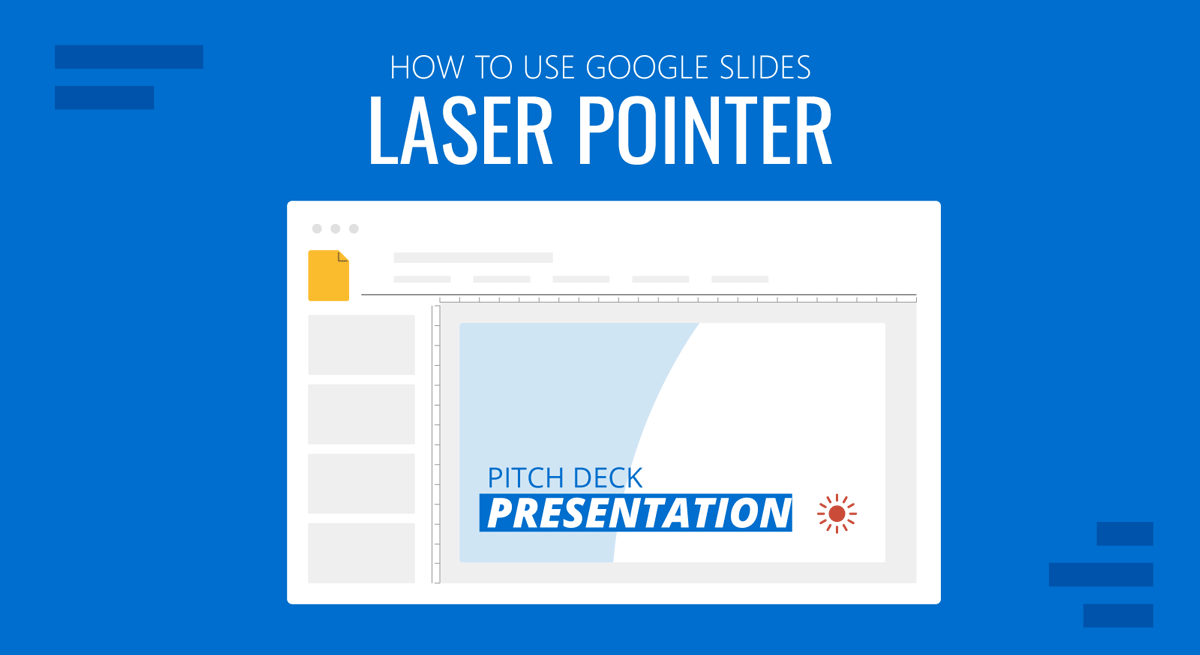
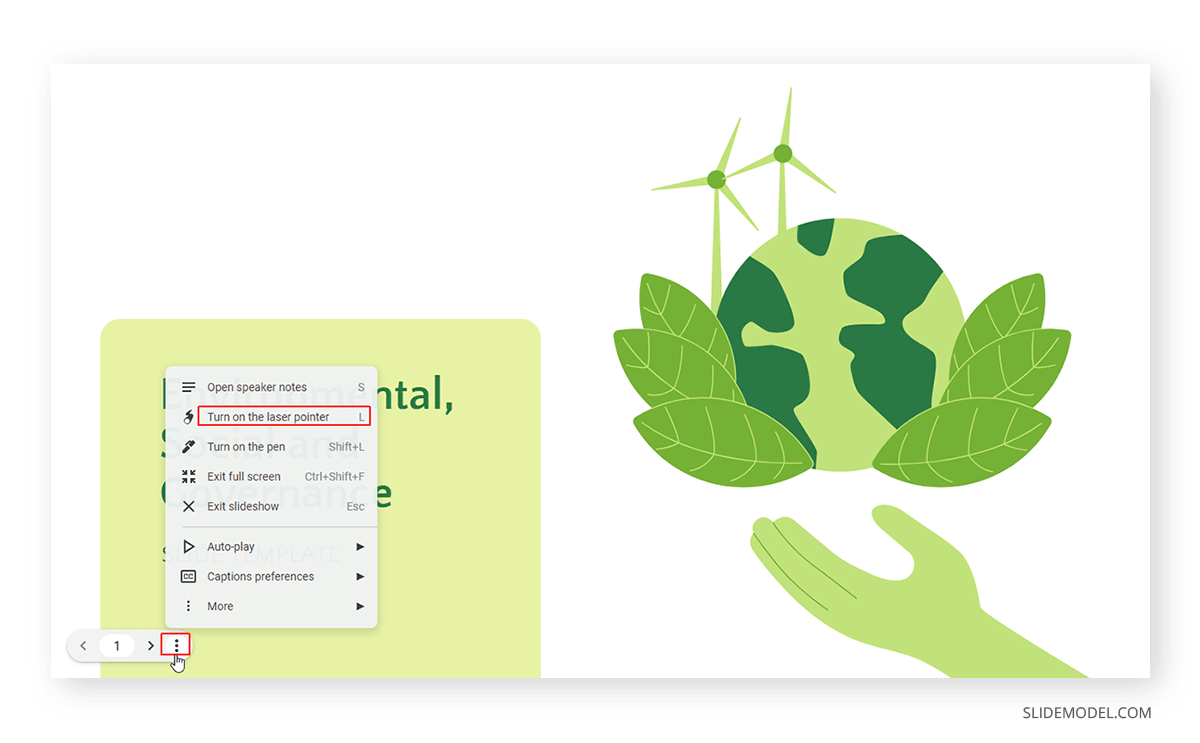
To enable the laser pointer, go to your slide deck and click Slideshow.

Select the three dots icon to expand the menu, select Turn on the laser pointer, or use the L hotkey to enable and disable it.
When editing your Google Slides templates, you might want to ensure how to best use the laser pointer by determining the most important bits of information you would like to focus on to make it memorable for your audience.

To get a laser pointer in Google Slides, see the GIF animation below that shows the whole process.

Final Words
By turning your mouse into a laser pointer, you can instantly turn your cursor into a useful gadget that can help direct your audience’s focus toward specific parts of the slide. This can help you make important information memorable for your audience. Since Google Slides provides this feature with an easy-to-enable option, including the L hotkey in Slideshow mode, you can save money on buying a laser pointer gadget by simply turning your cursor into one anytime you need to present your Google Slides presentation.