Slide dimensions play an important role in how your presentation looks and performs across different screens. Whether you’re designing slides for widescreen displays, legacy devices, social media, or printed materials, choosing the right size ensures your content appears properly aligned and visually balanced.
If you’re wondering how to change slide dimensions in Canva, the process is slightly different from traditional tools like PowerPoint. Canva allows you to resize designs using its built-in tools, but some features depend on your plan and workflow. In this guide, we will walk you through different methods to change page dimensions in Canva, explain when to use each option, and share tips to avoid formatting issues when resizing your slides.
Why Slide Dimensions Matter in Canva
Before changing dimensions, it’s helpful to understand why slide size matters. Using the correct dimensions ensures your slides fit properly on screens, helps you maintain visual alignment, and prevents cropping or distortion. Changing dimensions is useful in several scenarios, such as when converting presentations for different screens, repurposing slides for social media, or preparing content for printing. Additionally, you might need to change slide orientation when adapting slides for video or embedded content.
Common Page Dimensions in Canva
Different formats serve different purposes. To understand how to change page dimensions in Canva, below is an explanation of common formats available for end users:
Presentations
For presentations, you will see the following orientations:
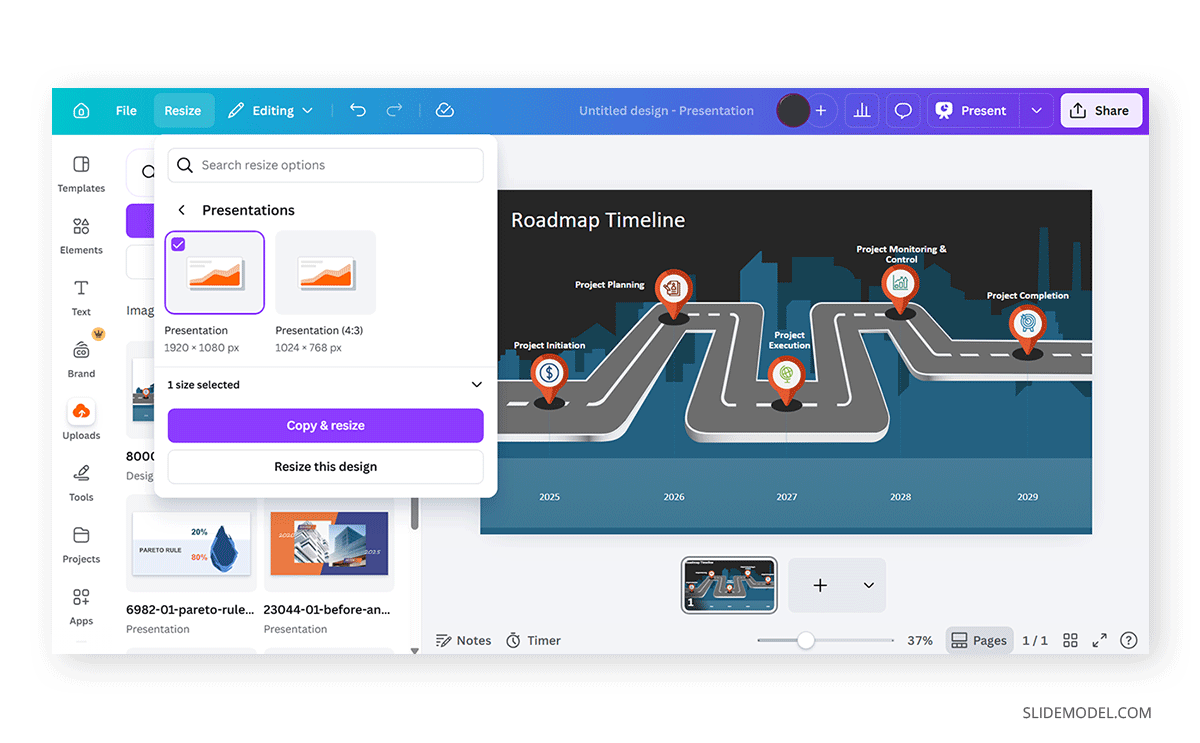
- Widescreen (16:9): This is a widely used aspect ratio for presentations and modern displays. This option allows you to resize your canvas to 1920×1080.
- Standard (4:3): This orientation is suitable for a traditional presentation format or for displaying your slides on a legacy device. This option provides an orientation of 1024×768.
Custom Sizes
This orientation option lets you set a custom size for your slides.
Social Media
In addition to the Standard and Widescreen dimensions, you can also design your content for a Pinterest pin or for an Instagram, LinkedIn, Twitter, or Facebook post. This might be useful if you need to export images for social media later or if you want to give your slides a social-media-style orientation. For example, you can choose between 1080×1350 for an Instagram post and 1080×1920 for an Instagram Story.
There are also other Instagram orientations for videos, Ads, and Animations. Similarly, there are orientations for LinkedIn posts (1200×1200), LinkedIn Background (1584×396), LinkedIn Single Image (1200×627), Facebook Post (1940×788), Facebook Cover (815×315), Facebook Story (1080×1920), Twitter Post (1600×900), etc.
Videos
Canva also provides other options to optimize your canvas, such as for videos. This menu has orientations suitable for TikTok, Instagram, and Facebook reels, LinkedIn videos, YouTube Videos, video collages, etc. You can consider using these orientations if you’re working on a video presentation and need a standard layout to suit your needs.
Website
This option is meant to provide orientations for a website-like menu. Once selected, Canva automatically resizes the canvas.
Whiteboard
The Whiteboard option in Canva resizes the canvas to a layout suitable for whiteboards, helping you turn your canvas into a presentable board with the right orientation.
Other Dimensions
Since Canva is not limited to presentations, videos, or social media post designs, you can choose other orientations for posters, magazine covers, virtual backgrounds, desktop wallpapers, and many other formats via the More option. If you’re looking for answers like how to change document dimensions in Canva or need specific orientations that you can’t find, this menu is worth checking out.
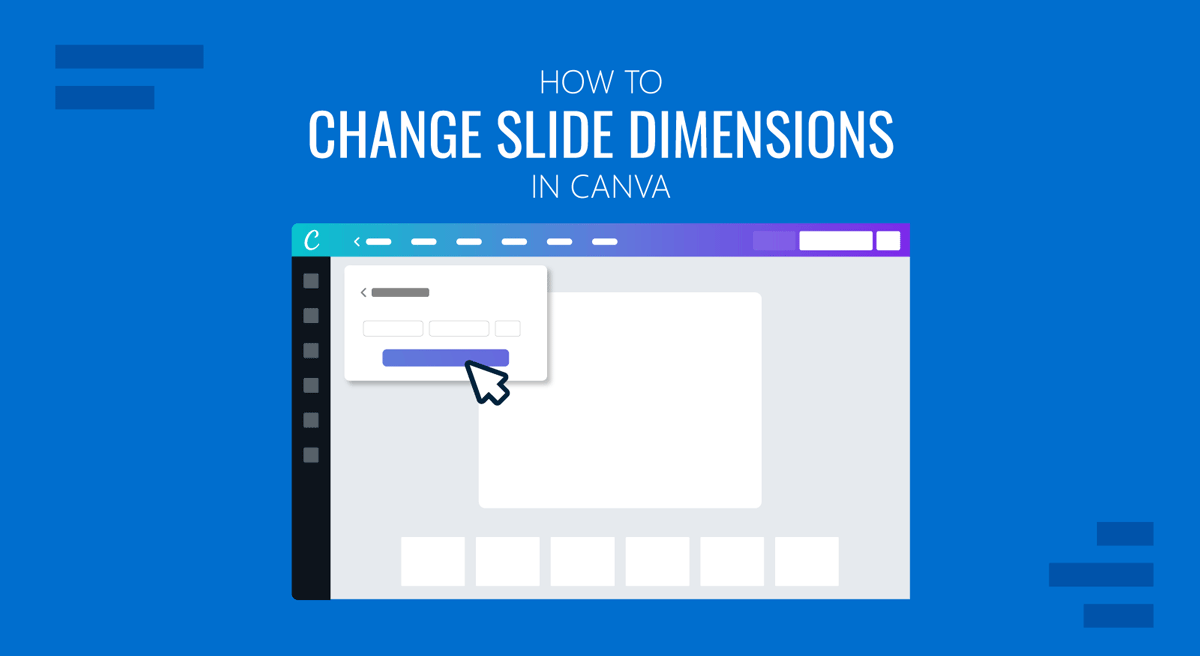
How to Change Dimensions in Canva
There are several methods to change dimensions in Canva, including using the Resize option, selecting a desired orientation when creating slides from scratch, or making manual adjustments.
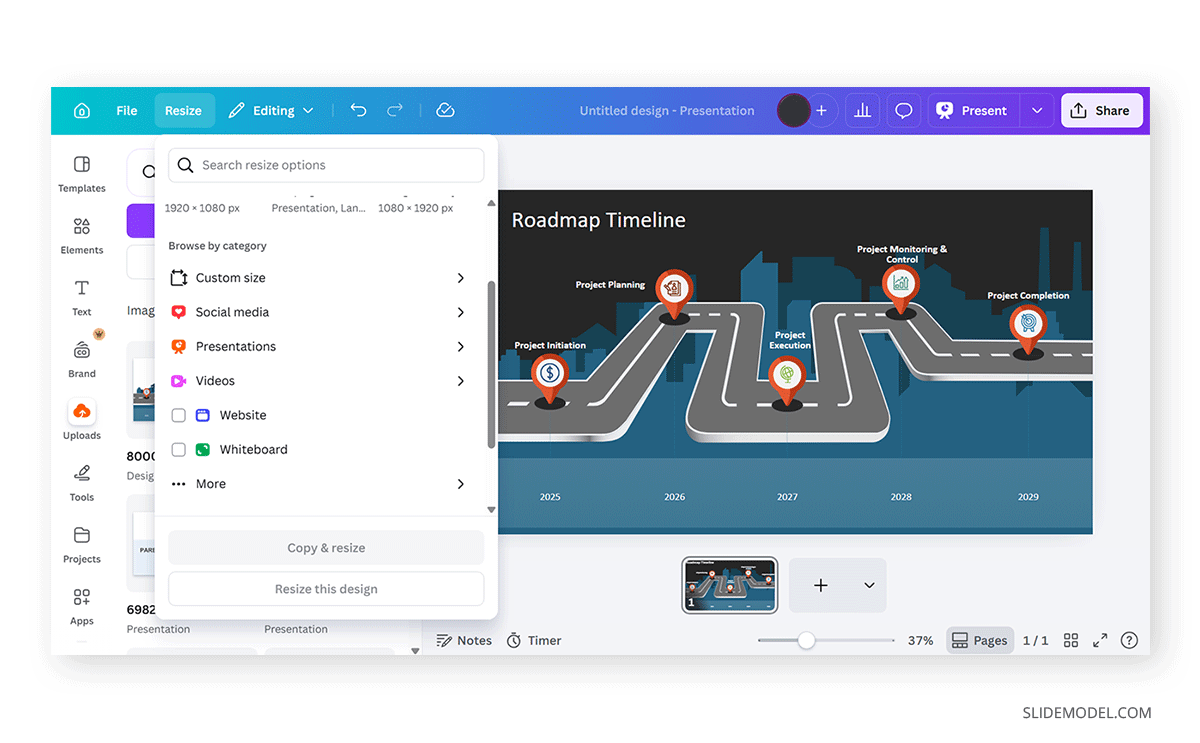
Method 1: Resize Slides Using Canva’s Resize Tool
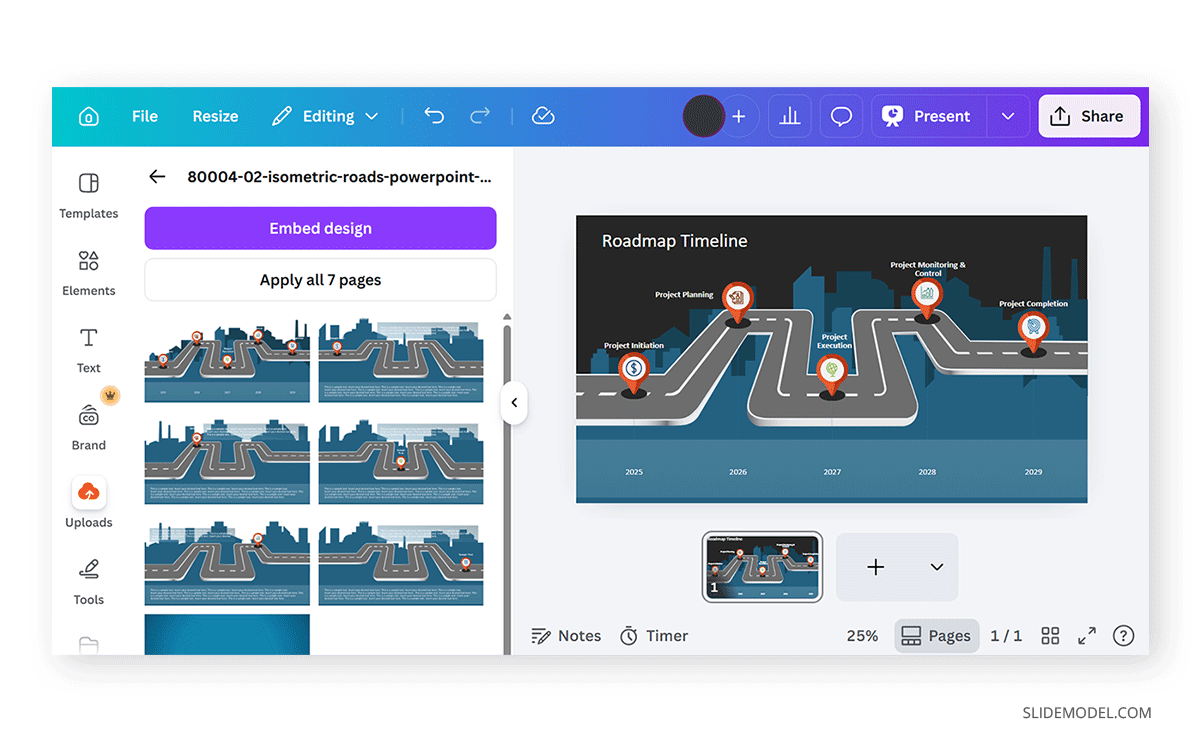
The easiest way to change a slide size is to use Canva’s Resize feature (available in Canva Pro). You can use this method when you have already created a presentation, want to convert between formats (e.g., 16:9 to 4:3), or need a quick adjustment to make your slides fit a specific screen.
Step 1: Open the design you want to resize.
Step 2: Click the Resize button at the top of the screen.
Step 3: Choose a preset or custom size. You can select preset sizes (e.g., Presentation 16:9) or enter custom width and height values.
Step 4: There are essentially two options that you can choose from:
- Copy & Resize: Creates a duplicate with new dimensions.
- Resize This Design: Changes the current design.
Step 5: Adjust the layout if needed, then review your slides after resizing and fix any alignment issues.
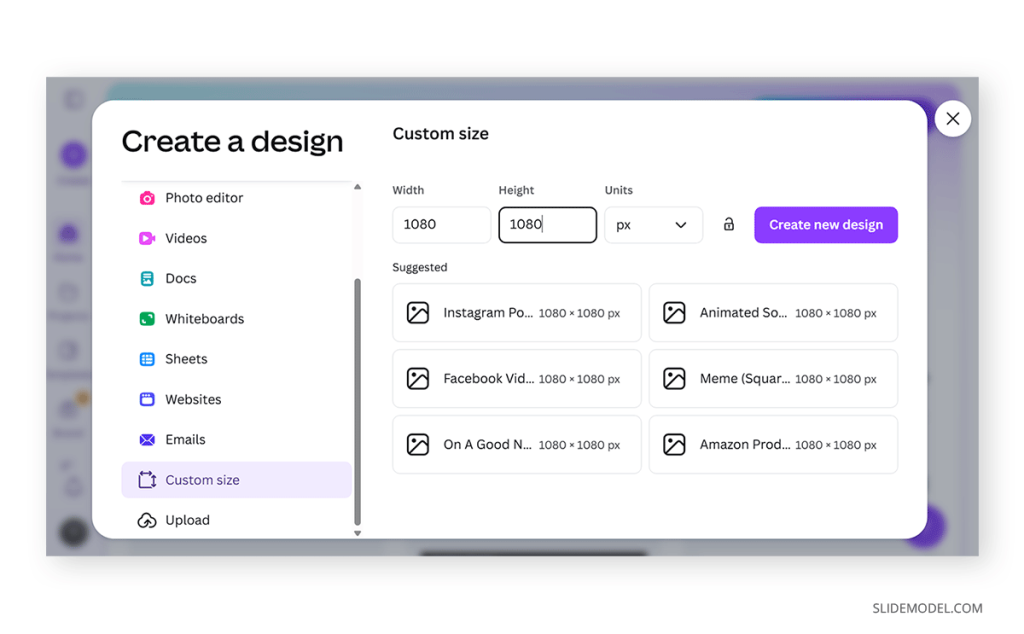
Method 2: Change Dimensions When Creating a New Design
If you haven’t started your presentation yet, the best approach is to set the correct dimensions from the beginning. This method is useful when starting a new presentation or working with specific format requirements.
Step 1: From the Canva homepage, click Create, then scroll down to the menu that appears and select Custom Size.
Step 2: Enter your desired width and height (in pixels, inches, cm, or mm).
Step 3: Click Create New Design. This will generate the canvas in your desired dimensions.
Method 3: Manually Adjust Layout After Resizing
If you’re using Canva’s free version, you won’t have access to the Resize tool; you can still change dimensions manually. This method requires manual adjustments, can be time-consuming for large presentations, and lacks automatic scaling. However, it still lets you change document dimensions in Canva without upgrading to a paid plan.
Step 1: Create a new design with the desired dimensions.
Step 2: Open your original presentation or the uploaded template you wish to replicate.
Step 3: Copy elements from old slides and paste them into the new design.
Step 4: Manually adjust layout and positioning.
Tips to Maintain Design Quality After Resizing
When you change dimensions, Canva attempts to adjust elements automatically. However, this process is not always perfect. Common changes after resizing might include text boxes shifting position, images stretching or cropping, spacing between elements changing, or alignment needing correction. Because of this, always review your slides after resizing.
Keep Layouts Simple
Minimal designs adapt better to new dimensions and might help you avoid issues after reorientation.
Group Elements
Grouped elements maintain alignment when resized. This can help prevent them from breaking away, which would require realignment.
Use Grids and Guides
These help reposition elements consistently.
Avoid Heavy Edges
Content near edges may get cropped when resizing. Using heavy edges can therefore cause major alignment and visibility issues when the content is resized.
Check Design
Regardless of how perfect your design may appear, it’s always best to review it after reorientation to avoid broken elements and missing content.
Final Words
Learning how to change slide dimensions in Canva gives you greater flexibility when designing presentations. You can use the Resize tool, start with custom dimensions, or manually adjust layouts to adapt your slides. When adjusted properly, Canva’s page dimensions can help maintain design consistency and avoid common formatting issues.
In addition to the option to create presentations in Standard or Widescreen orientation, you can also choose a custom size, social media-style dimensions, or orientations suitable for a whiteboard, website, flyer, wallpaper, etc. While these options can appear a bit overwhelming, knowing your presentation requirements beforehand and deciding on your slide deck orientation can help you plan to create well-formatted presentations in Canva for display on different screen types.