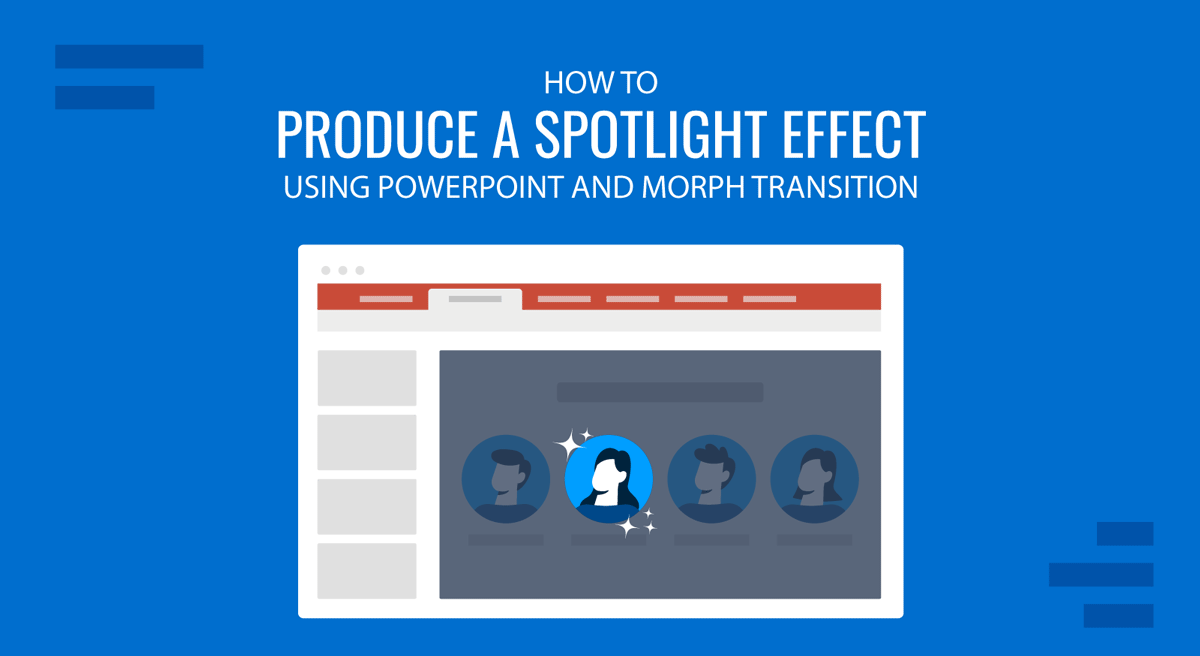
Using the Morph transition to create a spotlight effect in PowerPoint is a powerful way to direct audience attention, highlight key elements, and make your presentations more engaging. This technique is especially useful for “Meet the Team” slides, emphasizing specific data points or illustrations. In this spotlight-making tutorial, we will walk you through the step-by-step process of creating a spotlight effect in PowerPoint with the Morph transition.
Why Use the Spotlight Effect in PowerPoint?
The spotlight effect in PowerPoint is an excellent visual technique that enhances audience engagement and ensures your key message stands out. Here are some reasons why you should use this effect:
1. Directs Attention to Key Information
In a busy slide filled with text, images, and data, a spotlight effect helps focus your audience’s attention on the most important content. By gradually revealing slide sections, you guide viewers through your narrative effectively.
2. Enhances Storytelling and Flow
A presentation is more than just information; it’s a story. A well-placed spotlight effect creates a sense of progression and movement, making your content more dynamic and compelling. Whether you’re introducing team members, unveiling product features, or emphasizing statistics, this effect helps maintain audience interest.
3. Adds Professionalism and Visual Appeal
A polished, well-designed presentation is more likely to leave a lasting impression. The spotlight effect gives your slides a sleek, professional look that enhances your brand image and credibility.
4. Improves Retention and Comprehension
Studies show that visual effects help the audience retain information better. The spotlight effect ensures that viewers process key points efficiently by reducing distractions and emphasizing core ideas.
5. Boosts Engagement with Interactive Elements
Interactive presentations often outperform static ones. When used strategically, the spotlight effect encourages active participation, making your audience feel more involved and attentive.
6. Guides Viewers through Complex Information
If your slide contains intricate data, charts, or diagrams, the spotlight effect helps break it down into simple sections. Instead of overwhelming your audience, you can introduce each element step by step.
7. Increases Visual Hierarchy and Readability
By darkening the rest of the slide and highlighting only specific areas, you create a clear visual hierarchy that makes your slides more readable. This is particularly useful when presenting to larger audiences or in virtual meetings where screen visibility may be limited.
8. Enhances Virtual Presentations
With remote work and virtual meetings becoming more common, keeping an online audience engaged is challenging. The spotlight effect makes virtual presentations more dynamic and visually engaging, ensuring better participation and comprehension.
How to Create a Spotlight Effect in PowerPoint Using Morph Transition
Step 1: Insert Shape Overlays to Create a Frame
To begin making slides with the PowerPoint spotlight effect, you will first be required to use PowerPoint Shapes to create a frame. For the purpose of this post, we will use the Cart Before the Horse PowerPoint Template, which is among the collections of Animated PowerPoint Templates that you can download from SlideModel.
Open the slide to which you want to add the spotlight effect and add your content, such as text, images, or team member photos.
Insert a circle or oval shape where you want the spotlight effect via Insert -> Shapes.

Add a rectangle shape and make sure it covers the whole slide and some extra space on the slide outside the content area.
Right-click the rectangle shape and select Send to Back.
Place the circle in the middle of the rectangle.

Step 2: Cut Out the Spotlight Area
Select both the rectangle overlay and the circle by selecting them using the Shift Key+Left Click combination.
Use the Merge Shapes tool and choose Combine to create a cutout effect.

Step 3: Create a Dark Overlay
Go to the Shape Format tab or select the Format Shape option from the right-click context menu to change the fill color to black or dark gray. The dark overlay will help create a look focusing on the cutout area.
Adjust the transparency level (e.g., 25%) to allow some visibility.

Step 4: Duplicate the Slide
Right-click the slide and select Duplicate Slide.
Adjust the position of the cutout circle on the duplicated slide to move the spotlight over the intended area. In this example, we added the spotlight to the horse in the first slide and the male character in the second (duplicate) slide.

Step 5: Apply the Morph Transition
To give the animated PowerPoint moving spotlight effect, use the following process:
Go to PowerPoint Transitions via the Transitions tab and select Morph Transition.
Set the duration to around 1-2 seconds for a smooth transition.
Preview the animation to ensure a seamless spotlight effect. When previewing it in Slide Show mode, make sure the frame covers the whole area. This ensures that the frame is large enough to cover the screen area and that parts of the underlay slide area are not exposed when running the slideshow.

Step 6: Test the Spotlight Effect in PowerPoint
Finally, test the spotlight effect to assess whether the slides play according to your desired settings.
Go to SlideShow mode and test the slides to check the smoothness of the effect.
If necessary, adjust the spotlight’s transparency, color, and placement for a more realistic spotlight appearance. Sometimes, you might need to adjust the frame size to ensure it fits the screen. You can drag it to expand the frame and make adjustments.
Remember, analogies can help create engaging presentations, where you can use the spotlight effect and even leverage another PowerPoint animation to make the most out of your slides.
Best Practices for Using the Spotlight Effect
While using the spotlight effect can be quite an engaging method of making your audience notice specific content on your slides, it is important to keep a few of the tips below in mind.
Keep it Subtle
To maintain professionalism, avoid overusing the PowerPoint spotlight effect. Too many transitions or animations can make a presentation feel cluttered and distracting.
Use Consistent Colors
Ensure the overlay matches your presentation’s theme. A well-coordinated color scheme makes the effect blend seamlessly with the rest of the slide deck.
Optimize Slide Timing
Set appropriate transition speeds for clarity. A too fast transition can be jarring, while a slow one might lose audience attention.
Test on Different Screens
Ensure the effect works well on projectors, monitors, and virtual meeting platforms. A spotlight effect that looks great on a laptop screen may not appear the same way on a large projector. When using the spotlight frame, ensure that the whole slide is covered with the frame. This is because some parts of the slide can sometimes move outside the frame if the created frame is smaller than the required area.
Use It Strategically
Apply the spotlight effect only to key sections of your presentation. Overuse may reduce its impact and make it less effective in drawing attention.
Pair with Other Visual Elements
Consider combining the spotlight effect with animations or zoom features to create a more immersive experience.
Ensure Readability
Make sure the spotlighted text or image is clearly visible against the background. Adjust the contrast if needed to improve visibility.
Maintain Slide Simplicity
Keep slides uncluttered to ensure the spotlight effect remains the focal point. Too many elements on a single slide can dilute the effect’s impact.
Use for Key Points Only
Reserve the spotlight effect for critical information such as main takeaways, call-to-action statements, or essential data points. This ensures maximum impact without overwhelming your audience.
Practice Before Presenting
Run through your slideshow multiple times to ensure the effect functions as intended. This allows you to make adjustments if needed and helps you deliver a smoother presentation.
Final Words
Using the spotlight effect in PowerPoint presentations can significantly enhance audience engagement and ensure that key points are effectively highlighted. By leveraging the Morph transition, you can create smooth, professional animations that add a dynamic touch to your slides. Whether emphasizing data, introducing team members, or guiding viewers through complex information, this technique helps maintain clarity and focus.
Moreover, the spotlight effect helps create a sense of progression in your narrative, ensuring that your message unfolds in an organized manner. It keeps your audience engaged by adding movement and direction to your slides, preventing information overload. Additionally, this technique is helpful in both live and virtual settings, making it a versatile tool for various presentation formats. By practicing and refining your use of the spotlight effect, you can create more compelling, polished, and impactful presentations. Mastering this technique can captivate your audience and deliver your message with a more significant impact.