In professional presentations, visual hierarchy is everything. Whether showcasing design work, comparing data, or building an engaging slide deck, understanding how to layer images effectively can set your presentation apart. Knowing how to put an image below another in PowerPoint empowers users to create impactful visuals with greater precision and flexibility.
This guide explores different methods for layering images using various built-in features in PowerPoint. We will also discuss practical use cases, provide step-by-step instructions, and share best practices to maximize your presentation’s visual appeal using image layering.
Why and When Layering Images in PowerPoint Works
Layering images in PowerPoint goes far beyond aesthetic appeal. It serves functional and creative purposes in business, academic, and creative contexts.
1. Adding Visual Depth to the Slide Design
Layering images can simulate a three-dimensional effect, helping your slides feel more dynamic and engaging. This technique is commonly used in marketing and design presentations to create focal points, add contrast, and guide the viewer’s attention. Adding visual depth and making the presentation slides look professionally designed.
2. Before-and-After Comparisons
Layering allows you to demonstrate transformations visually in industries such as healthcare, construction, or digital marketing industries. You can place two images in the same position and toggle between them using animations or transparency to highlight differences.
3. Visual Storytelling with Layered Elements
When constructing a visual narrative, layering enables you to reveal images progressively. For example, a product roadmap can use layered icons or snapshots to unveil milestones. This adds an interactive touch to storytelling.
4. Simplifying Complex Visuals
In educational or scientific slides, layering images can help deconstruct complex visuals. For instance, layered diagrams can showcase anatomical parts, architectural blueprints, or layered geological maps, helping audiences absorb information gradually.
5. Adding Custom Image Effects in Portfolios
Graphic designers, UX/UI experts, and artists often use layering to showcase their work. Whether it’s app screenshots laid over device mockups or layered effects to simulate shadows and highlights, image positioning adds realism and professionalism.
6. Reinforcing Branding Through Visual Hierarchy
You reinforce visual branding across all your slides by positioning logos, icons, and decorative imagery with careful layering. For example, a watermarked logo can be placed in the background, with product images in the foreground.
Methods to Place an Image Below Another in PowerPoint
PowerPoint offers multiple tools for managing how images are layered within a slide. Below are three effective methods to place one image below another.
Method 1: Using Send to Back and Bring to Front
This is the most straightforward method and works well for quick adjustments.
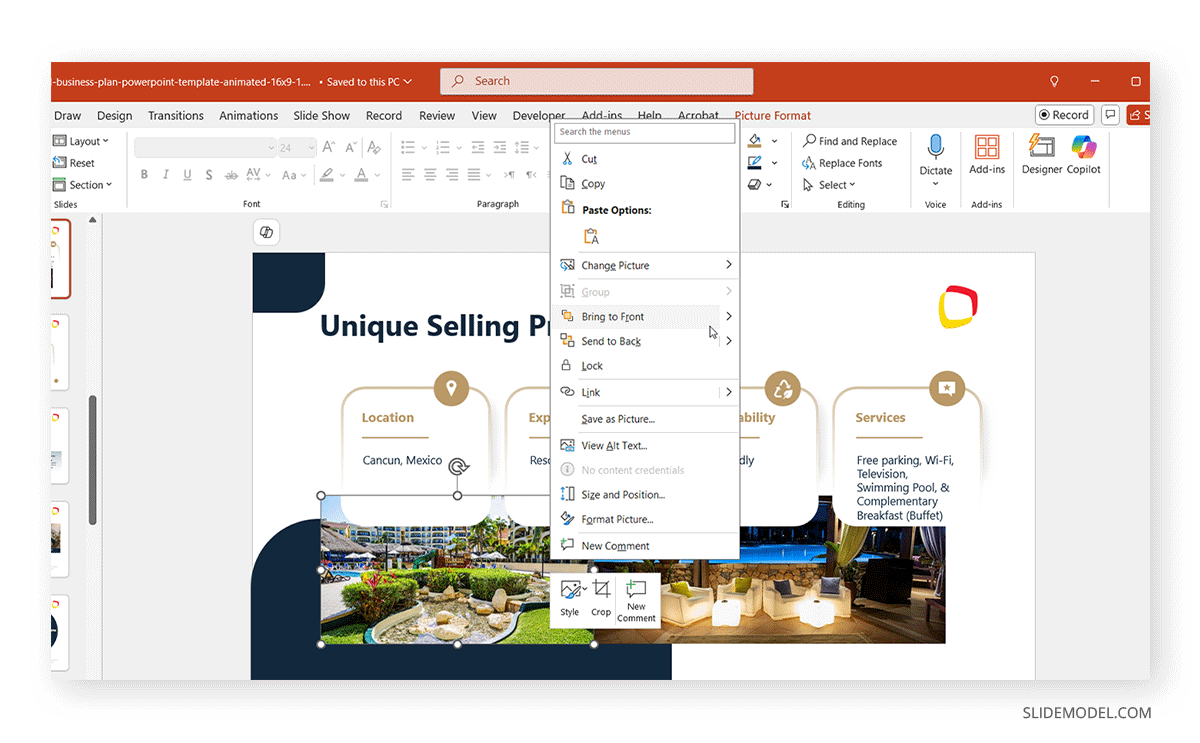
Step 1: Click the image you want to move, go to the Home tab on the Ribbon menu in the Drawing group, and click Arrange.
Step 2: Select Send to Back to move the image behind others.
Step 3: Choose Bring to Front to move an image forward.
You can also right-click the image and choose the same options from the context menu. In the example below, we brought an image to the front to overlap with another using the Hotel Brand Business Plan PowerPoint Template.
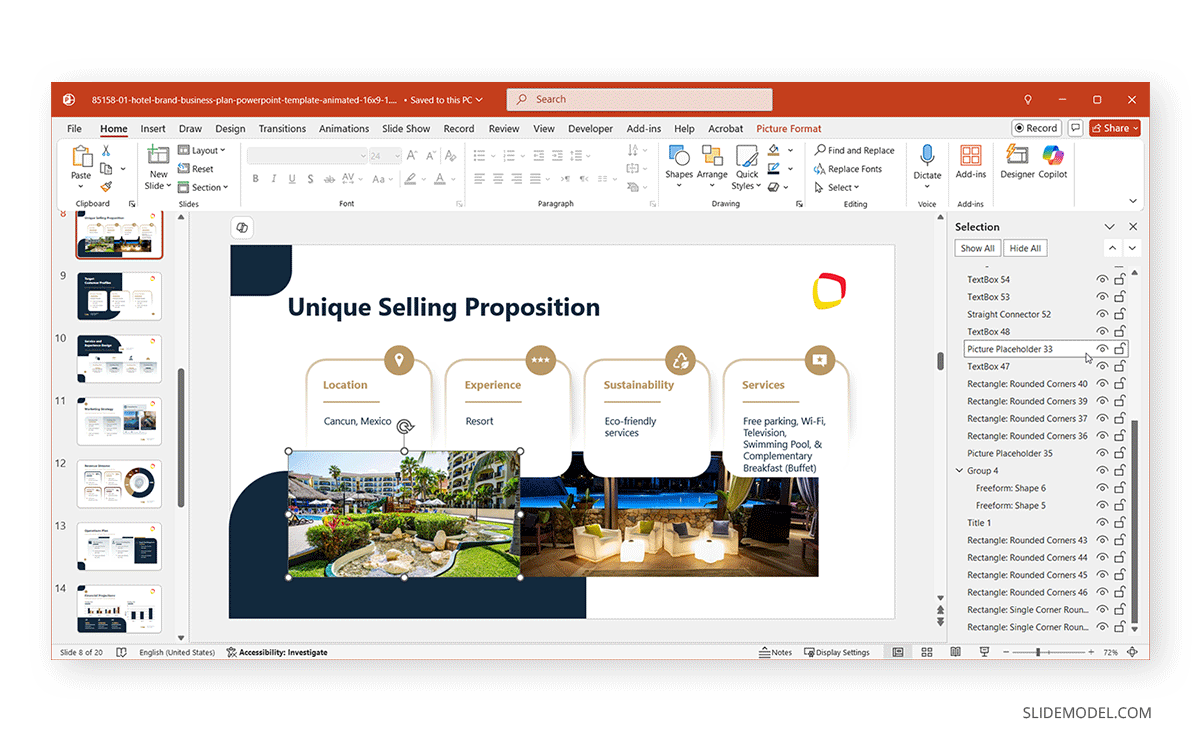
Method 2: Managing Layers Using the Selection Pane
For more control, especially on slides with many elements, the Selection Pane in PowerPoint can be used to put an image below another.
Step 1: Select any slide object, click on the Home tab, go to Select, and choose the Selection Pane. Alternatively, you can open the Selection Pane via Home -> Arrange -> Selection Pane or the Alt+F10 hotkey.
Step 2: A side panel showing all objects in a list will open. Rename objects for easy identification.
Step 3: Drag items up or down in the list to change their layer order.
This method is ideal when you’re working with overlapping elements and want to organize them by name or visibility.
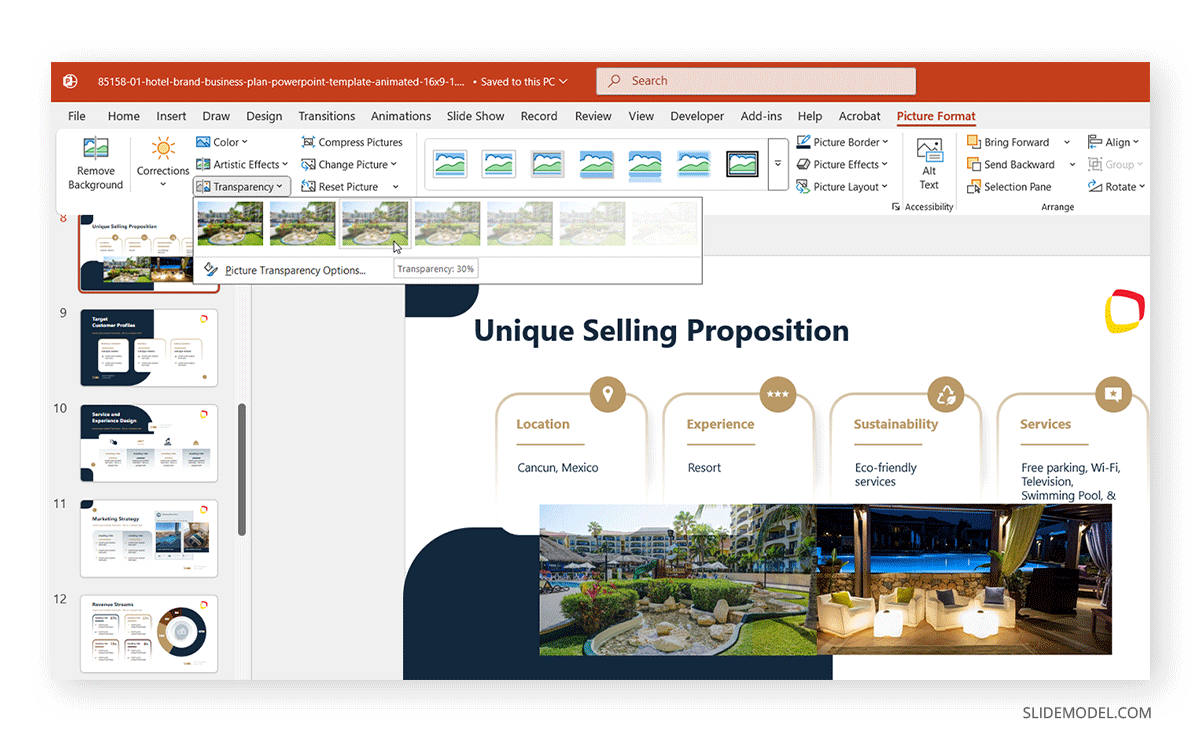
Using Transparency and Cropping for Custom Overlays
Transparency effects help images blend into each other, while cropping allows for unique overlays.
Step 1: Insert both images onto your slide, select the top image, and then go to the Picture Format tab.
Step 2: Adjust transparency via Transparency presets or use the Format Picture pane.
Step 3: Use the Crop tool to highlight specific parts of each image to crop. This is especially effective for presentations where parts of images need to be visible or layered with precision. You can learn more about image cropping from our tutorial about cropping an image in PowerPoint.
Use Cases for Layering Images in PowerPoint
Layering images isn’t just about aesthetics—it’s a strategic design choice that can transform the clarity and impact of your PowerPoint presentations. Below are a variety of real-world use cases across industries and functions.
1. Before-and-After Comparisons
Layering allows side-by-side or toggle-based comparisons by placing updated visuals on top of original ones. This is especially useful in digital marketing (website redesigns), fitness programs (transformation journeys), and engineering (structural changes in prototypes).
2. Scientific and Medical Illustrations
Layered diagrams can display the human body (skin, muscles, organs) or ecosystems (soil, flora, fauna) in progressive steps. Each layer adds detail, making complex concepts easier to understand in biology, chemistry, or environmental science presentations.
3. UX/UI and Product Design Portfolios
Showcase interface iterations by stacking mockups from wireframes to high-fidelity designs. You can also place app screens inside device templates using image layering to simulate real-world use.
4. Marketing Campaigns and Brand Storytelling
Marketers can place products atop patterns, slogans, or colors to reinforce brand identity. A layered visual hierarchy ensures the product stands out while maintaining aesthetic alignment.
5. E-learning Modules and Educational Content
Teachers and trainers can reveal content step-by-step using layered visuals. For example, in a geography lesson, one could start with a map, then add political borders, followed by climate zones, and finally data overlays such as population density.
6. Timelines and Journey Maps
Visualize a user journey or historical timeline by layering icons, arrows, and milestones over a common path image. This helps audiences follow sequences without cluttering the slide.
7. Creative Mood Boards and Concept Development
Designers, advertisers, and architects often use layered collages to present early-stage concepts. Background textures, transparent inspiration images, and reference materials can be layered behind sketches or blueprints.
8. Event Presentations and Recaps
Use event photos layered with dates, captions, or sponsor logos to create slide collages for post-event reports or thank-you decks. You can also overlay social media screenshots to show live engagement.
9. Data-Driven Visuals and Infographics
Combine layered graphs with icons, labels, or callout boxes to highlight specific data points. Transparency or fade effects help direct focus without overwhelming the viewer.
10. Interactive Presentations and Click-Based Overlays
Use triggers and animations with layered images to create clickable, interactive experiences. For instance, clicking a product image can reveal detailed specs layered above or below it.
You can also maximize the utility of layered designs by using picture placeholders to prep templates in advance, or insert many pictures in PowerPoint for rapid content development.
Best Practices for Layering Images in PowerPoint
To create clean, professional-looking slides, consider the following tips:
- Name Your Layers: Rename each object clearly when using the Selection Pane. This will make arranging and overlapping images easier by using drag and drop via the Selection Pane.
- Group Related Items: Select multiple elements and use Ctrl+G to group them.
- Use Guides and Grids: Enable these from the View tab to align images precisely.
- Keep It Simple: To prevent visual clutter, avoid overlapping too many images and pick ones that complement each other.
- Use High Quality Images: Always use high-quality images to avoid pixelation.
- Test Across Devices: Ensure your layered slides look consistent on various screens. Some images can appear blurry or out of place on different resolutions and screen types. You can even check out how to make a picture the background to enhance your layers with static backdrops.
Bonus Tip: Similar Functionality in Google Slides
While this article focuses on PowerPoint, layering images in Google Slides follows a similar approach, where you can send an image to the background in Google Slides. Use Order options or right-click context menus to send images backward or forward.
Final Words
Layering images in PowerPoint is a powerful way to improve your presentations’ visual clarity, professionalism, and storytelling capacity. Whether arranging product mockups, building educational diagrams, or creating branded templates, mastering how to put an image below another in PowerPoint can elevate your slides to new heights.
Leveraging the Send to Back/Bring to Front, Selection Pane, and image transparency techniques gives you full control over your design’s visual order. Practice these methods, integrate use-case-based layouts, and apply best practices to create visually stunning presentations that leave a lasting impact.
Looking ahead, layering also opens up exciting opportunities for animated storytelling, interactive learning tools, and hybrid media presentations. With a solid grasp of image layering, you’re enhancing slides and crafting experiences.