A handy resource for business professionals and students, adding calendars to your presentations gives an exact time frame on when tasks should be done. But instead of browsing for calendar photos online or taking screenshots of your PC’s calendar, we’ll learn how to insert a calendar in PowerPoint using its native tools. Let’s get started!
As a first step in our journey to make a calendar in PowerPoint, open the template or file you are working on. This is the file in which you shall add the calendar.
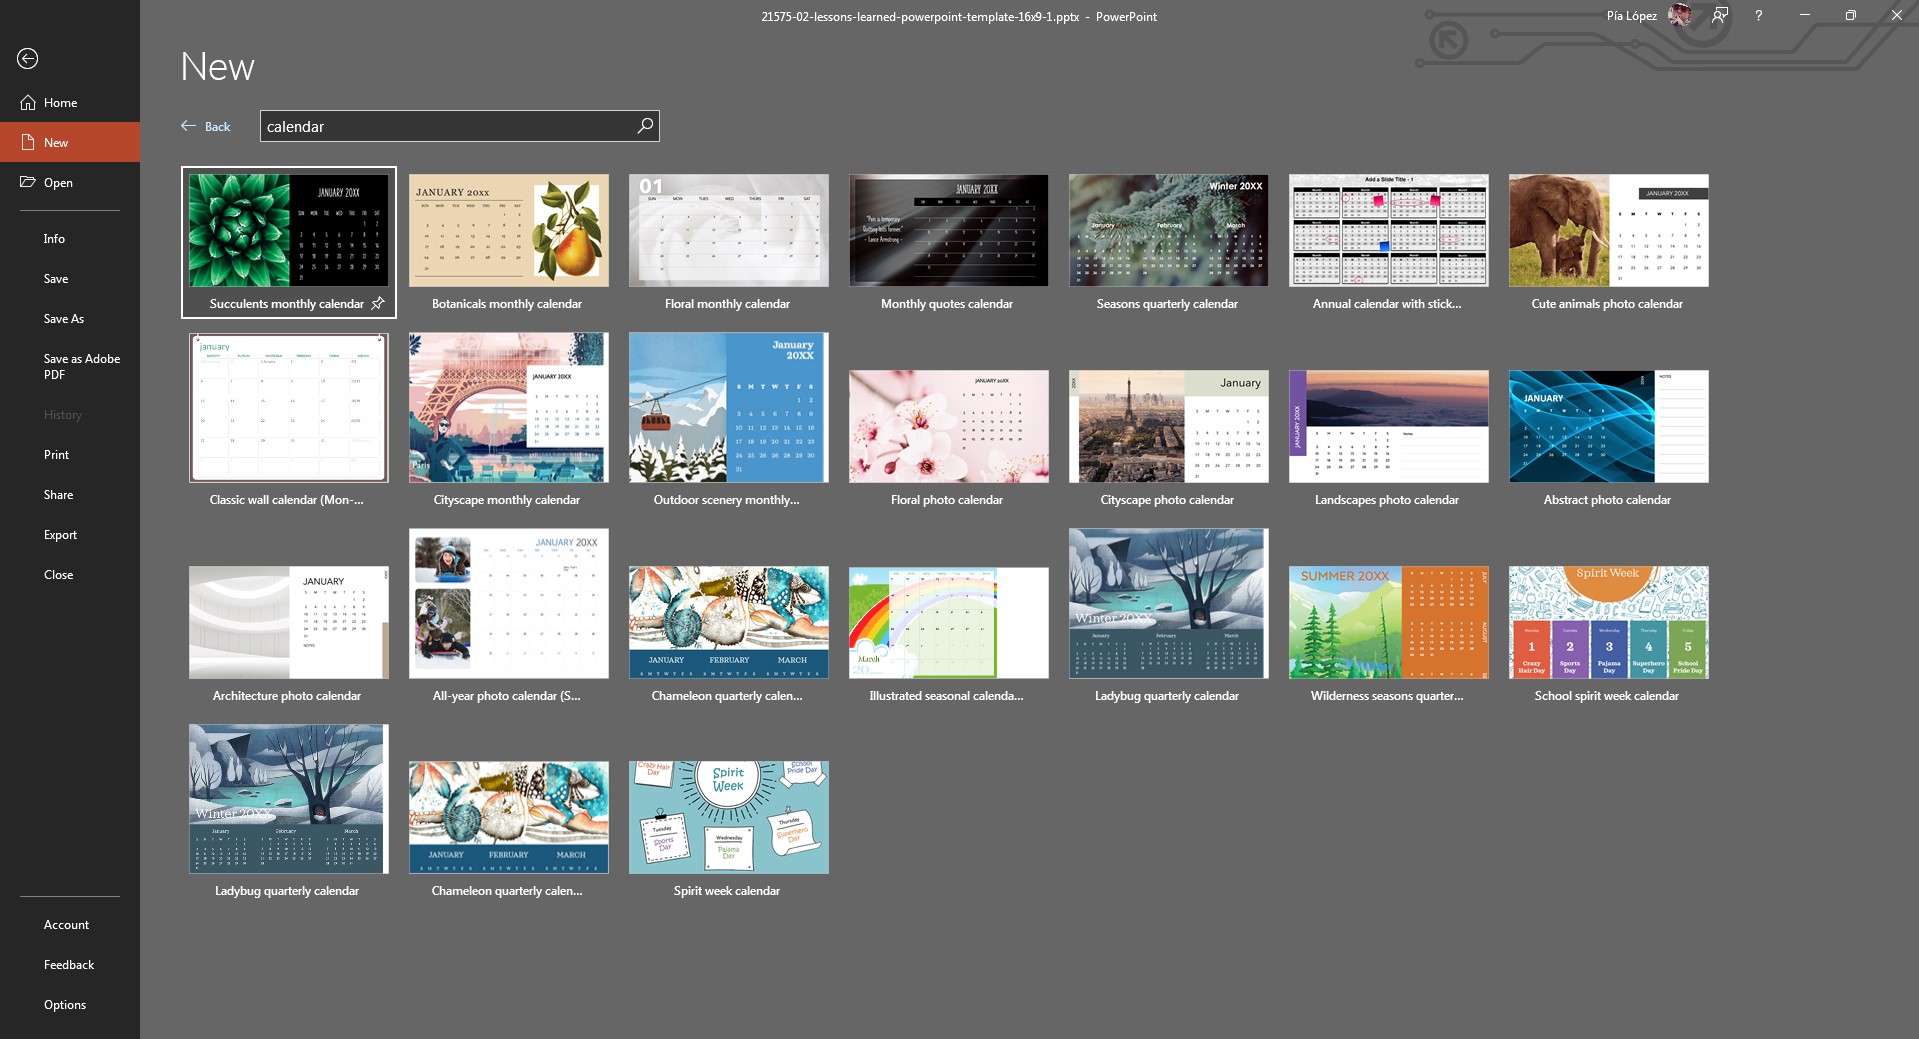
Next, you have to go to the File menu, click on New, and then browse for Calendars.
Depending on your Microsoft PowerPoint version, you can see something similar to this.
Remember that some of those templates require a Microsoft 365 subscription to be downloaded. In my case, I’m going to select the Architecture Photo Calendar.
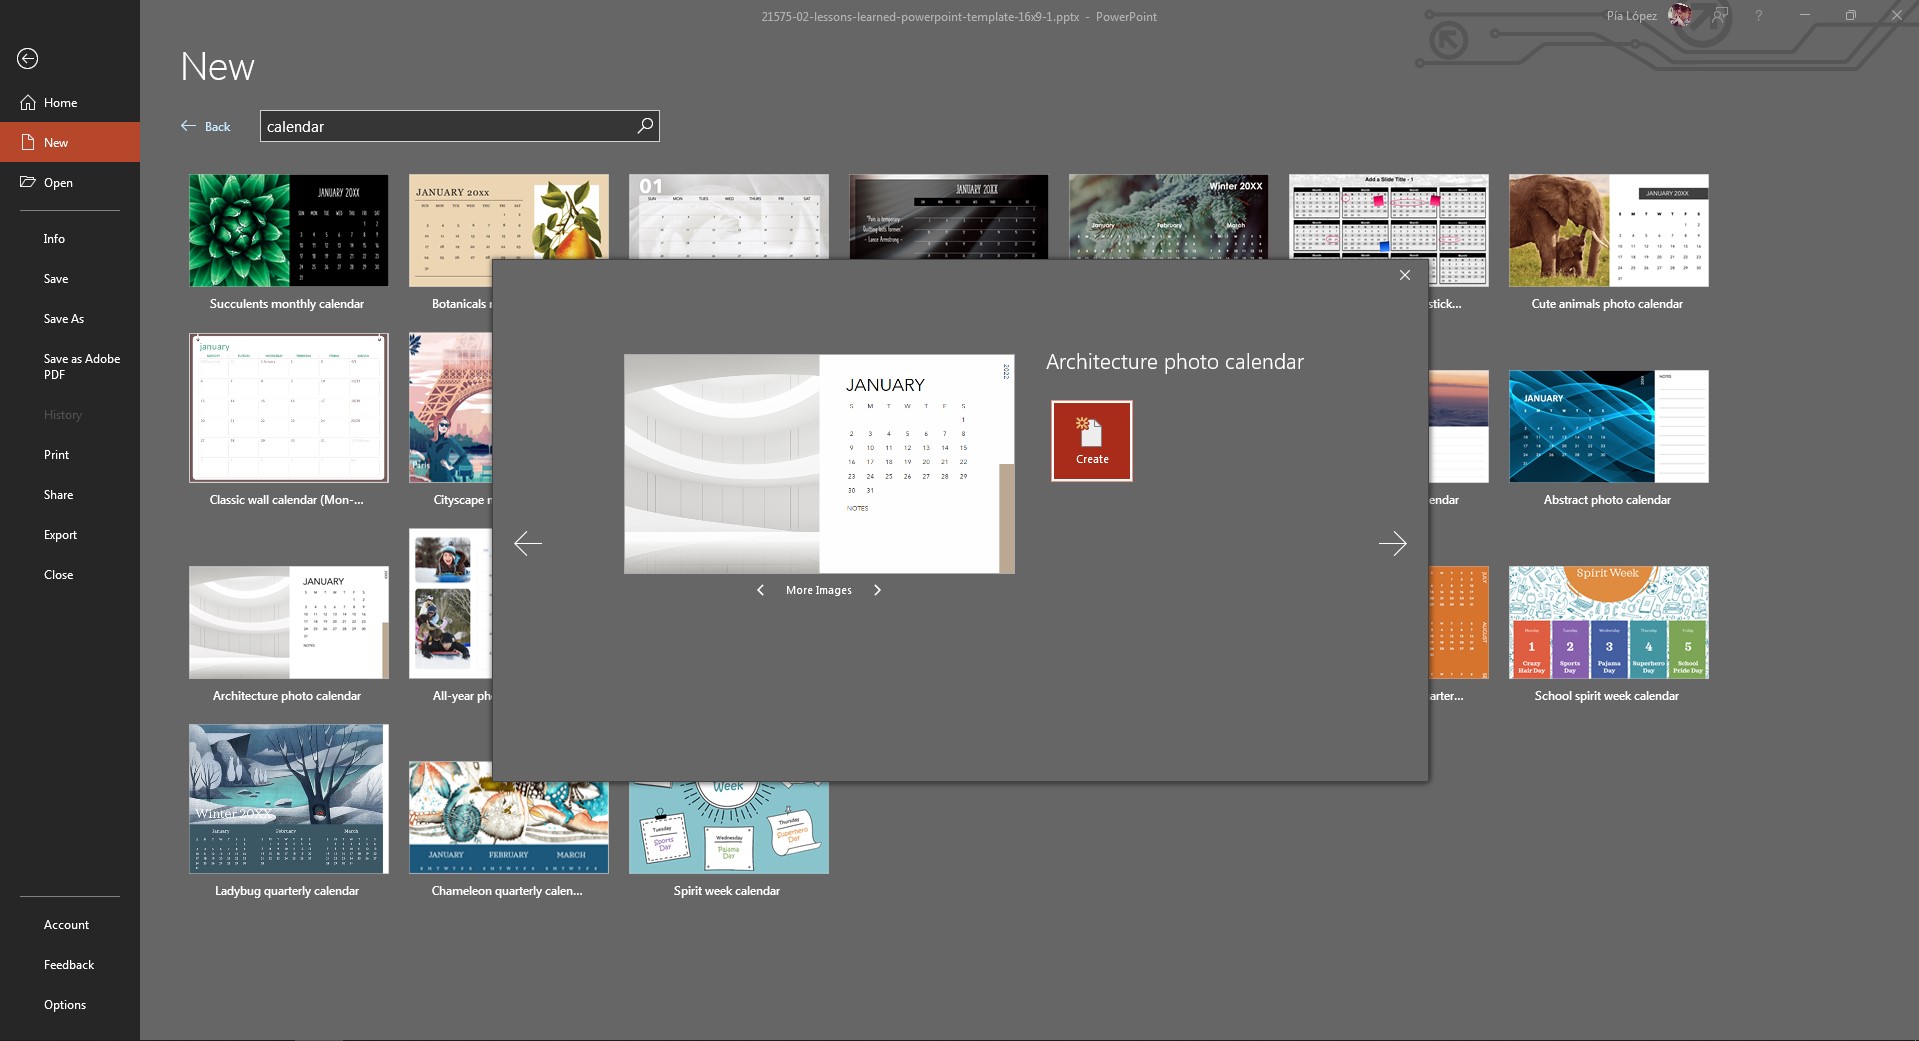
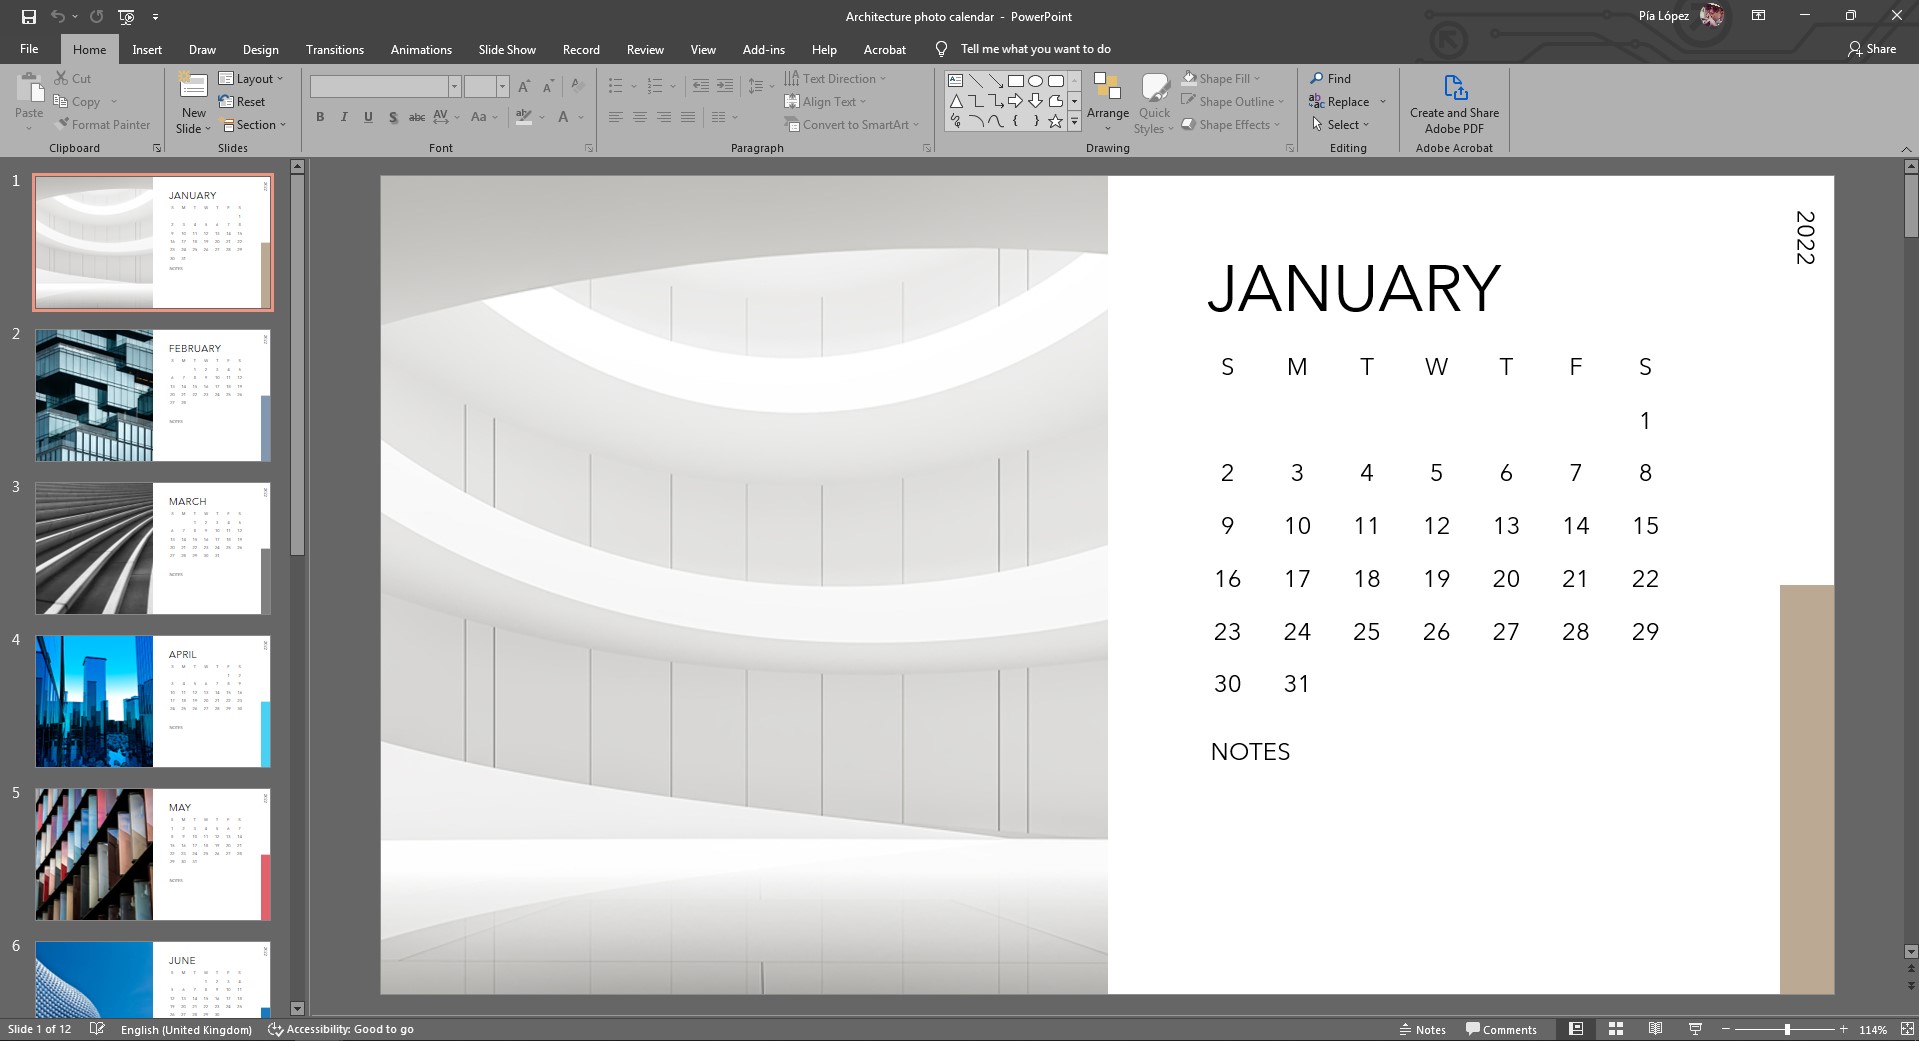
Click on Create, and the template will be downloaded. This creates a new PowerPoint file with the calendar template on it.
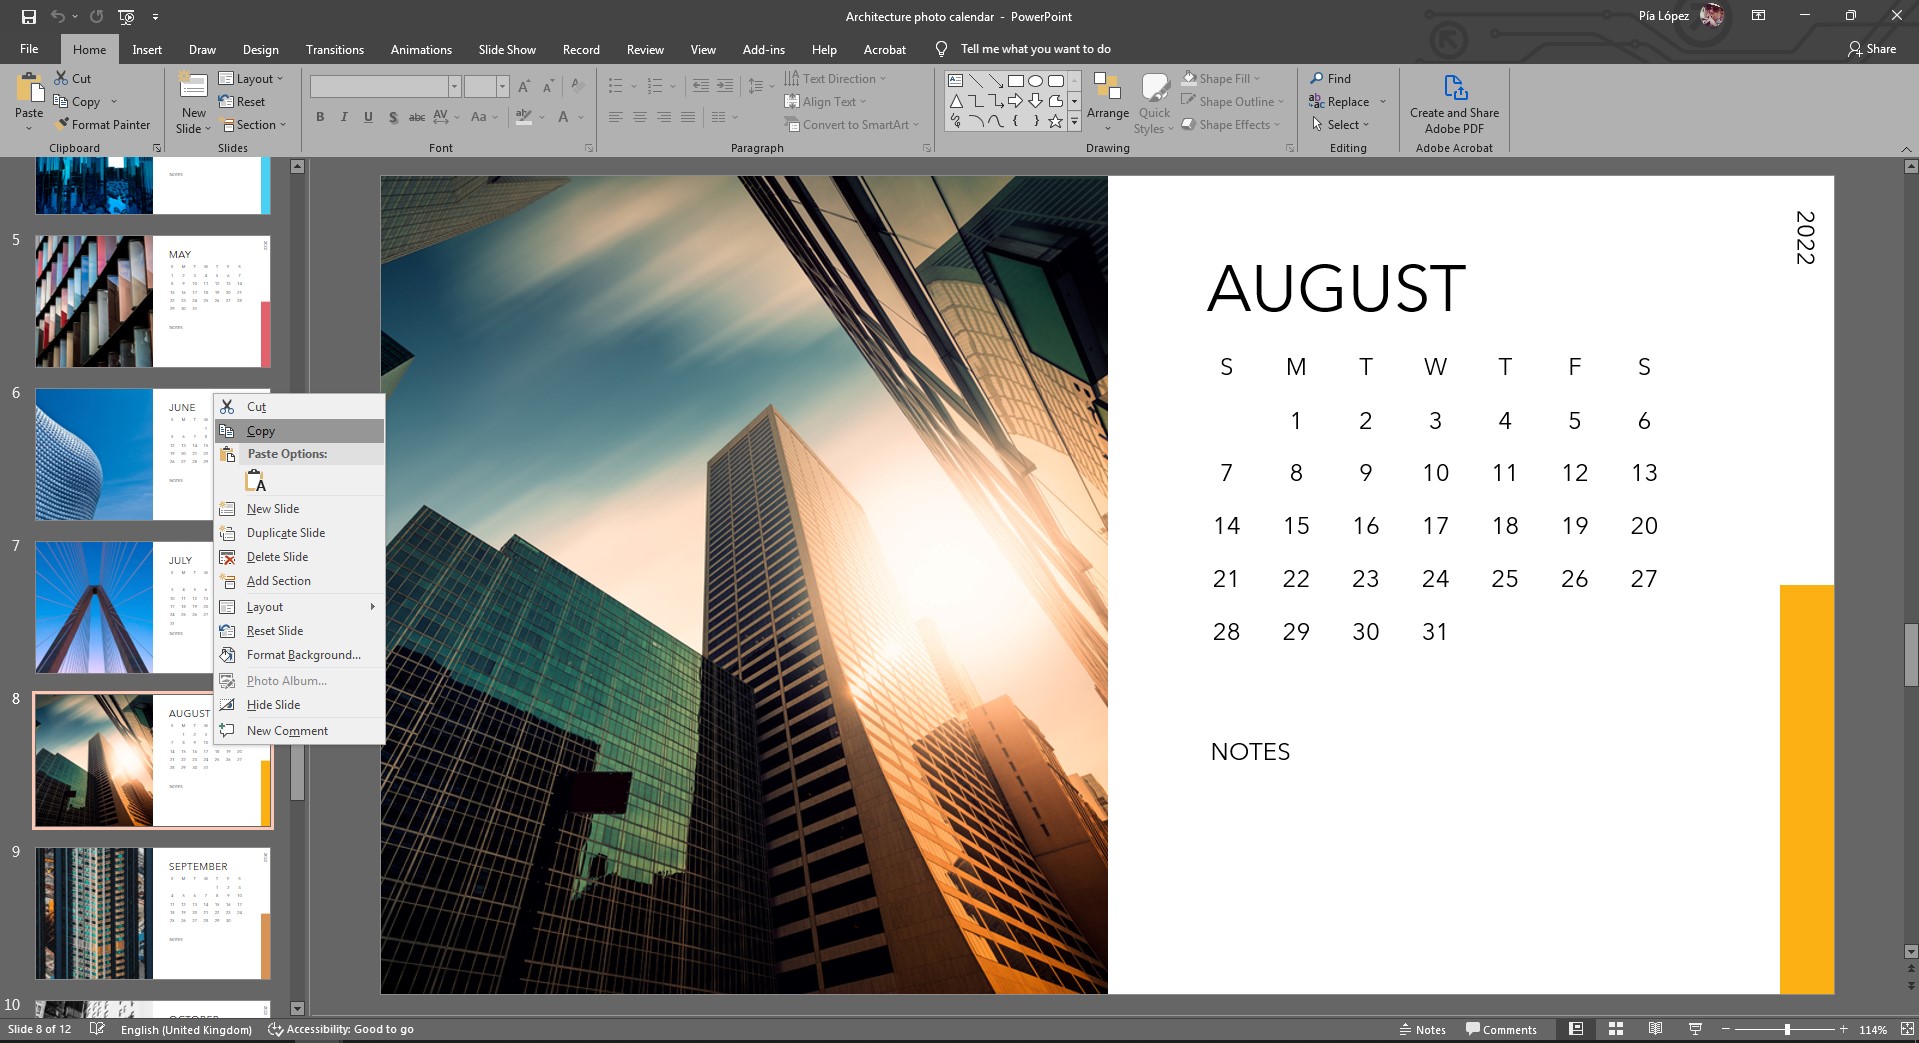
Now you can ask what comes up next. Since the project is due to be made in August, I’m going to scroll all the way down to the August slide on the navigation bar.
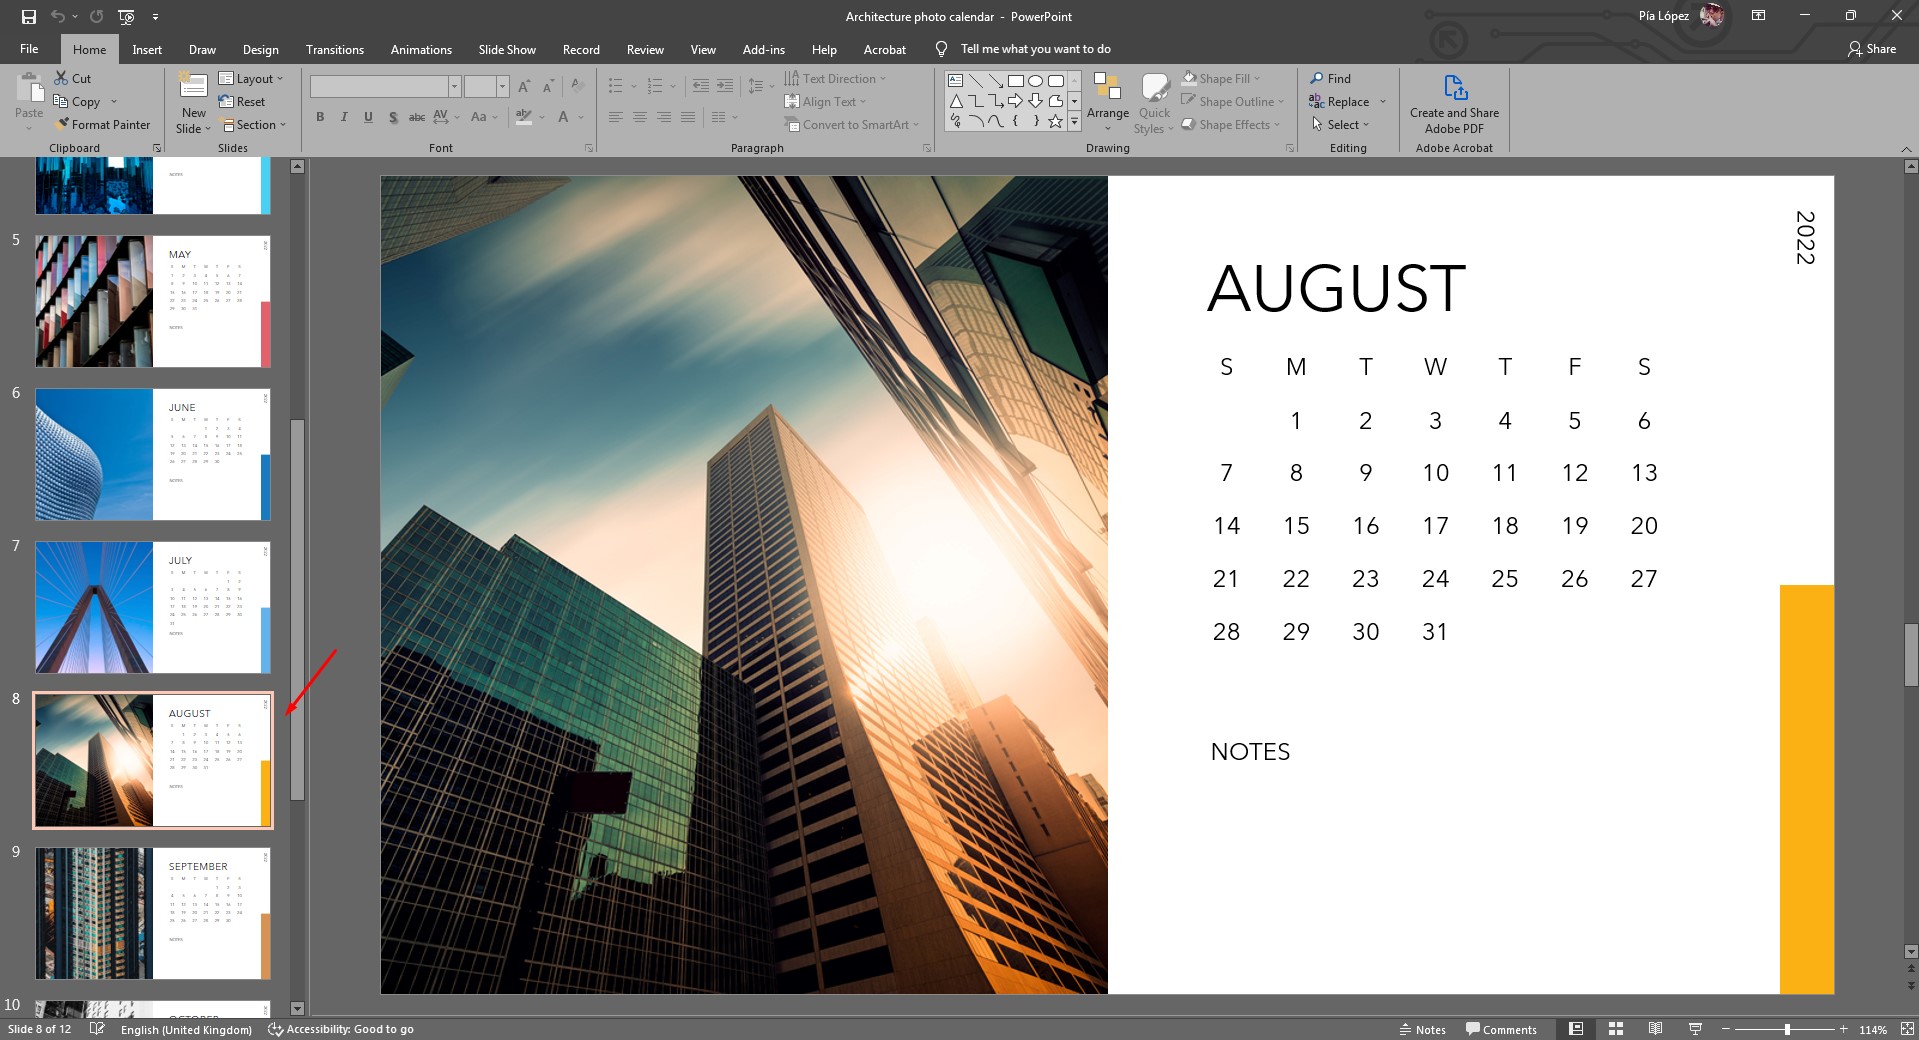
Right-click over the slide, and a new contextual menu opens. Select the option Copy.
Since we’re done with this file, you can simply close it or minimize it to the tray. Open up again the file in which you want to insert the calendar.
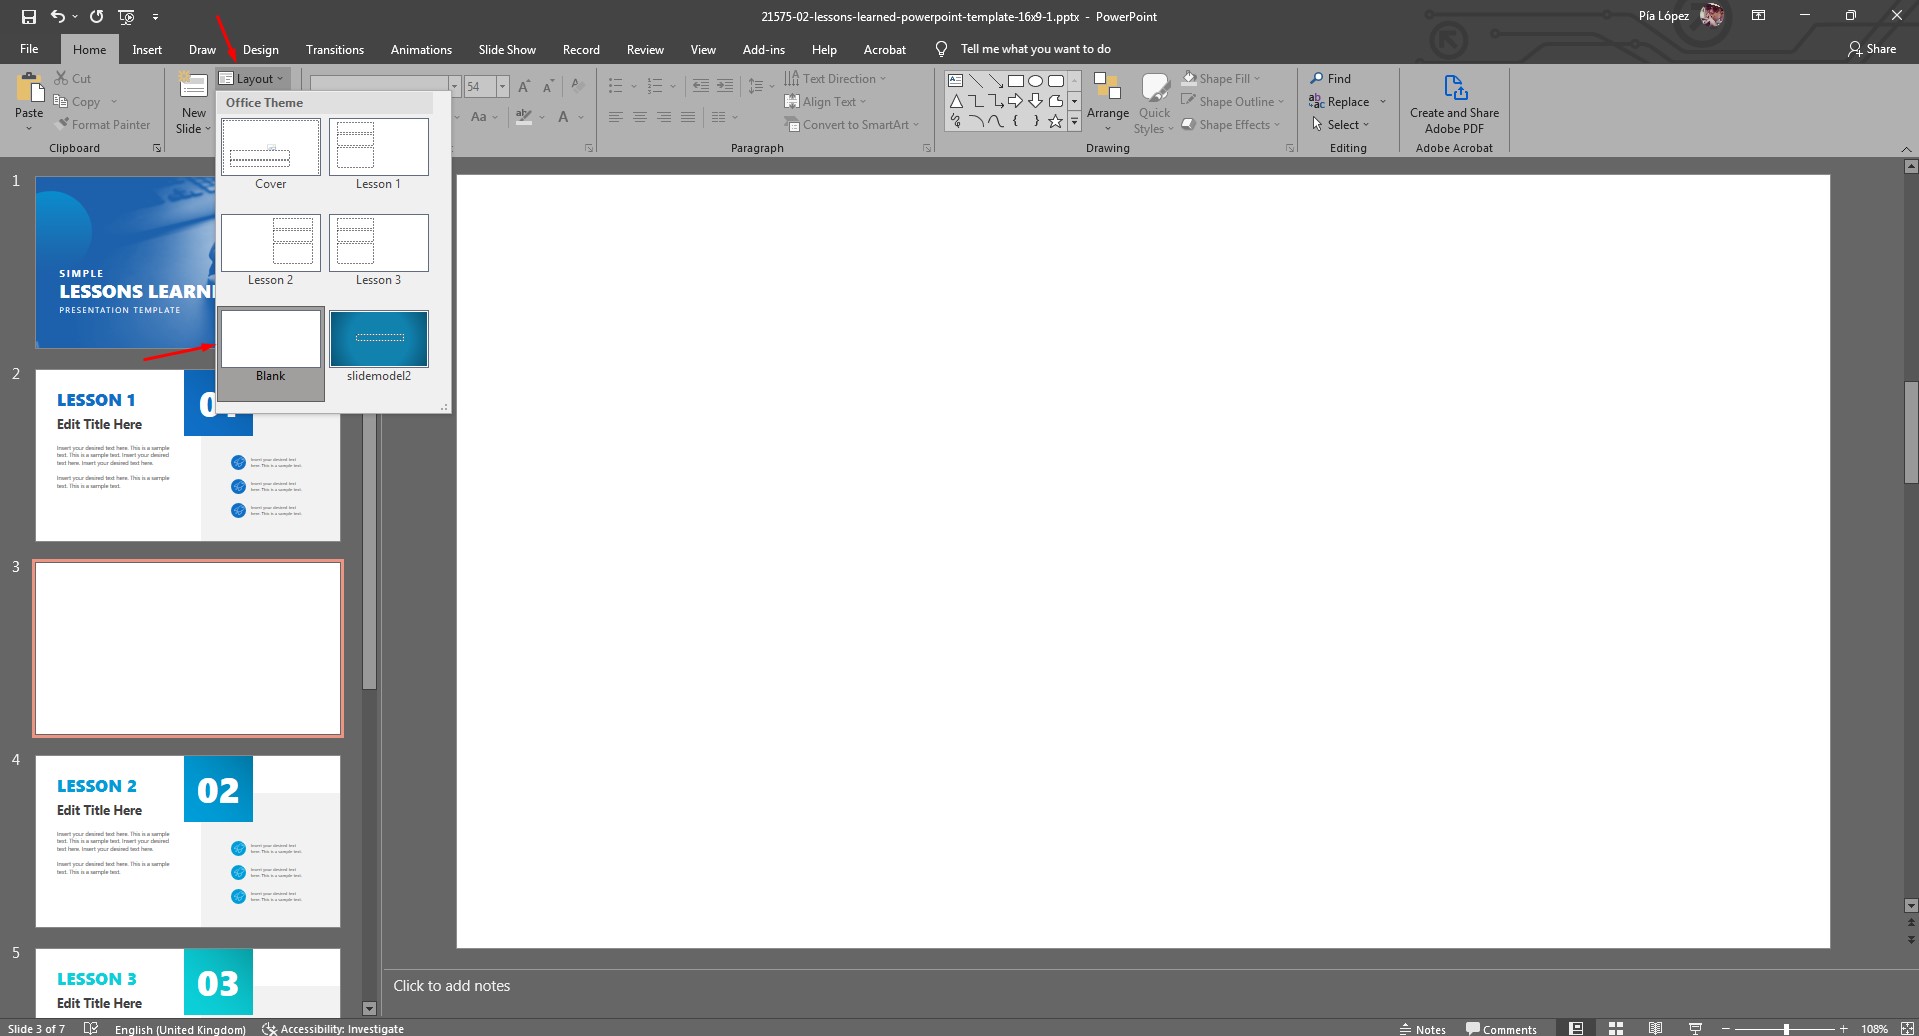
As a safety measure, create a new blank slide. To make it blank, open the Layout option next to New Slide and select Blank. This prevents PowerPoint from altering your current work if you make a mistake when pasting the calendar file.
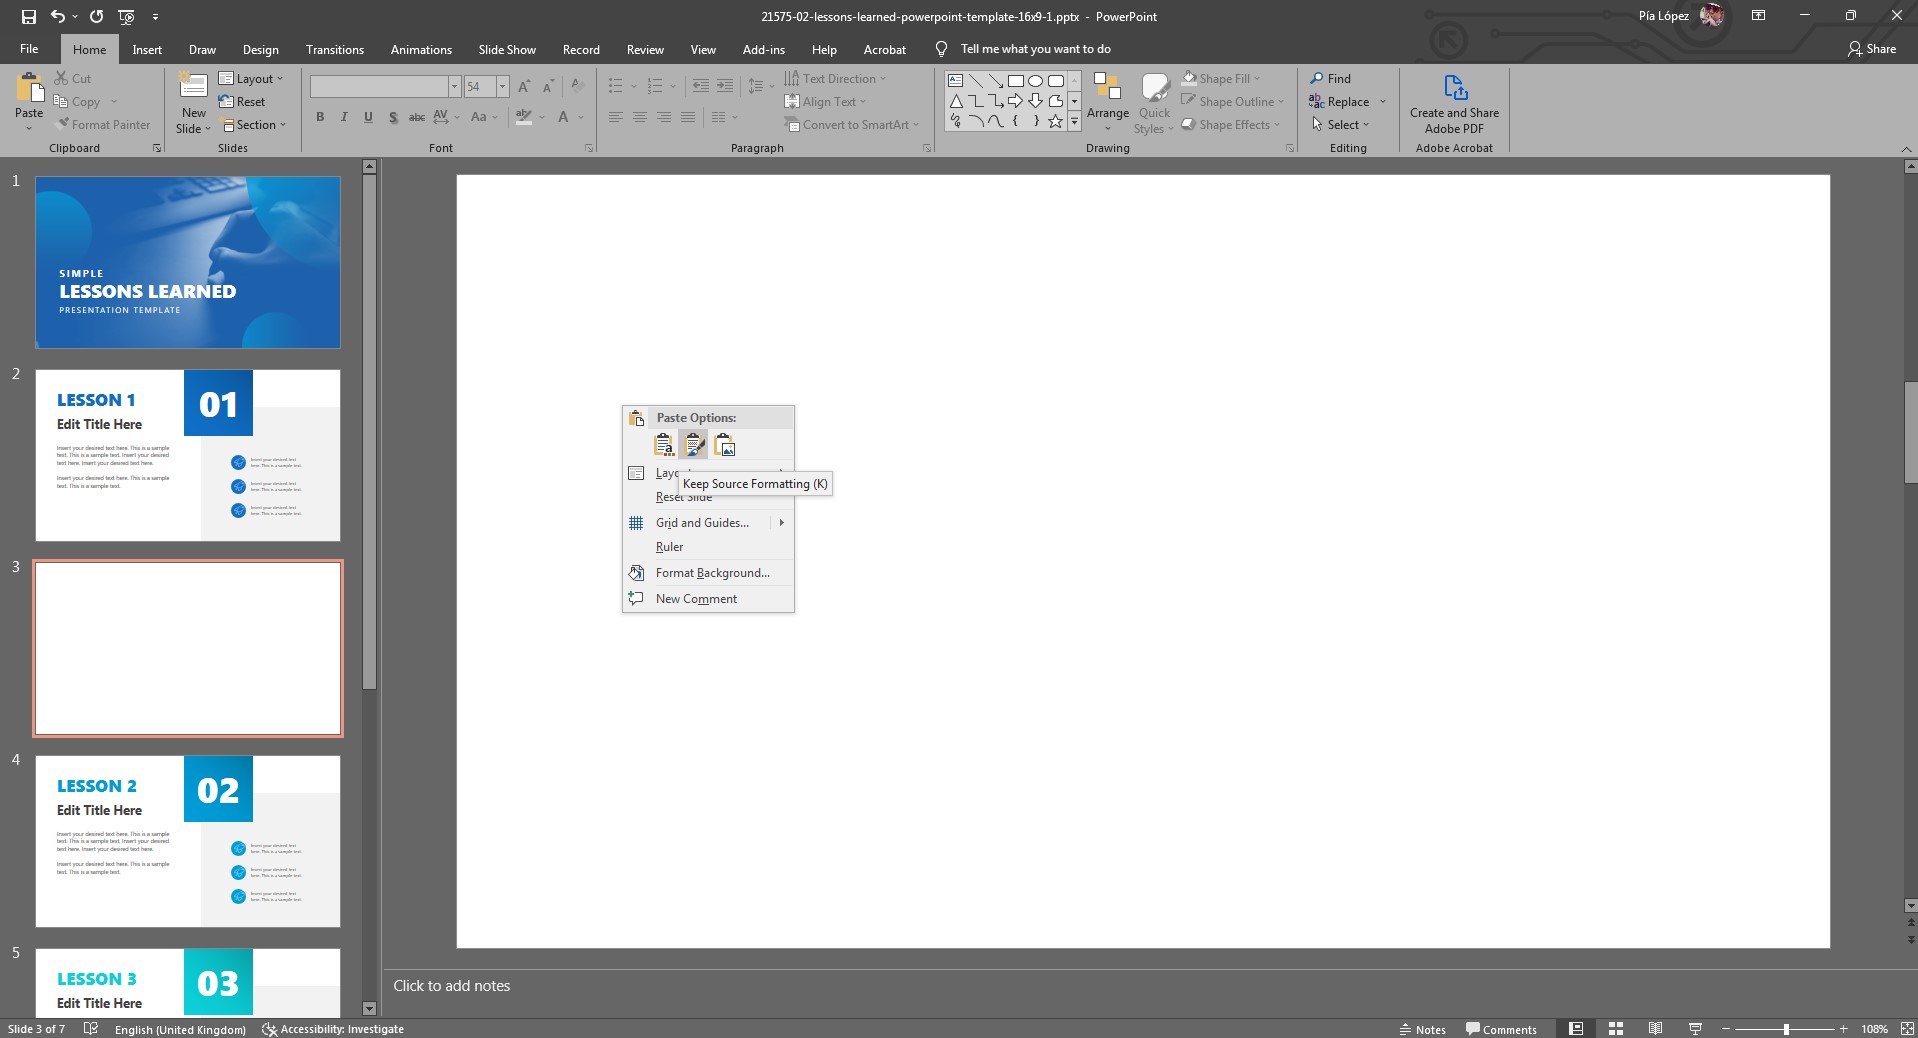
Now, on the blank slide, right-click over it and select Paste with Keep Source Formatting. By doing this, the slide will be brought with the same theme as its host template.
PowerPoint then inserts it as a new slide. Therefore, we end up with a blank slide in the middle (our safety slide).
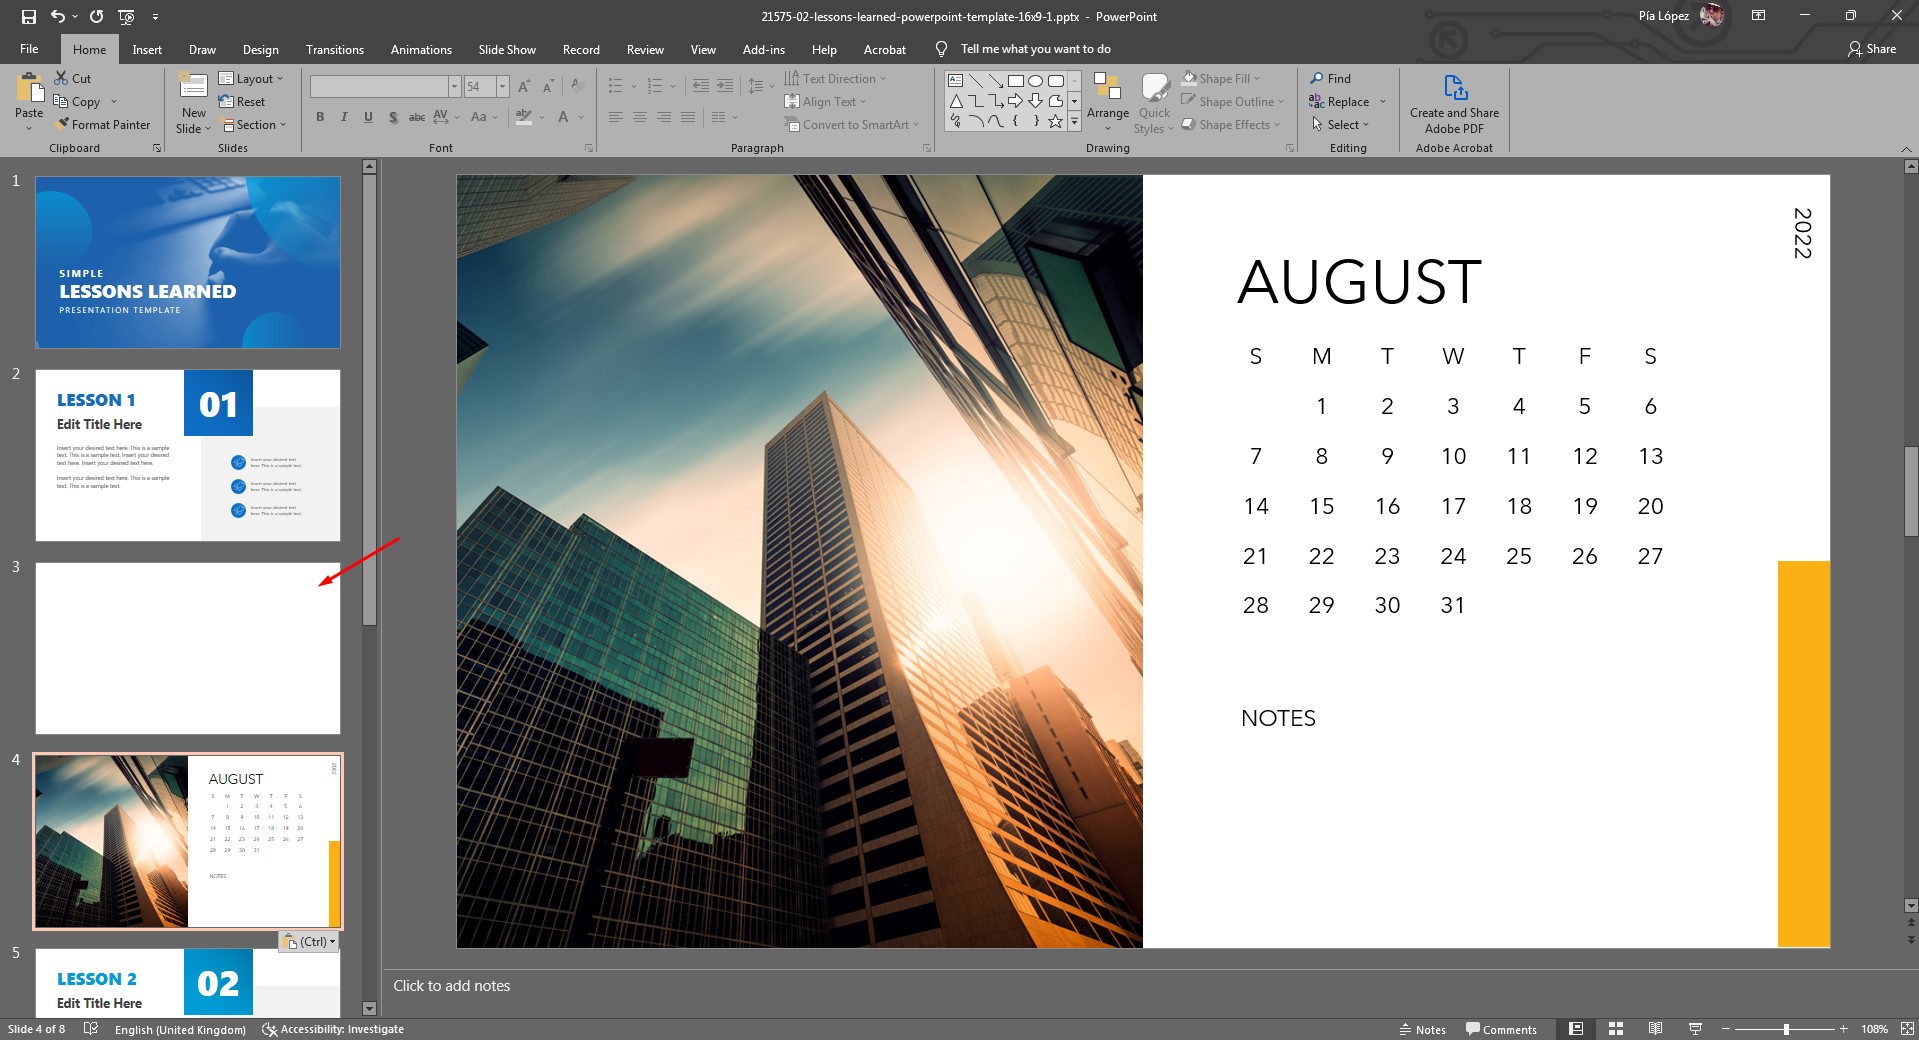
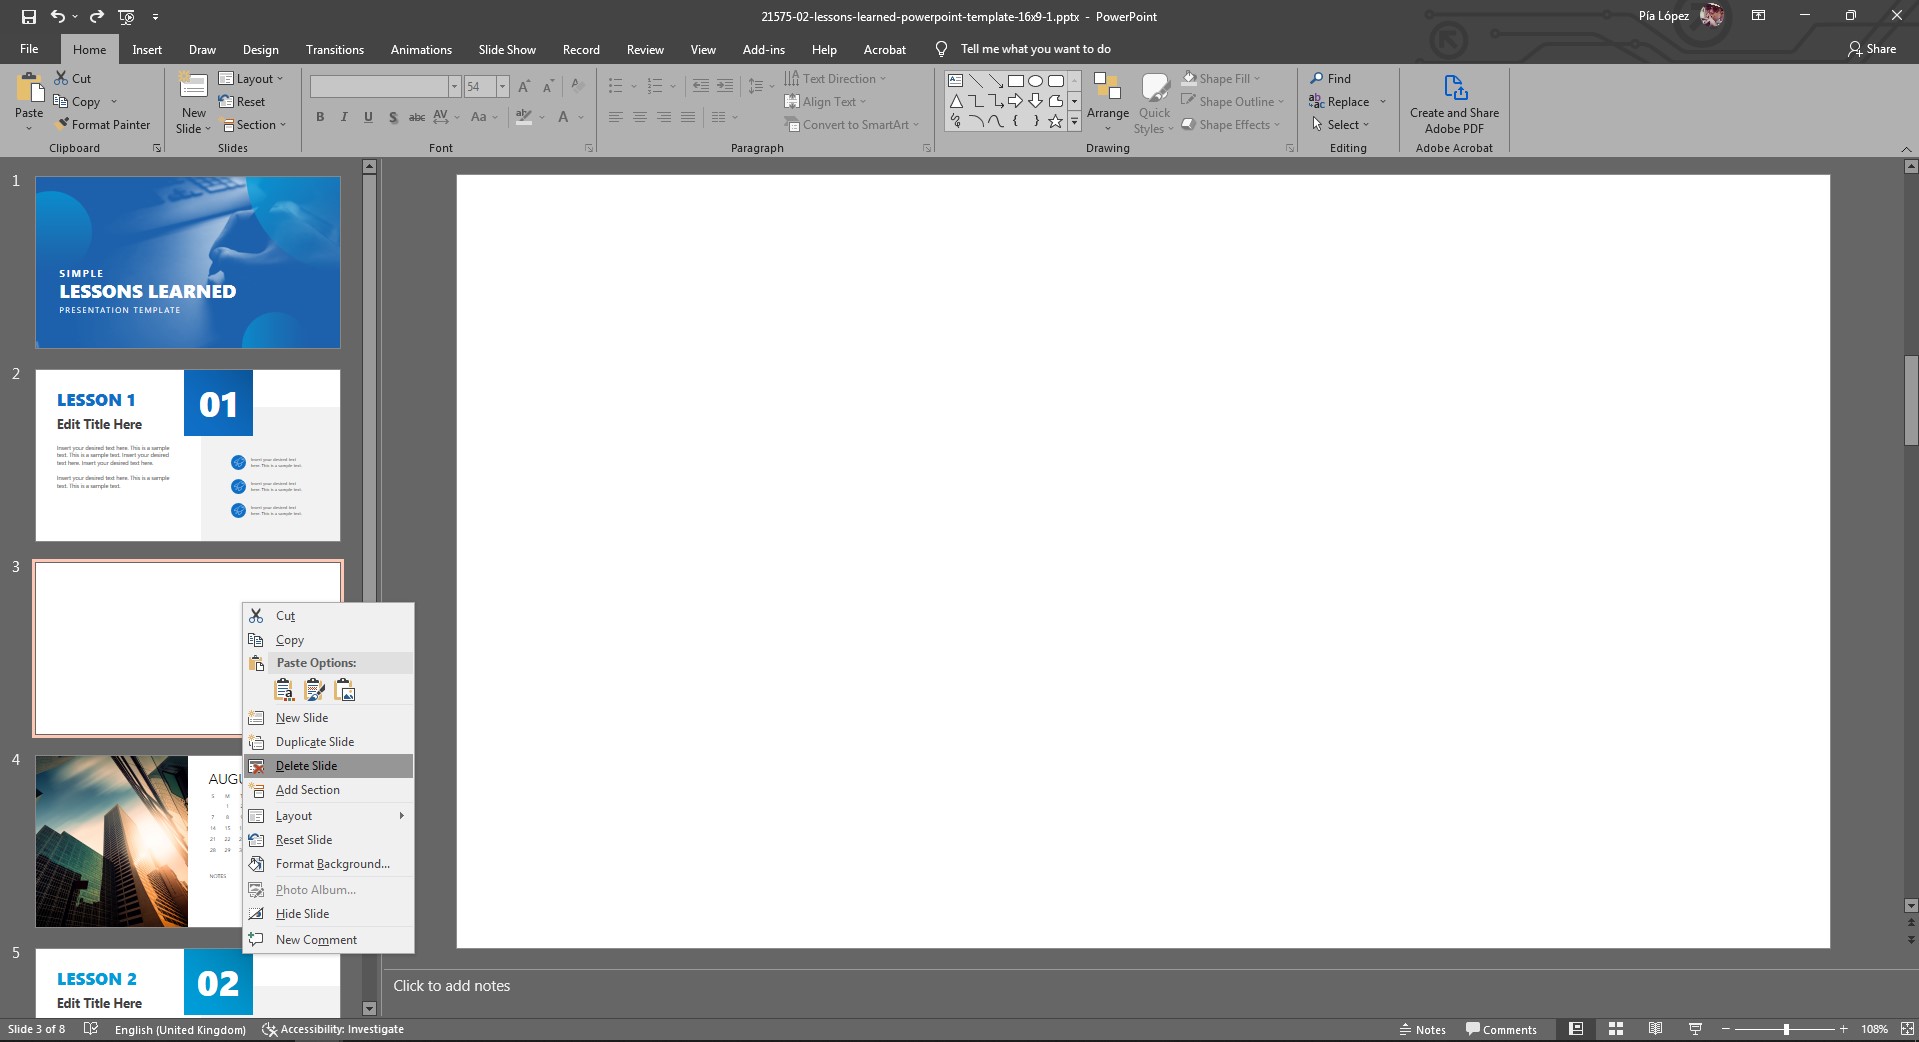
Remove the blank slide by right-clicking it and selecting Delete Slide.
With no blank slides, what comes up next is to match the style of the calendar to the theme we have for our presentation. To achieve this, the first step is to change the strip’s color in the bottom-right section. You can change that with the Shape Fill option.
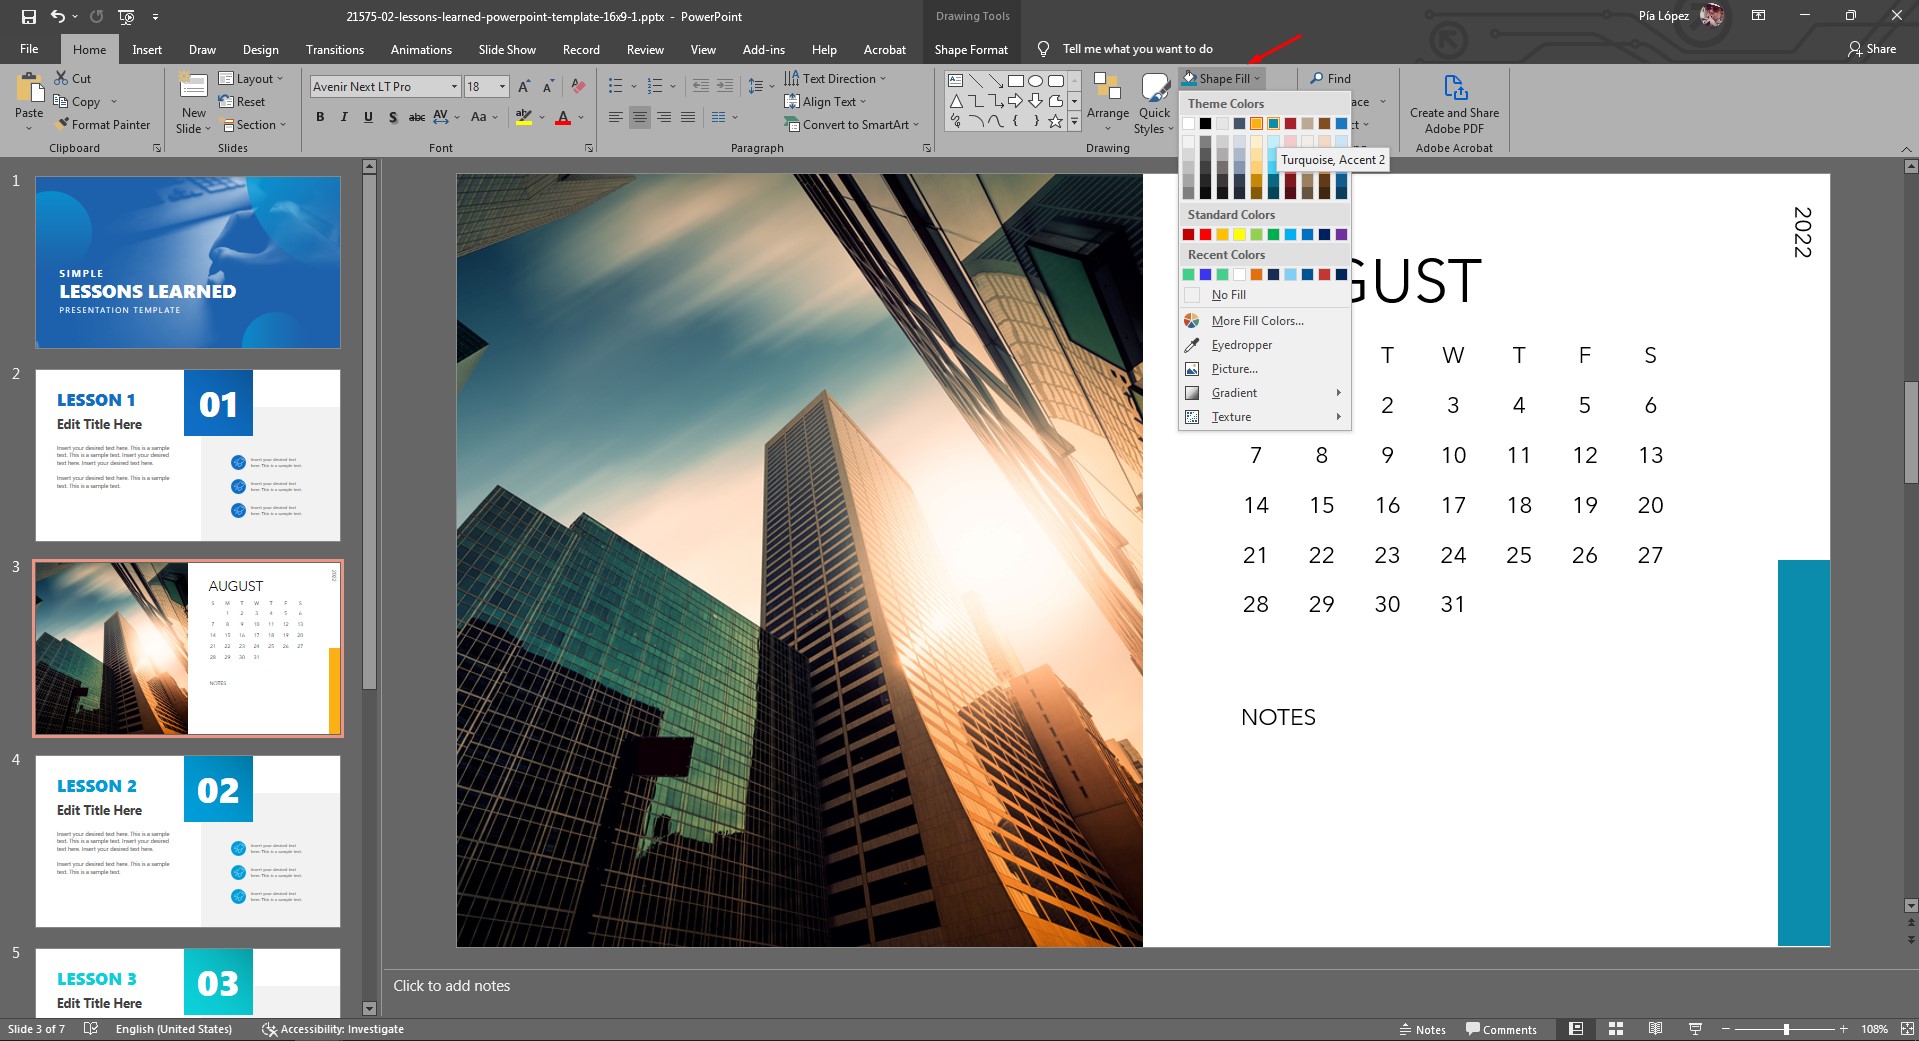
Finally, change the typeface used to integrate the calendar slide into this presentation. The rest of this presentation uses Segoe UI and Segoe UI Black (headings); hence, that will be the font used in this case.

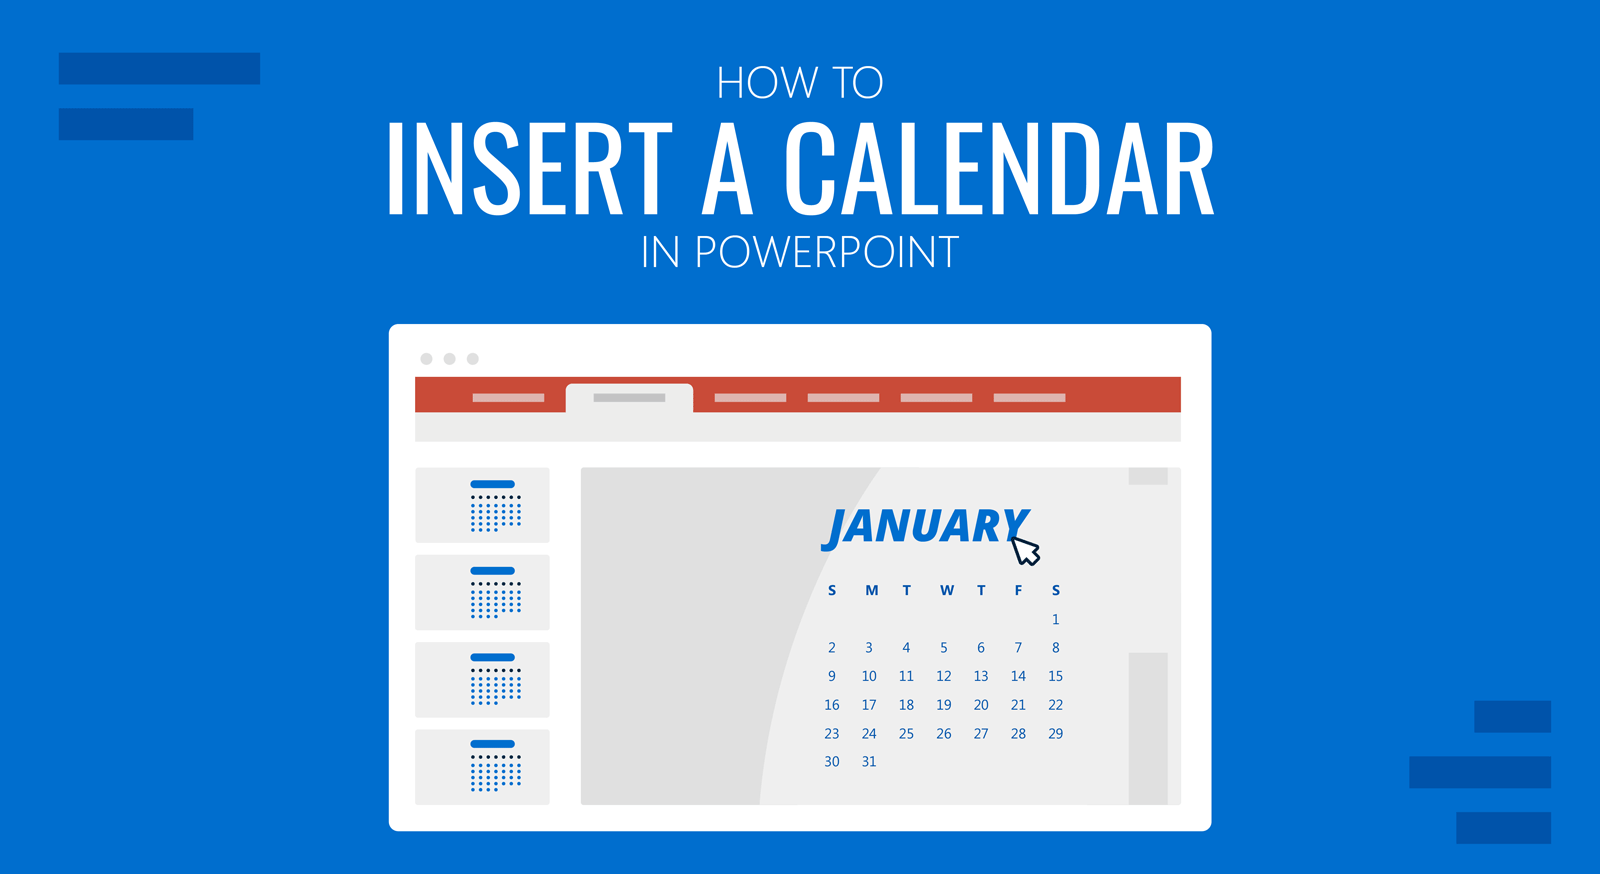
And that’s what the end result looks like. Now it’s your turn to apply these easy-to-follow steps for your next PowerPoint presentation.
If you want to browse for different alternatives to the Microsoft 365 templates, we invite you to discover these Calendar PowerPoint Templates by SlideModel.
FAQs
How do I insert a calendar template into my current presentation?
To insert a calendar template in PowerPoint:
– Find and select the desired calendar template.
– Click Create to download the template.
– Once the template opens, select the specific month slide you need.
– Right-click the slide and select Copy.
– Open your original presentation.
– Create a new blank slide using New Slide > Layout > Blank.
– Right-click the blank slide and select Paste with Keep Source Formatting.
How can I customize the inserted calendar to match my presentation theme?
To customize the calendar:
– Change the color of shapes using Shape Fill.
– Adjust the font to match your presentation’s font style.
– Modify other design elements to ensure consistency with your presentation.
How do I change the color of a shape in the calendar template?
To change the color of a shape:
– Select the shape you want to change.
– Go to the Shape Format tab.
– Click Shape Fill and choose your desired color.
Can I delete the blank slide after inserting the calendar?
Yes, you can delete the blank slide:
– Right-click the blank slide.
– Select Delete Slide.
What should I do if I make a mistake while pasting the calendar slide?
If you make a mistake:
– Undo the action by pressing CTRL+Z or CMD+Z on Mac.
– Recreate the blank slide and try pasting the calendar again.
Can I use other sources for calendar templates besides Microsoft 365?
Yes, you can use other sources for calendar templates, such as SlideModel, which offers various calendar PowerPoint templates.
How do I save the customized calendar slide in my presentation?
To save the customized calendar slide:
– Ensure all changes are made.
– Save your PowerPoint file by clicking File > Save or pressing CTRL+S or CMD+S on Mac.
Can I add more months to the calendar in my presentation?
Yes, you can add more months by repeating the process:
– Copy additional month slides from the calendar template.
– Paste them into your presentation.
– Customize each month as needed.