Grouping objects in PowerPoint can help format slides better without the need to select multiple objects individually and periodically to make adjustments. See the simple steps below to learn how to group objects in PowerPoint.
How to Group Objects & Shapes in PowerPoint
There are different ways to group objects in PowerPoint templates and slide decks you might have created from scratch.
Method 1: One way to do this is to select the objects you want to group by left-clicking while holding down the SHIFT key and going to Shape Format -> Group Objects -> Group.
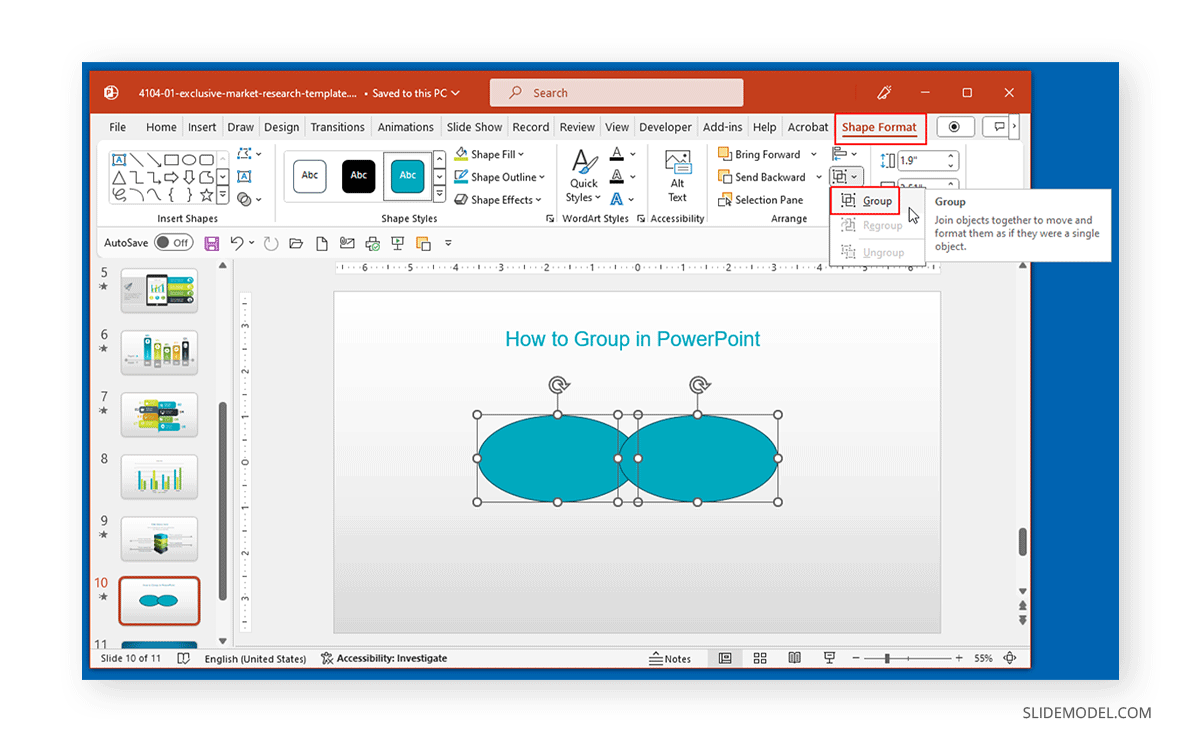
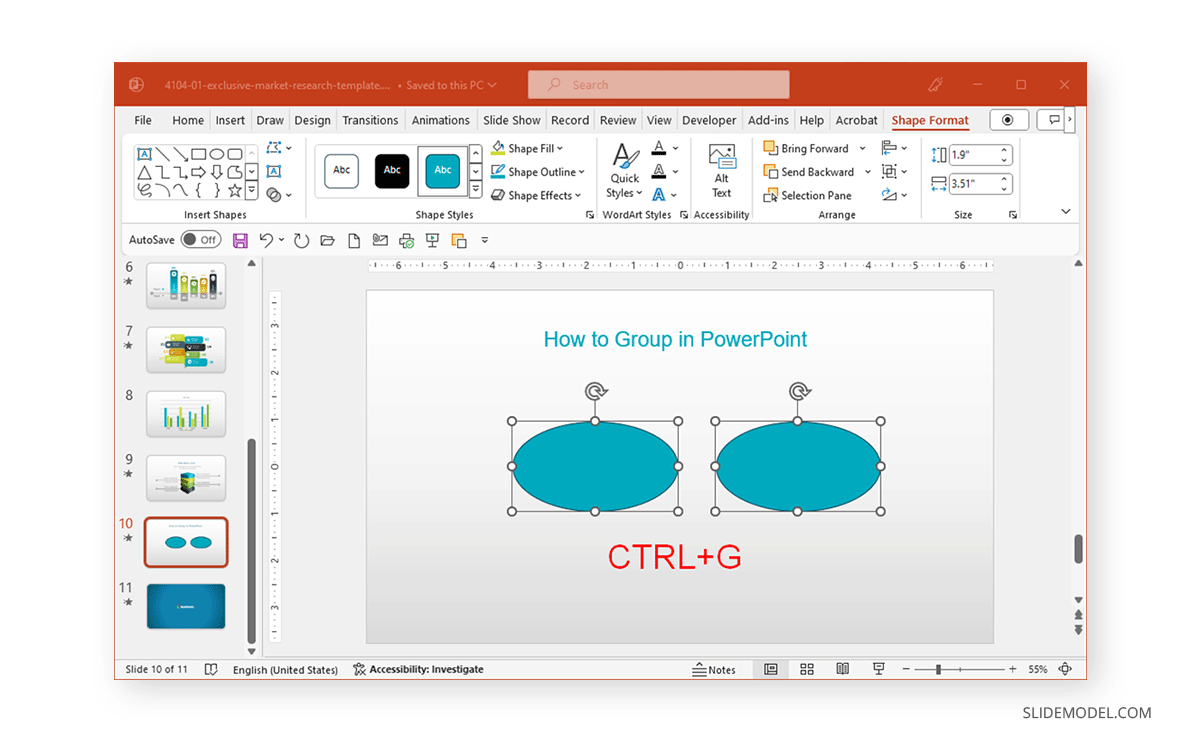
Pro Tip (shortcut to group in PPT): To group shapes together in a PowerPoint slide, you can select the shapes to group, and then press CTRL-G.
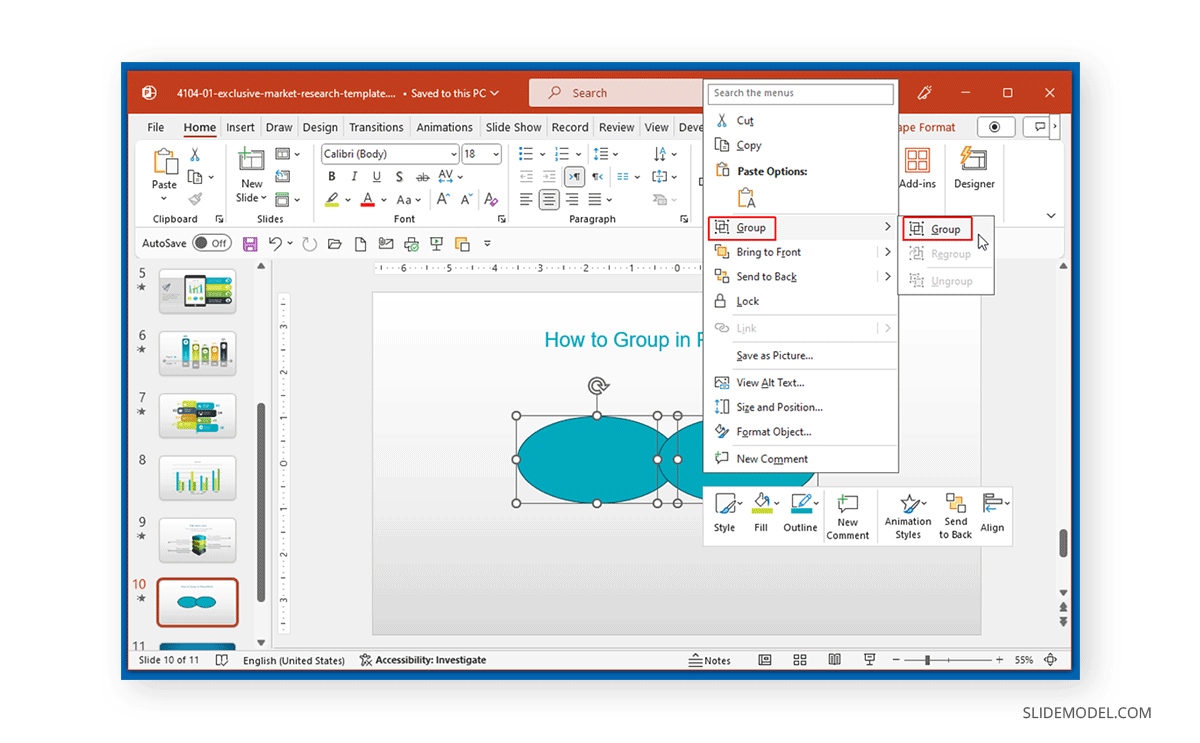
Method 2: Another technique to group objects in PowerPoint is to select the objects you want to group and select Group via the right-click menu.
Method 3: After selecting the objects, you can also group objects by using the SHIFT+G hotkey.
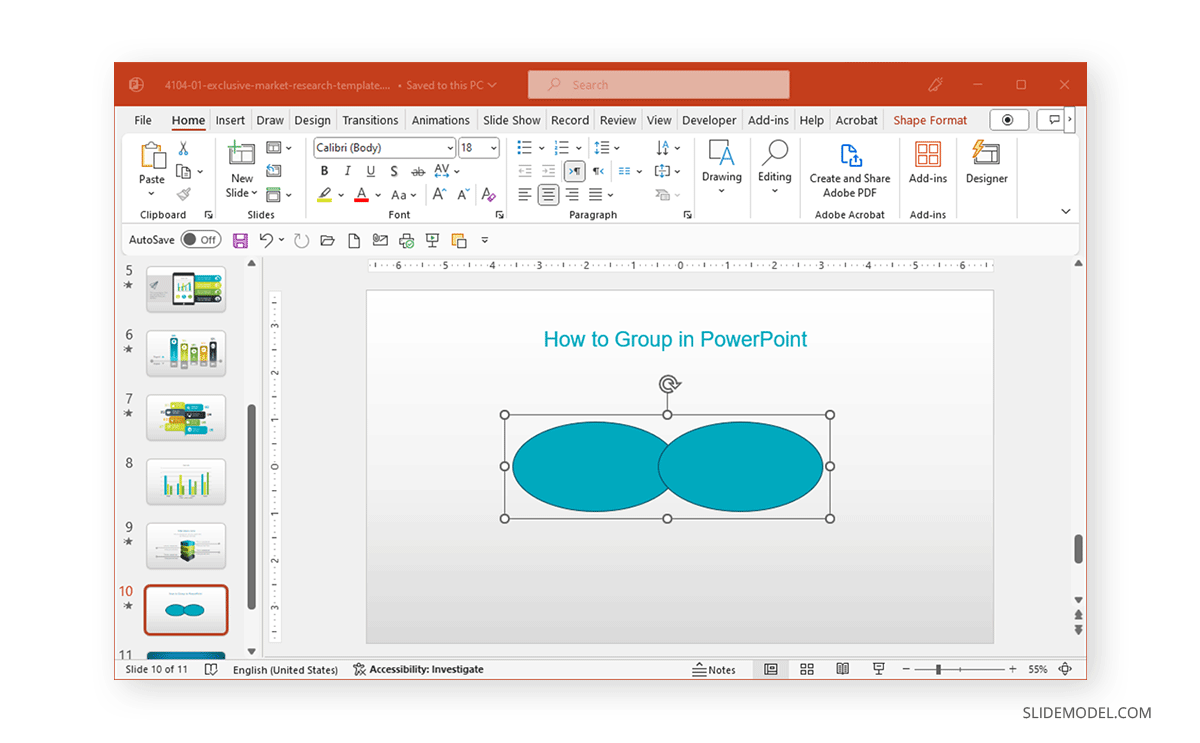
Once the objects are grouped, you will notice that the objects are selected as a single element in the PowerPoint slide.
How to Ungroup Objects in PowerPoint
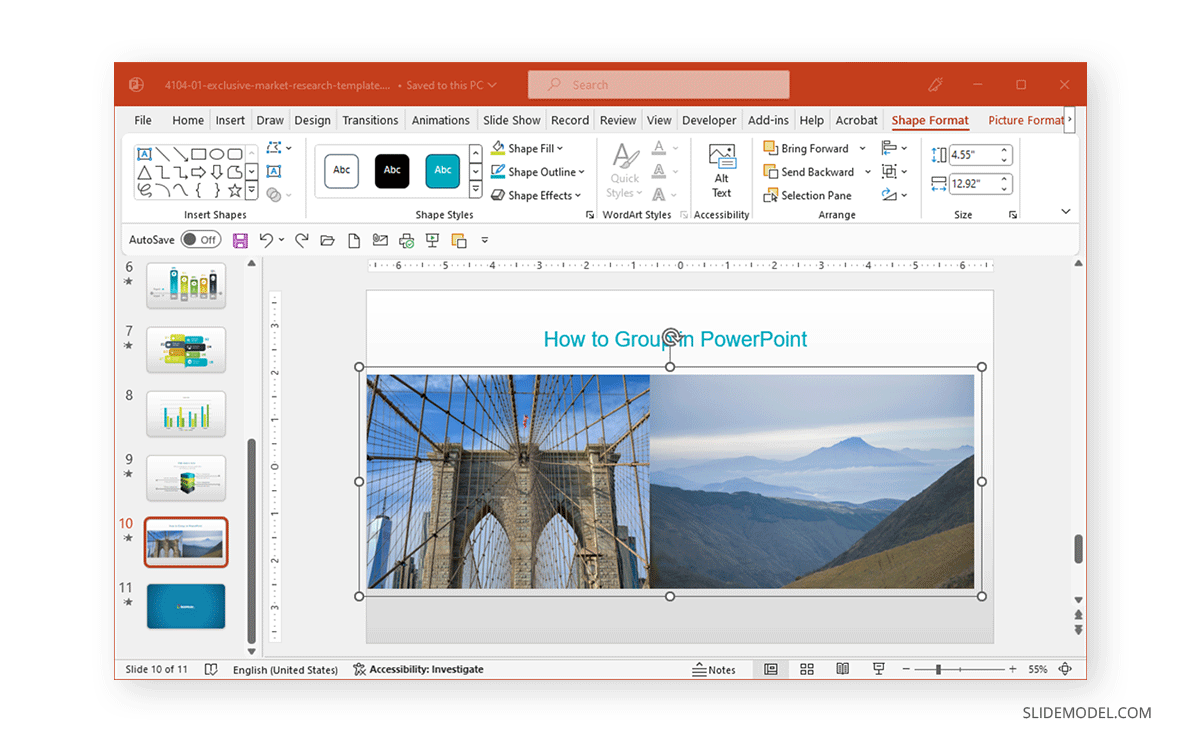
In our previous section, we learned how to group pictures in PPT. However, a commonly asked question by users is how to ungroup objects in PowerPoint, especially if we work with third-party designs. In the example below, we will ungroup two pictures in PowerPoint.
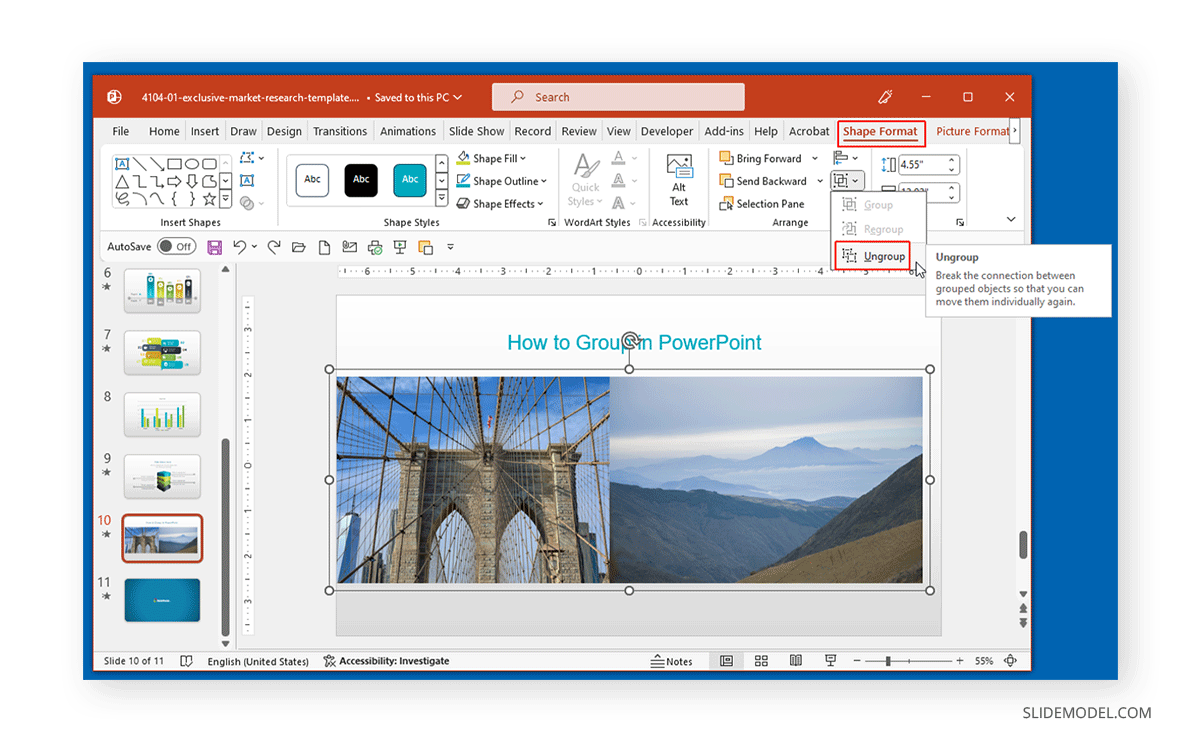
Method 1: After selecting the grouped object, go to Shape Format -> Group Objects -> Ungroup to ungroup the selected object into separate objects.
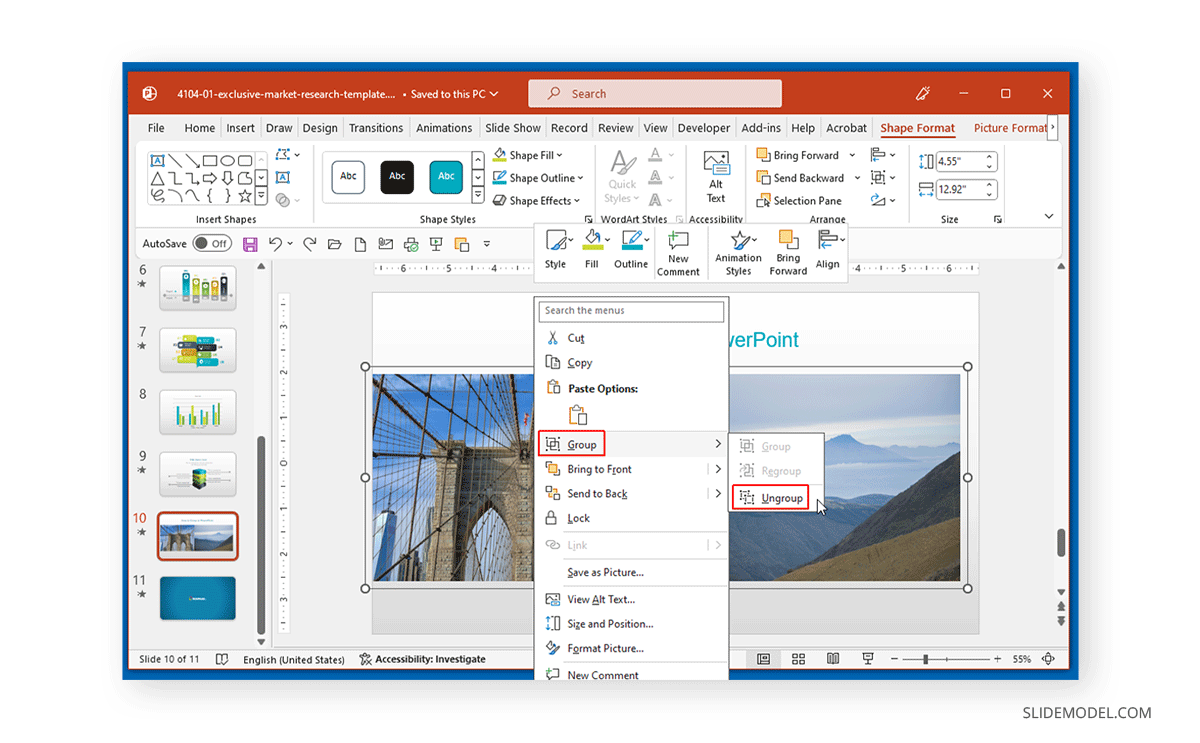
Method 2: You can ungroup objects by right-clicking on the grouped object and selecting Ungroup from the right-click menu.
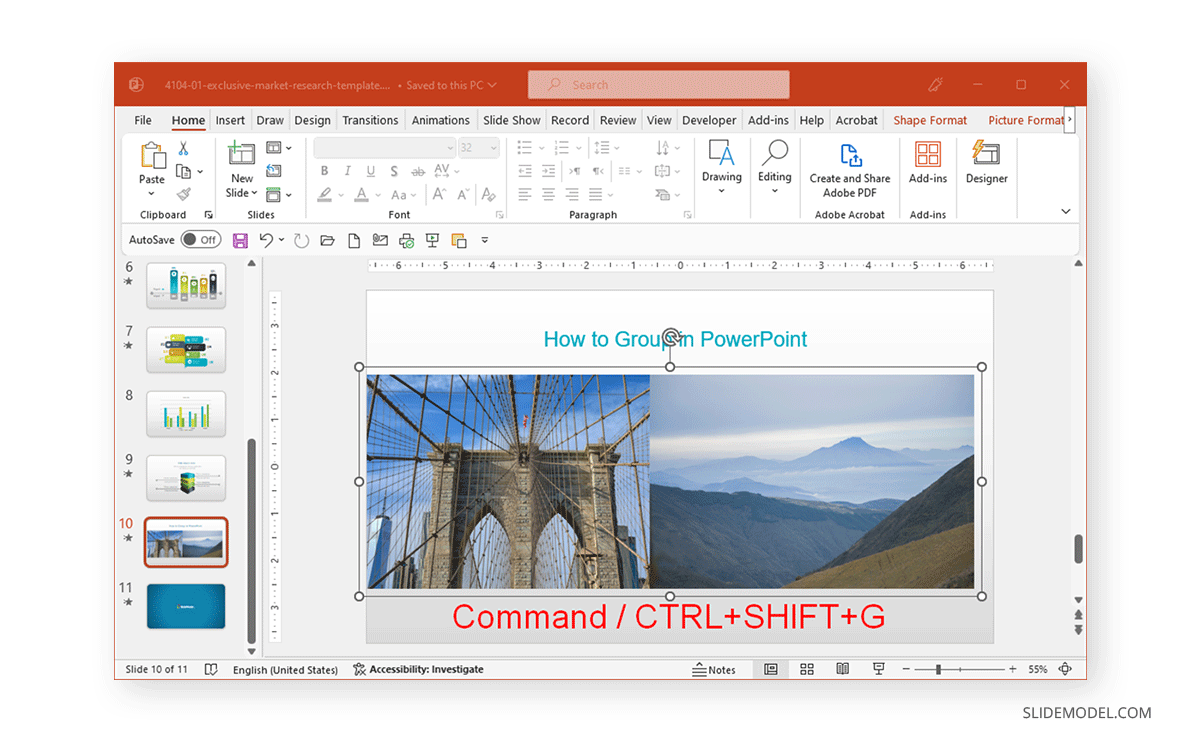
Method 3: Another technique to ungroup objects is to use the CTRL+SHIFT+G (Windows) or the Command+SHIFT+G (Mac) hotkey.
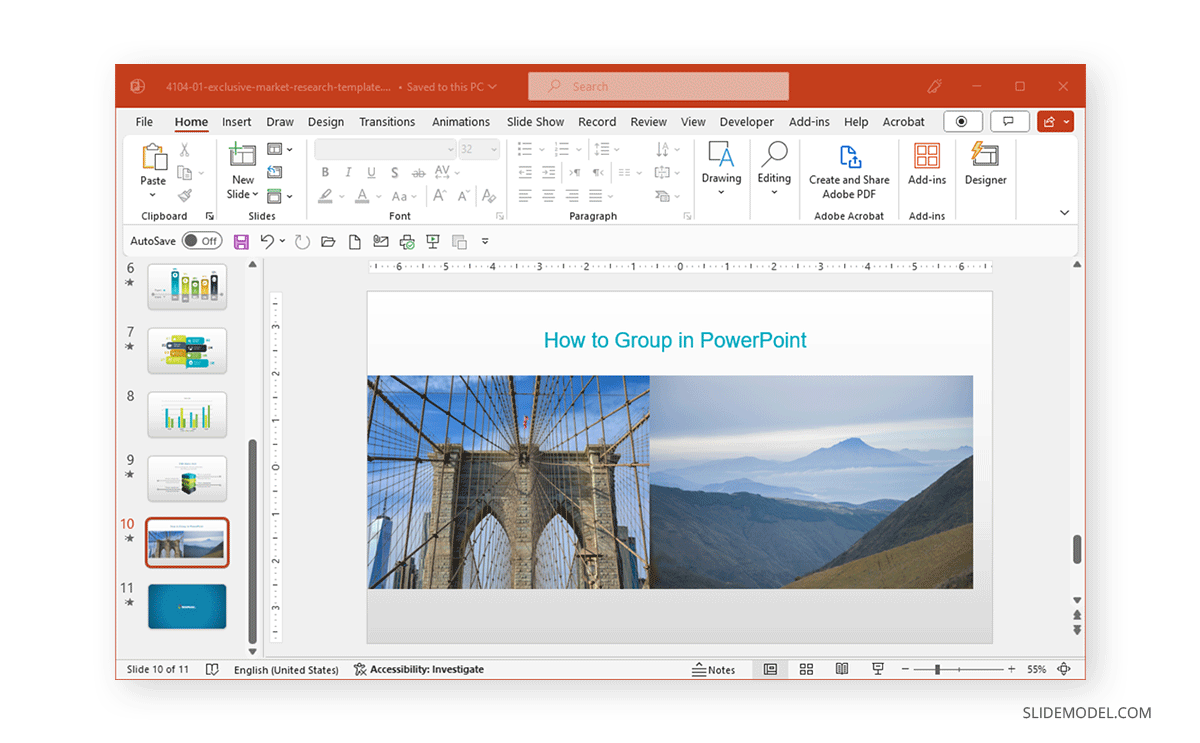
The image below shows two pictures that are ungrouped in PowerPoint.
For more information, check our article about PowerPoint presentation shortcuts.
Final Words
Now that you know how to ungroup and group in PPT, you can experiment with PowerPoint objects and join them together to create groups that are easier to manage in your PowerPoint slides. Also learn how to group in Google Slides.
