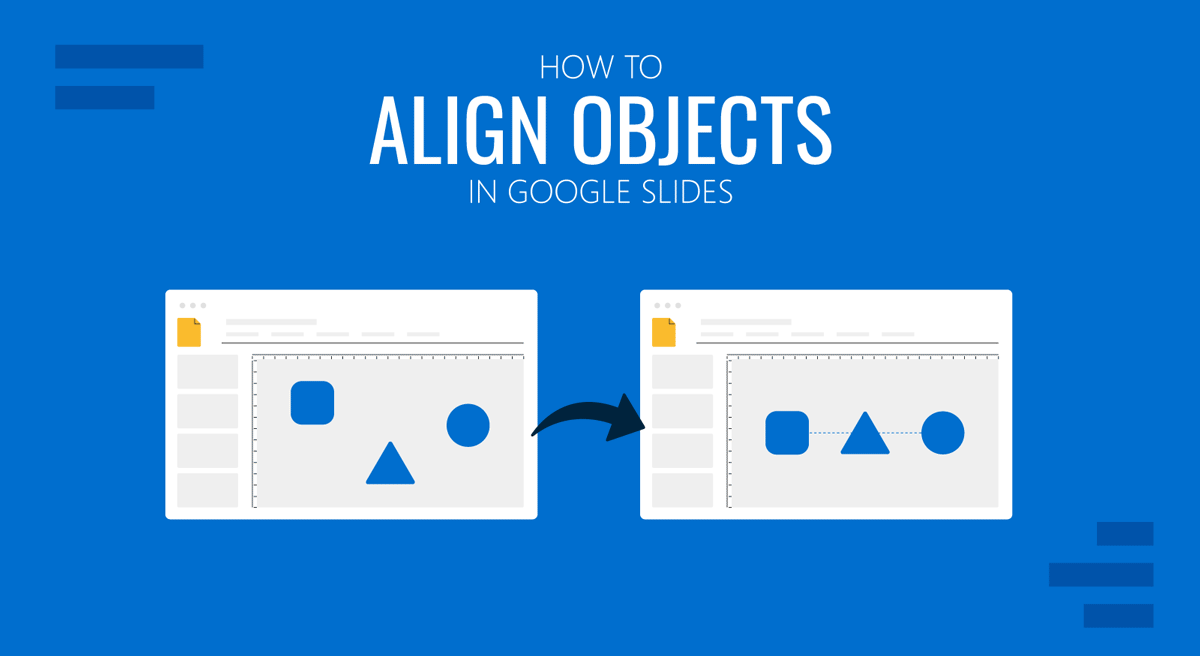
The Arrange menu in Google Slides provides various PowerPoint-like options for arranging and aligning objects. The options in this menu enable ordering, aligning, centralizing, distributing, grouping, ungrouping, and rotating objects. When using the options mentioned in this tutorial, you can select multiple objects using SHIFT or CTRL/Command keys or drag the onscreen cursor. Whether you’re using PowerPoint templates or Google Slides templates in Google Slides, you can use the methods mentioned below to arrange and align your objects.
How to Order Objects in Google Slides
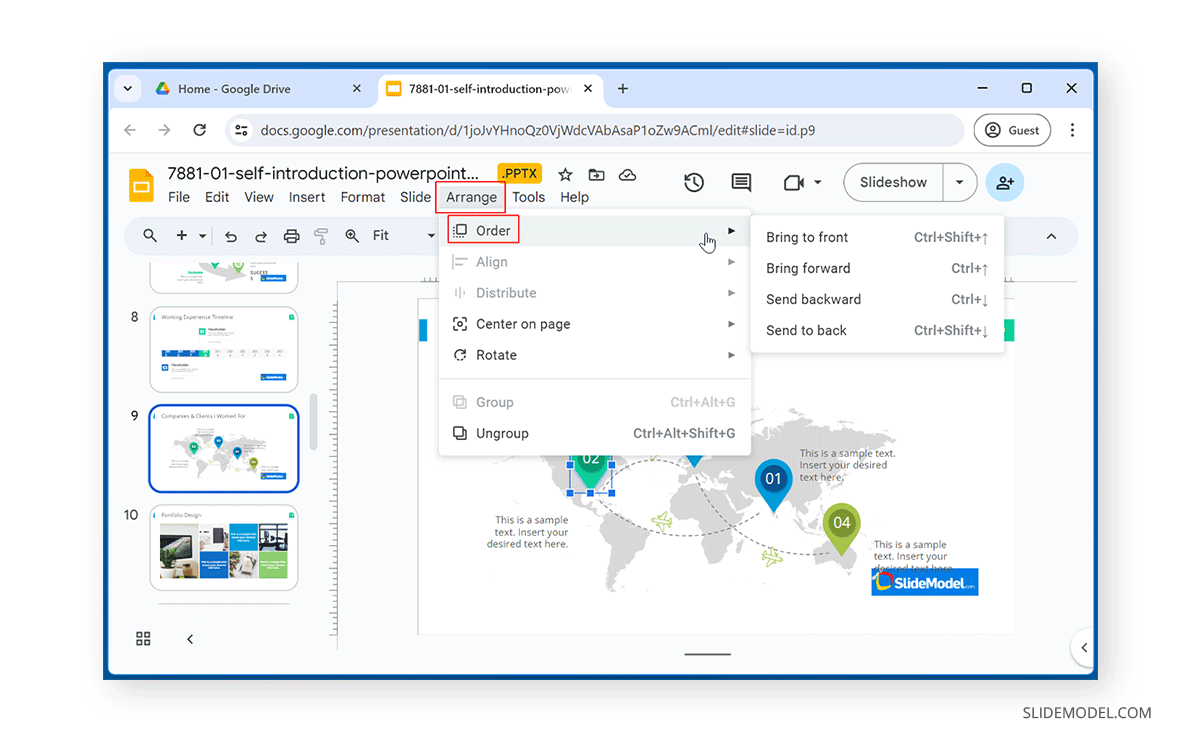
To place slide objects in a specific order in Google Slides, such as to bring them to the front, forward, backward, or step back, go to Arrange -> Order.
How to Align Objects in Different Directions in Google Slides
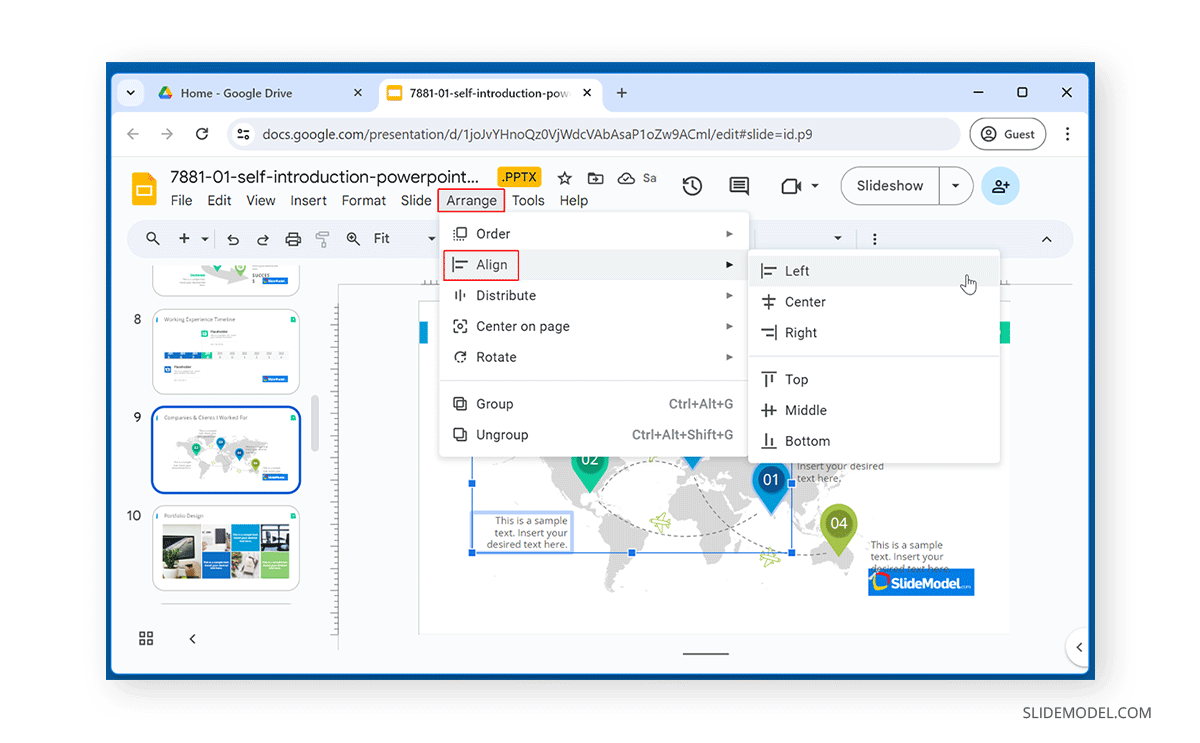
By going to Arrange -> Align, you can align selected objects to the right, left, center, top, middle, or bottom.
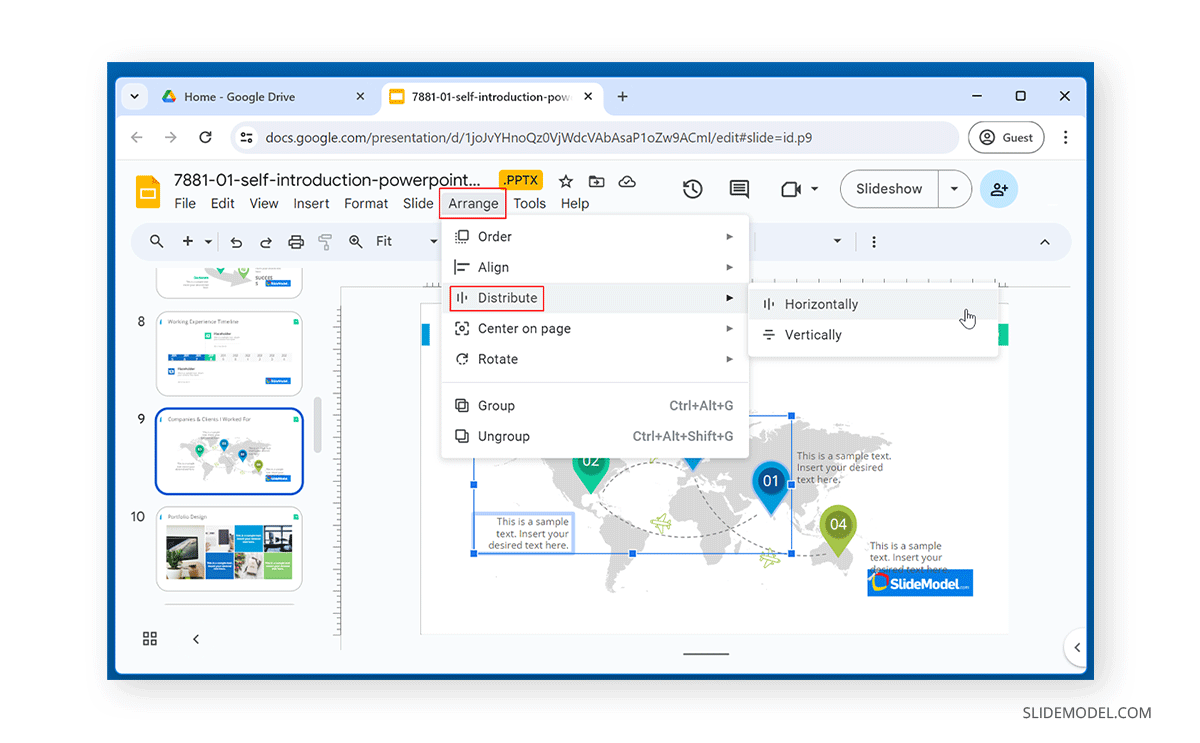
How to Distribute Objects in Google Slides
If you have several slide objects that you want to be aligned horizontally or vertically, select the objects and go to Arrange -> Distribute to choose the alignment of the objects.
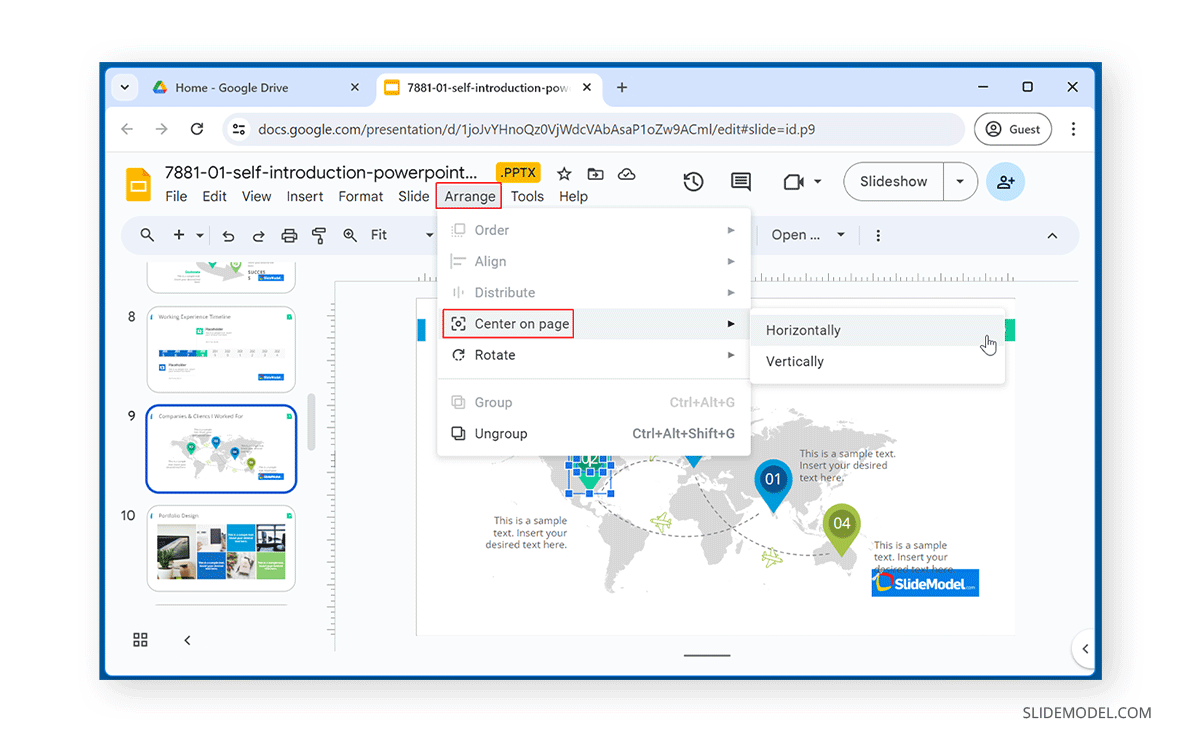
How to Centralize Objects in Google Slides
When aligning objects in Google Slides, you can also align them centrally, either vertically or horizontally, via Arrange -> Center on the page.
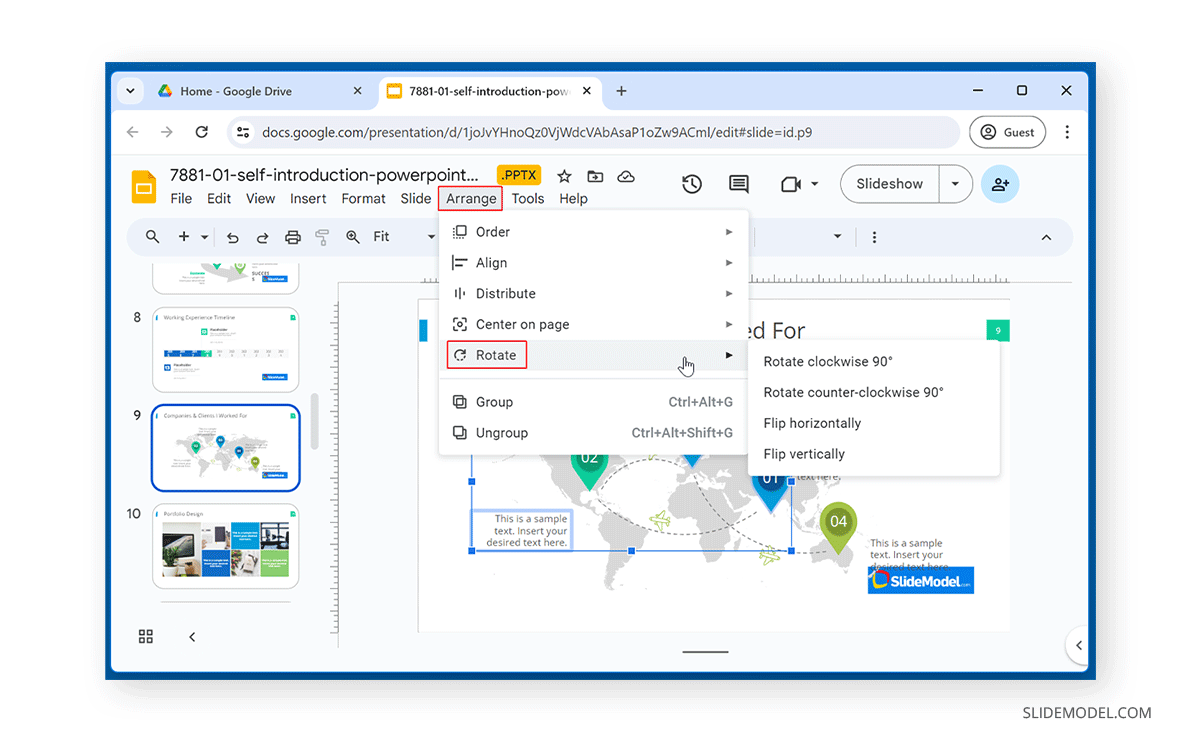
How to Rotate Objects in Google Slides
Another way to align objects is through rotation. To rotate objects in Google Slides, select the object or objects to rotate and go to Arrange -> Rotate. This menu allows rotating objects clockwise or counter-clockwise (90 degrees) or flipping them vertically or horizontally.
Final Words
You can align selected objects by using the Arrange menu and submenus within this section. You can align objects in different directions or rotate them to manage their alignment better. Consider using drag and drop to align objects to suit your alignment needs.
