
PowerPoint presentations often contain high-quality photos, charts, and graphics. These images can be helpful not only for presentations but also for reports and record-keeping. Sometimes, you might need to extract an image for use in another presentation or a report. In such a case, you may not have a copy of the original image file, or the image may have been added directly from within PowerPoint (e.g., a stock image).
How to Extract All Images from a PowerPoint Presentation
You can use different methods to extract files from PowerPoint. Below are step-by-step instructions regarding multiple methods to extract images from a PowerPoint file. To demonstrate all potential techniques, we will use the Minimal Portfolio PowerPoint Template.
Method 1: Manually Save Images One by One
While this may be a lengthy method if you have a large number of images to save, it is a reliable way to select and save individual image files in PowerPoint.
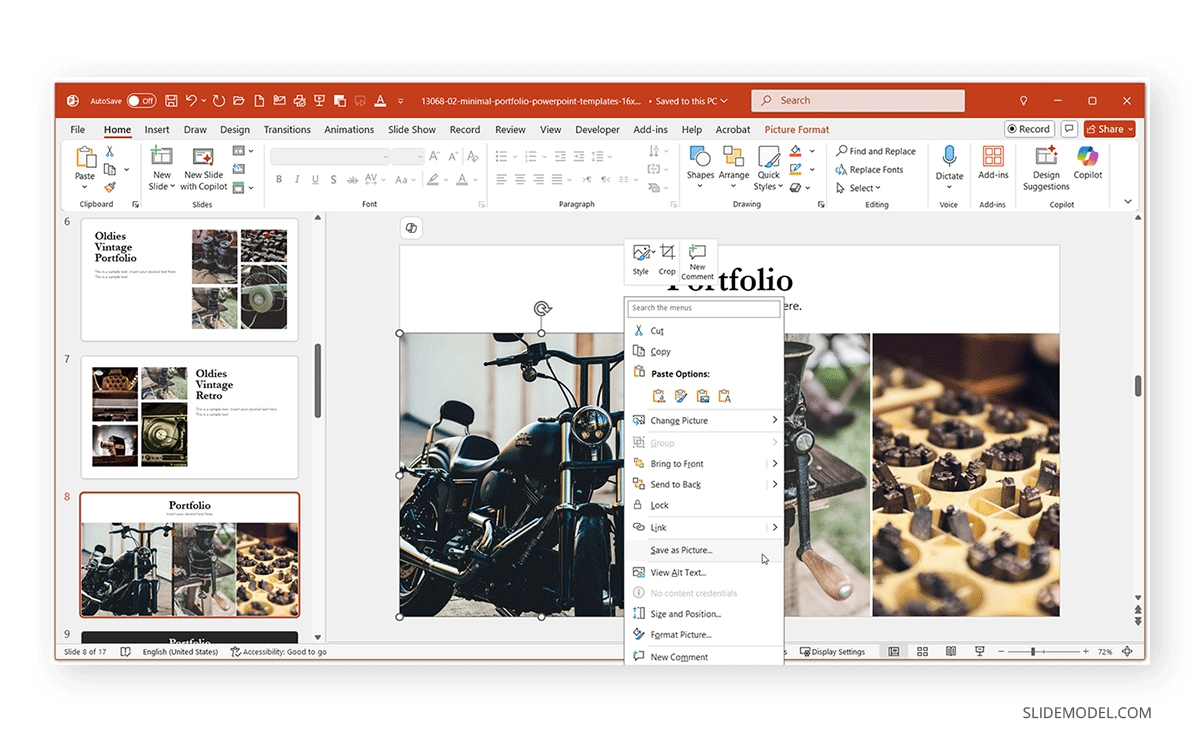
Step 1: Right-click the image from a PowerPoint slide and select Save as Picture.
Step 2: Select a location to save the file.
Step 3: Select the image format to save the file from the Save as type dropdown menu and select Save.
The selected image will be saved to the destination folder in your preferred image format.
Pros
- You can save the selected image file you need and avoid saving additional parts of the slide that you might not need.
- You can select images from their original resolution from within the PowerPoint file.
Cons
- It can take a considerable amount of time to save multiple images one by one from a PowerPoint file.
- If the image in the PowerPoint file is of low quality, you will only be able to save the file in the same quality. This might make the image look less attractive if the slide layout is making it pop out despite its lack of quality.
Method 2: Manually Copy PowerPoint Images One by One
Another method for selecting and saving an image from PowerPoint is to copy it directly into another application.
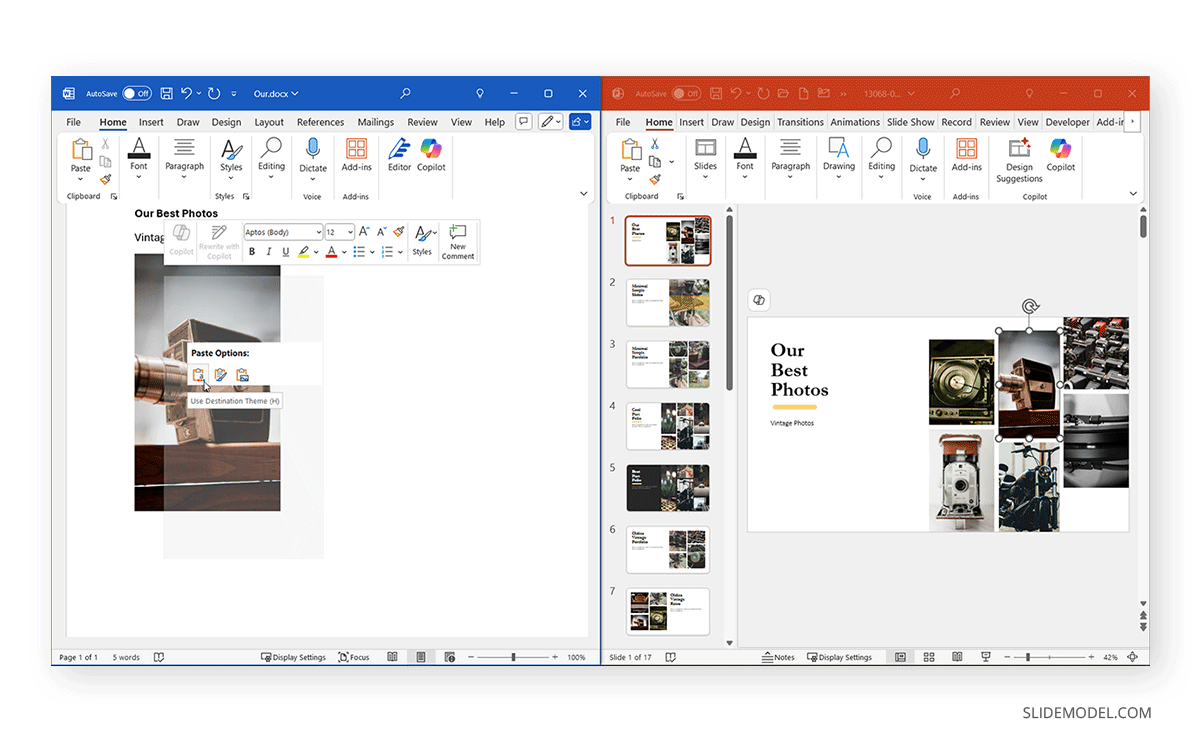
Step 1: Select the image and copy it either from the right-click context menu or via CTRL/Command+C.
Step 2: Open the application where you want to paste the image and paste it into the desired file using either the right-click menu or CTRL/Command+V.
This will paste the image copied from PowerPoint directly to another file, such as another PowerPoint presentation, Word document, or Microsoft Paint. You can further save and use the image in the copied application as needed.
Pros
- Images can be copied directly from PowerPoint to another application file, such as a report in a Word document or to Microsoft Paint to save it separately.
- This process can save time in extracting precise images without the need to save multiple image files.
Cons
- Images copied from PowerPoint might require additional adjustments to fit the needs of the destination file.
- You might need to duplicate effort in saving the file (e.g, copying the file to Microsoft Paint and saving it in an image format).
Method 3: Save PowerPoint Slides as Image Files
While it might seem like you have to save each picture one by one, there are easier and smarter ways to extract all images from PowerPoint at once. One such method is to save PowerPoint presentation slides as image files.
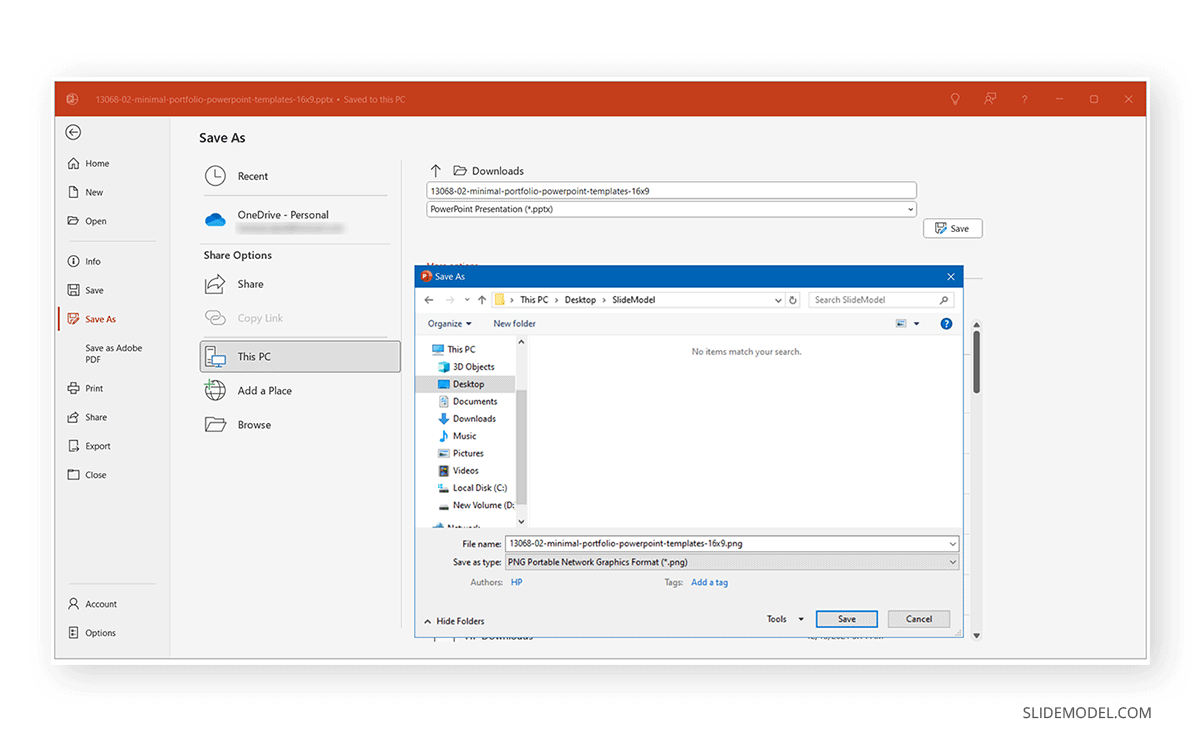
Step 1: Open the PowerPoint file you want to extract images from and go to File -> Save As.
Step 2: Choose a location, then from the Save as type dropdown menu, select an image format such as PNG or JPEG, and click Save.
Step 3: Select whether to save only the current slide or all slides. PowerPoint will save your selected slide(s) to the destination folder.
Pros
- This method preserves original image quality.
- This method converts PowerPoint slides to image files.
- You can choose to convert only a single slide or all slides in the presentation deck.
Cons
- This method converts PowerPoint slides and not just a single image or background image.
- The slides might be converted to image files, which could be large sized in terms of MB.
- You may need to crop the image further to extract the part of the slide that interests you.
Method 4: Convert PPT to ZIP (Windows-Only)
Step 1: Locate the .pptx file on your computer, right-click, rename, and change the extension from .pptx to .zip.
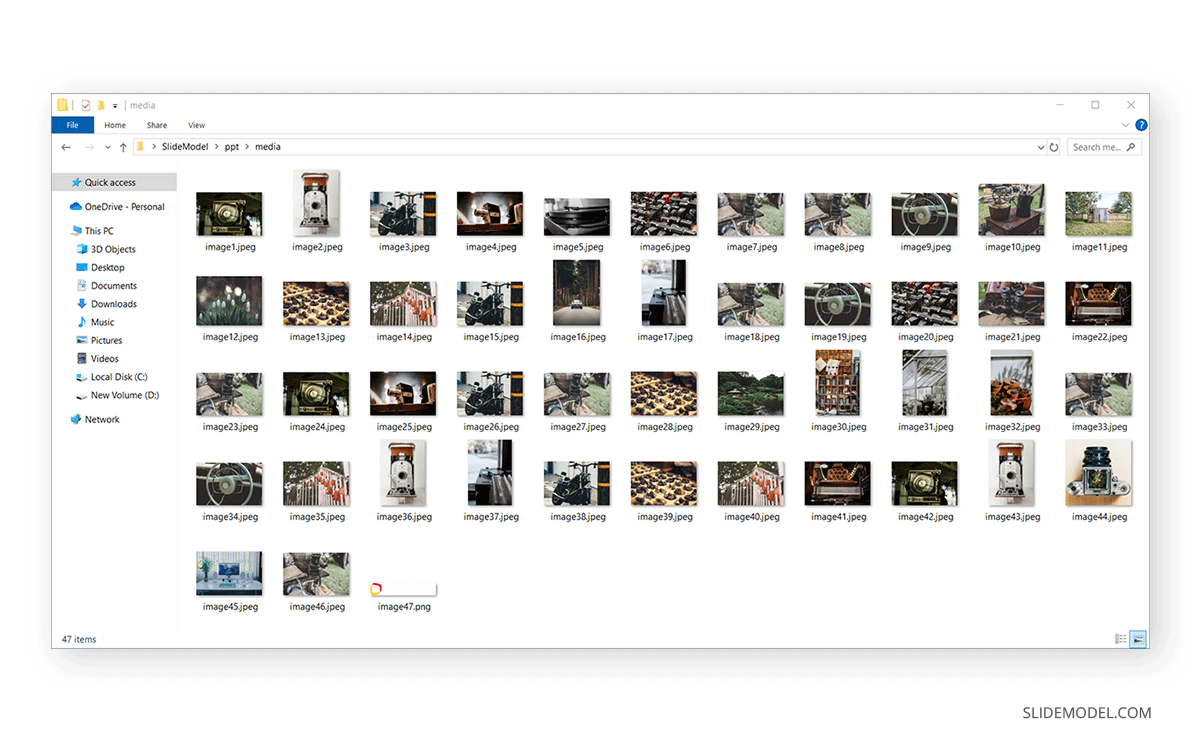
Step 2: Open the ZIP folder and navigate to: ppt -> media.
Step 3: Copy or insert images from the folder as needed.
Note:
- This method works best with PowerPoint 2007 or later (.pptx format only).
- This method won’t work with older .ppt binary files unless converted first.
Pros
- The quick image extraction method doesn’t require manually saving images one by one.
- Images in original quality can be extracted from a PowerPoint file in batch.
Cons
- This method may not be effective with certain types of images, such as charts and infographics.
- Some slide elements saved as images may not be required by the presenter, necessitating the need to sift through a large number of saved images to find the necessary one.
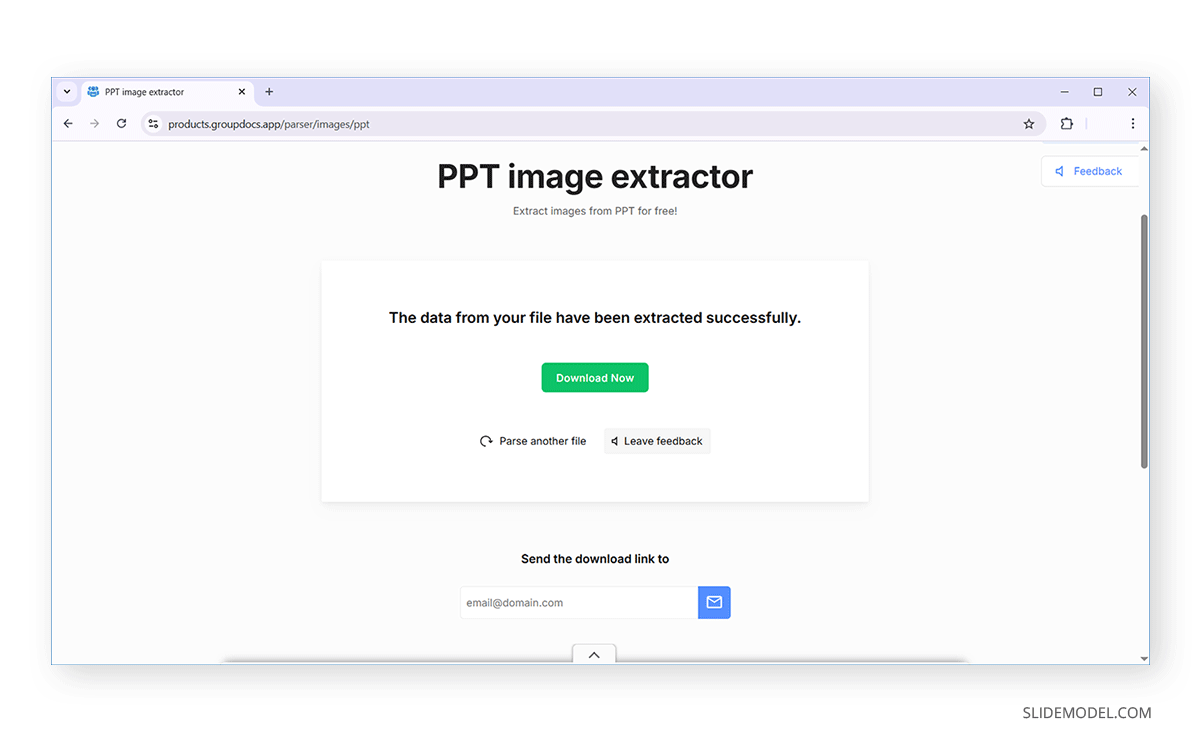
Method 5: Using Online Tools to Extract Images from PPT
When wondering how to download images from PPT, you can consider different online tools to extract images from a PowerPoint in batch, including images from the legacy PPT format, as well as from a PPTX file. Some examples include online services such as SlideSpeak, Documami, and PPT image extractor.
Step 1: Upload your PPT or PPTX file to a PowerPoint image extraction service.
Step 2: Choose the image extraction option, such as Extract Images, Convert to ZIP function, or whatever option the web application provides for this task.
Step 3: Download the archive containing all the images.
Pros
- Web applications can extract PowerPoint images in batches.
- Web applications usually don’t reduce the quality of the extracted images.
Cons
- While convenient, uploading sensitive or confidential presentations to online tools may not be ideal.
- Some images might not be extracted cleanly during the extraction process.
Method 6: Use a VBA Script for Image Extraction in PowerPoint
Now that you know how to download images from PPT online, you can also look into using a script to make your job even easier. To extract PowerPoint images in batch, you can use a VBA in PowerPoint. This VBA script example saves images from a PowerPoint file to a folder on the C drive.
Sub ExportAllImages()
    Dim sld As Slide
    Dim shp As Shape
    Dim imageCount As Integer
    Dim exportPath As String

    ' Set the export directory - change this path as needed
    exportPath = "C:\ExportedImages\"

    ' Create folder if it doesn’t exist
    If Dir(exportPath, vbDirectory) = "" Then
        MkDir exportPath
    End If

    imageCount = 1

    For Each sld In ActivePresentation.Slides
        For Each shp In sld.Shapes
            If shp.Type = msoPicture Then
                shp.Export exportPath & "Image_" & imageCount & ".jpg", ppShapeFormatJPG
                imageCount = imageCount + 1
            End If
        Next shp
    Next sld

    MsgBox "Exported " & (imageCount - 1) & " images to " & exportPath
End Sub
Note: The VBA script provided above is designed to export images that have been added as standalone Picture elements in the PowerPoint deck. It does not extract images embedded within grouped shapes, picture placeholders, or shapes using image fills. However, if your presentation contains images in these formats and you need assistance exporting them, please feel free to contact us, we’ll be happy to help you with a tailored solution.
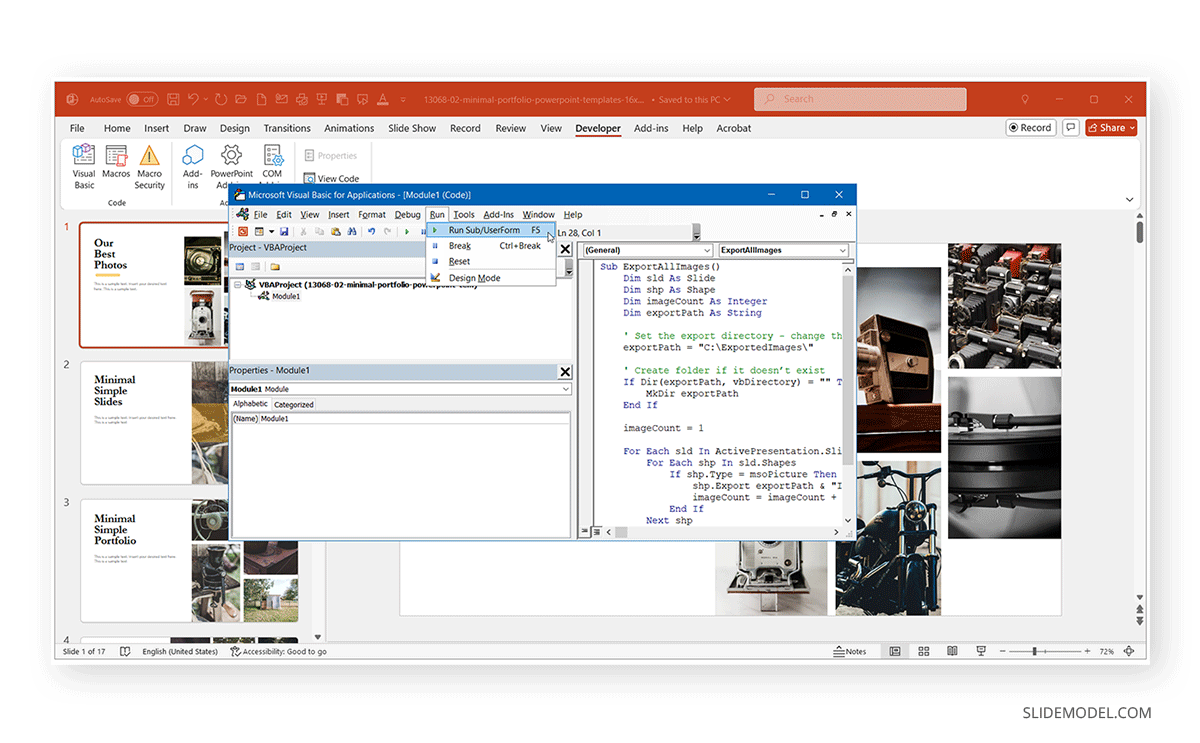
Follow the steps given below to execute the script:
Step 1: Go to the Developer tab in PowerPoint and select Visual Basic or press ALT+F11 to open the VBA Editor.
Step 2: Go to Insert -> Module.
Step 3: Paste the script into the module window.
Important: Edit the exportPath variable to specify the output folder in which you want to save all the images.
Step 4: Press F5 to run the script or run it via Run -> Run Sub/UserForm.
Pros
- This VBA script enables extracting images in PowerPoint in a matter of seconds.
- This VBA script enables batch image extractions.
- Using a script like this eliminates the need for online tools to extract images.
- You can change the file type (.jpg) to .png or .bmp according to need.
Cons
- This VBA script only works for images that are inserted as pictures (not for background images or grouped SmartArt).
- You must allow macros and enable editing when prompted to open the file.
- The images extracted might be heavy in size.
- You might need to extract certain parts of the slides separately, such as background images or diagrams that were not extracted during the extraction process.
Important Considerations for Extracting Images in PowerPoint
There are various essential things that you should consider when extracting images in PowerPoint, such as the quality of the image after extraction using the selected method, or its license for reuse.
Will Images Lose Quality During Extraction?
Below is a summary of the image quality that you should expect from the various methods mentioned above:
1. The Manual Save As Picture method sometimes might result in a slight drop in image quality if the image was resized in PowerPoint.
2. Copying images from PowerPoint should usually not lead to image quality-related issues unless you compress, crop, or resize the image.
3. Saving PowerPoint as an image file results in good-quality images of the saved slides.
4. Converting a PPTX file to a ZIP file usually doesn’t lead to image quality loss, though certain slide elements might be singled out from the wider image, resulting in small, pixelated images.
5. Online tools that extract images from PowerPoint can be unpredictable in the quality of images extracted.
Dealing with Restricted or Licensed Images
It is important to consider if you have the right to use an image or branding extracted from PowerPoint. Consider the following:
- Check Attribution Requirements.
- Embedded Licensing Data may exist and might be a requirement for using the image.
- Use caution when publishing images that may be copyrighted, such as those saved from an online source, like the integrated Bing image search in PowerPoint.
Maintaining Branding
In some cases, you might extract the original image without the branding. Consider using the branding by reinserting it if it is a requirement outlined by your organization.
Final Words
Extracting images from a PowerPoint presentation doesn’t have to be tedious or technical. Be it one high-quality graphic or the entire set of visuals for reuse, there’s a method that fits from basic save-as steps to ZIP file conversion, web apps, and VBA automation.
For quick jobs, the manual saves or the copy option works great. For bulk extraction, renaming your file to a ZIP file, using online tools, or utilizing a macro can save a significant amount of time. However, it is worth mentioning here that not all images in a presentation are free to reuse. Be mindful of licensing, even if you’re using Creative Commons or stock imagery.