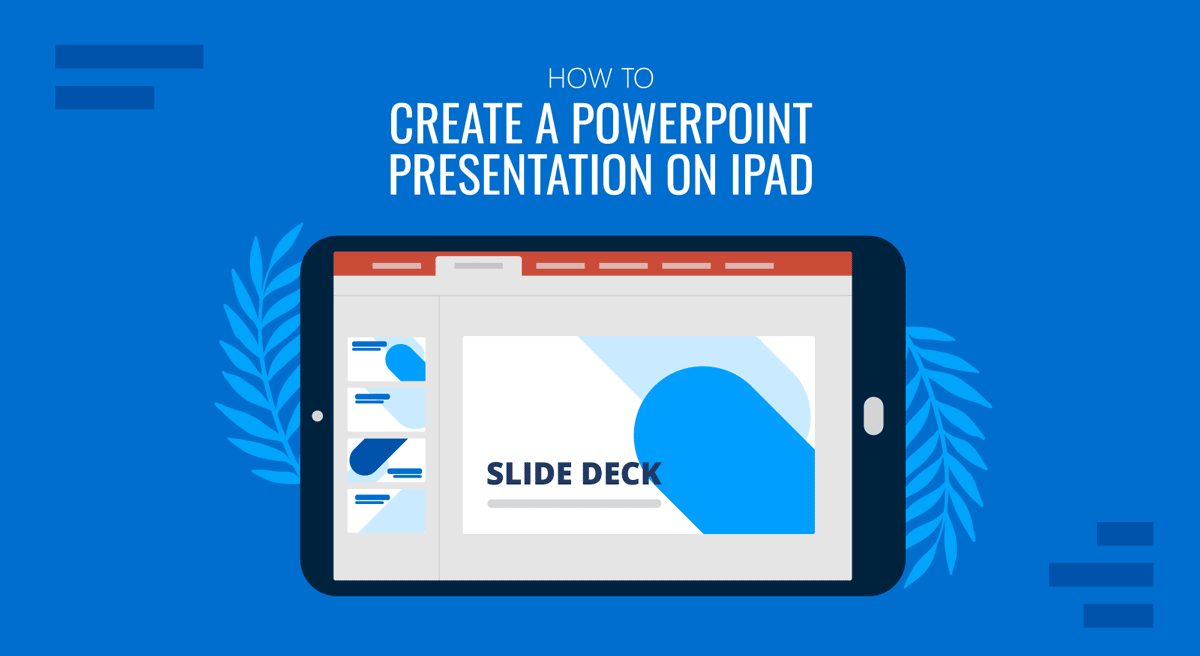
Creating presentations on the go is a must if you’re a frequent traveler. Nowadays, our mobile devices, such as tablets, can do wonders in terms of performance, helping us engage in focused work sessions while commuting, flying, or staying away from home or the office. On this basis, Google Slides is a well-known ally, but one hardware+software combination that can shine is Apple’s iPad and PowerPoint.
With a sturdy performance and lengthy battery life, presenters can create appealing slides once they have mastered the workflow of PowerPoint for iPad. In this article, we’ll show you, step-by-step, how to create a PowerPoint presentation on an iPad from a blank slide, how to customize PowerPoint templates on an iPad, and several useful tools, such as the Rehearsal Report and Accessibility Assistant.
Setting Up the iPad for PowerPoint Use
Before diving into slide creation, the first step is to prepare your iPad to run Microsoft PowerPoint smoothly. Ensure your iPadOS version is up to date by navigating to Settings > General > Software Update. This ensures maximum compatibility and access to the latest PowerPoint features.
Open the App Store, search for Microsoft PowerPoint, and tap Download or the cloud icon if you have previously installed it. Once downloaded, open the app and sign in using your Microsoft account. If you do not have an account, you’ll need to create one. Signing in allows access to OneDrive integration, collaborative editing, and additional formatting options.
While PowerPoint on iPad is free for basic tasks, an active Microsoft 365 subscription unlocks premium features such as advanced design ideas, custom fonts, and more. If you’re creating a professional presentation, a subscription is recommended.
Optional but helpful: Pair your iPad with an external keyboard or an Apple Pencil. A keyboard speeds up text entry and shortcut access, while the Apple Pencil is useful for annotations or drawing custom elements.
Navigating the PowerPoint Interface on iPad
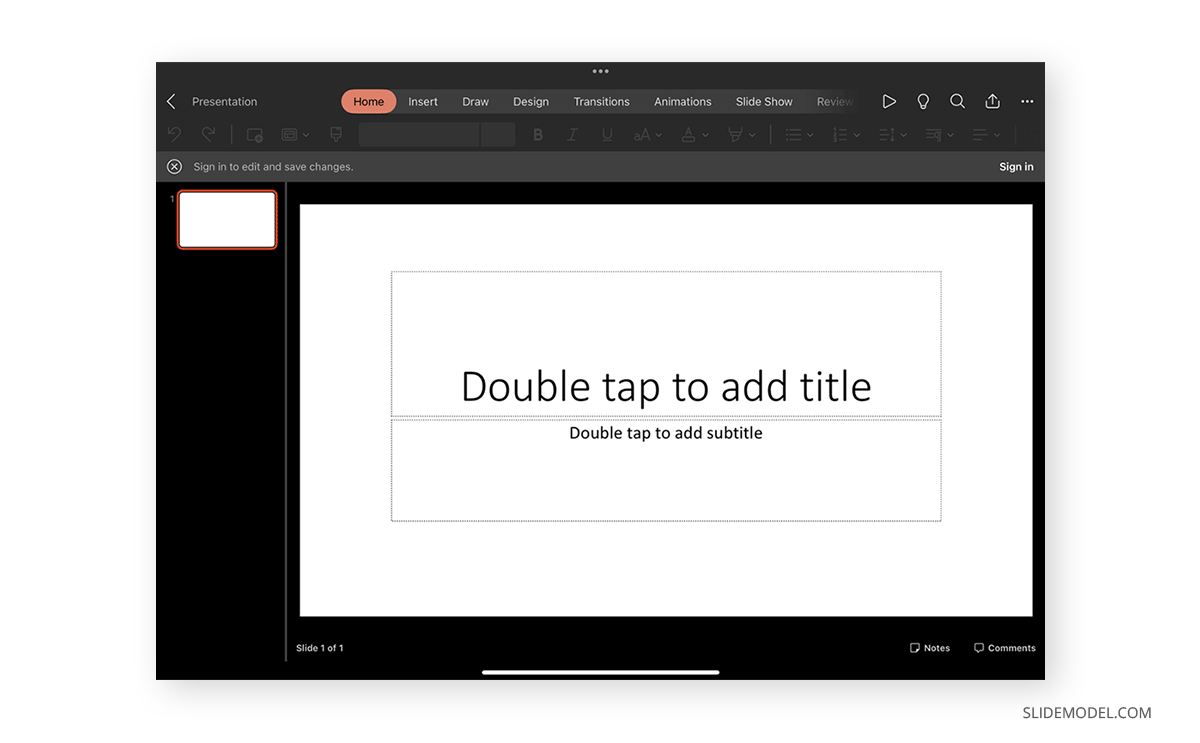
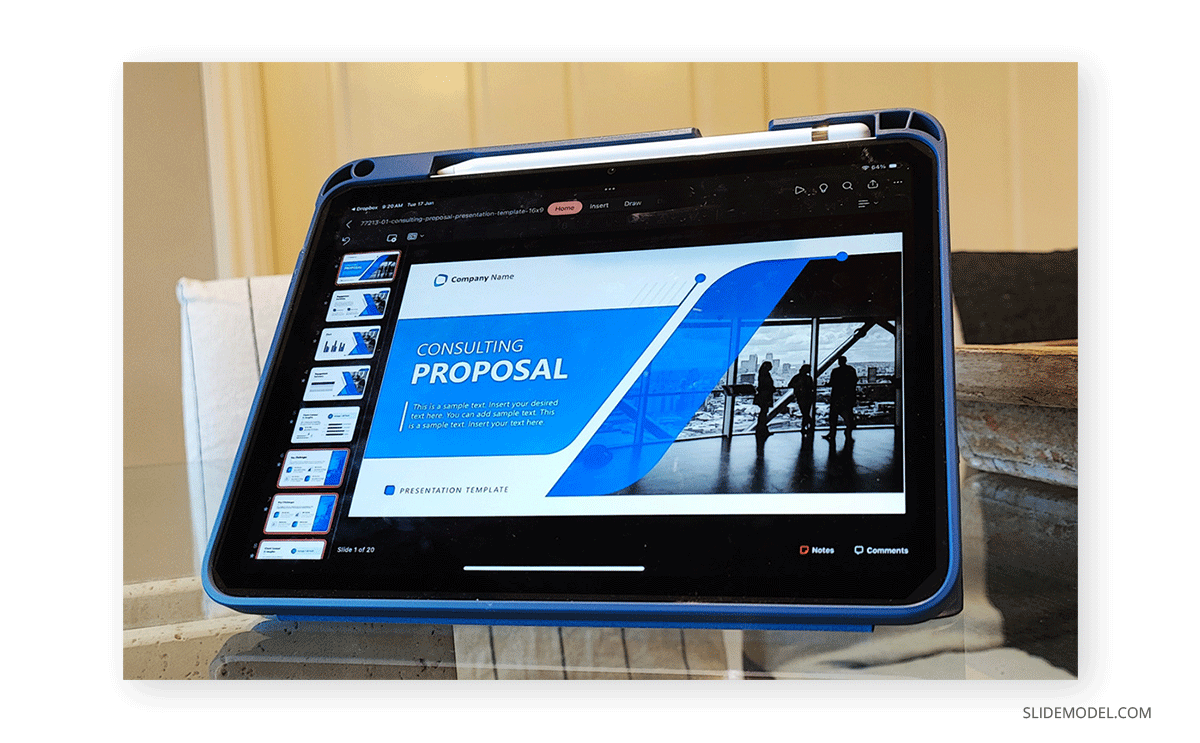
When you open PowerPoint, the home screen shows several tabs: Recent, Shared, Open, and New. Tap New to start a new presentation. From here, you can either choose a Blank Presentation or select from a wide array of pre-designed templates. Templates are useful if you want a head start on visual design, as they include coordinated fonts, colors, and layout placeholders.

Once inside the presentation editor, the interface includes the Ribbon at the top (which houses tools like Insert, Draw, Design, etc.), the Slide Navigator on the left (a vertical scroll of your slides), and the Slide Canvas in the center where you edit your current slide. A floating toolbar may appear when selecting text or objects, providing quick formatting options. Most actions are accomplished via tapping or dragging elements with your fingers, but holding down on certain elements (like images or text boxes) reveals more options, such as ordering or duplication.

If you accidentally close the toolbar or need a specific feature, tap the three-dot menu in the top-right corner to access additional tools and preferences.
Customizing PowerPoint templates on iPad
To add text, tap on any text placeholder or insert a new Text Box by going to Insert > Text Box and tapping on the canvas where you want it. The on-screen keyboard will appear, or you can use an external keyboard if connected.

To format your text, tap and hold on the text until you see the selection handles. Highlight the section you want to change, then use the floating toolbar or Home tab on the ribbon to adjust:
- Font type and size
- Text color
- Bold, italic, underline
- Text alignment (left, center, right)
- Bullets and numbering
Avoid using too many different fonts. Stick to one or two font families; ideally, one for headings and one for body text. PowerPoint on iPad supports embedded fonts in templates, but custom fonts may not be available unless you’re using a Microsoft 365 subscription.
Ensure font size is legible. For body text, avoid going below 18pt, and for titles, 36pt or higher is preferred. If you want to ensure text fits well, use the “Shrink text on overflow” option, but only when absolutely necessary, as it may lead to inconsistently sized content.
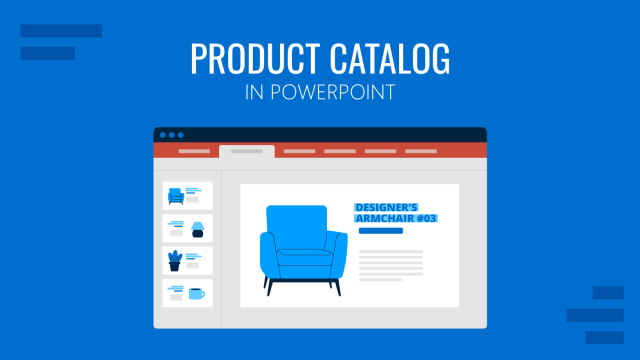
Incorporating Images and Graphics
Visuals are essential for effective presentations. To insert an image, go to Insert > Pictures, and choose from:
- Photo Browser (your Photos app)
- Camera (to take a picture in real-time)
- Stock Images (if available with a Microsoft 365 subscription)
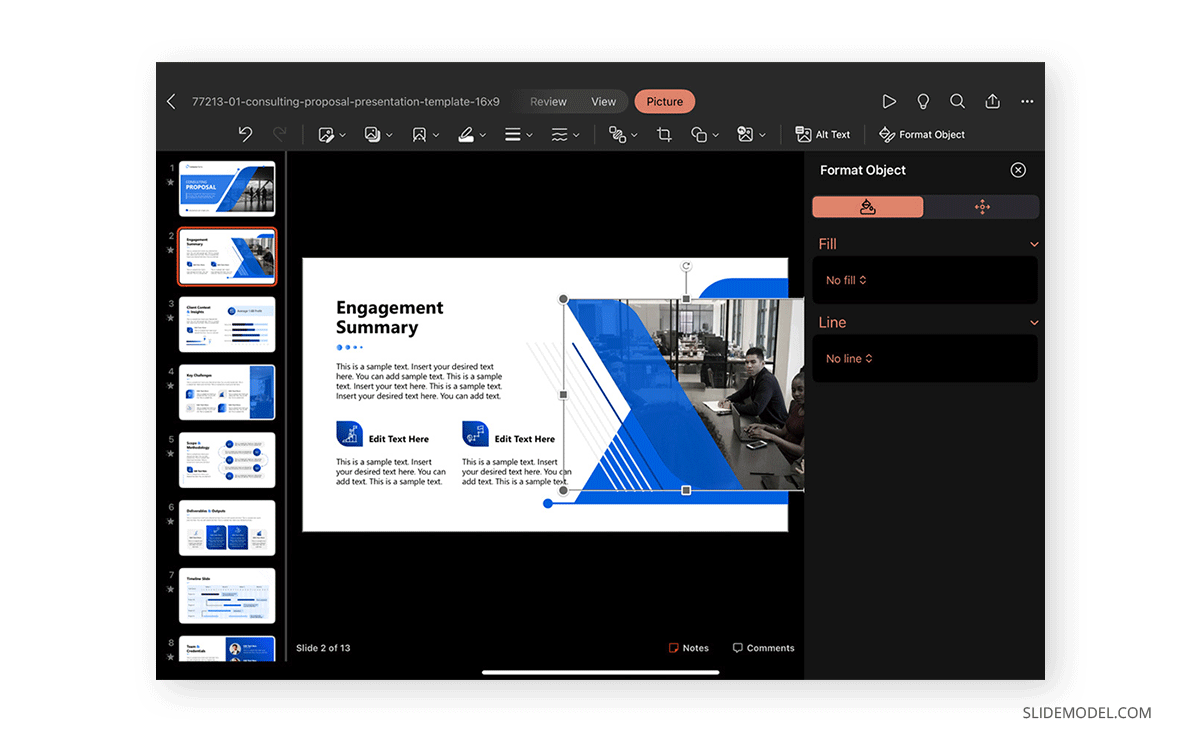
After inserting the image, you can move it by dragging, resize it using the corner handles, or rotate it with the circular arrow icon. Tap the image to reveal formatting options, like adding a border, applying shadows, or cropping.
To layer images or bring them forward/backward in relation to other objects, tap and hold the image, then choose Arrange > Bring to Front or Send to Back. You can also group multiple objects: tap and hold the first one, tap others with a second finger, and then tap Group from the Arrange menu.
Adding icons or illustrations can enhance visuals without overloading slides. Tap Insert > Icons to choose from thousands of SVG graphics. These are editable (change color or resize without loss of quality) and are ideal for professional design. If the stock available in PowerPoint isn’t enough, you can find awesome and 100% customizable PowerPoint icons at SlideModel.
Using Shapes and SmartArt
Shapes are useful for callouts, diagrams, flowcharts, and emphasis. Tap Insert > Shapes, then select from categories like Basic, Arrows, Flowchart, or Equation symbols. Tap the shape to insert it, then resize, move, or recolor using the Shape Format tab.
You can add text inside shapes by double-tapping them. To align multiple shapes evenly, select them by holding one and tapping others, then choose Align > Distribute Horizontally or Align to Slide to tidy them up.
SmartArt is a powerful tool to present structured information visually, like timelines, processes, or organizational charts. Go to Insert > SmartArt and select a layout. Once added, tap on text fields to edit or use the ribbon to adjust the hierarchy, layout, and color scheme. SmartArt is dynamic; you can easily switch formats without losing your content.
Customizing the Slide Layout
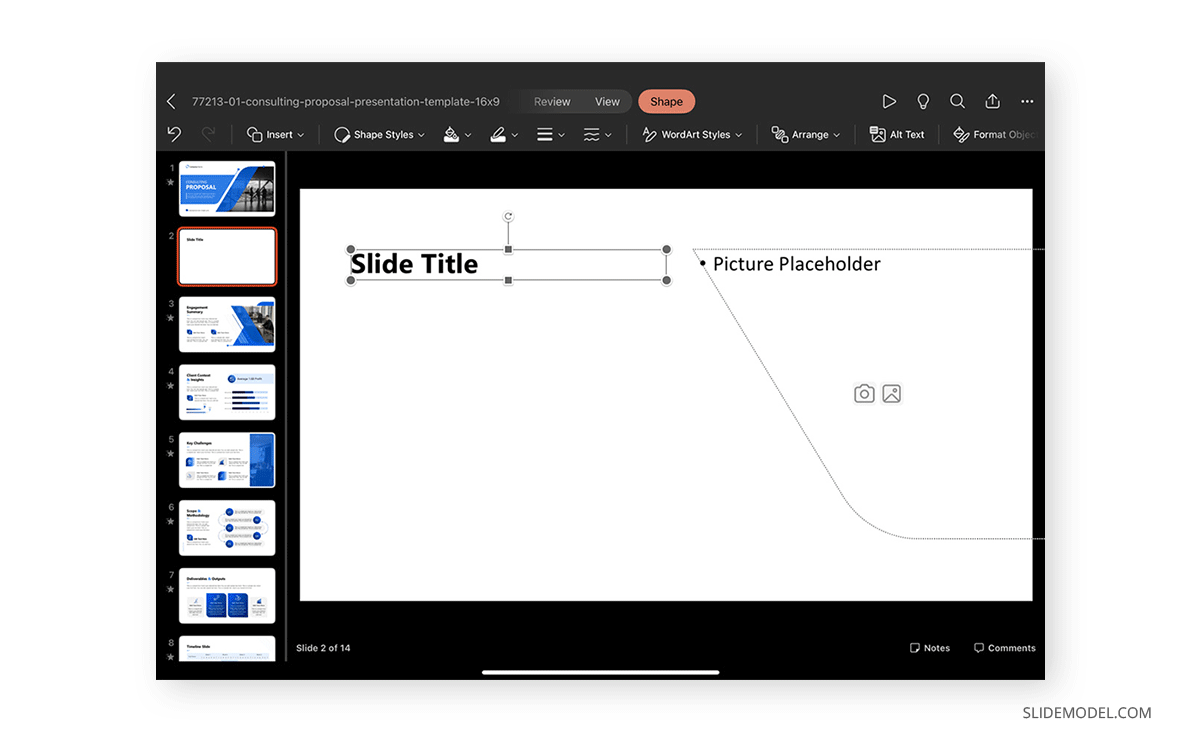
While PowerPoint provides a robust set of predefined slide layouts, there are times when these default options don’t suit your specific content needs. On iPad, you can customize individual slide layouts manually to better structure your presentation without needing full access to the Slide Master (which is only available on desktop). The process involves using the Insert, Arrange, and Format tools creatively to design each slide’s structure according to your needs.
To begin customizing, start with a blank slide or one with minimal layout elements. Navigate to Insert > Text Box to create custom headings, subheadings, or body text areas. You can place multiple text boxes in any arrangement: side-by-side columns, stacked headers, or overlapping labels. Text boxes can be freely moved using drag-and-drop and resized with the corner handles. Tap and hold a text box to access Arrange > Align options, allowing you to align objects to each other or to the center/margins of the slide. This helps in maintaining visual balance.
Similarly, use Insert > Shapes to create containers or design elements that serve as background blocks for your text. For example, a rounded rectangle with a contrasting fill color behind a text box can improve readability and define content sections. You can then group the text and shape using Group under the Arrange tab to move them as a single unit.
To mimic a multi-column layout (since PowerPoint for iPad doesn’t support column formatting inside text boxes), use multiple text boxes aligned horizontally, spaced evenly using Distribute Horizontally. The same principle applies if you need to place multiple images or infographics side by side; align and space them manually.
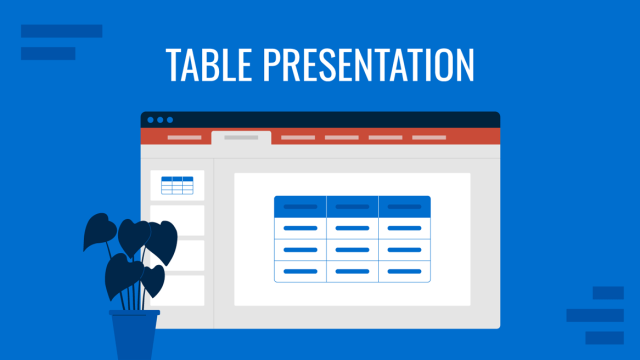
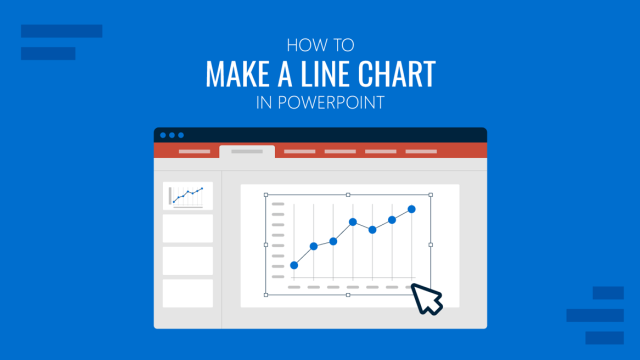
Inserting Charts and Tables
To visualize data, insert charts via Insert > Chart. Choose from various types: column, line, pie, bar, area, scatter, etc. A sample chart will appear, along with an editable data table.
Tap on the chart and select Edit Data to modify values. You can change chart styles and colors using the Chart tab, where you’ll find options like chart layout, legend position, axis labels, and more.
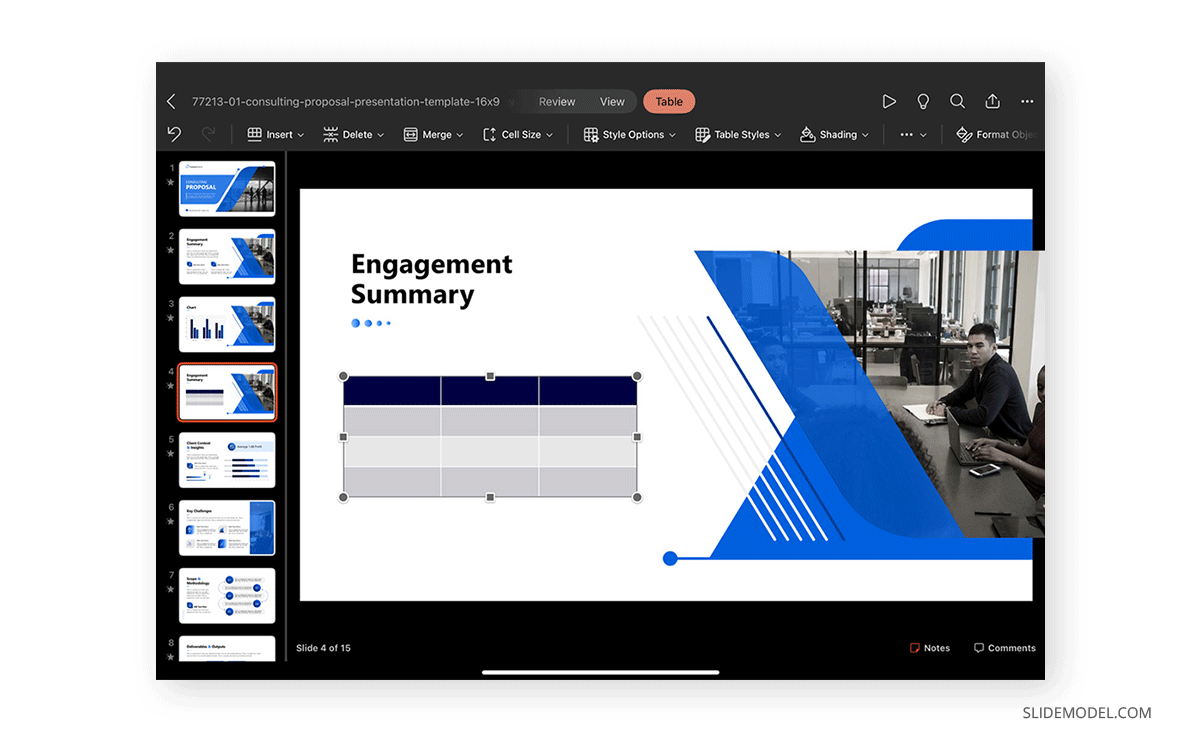
For tabular data, go to Insert > Table, then select the number of rows and columns. Tap within each cell to enter data. You can format the table using the Table Design tab, adjusting header styles, banded rows, borders, and fill color. Tables should be used sparingly and only when information must be read row by row—otherwise, use bullet points or visuals.
Adding Transitions and Animations
Transitions control how one slide leads to another. Tap a slide in the navigator, then go to Transitions in the ribbon. Select from options like Fade, Push, Wipe, or Morph. Adjust the duration and whether it occurs automatically or on tap. Keep transitions minimal—too many effects distract from the content.
Animations affect how objects appear on a single slide. Select an object, then go to Animations and tap Add Animation. You can choose between:
- Entrance (e.g., Fade In)
- Emphasis (e.g., Grow/Shrink)
- Exit (e.g., Fade Out)
- Motion Paths (e.g., Fly In from bottom)
Tap the Animation Pane to reorder or preview effects. Ideally, limit animations to one or two per slide and use them to guide focus, not decorate.
Adding Notes and Preparing for Presentation
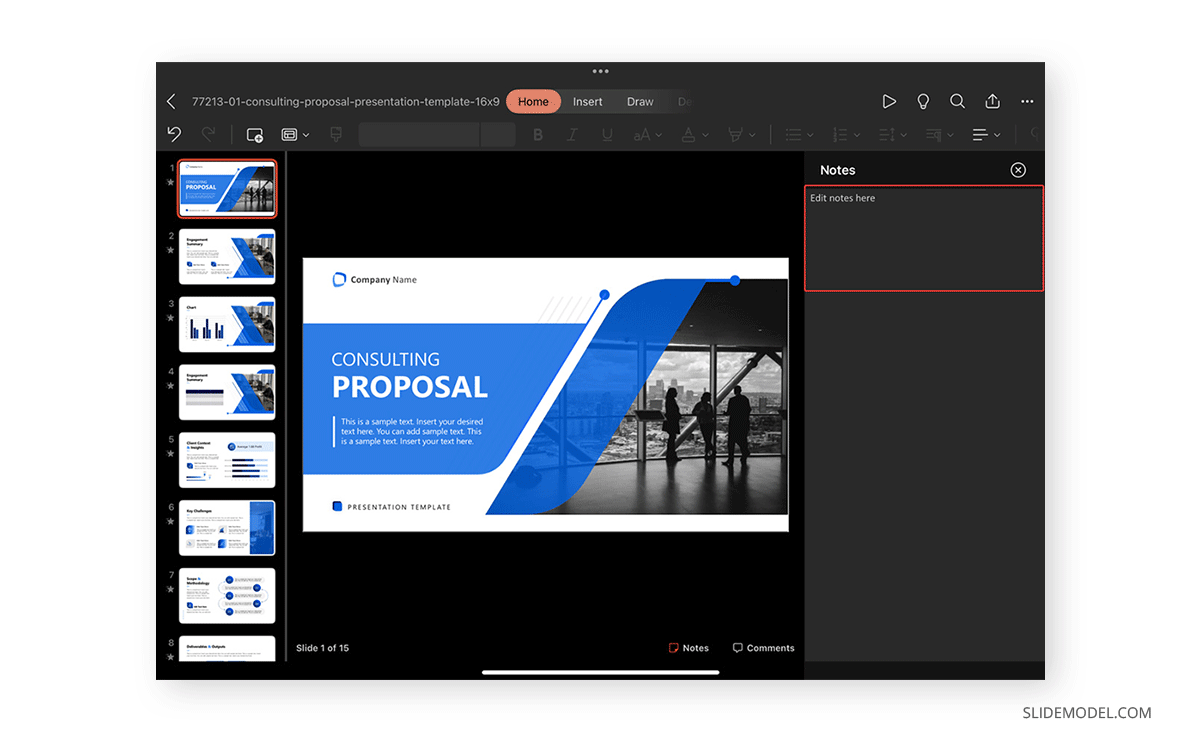
Tap the Notes icon (at the bottom of the slide editor) to add speaker notes. These are not visible during the presentation but help guide your speech. Use this space to list key points, timing cues, or data you want to mention verbally.
To preview how your slides will appear during a presentation, tap Slide Show > From Beginning or From Current Slide. If connected to an external display, your iPad can show speaker notes while the display shows only the slides. This dual-screen feature requires using Presenter View, accessible from the Slide Show settings.
Using the Apple Pencil for Annotations
The Apple Pencil provides a powerful and intuitive way to annotate, sketch, or highlight information directly within PowerPoint on iPad. It enhances both the slide creation process and live presentations, especially for teaching, design critiques, or brainstorming sessions where visual markup adds clarity.
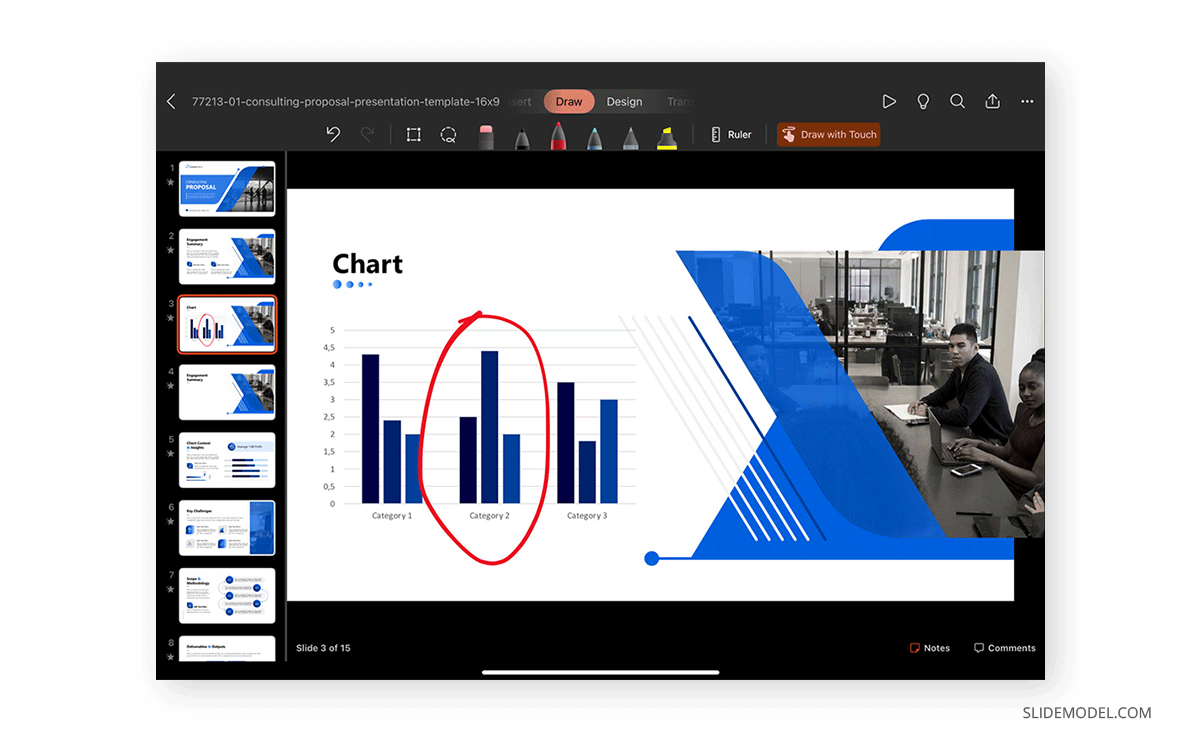
To begin using the Apple Pencil, tap the Draw tab on the top ribbon. If you don’t see the Draw tab, enable it by tapping the three-dot menu (more options) and activating it in the toolbar settings. Once active, the Draw tab reveals several pen tools, including Pen, Pencil, Highlighter, Eraser, Lasso Select, and color/size controls.
Each pen tool offers different tactile feedback. The Pen creates smooth, consistent lines, ideal for underlining or writing. The Pencil mimics a graphite texture with pressure sensitivity, useful for sketching. The Highlighter lays a semi-transparent color on top of the content to emphasize important elements. Select the desired tool and simply write or draw anywhere on the slide using your Apple Pencil.
You can adjust the ink color by tapping the current color and choosing from preset hues or using the custom color picker. Adjust thickness to increase or decrease stroke width, which helps differentiate between annotations (e.g., using thicker strokes for borders and thinner lines for notes).
Annotations can be made in Edit Mode or Slide Show Mode. In Edit Mode, they are persistent and become part of the slide. This is ideal when you want to embed handwritten annotations or sketch-style diagrams. In Slide Show Mode, annotations are temporary unless explicitly saved. During a presentation, tap the pen icon in the upper-right and choose your tool to draw on-screen. This feature is useful for live emphasis or explaining dynamic concepts.
Use the Lasso Select tool to move, delete, or resize handwritten ink. Simply circle the ink with the lasso, then drag, delete, or modify it. You can also convert ink to text or shapes, if available, by selecting it and choosing Convert to Text or Convert to Shape, depending on context. This is particularly helpful for turning rough sketches into polished graphics.
PowerPoint Rehearsal Report on iPad
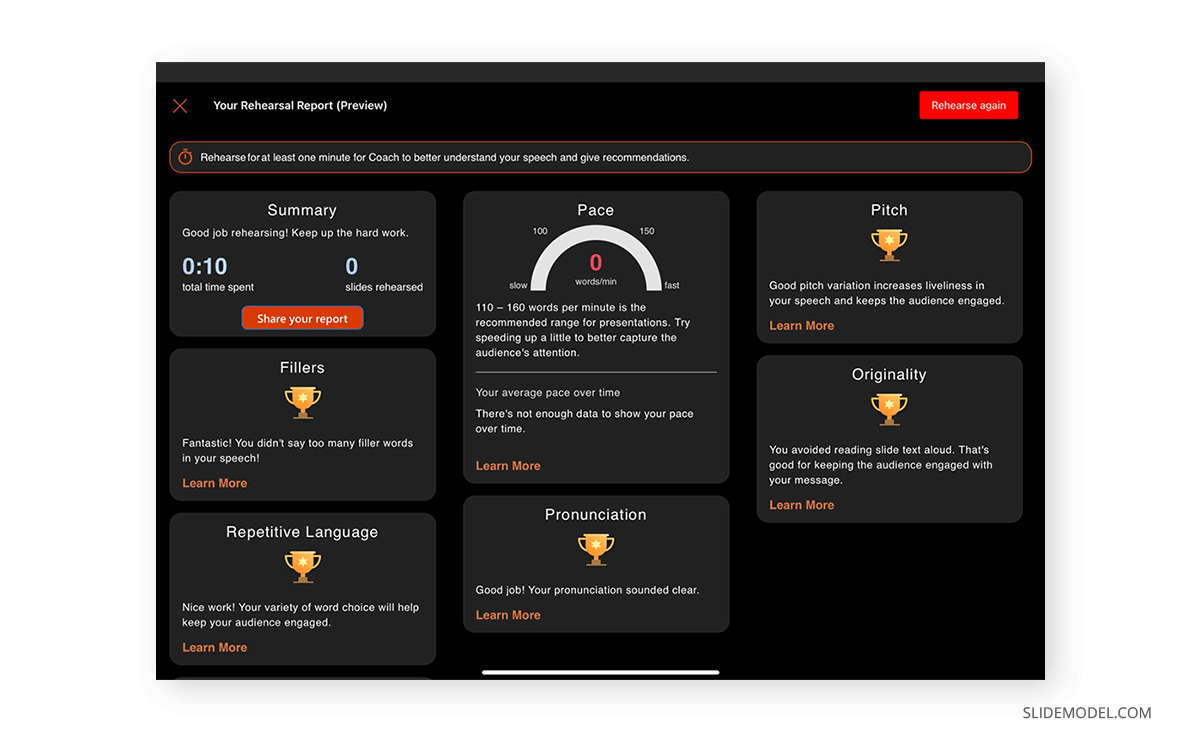
PowerPoint for iPad includes a Rehearse with Coach feature (when using a Microsoft 365 account) that provides a Rehearsal Report, an AI-powered feedback system designed to help you improve your speaking style, pacing, and delivery before a live presentation. This tool mimics a practice run and offers detailed analytics at the end of your rehearsal session.
To use this feature, open your presentation and go to Slide Show > Rehearse with Coach or from the three dots in the Ribbon. When you tap this, the app enters a simulation of presentation mode, and your iPad’s microphone activates to capture your speech. You’ll see your slides in full screen and a small Coach icon at the bottom or top corner.
As you speak through the presentation, PowerPoint tracks several key elements:
- Filler words: It notes excessive use of words like “um,” “ah,” “like.”
- Pacing: It monitors whether you speak too quickly or too slowly.
- Repetitive phrases: It flags if you say the same phrase or sentence structure multiple times.
- Originality: If you read directly from the slide, the Coach prompts you to paraphrase.
- Inclusivity and tone: It may suggest more neutral language or identify problematic phrasing.
Try to rehearse as if delivering the real presentation, making full use of speaker notes if needed. PowerPoint will not interrupt you unless a major issue is detected. At the end of the session, a Rehearsal Report appears, summarizing your performance with metrics and suggestions.

This report is divided into clear sections: Pacing, Monotone Use, Slide Reading, Filler Word Frequency, and Speech Originality. Use these insights to fine-tune your delivery style. If the app indicates that you rely too much on reading, practice internalizing your content and speaking from memory using slide prompts.
The feature works best in a quiet environment with clear voice projection. It does not require an internet connection to function, but syncing your rehearsal data to OneDrive requires connectivity.
PowerPoint Accessibility Assistant on iPad
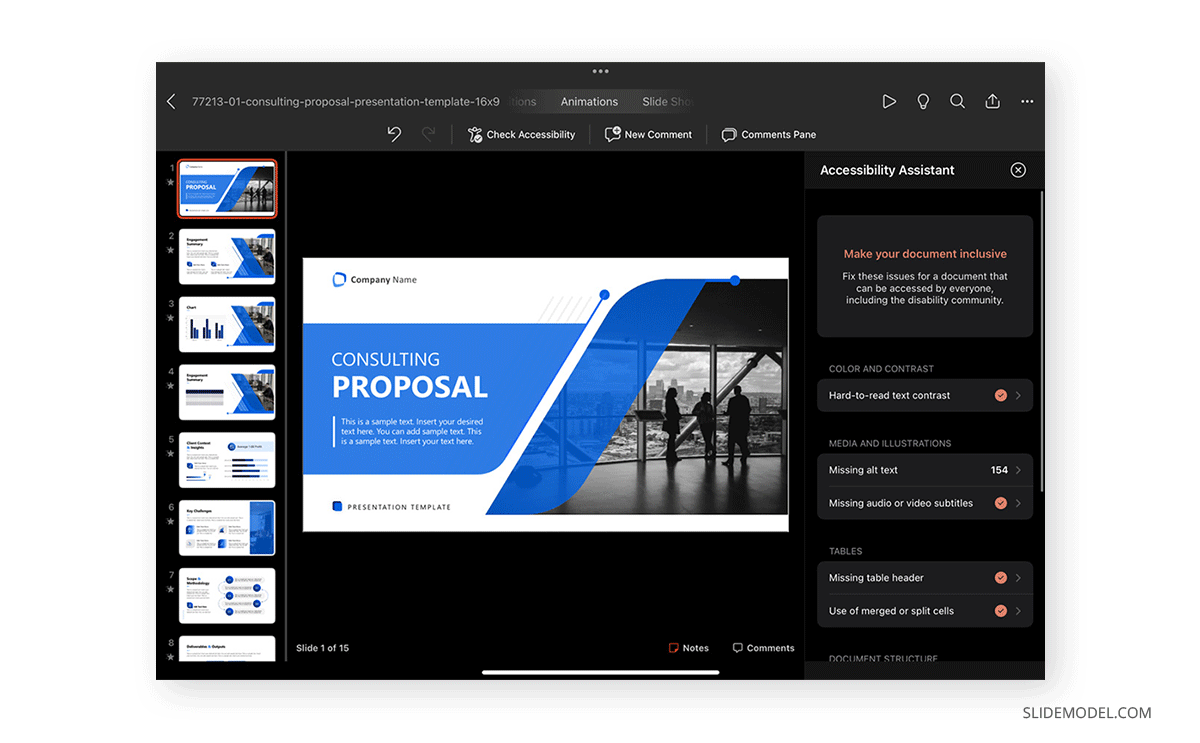
PowerPoint for iPad includes a built-in Accessibility Checker that evaluates your slides to ensure they are usable by all audiences, including those with visual or cognitive impairments. This tool helps identify and fix common accessibility issues such as missing alt text, poor color contrast, and reading order problems. While not as robust as the desktop version, the iPad’s checker still provides essential coverage for basic compliance with accessibility standards.
To run the accessibility checker, open your presentation and tap the Review tab in the ribbon. If available (Microsoft 365 required), tap Check Accessibility. A sidebar appears, listing accessibility issues found throughout your slides. Each issue is categorized (e.g., Missing Alt Text, Hard-to-Read Text Contrast, Non-Descriptive Slide Titles), and tapping on an item will take you directly to the relevant slide and object.
One of the most common accessibility issues is missing alternative text (alt text) for images, shapes, icons, or charts. To add or edit alt text on iPad, tap the object, go to Format > Alt Text, and write a brief description. This helps screen reader users understand the content of the image. Keep descriptions concise and focused on the purpose of the image rather than its literal appearance.
Check our article on accessibility for presentations to get insights on which aspects you should be mindful of if your aim is to make the slides accessible.
Saving and Exporting
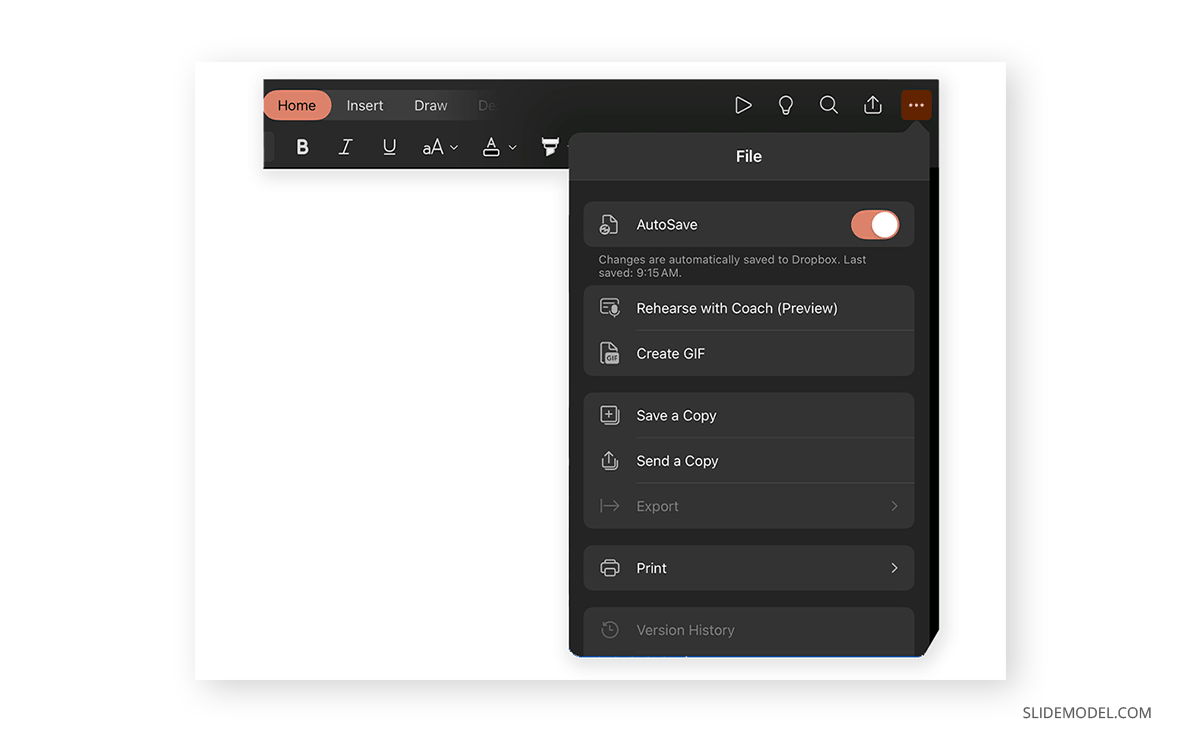
Your presentation is saved automatically if you’re working from OneDrive. Otherwise, tap the File icon (folder) > Save As to save locally or choose a cloud storage location.
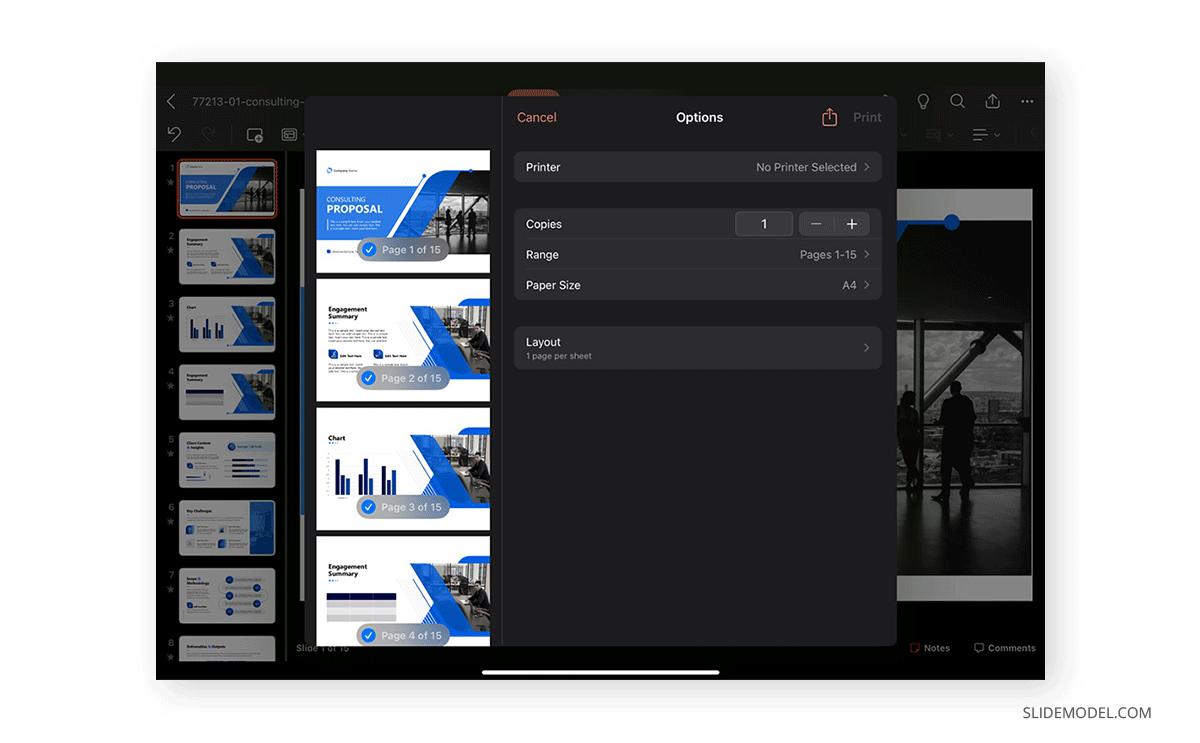
To export, go to File > Export or tap the three dots and select Export to PDF, Send a Copy, or Print. You can export as:
- PowerPoint (.pptx) for editing
- PDF for easy sharing or printing
- Images to export each slide as a PNG or JPEG
When sharing, tap Share in the top-right corner to send via email, AirDrop, or any installed messaging app. You can also collaborate in real time by sharing a link via OneDrive and allowing others to view or edit.
Slide Sorter View on iPad
The Slide Sorter View is a tool for managing the structure, flow, and sequencing of your presentation. Unlike the traditional thumbnail sidebar, Slide Sorter provides a zoomed-out, grid-based overview of all your slides, making it easier to rearrange, duplicate, or delete multiple slides at once. On desktop, this feature is explicitly labeled as a view mode. On the iPad version of PowerPoint, Slide Sorter isn’t a dedicated “mode” but is instead integrated into the thumbnail panel on the left and enhanced by using multitouch gestures and contextual slide controls.
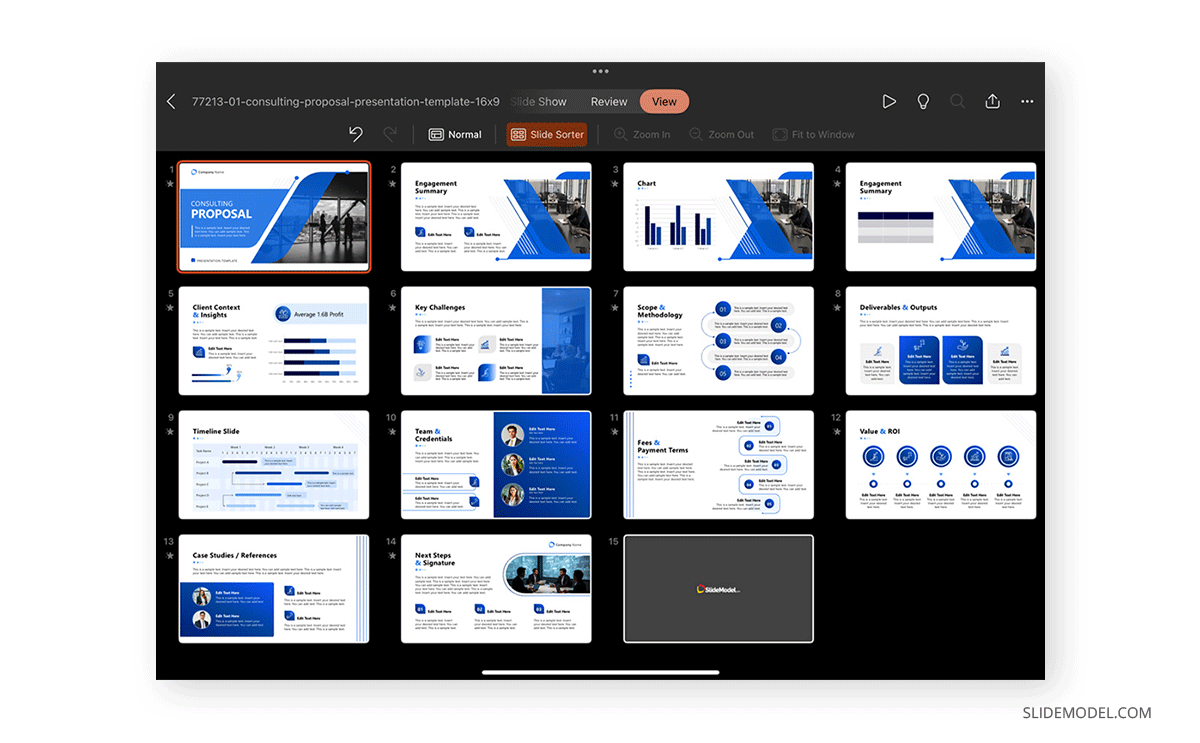
To access and simulate a Slide Sorter experience on iPad, begin by ensuring the thumbnail navigator panel is visible. If it’s collapsed, tap the slide icon in the top-left corner of the screen or swipe in from the left edge. You’ll see a grid of all slides in your presentation, each displayed as a miniature preview with its layout and design intact.
The iPad interface allows slide sorting through drag-and-drop gestures. Simply tap and hold a slide thumbnail until it detaches slightly, then drag it to a new position within the list. PowerPoint automatically adjusts the numbering of slides based on their new positions. This is the primary method for reordering slides during slide planning or revision stages.
Presenting From the iPad
To present directly from the iPad, tap Slide Show and swipe left or right to navigate. Use the laser pointer tool by tapping the pen icon in the top-right, selecting the laser or pen, and drawing over the slide. These marks are temporary and won’t save unless specified.
Suppose you’re connecting to an external display via AirPlay or HDMI. In that case, PowerPoint automatically enters dual-display mode, where you can see notes and navigation tools on your iPad while the audience sees only the slides. Practice beforehand to familiarize yourself with touch navigation during presentation mode.
FAQs
Can I use PowerPoint on an iPad without a Microsoft 365 subscription?
Yes, you can use PowerPoint on an iPad without a Microsoft 365 subscription, but functionality is limited. You can view, create, and edit basic presentations for free if your device screen is under 10.1 inches. However, premium features like advanced design ideas, custom fonts, version history, and export to PDF or video require a Microsoft 365 subscription.
Is it possible to use custom fonts in PowerPoint on iPad?
PowerPoint on iPad does not support uploading or installing third-party fonts. It only uses built-in fonts and those included in Microsoft 365 templates. If your presentation uses a desktop font that isn’t available on iPad, it may default to a substitute font, which can affect layout and design.
Can I use an Apple Pencil to write or draw in PowerPoint on iPad?
Yes. With the Apple Pencil, you can annotate slides using the Draw tab. You can select pens, highlighters, and erasers, and adjust ink color and thickness. You can also use Lasso Select to move or delete ink, and convert ink to shapes or text in supported contexts.
Is PowerPoint on iPad compatible with OneDrive and other cloud services?
Yes. PowerPoint on iPad integrates with OneDrive, Dropbox, Google Drive, and iCloud Drive. You can open, save, and share presentations directly to and from cloud services. Signing in with a Microsoft account is required to enable OneDrive sync.
Can I collaborate with others in real-time on an iPad presentation?
Yes. Tap Share in the upper-right corner, choose Invite People or Copy Link, and assign edit or view-only permissions. Collaborators with a Microsoft account can edit the file simultaneously in PowerPoint across any device, including desktops and mobile.
Is Slide Master editing available on PowerPoint for iPad?
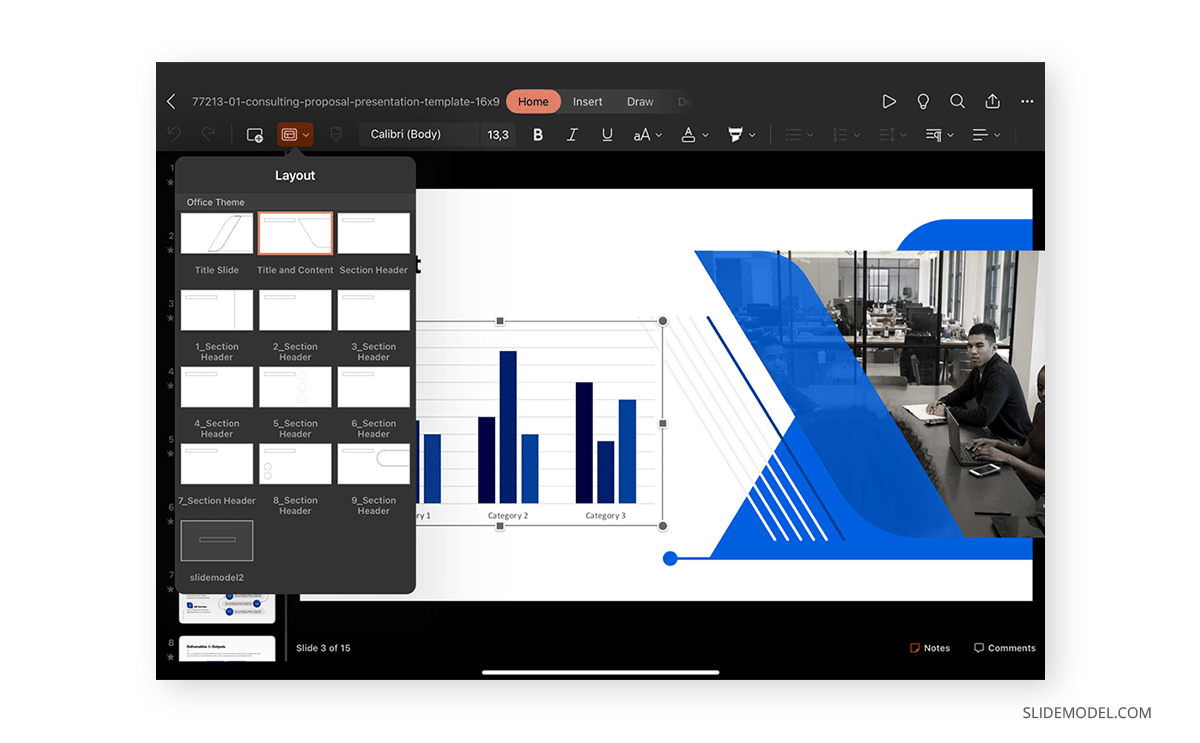
Not fully. PowerPoint for iPad doesn’t support direct editing of Slide Masters. However, you can apply existing master layouts from templates and modify individual slides manually by customizing layouts, colors, and fonts.