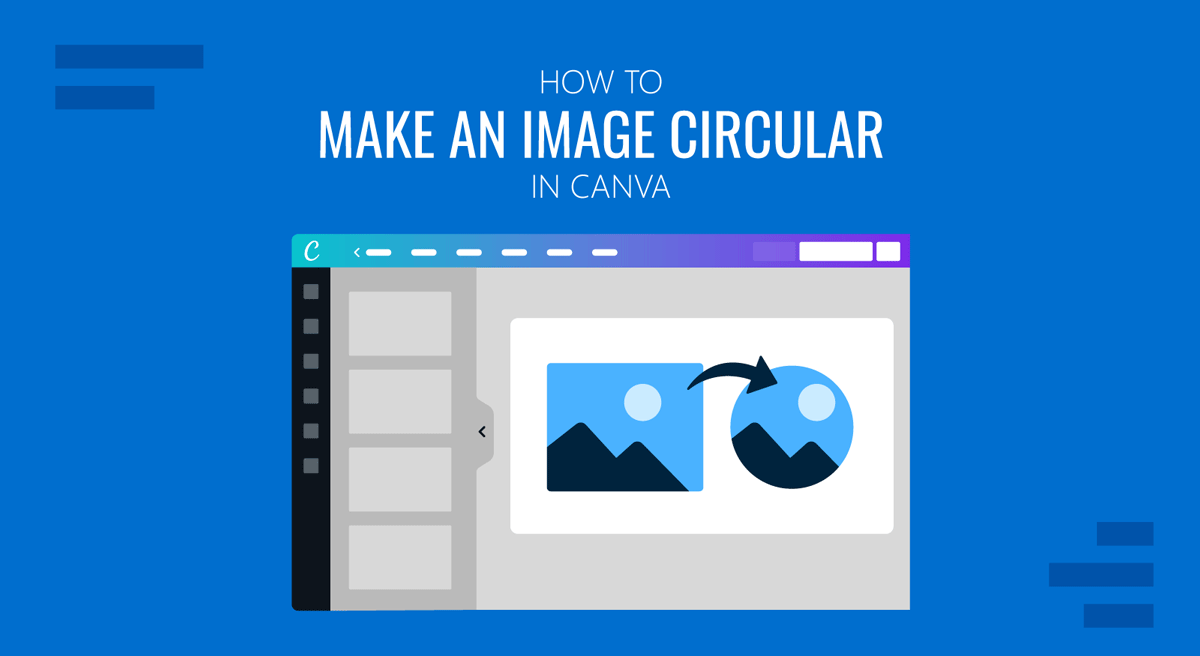
Images play an important role in presentations, marketing materials, and social media graphics. Sometimes, a simple rectangular image doesn’t match the visual style you want. Therefore, images in other shape types, such as circular images, are commonly used for profile photos, team introductions, testimonials, and modern slide layouts. Canva provides several easy ways to create this effect. In this tutorial, we’ll walk you through the most effective methods to create circular images in Canva.
Why Use Circular Images in Canva Designs
Circular images are popular in presentations and visual design because they create a clean and eye-catching appearance. Compared to traditional rectangular images, circles naturally draw attention and help organize visual information. For example, circular images are often used for team member profiles in presentations, speaker photos in conference slides, testimonial slides, social media profile graphics, and product highlights and feature callouts. Using circular images can also help maintain consistency across slides and layouts, especially when presenting people, logos, or icons.
How to Make a Circular Image Frame Canva Design
If you’re wondering how to make an image circular in Canva, there are multiple approaches depending on the design you’re working on. Canva allows you to crop images into circles using frames, apply circular masks, or manually crop images to achieve a rounded look.
Method 1: Use a Circular Image Frame in Canva
The easiest way to create a circular image is by using a frame in Canva. Frames allow you to drop images into predefined shapes, including circles.
Step 1: Open your presentation, social media graphic, or design project in Canva.
Step 2: On the left toolbar, click Elements.
Step 3: In the search bar, type “circle frame” to search for circular frames.
Step 4: Click the circular frame and drag it onto your canvas.
Step 5: Drag an image from your uploads or photos onto the frame. Canva will automatically crop the image into a circular shape.
Step 6: Double-click the image to reposition or zoom the photo within the circle.
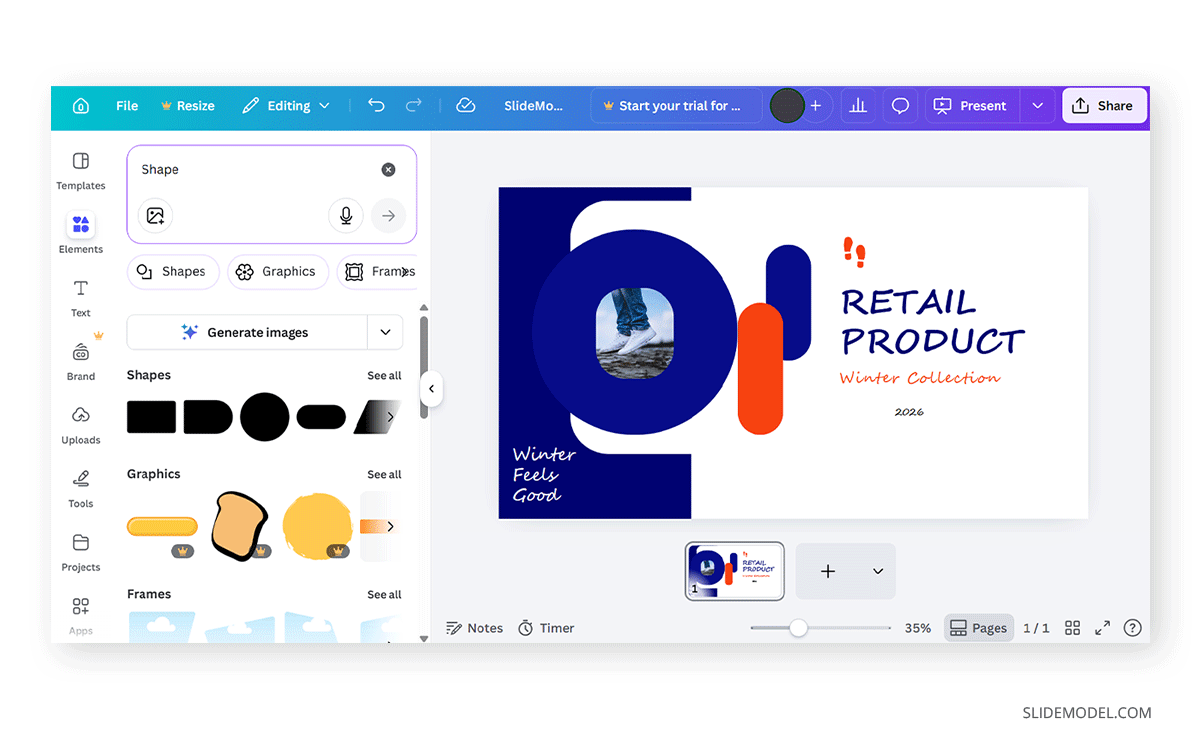
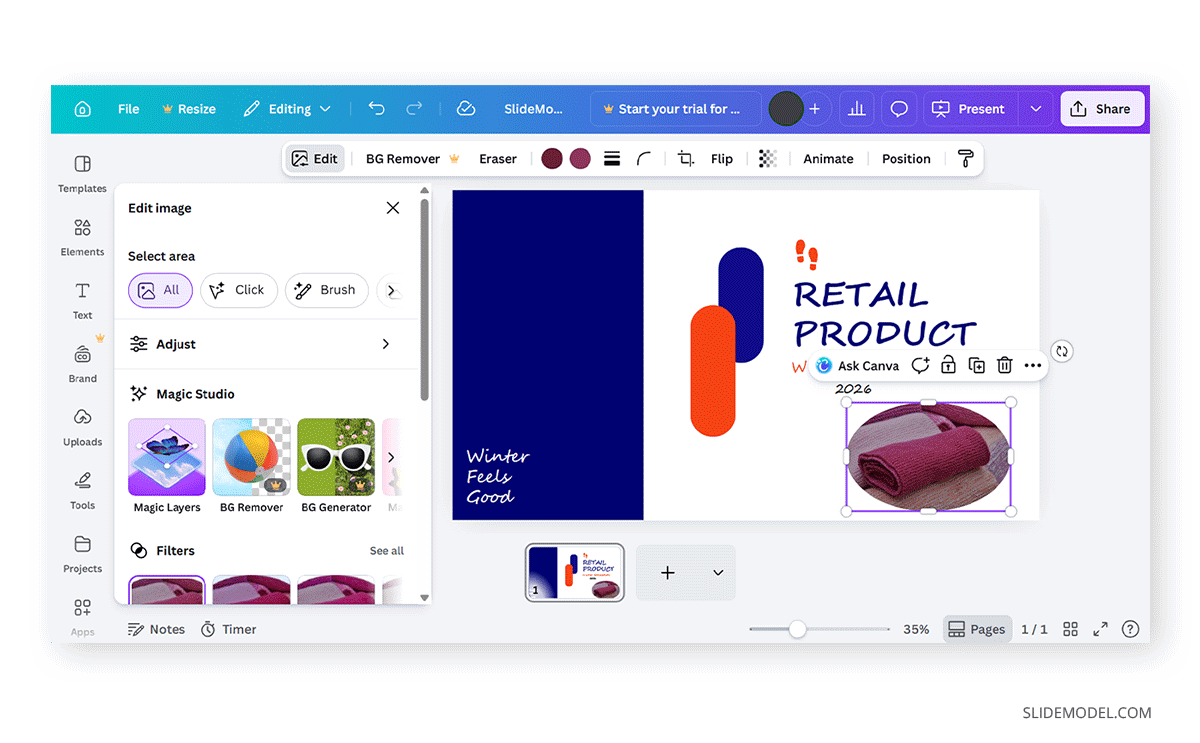
In the example below, we used the Retail Product PowerPoint Template to create a cover page for a presentation on Canva for a product catalog slide deck. Keep in mind that, as we mentioned in our article on Canva presentations, not all fonts are available in Canva, so odd conversions may happen as shown here. You can swap the font to any other of your preference among free (or paid, if you own a Canva subscription)

Method 2: Create a Circular Image Mask in Canva
Another way to make an image circular is by using a circular image mask in Canva. Masks work similarly to frames but allow more flexibility when layering shapes and effects. This technique is useful when creating layered designs or combining circular shapes with backgrounds.
Step 1: Upload or drag your image onto the canvas.
Step 2: Go to Elements -> Shapes and select a Circle shape.
Step 3: Place the circle over the area of the image you want to keep visible.
Step 4: Drag to position the circle above the image to define the visible area.
Step 5: Select the image, then choose Position -> To Front.
Step 6: Resize and reposition the image so the part you want appears within the circular area, then select Corner Rounding to round the image’s edges.
Step 7: Crop the image to fit within the circle. Adjust the image until the subject fits naturally inside the circular area.
The example below shows an image placed over a circular shape in Canva with rounded corners, cropped to match the shape. This approach is often used when combining images with background elements or decorative shapes, such as when you want to create a circular image mask Canva design.
How to Adjust a Circular Image in Canva
How to Edit a Circular Image in a Frame
Once you create a circular image or upload one to your canvas, you can still edit and customize it in several ways.
Step 1: Click the frame, then drag the corner handles to increase or decrease the circle’s size.
Step 2: Double-click the image to move it within the circular frame.
How to Edit a Circular Image Placed on the Canvas
You can also place a standalone circular image on your canvas and edit it as needed.
Step 1: Place a circular image on the canvas.
Step 2: Select Edit to adjust the image style. You can enhance circular images by adding borders and adjusting their color and thickness. To make circular images more visually appealing, you can apply effects such as shadows, glows, or soft edges.
Design Tips for Circular Images
When creating circular images in Canva, a few simple design practices can improve the final result and help you avoid pitfalls.
Use High-resolution Images
Image quality becomes more noticeable when photos are cropped into smaller shapes like circles. Low-resolution or blurry images may look acceptable at larger sizes but can appear pixelated when resized. Using high-quality images ensures that the subject remains sharp and clear, especially in presentations where visuals are displayed on large screens.
Center Important Elements
When placing an image inside a circular frame, make sure the most important part of the image remains centered. For example, if you’re using a headshot, the face should sit comfortably within the frame without being cropped too tightly. Double-clicking the image within the frame lets you reposition and zoom it until the subject fits naturally within the circular area.
Maintain Consistent Sizes
If your design includes multiple circular images, such as team member photos or product highlights, keep them the same size. Consistent sizing helps maintain visual balance and prevents the layout from looking uneven. Uniform image sizes also make it easier for the audience to scan the content without distraction.
Use Consistent Spacing
Spacing plays an important role in creating a clean design. When placing several circular images on a slide or graphic, align them evenly and maintain equal spacing between each element. Canva’s alignment and grid tools can help you distribute images evenly, making the layout feel more structured and organized.
Choose Colors Carefully
Adding subtle background shapes or colors behind circular images can help them stand out without overwhelming the design. For example, placing a soft-colored circle or shape behind a profile image can create contrast and highlight the subject. Choosing colors that complement the overall design theme ensures that the circular images blend naturally with the rest of the layout.
Final Words
Learning how to make an image circular in Canva is a simple but very handy design technique. The easiest method is to use a circular image frame in Canva, which automatically crops your image into a circle. For more flexibility, you can experiment with circular image masks in Canva or combine circular shapes with manual cropping. Other than Canva, Google Slides is a commonly used presentation app that is also sometimes used to create designs online. If you would like to learn about making circular images for presentations, marketing materials, or other purposes in Google Slides, see our tutorial about how to make an image circular in Google Slides.