Sometimes you might need to change a PowerPoint shape to reflect changes in a process diagram, such as a flowchart, an infographic, or to customize the look of PowerPoint templates. Instead of removing the slide object to add a different shape, you can quickly change the shape to reflect your desired changes.
How to Use PowerPoint Change Shape
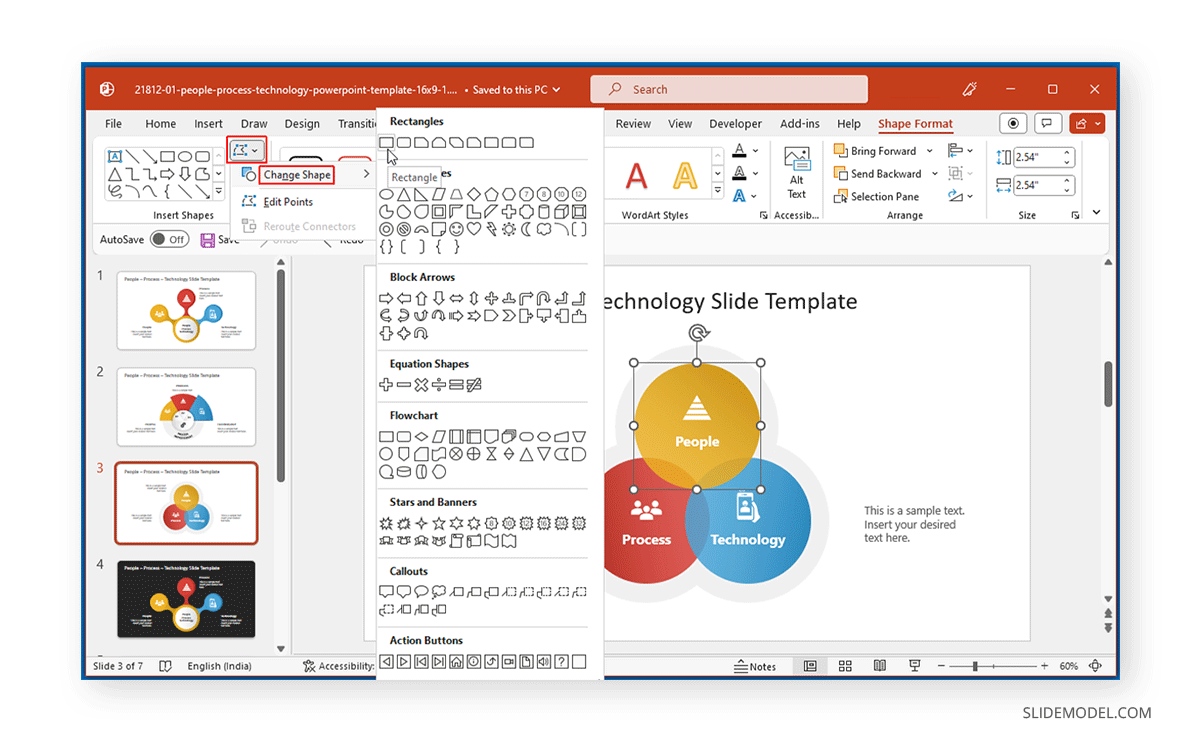
If you are wondering how to change a shape in PowerPoint, Change Shape is a simple option enabling you to switch to a different shape. To change the shape in PPT, select the shape and go to Shape Format.
For this article, we will use the People Process Technology PowerPoint Template to demonstrate how to change a shape in PowerPoint.
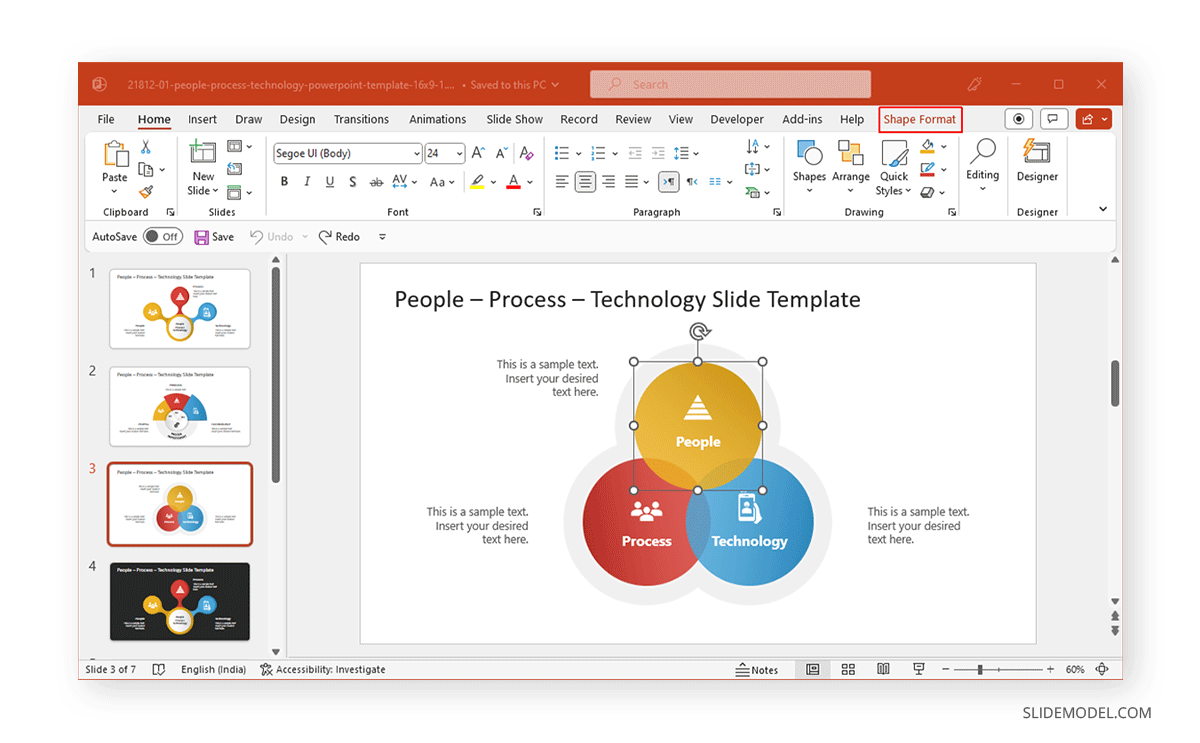
From the Shape Format tab, go to Edit Shape -> Change Shape and select the required shape.
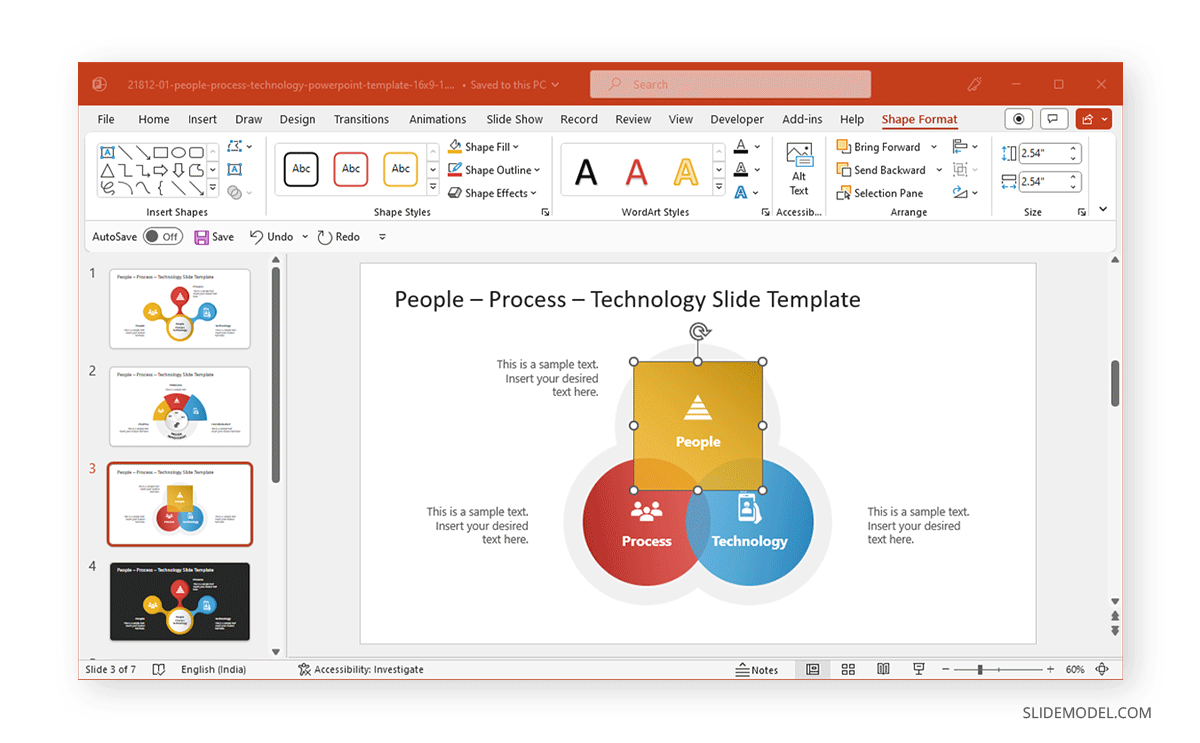
The below example shows a circle changed to a rectangle to transform the look of the slide design via PowerPoint shapes.
Working with Shape Fill and Shape Outline
Sometimes we don’t wish to alter the form but rather the shape style in PowerPoint, and this is where two tools known as Shape Fill and Shape Outline come into play. Start by selecting a shape in PowerPoint.
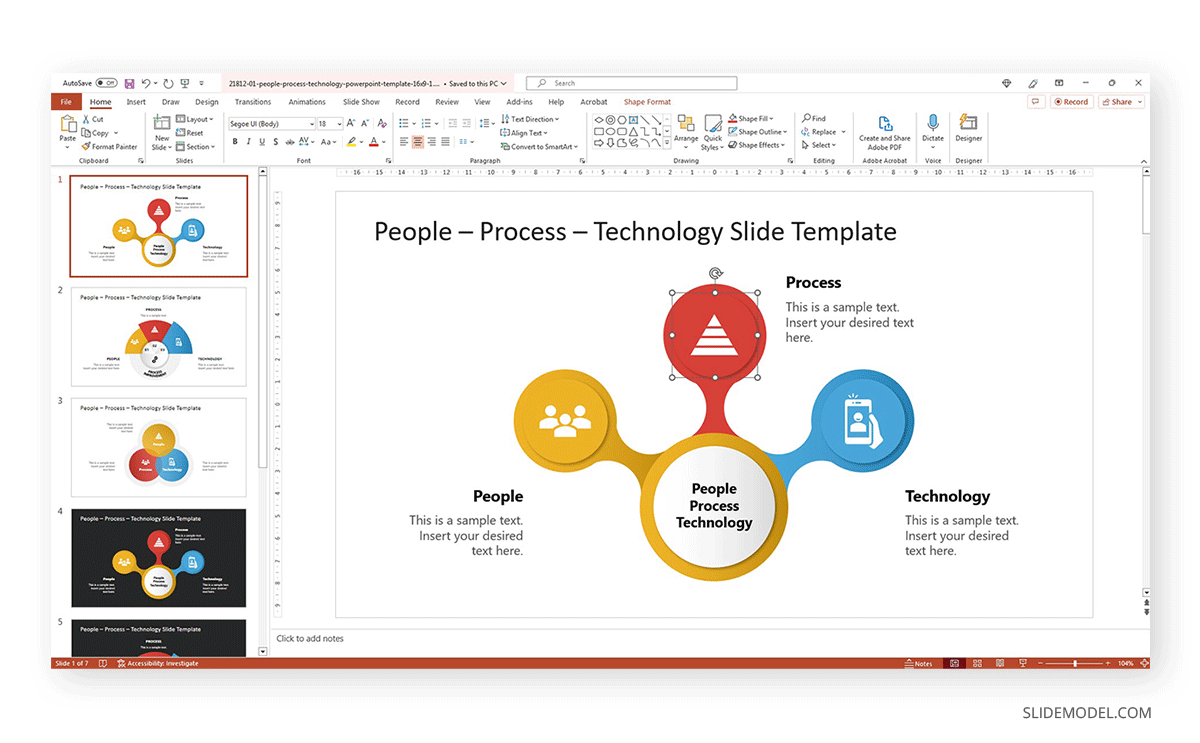
At the Home tab of the Ribbon, locate the two options labeled Shape Fill and Shape Outline. They are contained next to the Quick Styles option. If we want to alter the color of a shape, we use Shape Fill.
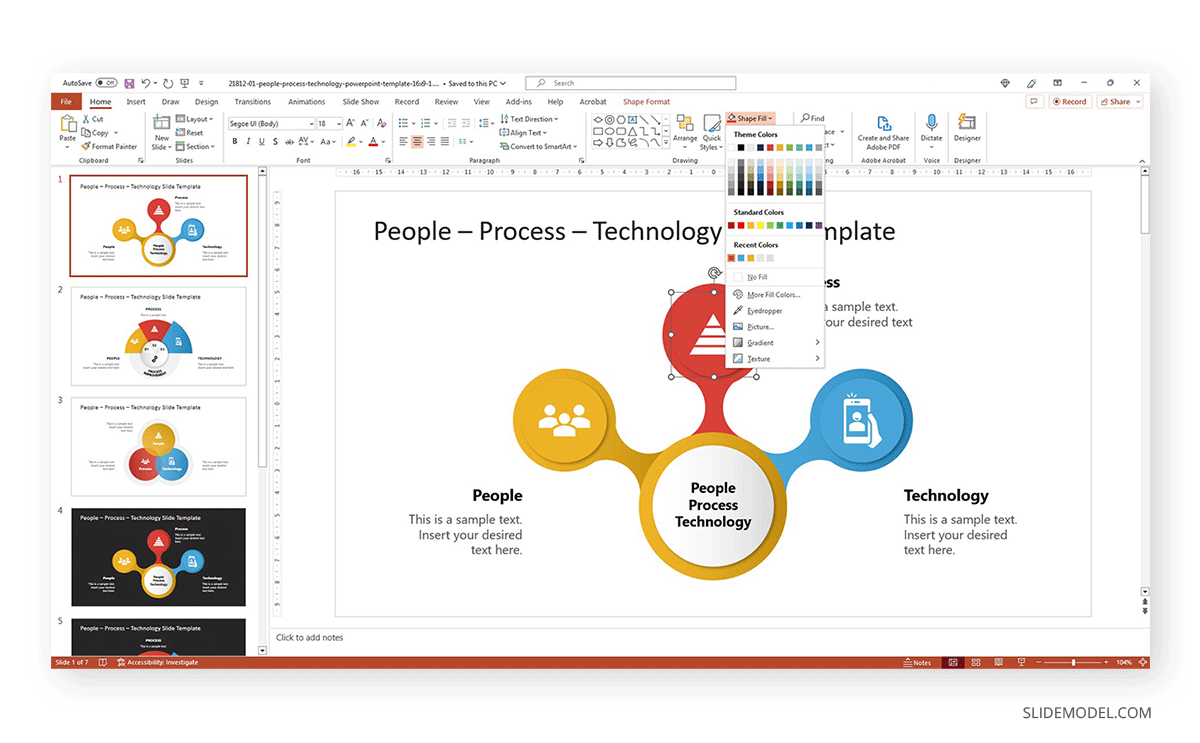
Options for this tool range from using the Eyedropper to mix & match with an existing color (from an image, logo, or another shape) in the slide deck, Picture, to fill the existing shape with a raster image, Gradients, and Textures. In this case, we will apply a contrasting solid color to visualize the change applied quickly.
Then, we can use Shape Outline to alter the vector lines that make up our shape. Say we intend to make them stand out by using a white color.
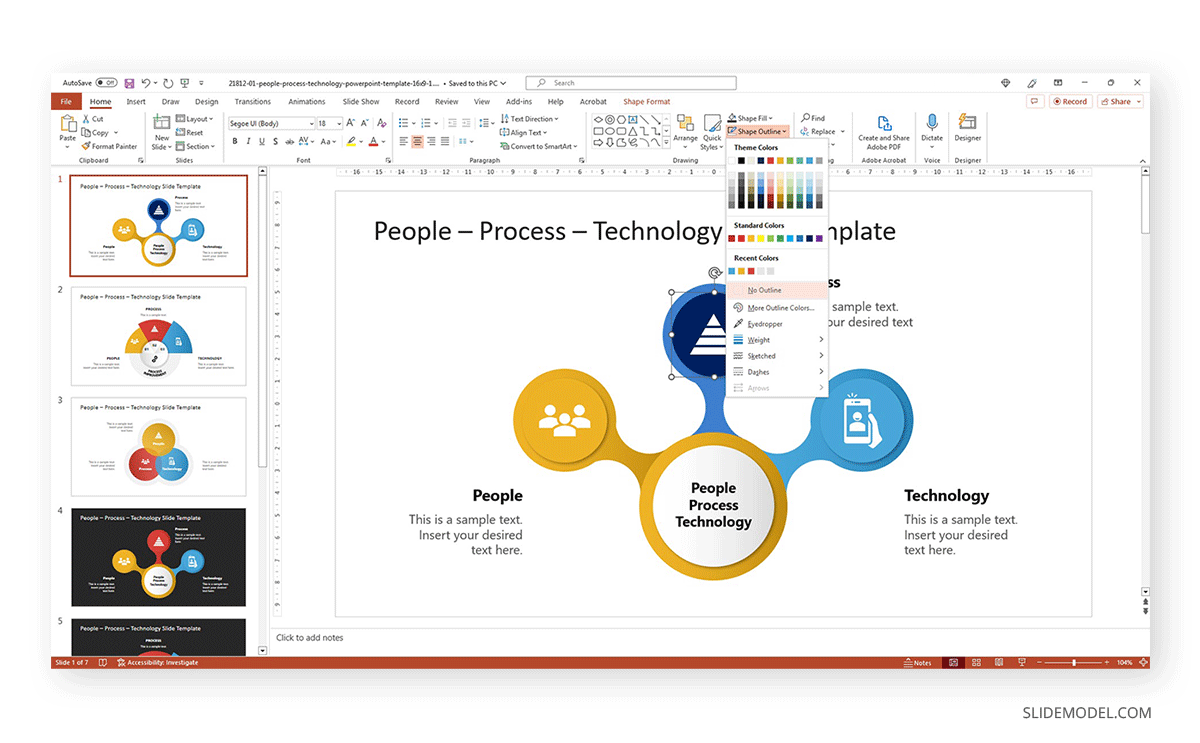
The options available to edit the shape outline in PowerPoint are:
- Solid color: Replaces the color used to build the PowerPoint shape.
- Eyedropper: Just as what happens with Shape Fill, this eyedropper tool serves the purpose of matching colors between elements.
- Weight: One of its most interesting features, this allows us to give a thinner or thicker line to the shape (line weight).
In this case, let’s give the shape a 6pt line weight.

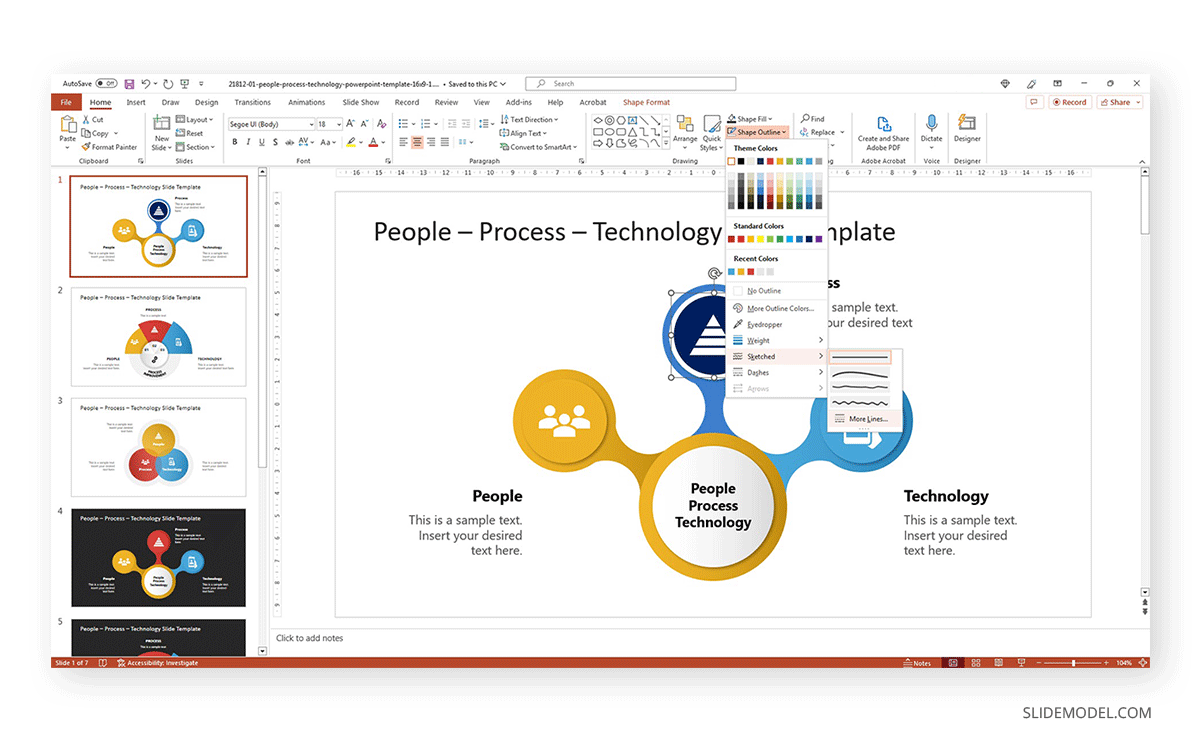
- Sketched: This option allows us to replace the even lines in shapes for freestyle lines that resemble sketched lines. For some shapes, the effect looks appealing, but we strongly advise you to be cautious, as it is easy to go beyond and render a shape looking unprofessional. There is a More Lines option in this submenu, which triggers the Format Shape menu to open.
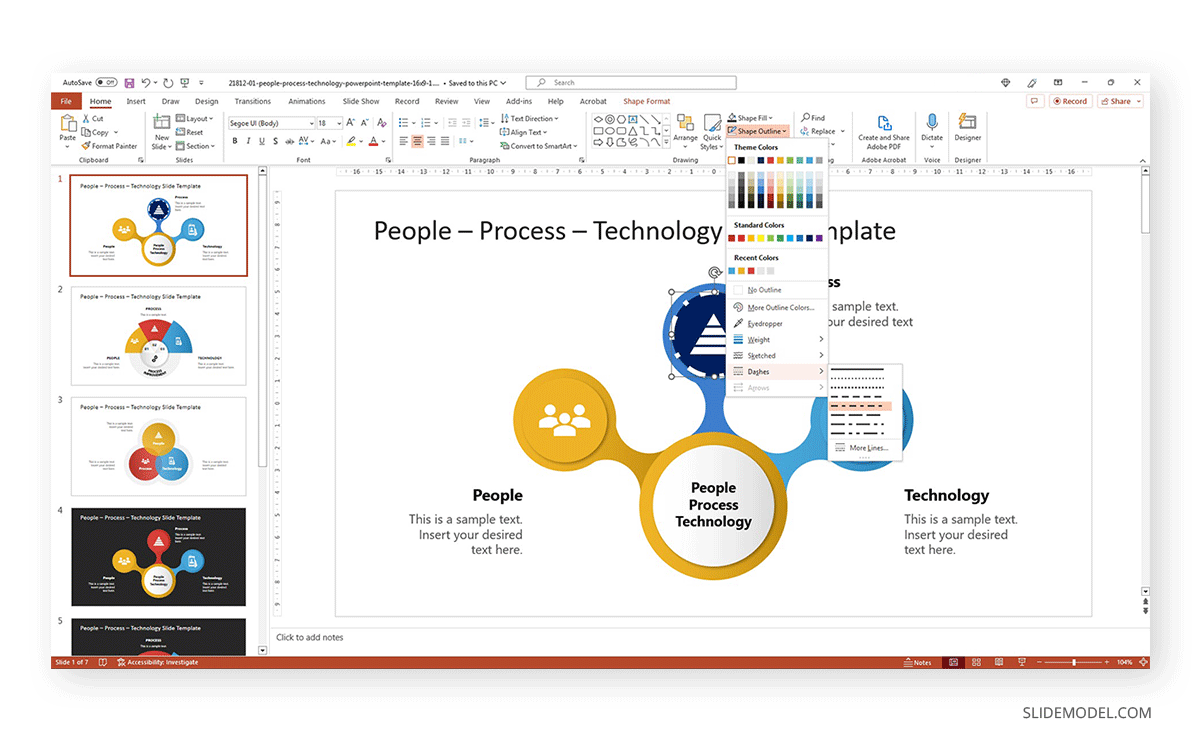
- Dashed: We can replace the original solid line with a series of dots, dashes, dash, and dot combinations. In our example, we will apply one of the dash and dot options.
- Arrows: The final option, arrows, does not work with circular shapes. It allows us to select an arrow start and end format.
Using Shape Effects
Users often ask how they can apply shadows, bevel effects, 3D placement, and more to the shapes they work with in PowerPoint. The answer to that is Shape Effects, a tool located right below Shape Outline.
In this case, we will use common objects from the Drawing box to learn how to change shapes in PPT files.
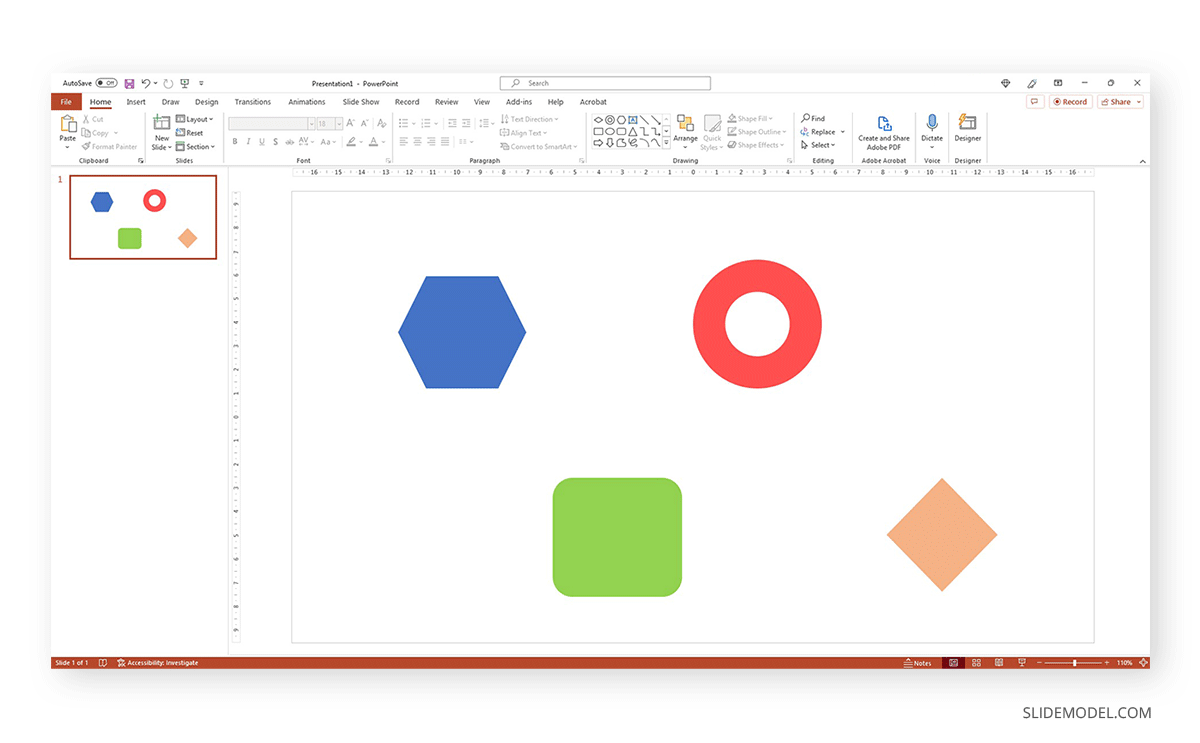
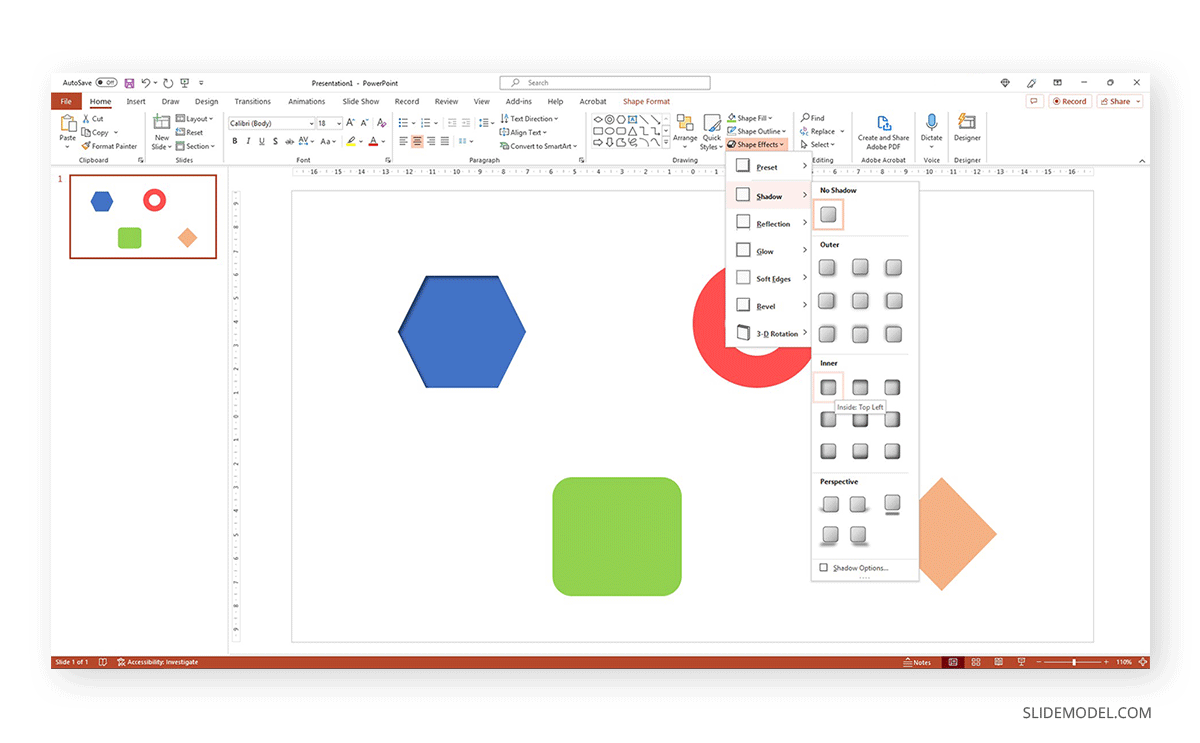
Select the hexagon and go to Shape Effects in the Drawing panel.
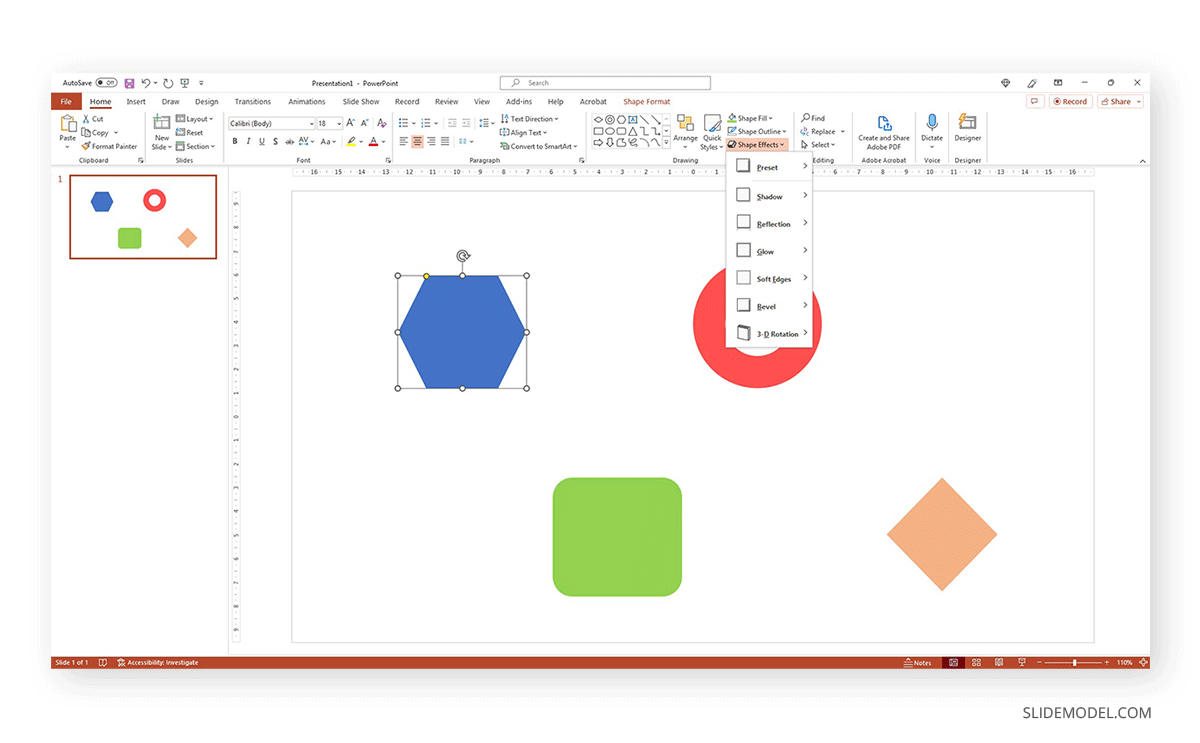
As we can see, there are multiple effects we can apply, and in this case, we opted for an Inner Shadow Effect, so the hexagon looks as if it was internally extruded from the slide.
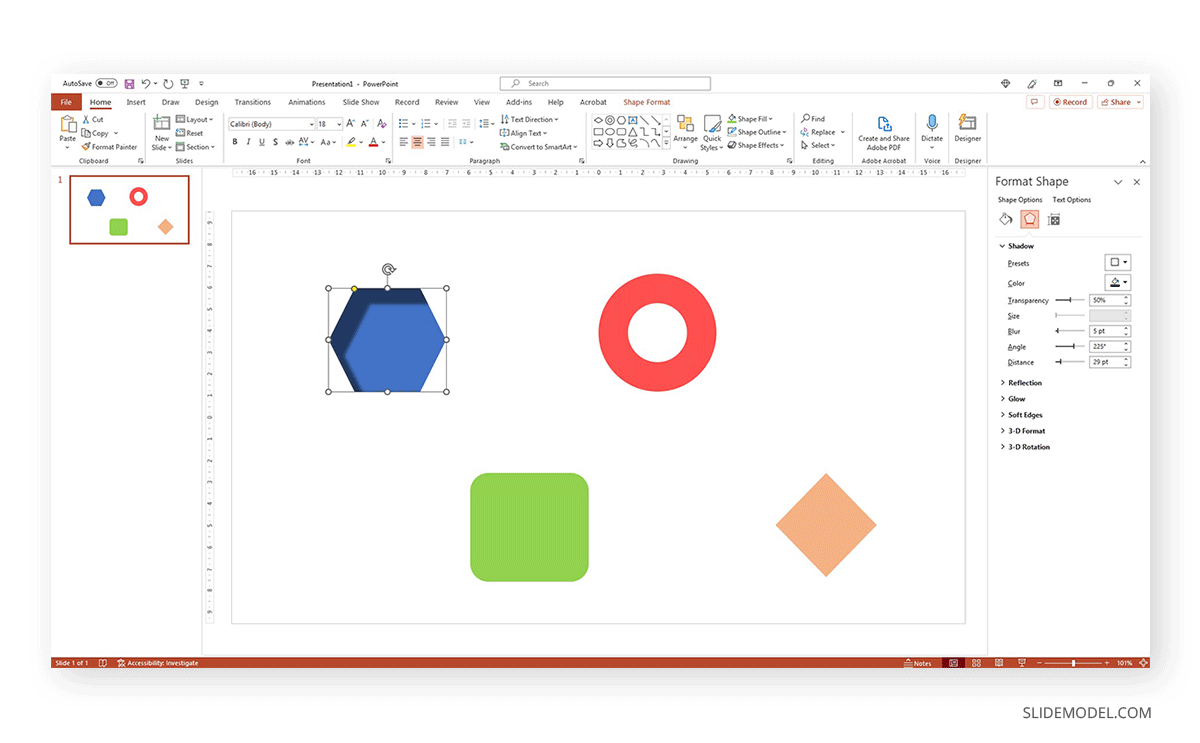
This effect, the intensity, distance, and several other parameters can be altered by clicking Shadow Options, which opens the Format Shape menu. We can exaggerate the effect as much as we please to make it more noticeable, but it’s best to stick to subtle effects for a professional-looking result.
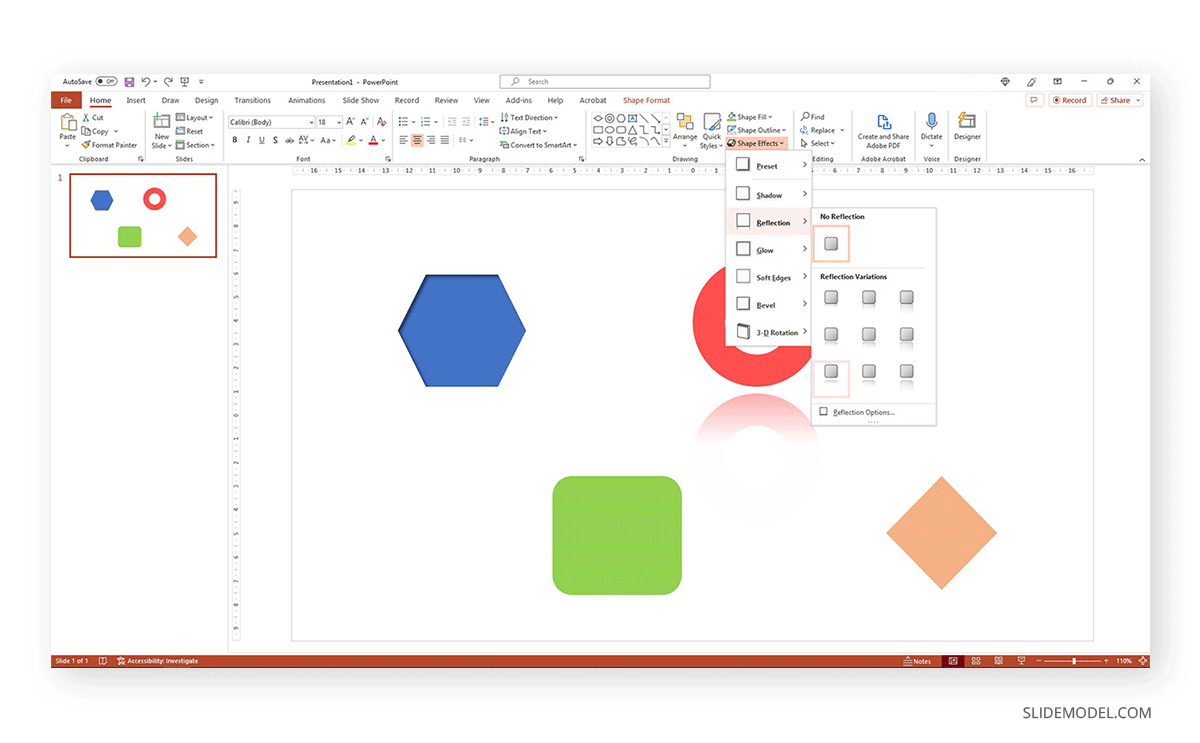
Next is the circular shape. We will apply a Reflection effect to it.
For the square shape, the Bevel effect was the choice.
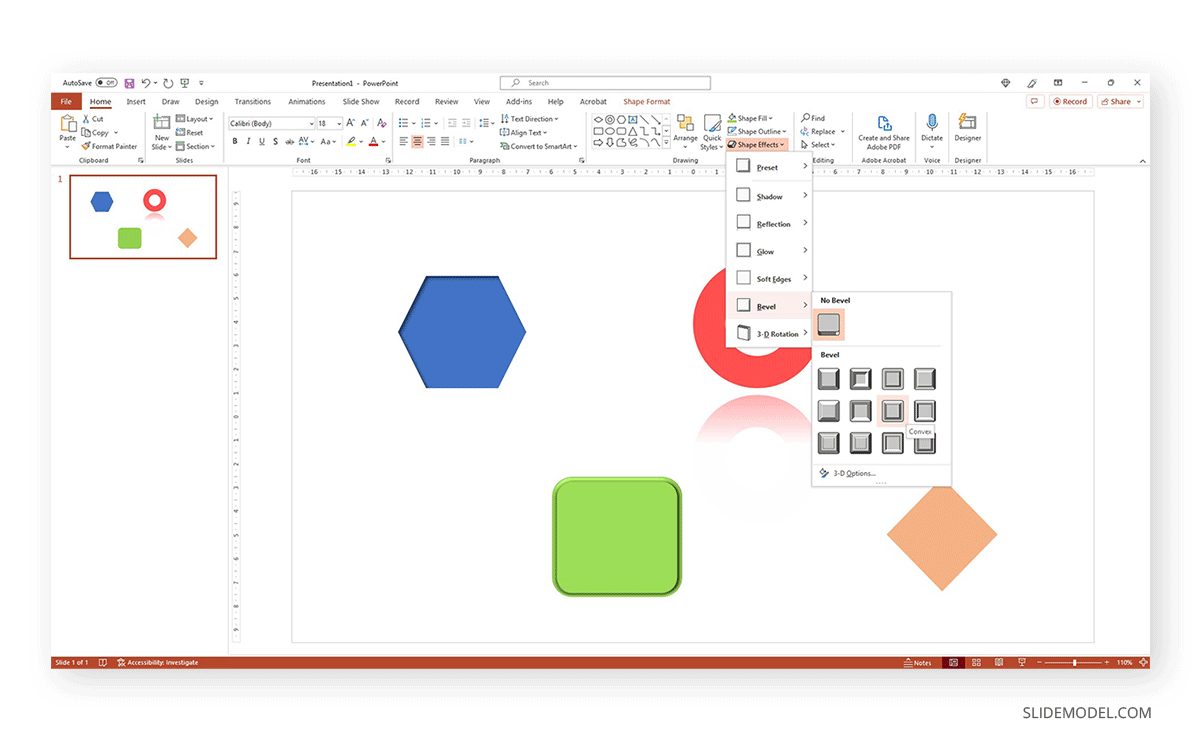
Depending on your shape, some of these bevel effects may look unrealistic; the same happens with the Glow effects. Therefore, work with care when using these tools.
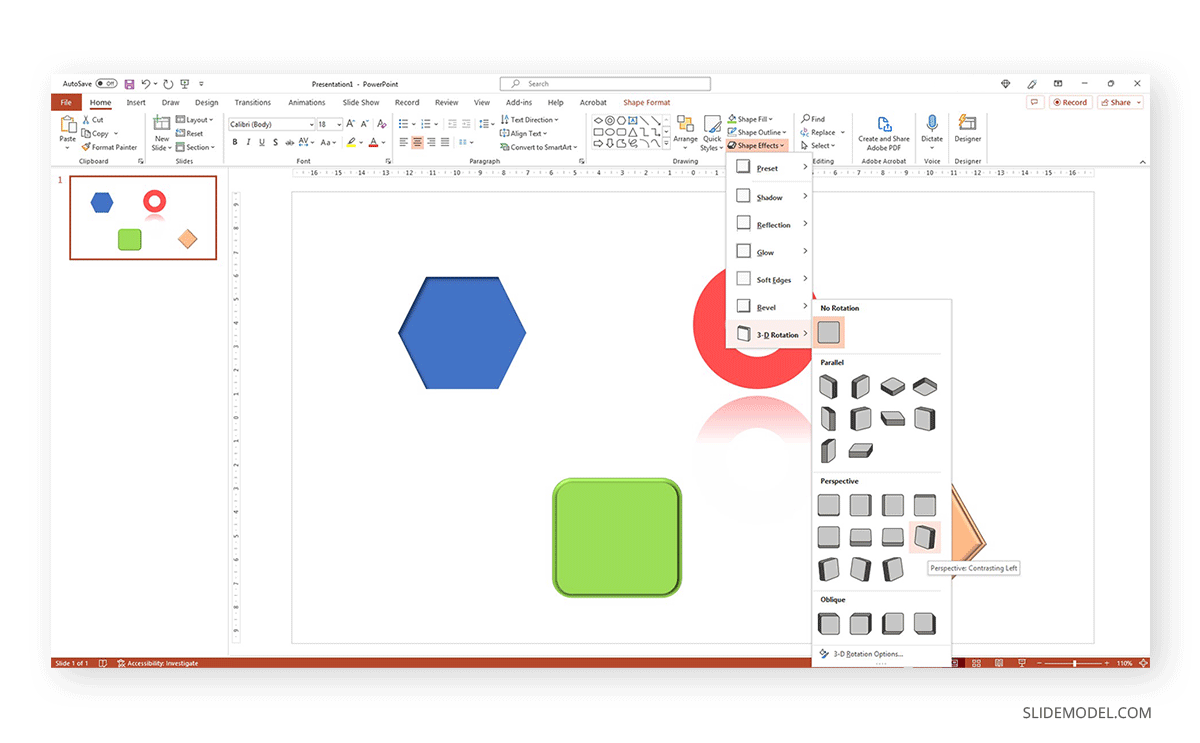
Finally, we want to place the rhomboid figure with a 3D rotation. The problem lies in not distinguishing the effect enough due to the shape’s form. A quick solution for this is to repeat the bevel effect and then apply the 3D rotation effect.
All shapes with Shape Effect applied would look like this.

Merging Shapes in PowerPoint
Sometimes, presentation design requires us to work with more advanced graphic design skills, like intersecting shapes to create a new one out of it or, better known, merging shapes in slides.
PowerPoint offers us the option to work with boolean operators to alter our shapes, and these are:
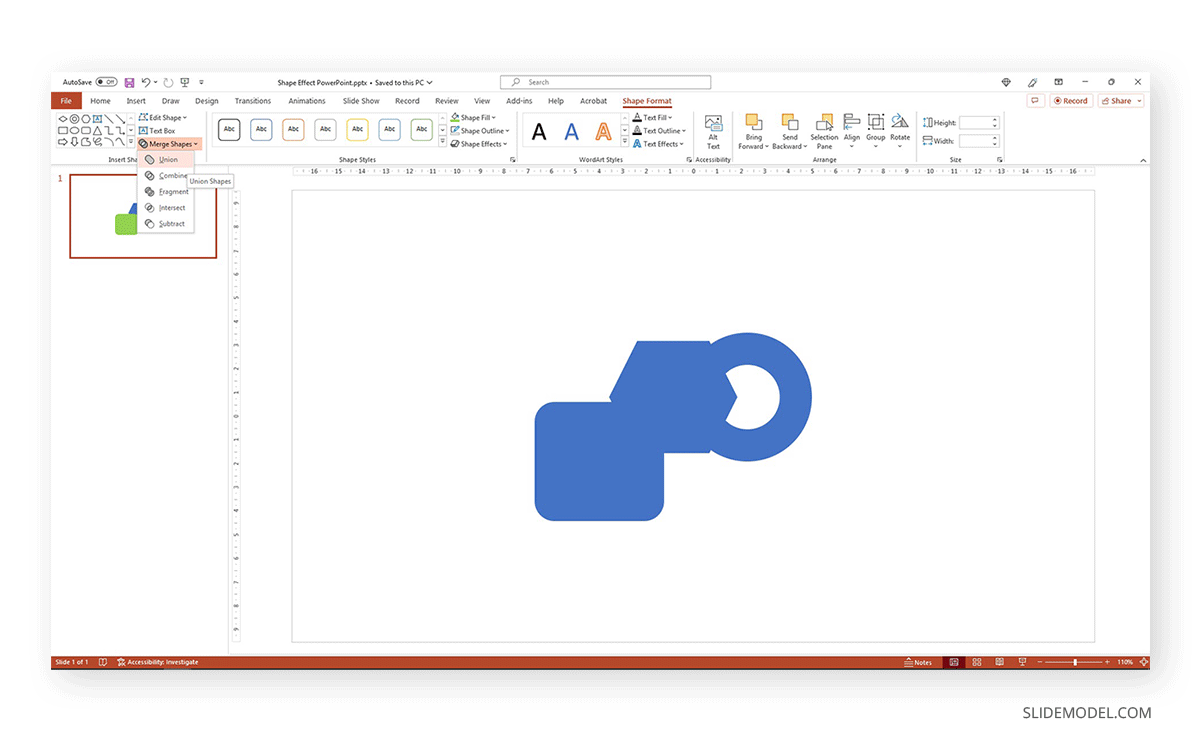
- Union: Combines selected shapes into a single shape while adding all the areas contained in the individual shapes as part of the new one.
- Combine: Works similarly to Union, but the individual shapes that make the new one are identifiable. This is ideal when we want to make a new shape but use different colors for its elements.
- Fragment: This boolean takes the overlapping areas of selected shapes and allows them to be separate individual shapes, but discards the non-overlapping parts.
- Intersect: Works best when using only two shapes. It removes the non-overlapping areas, leaving the shape in front to have only the parts of the overlapped area.
- Subtract: Removes the shape or shapes overlapping the shape in front. Ideal for cutting out parts of shapes with very specific patterns.
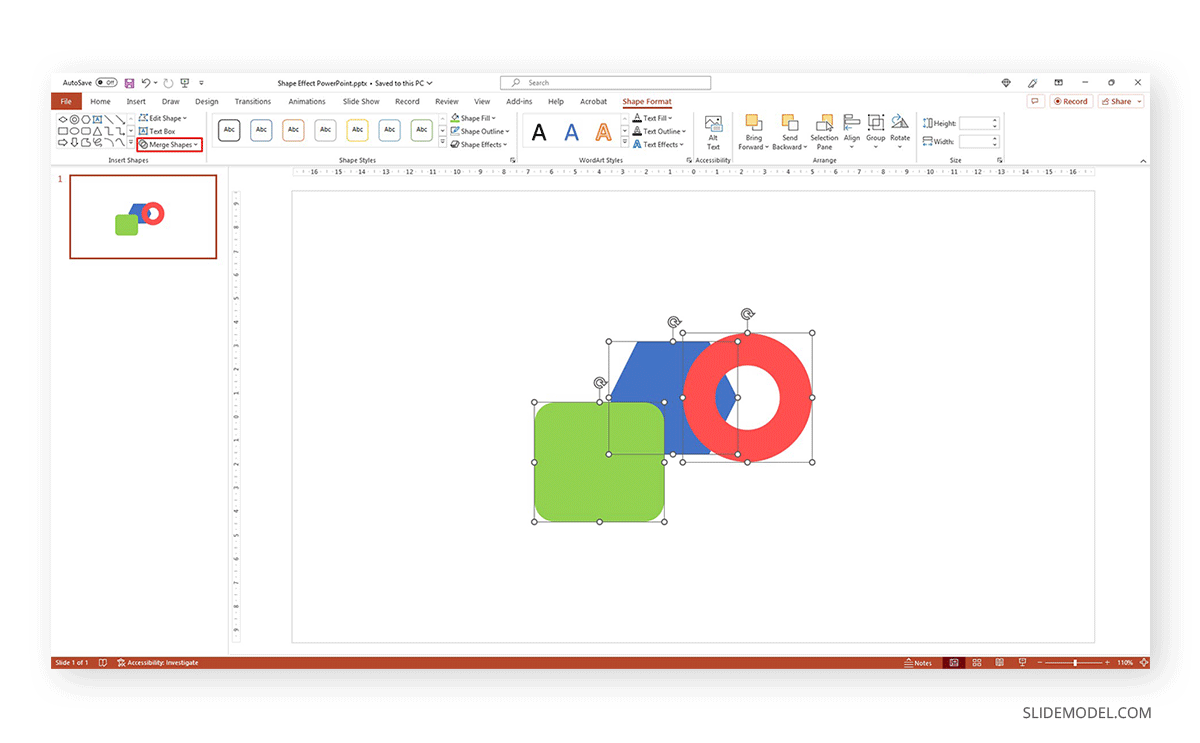
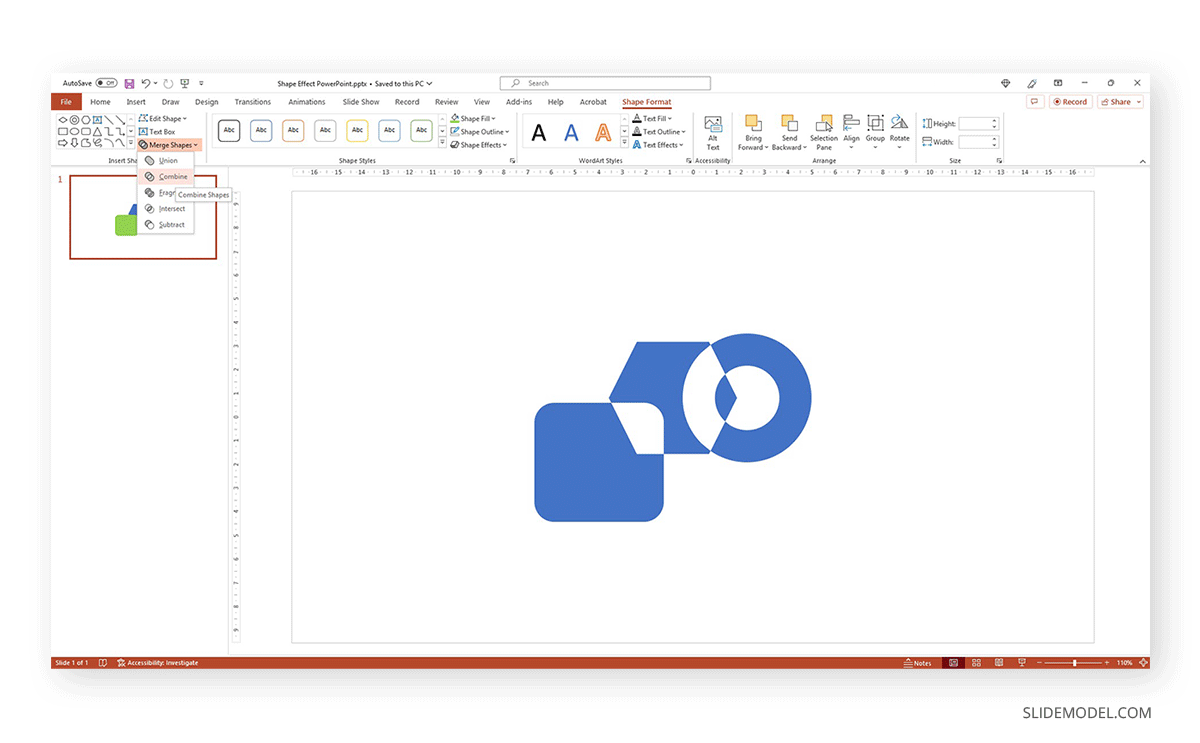
To illustrate this section, let’s go boolean by boolean, starting with Union. Starting from our original shapes from the prior section, let’s locate the option to merge shapes in PPT slides.
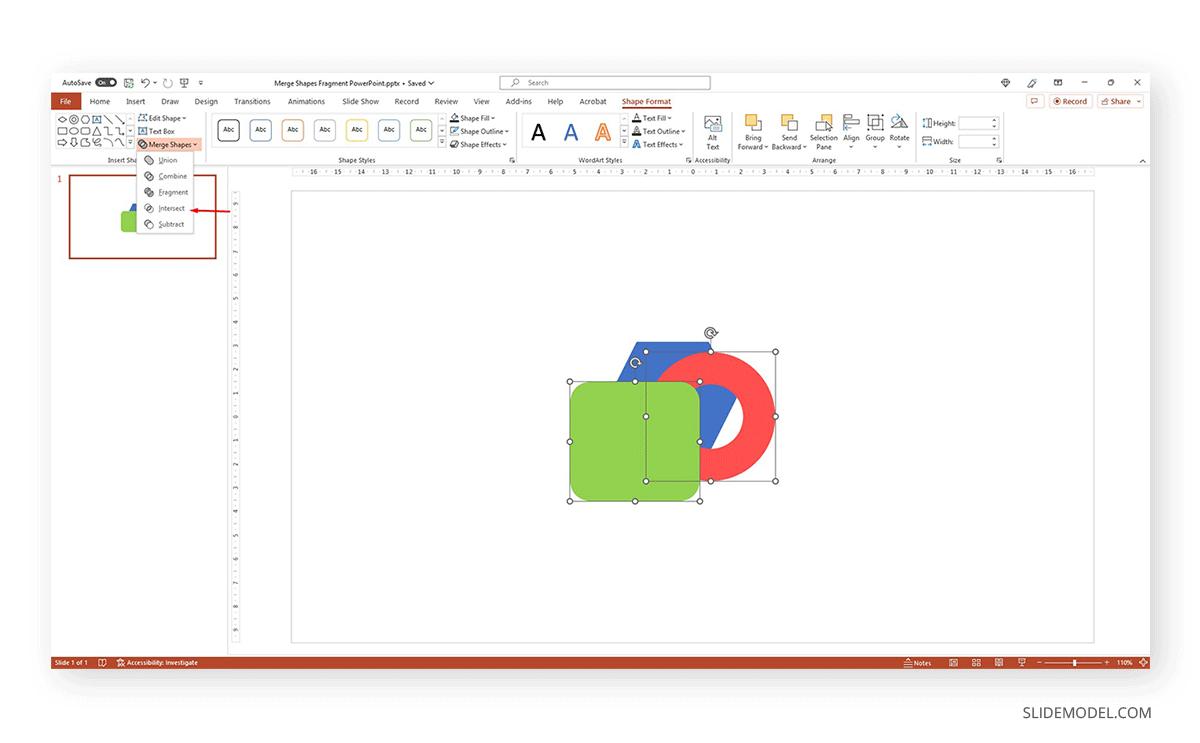
Select the shapes you want to use, then go to the Shape Format tab. Then locate Insert Shapes and select Merge Shapes.
Select Union.
If you want to work with the other methods, here’s how Combine would look.
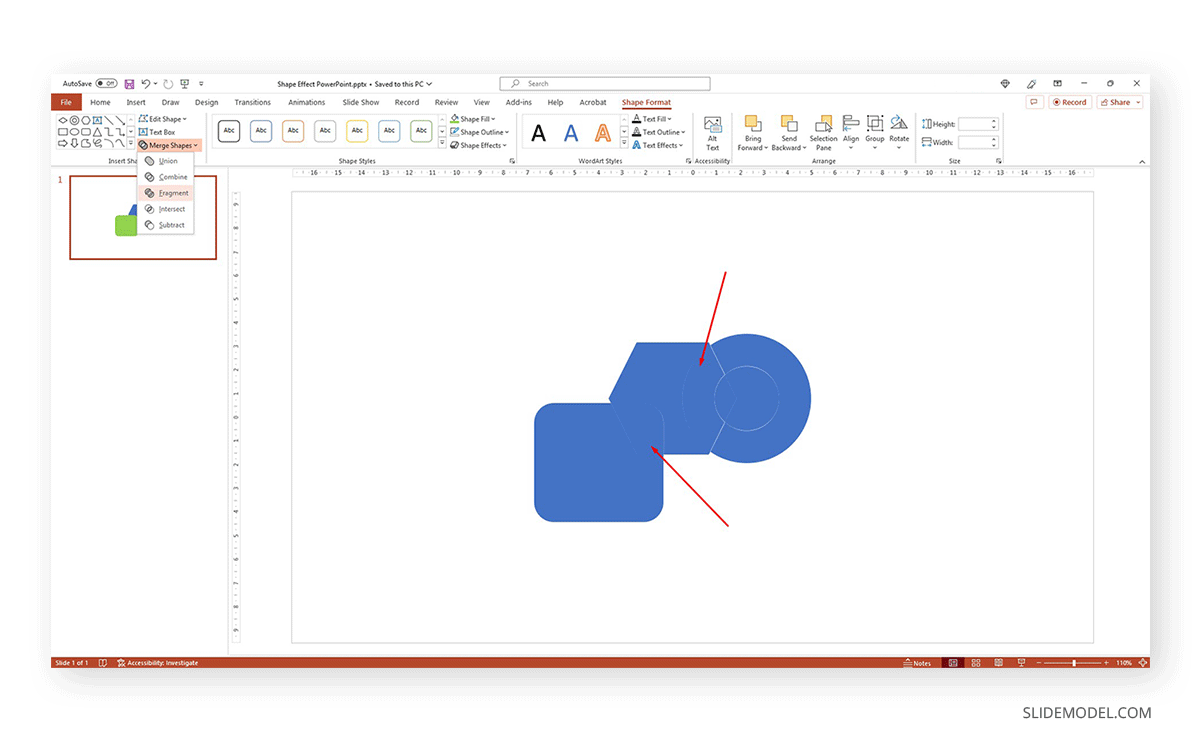
Next comes Fragment. The arrows signal the visible parts of the individual shapes being cut out by the overlapped areas.
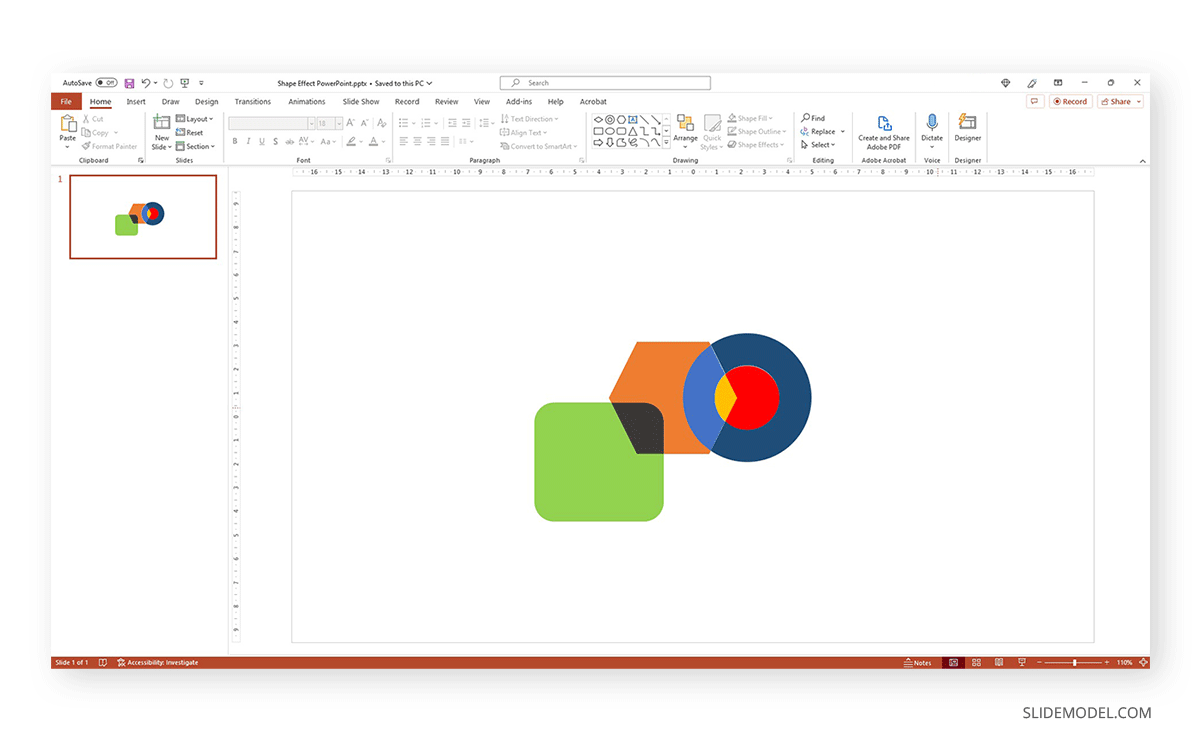
A practical use is to use different colors to showcase all the individual shapes, as in the example below.
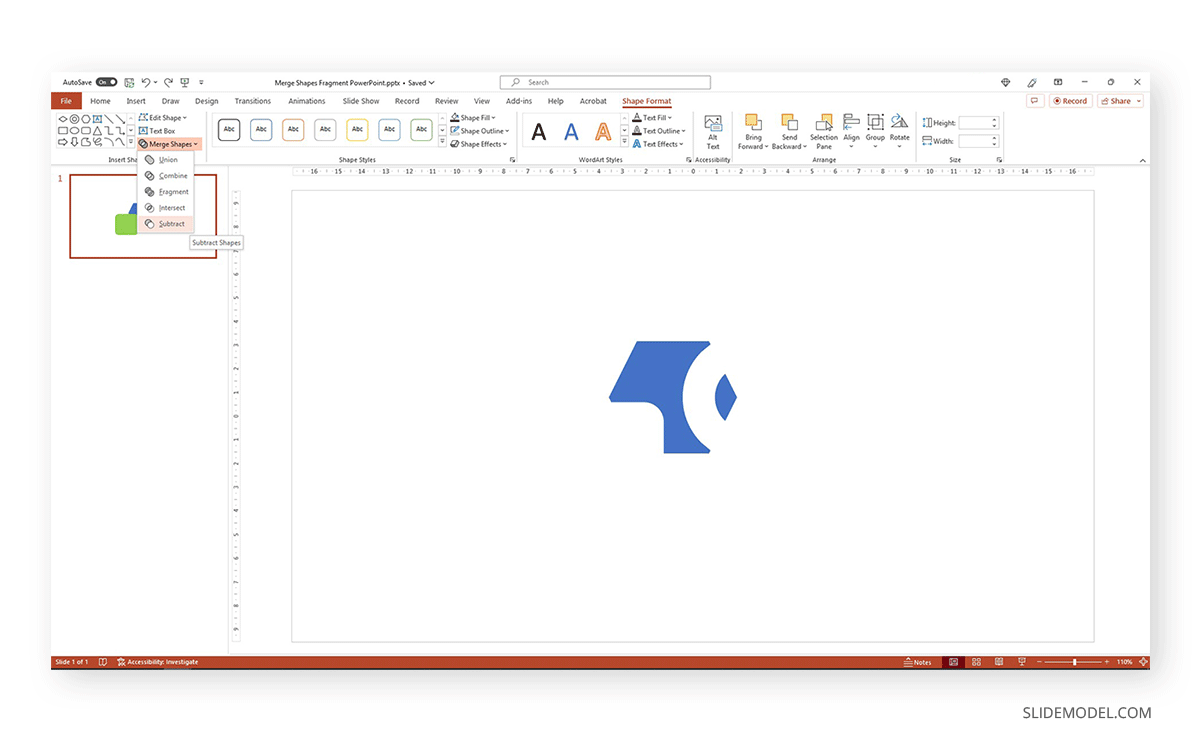
Then, we can test how Subtract would look like.
We intentionally left Intersect as the final option as we rearranged the shapes to showcase the effect. With three shapes, we will place them overlapping each other, then go to Merge Shapes > Intersect.
And this is the result.
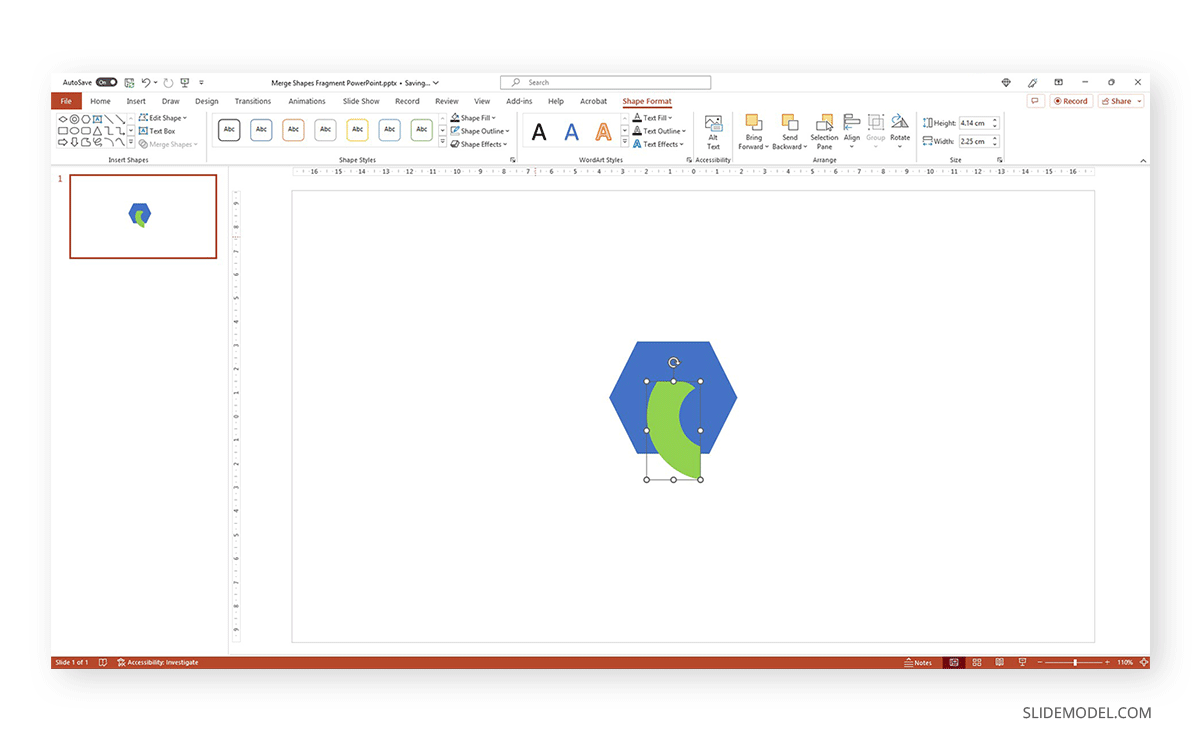
As the green figure was the top shape, it took precedence, and the red shape proceeded to work as a cutting pattern for it, discarding the remaining areas.
Edit Shape Points to Create PowerPoint Custom Shapes
Now that you know how to open Format Shape in PowerPoint to change shape, you can also create custom shapes by editing shape points via Shape Format -> Edit Shape -> Edit Points.
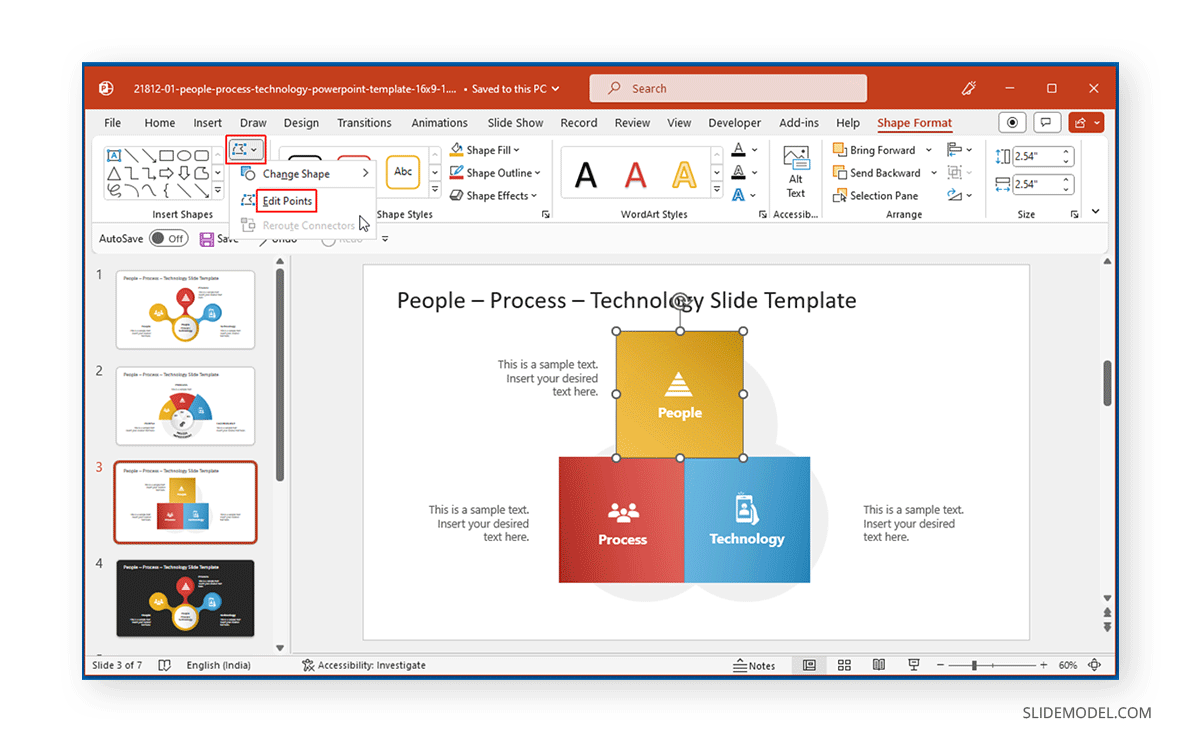
This will highlight the points that you can change using drag and drop to change the look of the shape.

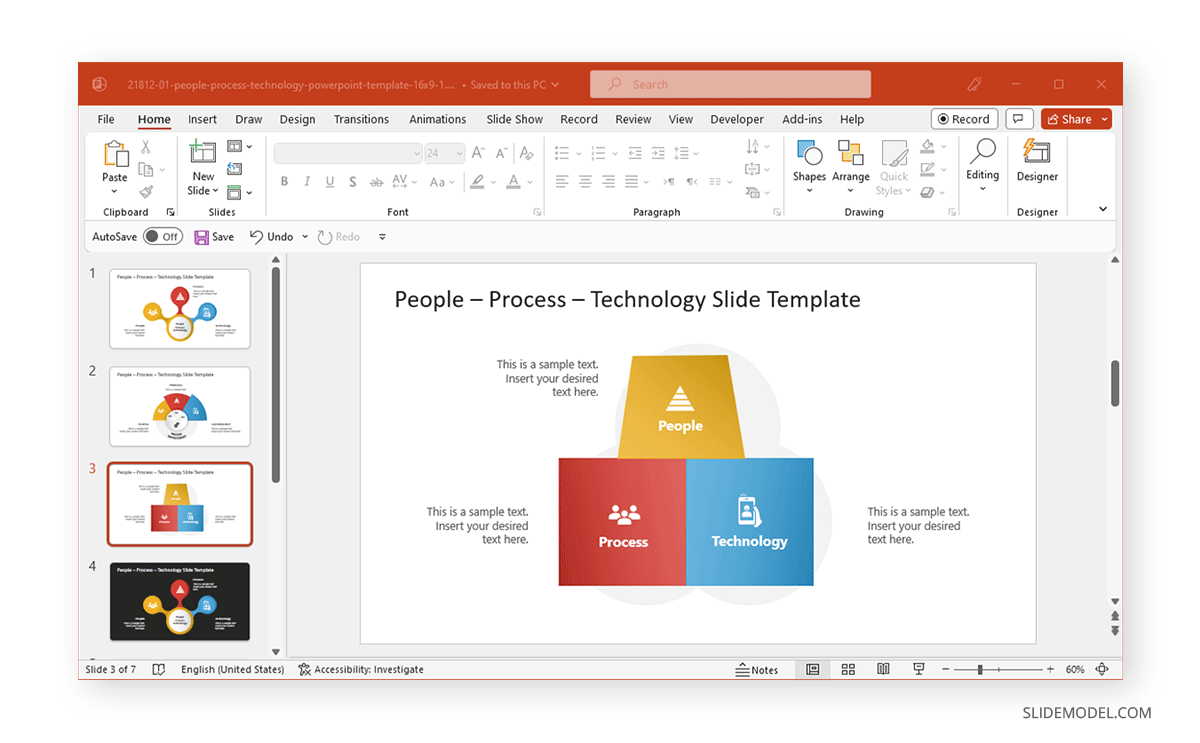
The below example shows a custom shape created from a rectangle in PowerPoint by editing shape points.
FAQ’s
How do I change the shape of an object in PowerPoint?
To change the shape of an object:
– Select the shape you want to change.
– Go to the Shape Format tab.
– Click Edit Shape in the Insert Shapes group.
– Select Change Shape and choose your desired shape from the dropdown menu.
Can I change the color of a shape in PowerPoint?
Yes, you can change the color of a shape:
– Select the shape.
– Go to the Home tab.
– Click Shape Fill and choose a color from the palette.
How do I add a border to a shape in PowerPoint?
To add a border to a shape:
– Select the shape.
– Go to the Home tab.
– Click Shape Outline.
– Choose a color, weight, and style for the border.
What are the options available under Shape Outline in PowerPoint?
The options include:
– Solid color: Change the border color.
– Eyedropper: Match the border color with any color on your slide.
– Weight: Adjust the thickness of the border.
– Sketched: Apply a hand-drawn style to the border.
– Dashed: Add dashed or dotted lines to the border.
– Arrows: Add arrowheads to the start or end of the border line.
How do I apply shadow effects to a shape in PowerPoint?
To apply shadow effects:
– Select the shape.
– Go to the Shape Format tab.
– Click Shape Effects.
– Choose Shadow and select a shadow style from the options.
Can I add 3D effects to shapes in PowerPoint?
Yes, to add 3D effects:
– Select the shape.
– Go to the Shape Format tab.
– Click Shape Effects.
– Choose 3-D Rotation and select a 3D effect from the options.
How do I merge shapes in PowerPoint?
To merge shapes:
– Select the shapes you want to merge.
– Go to the Shape Format tab.
– Click Merge Shapes in the Insert Shapes group.
– Choose a merge option (Union, Combine, Fragment, Intersect, or Subtract).
What is the purpose of the Fragment option in Merge Shapes?
The Fragment option breaks the overlapping areas of the selected shapes into separate individual shapes, allowing you to style and color them independently.
How do I create custom shapes in PowerPoint?
To create custom shapes:
– Select a shape.
– Go to the Shape Format tab.
– Click Edit Shape.
– Choose Edit Points.
– Drag and adjust the points to create a custom shape.
Can I change the transparency of a shape in PowerPoint?
Yes, to change the transparency:
– Select the shape.
– Go to the Shape Format tab.
– Click Shape Fill.
– Choose More Fill Colors.
– Adjust the transparency slider to set the desired transparency level.
Final Words
PowerPoint shapes play a major role in making visually appealing slide designs. This is especially true for PowerPoint templates with diagrams and overlapping slide elements. To create slide designs or refine existing slide decks, changing the shape can help not only make your presentations pop out but also enable reflecting changes to a process or workflow in PowerPoint.