Some PowerPoint templates come with stock images that look almost suitable for a presentation, except for certain parts that might need to be edited. Therefore, when making presentations in PowerPoint, you can edit an image to blur the entire image or the background to adjust it according to specific requirements. Below is a guide on how to blur an image in PowerPoint.
How to Blur Image in PowerPoint
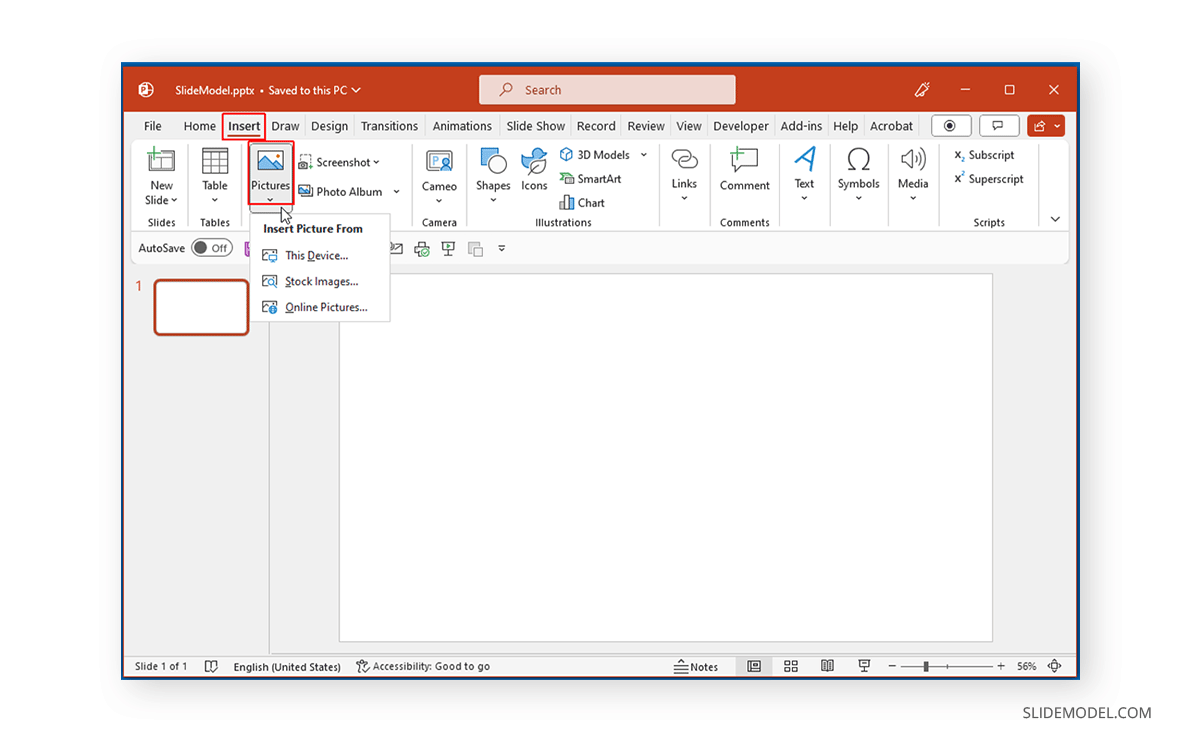
To get started, select an image to add via Insert -> Pictures.
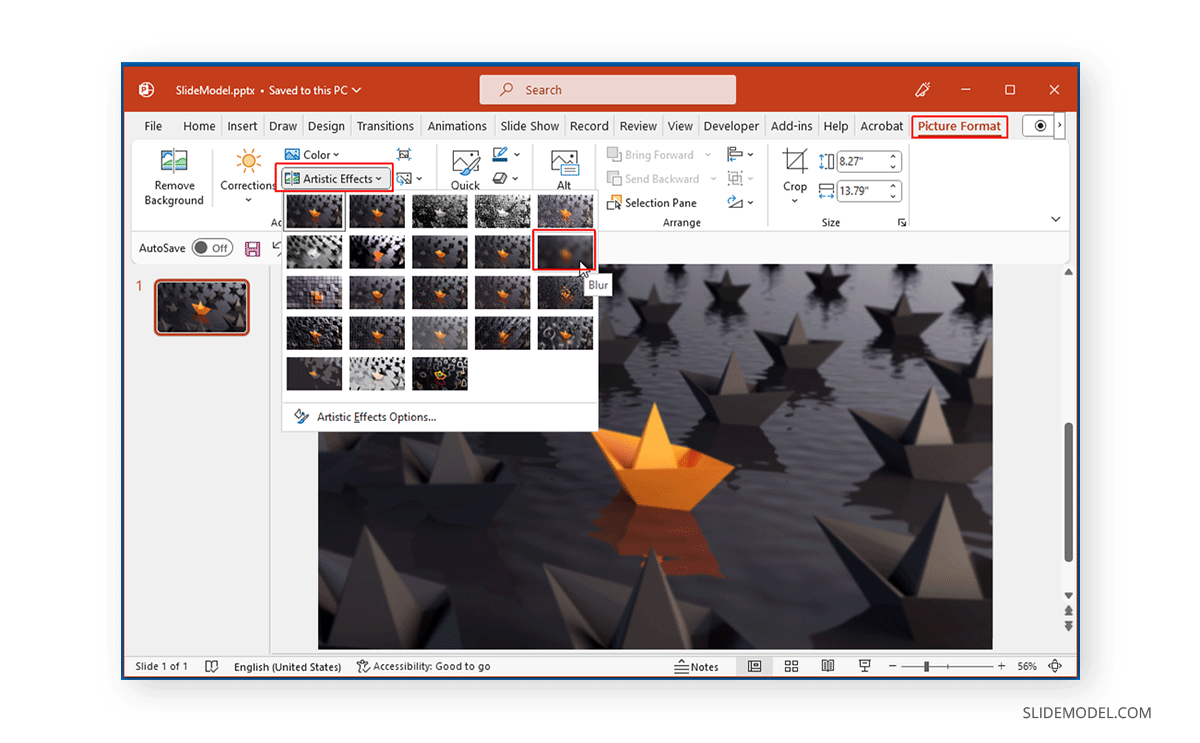
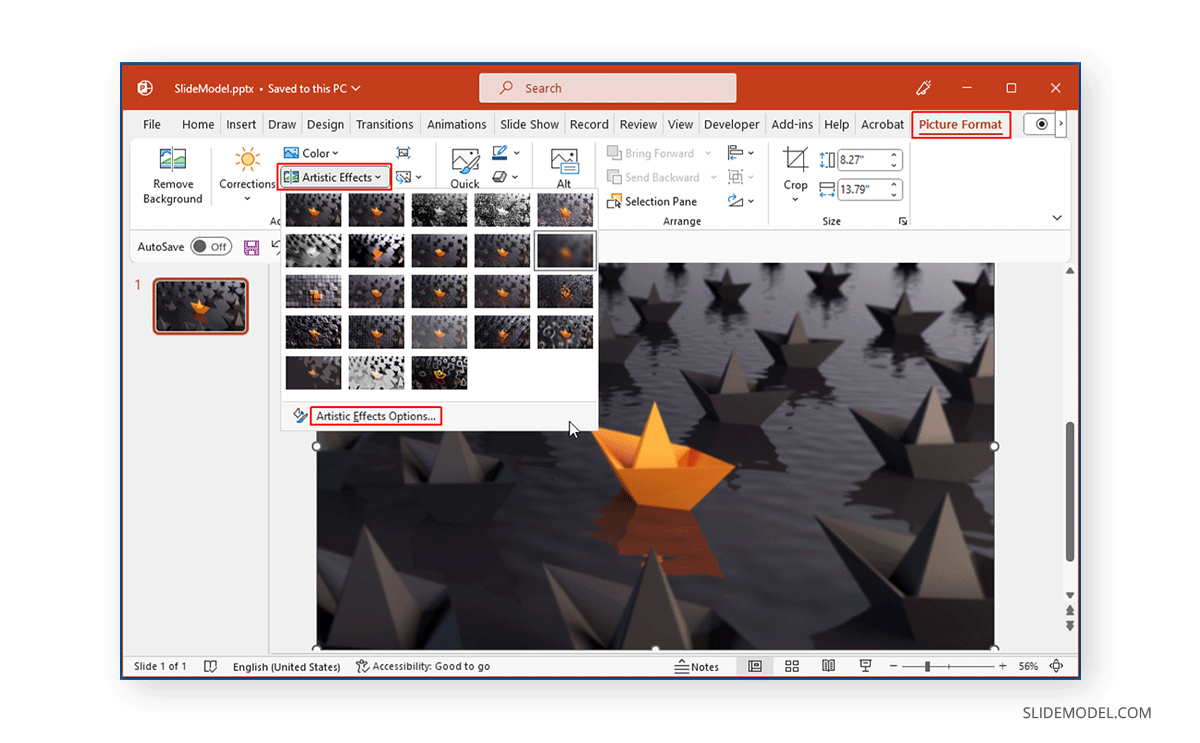
Once the image is added, select it, go to Picture Format -> Artistic Effect, and choose Blur.
To edit the blur effect further, select Artistic Effects Options via Picture Format -> Artistic Effects. You can also go to this option via the right-click menu by selecting Format Picture.
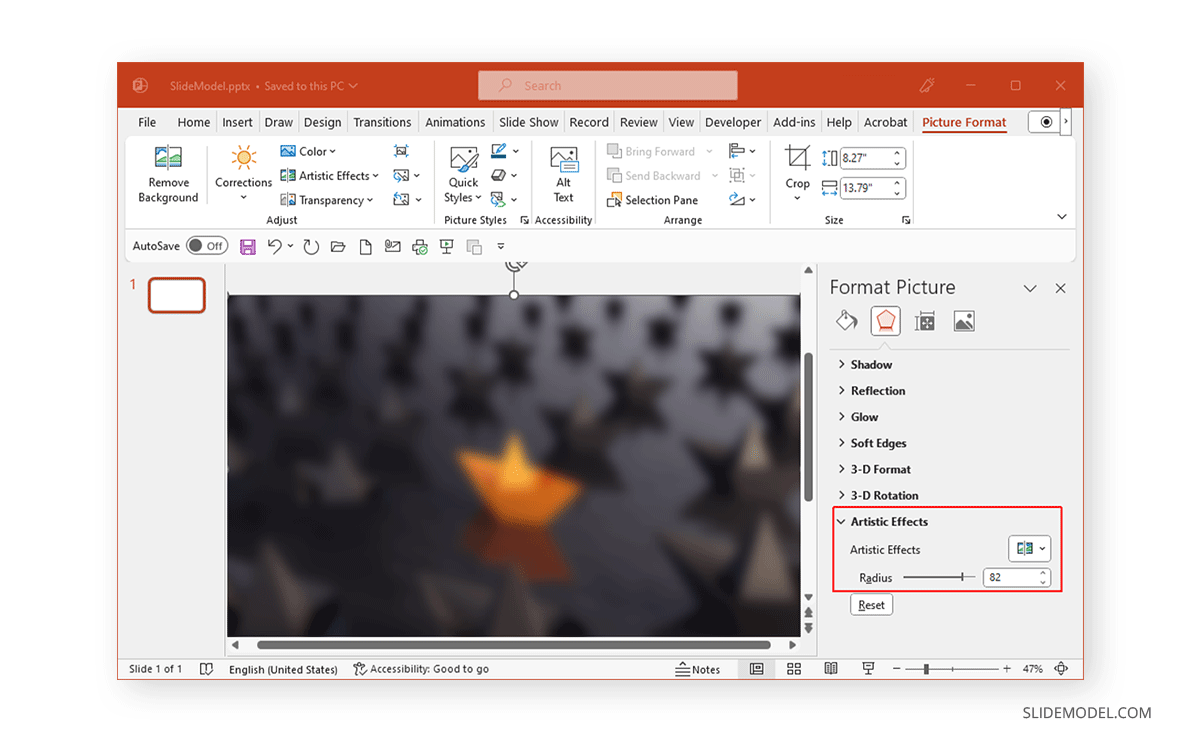
Move the slider from the Artistic Effects menu from the right pane to increase or decrease the blur effect.
How to Blur a Part of an Image in PowerPoint
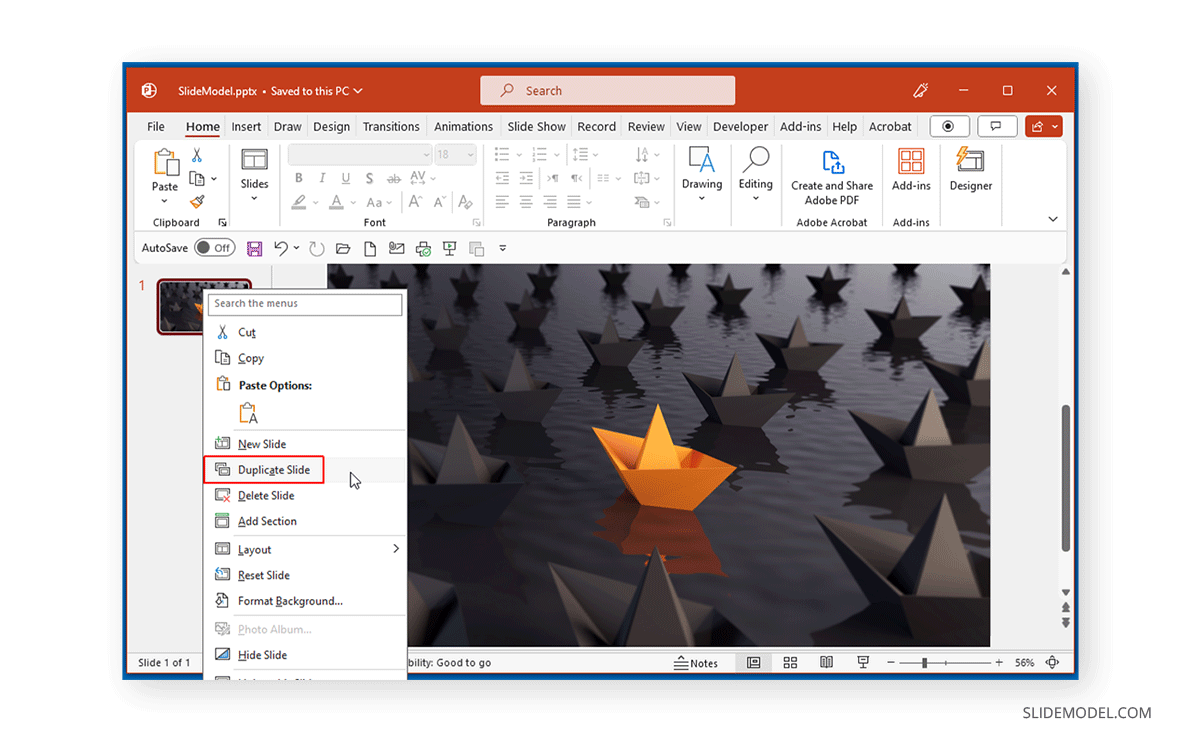
If you want to blur only a part of an image in PowerPoint, add the image to the slide and duplicate the slide to create an exact copy.
Follow the above procedure to blur the image via Picture Format -> Artistic Effect -> Blur. As mentioned earlier, you can also adjust the blur effect.

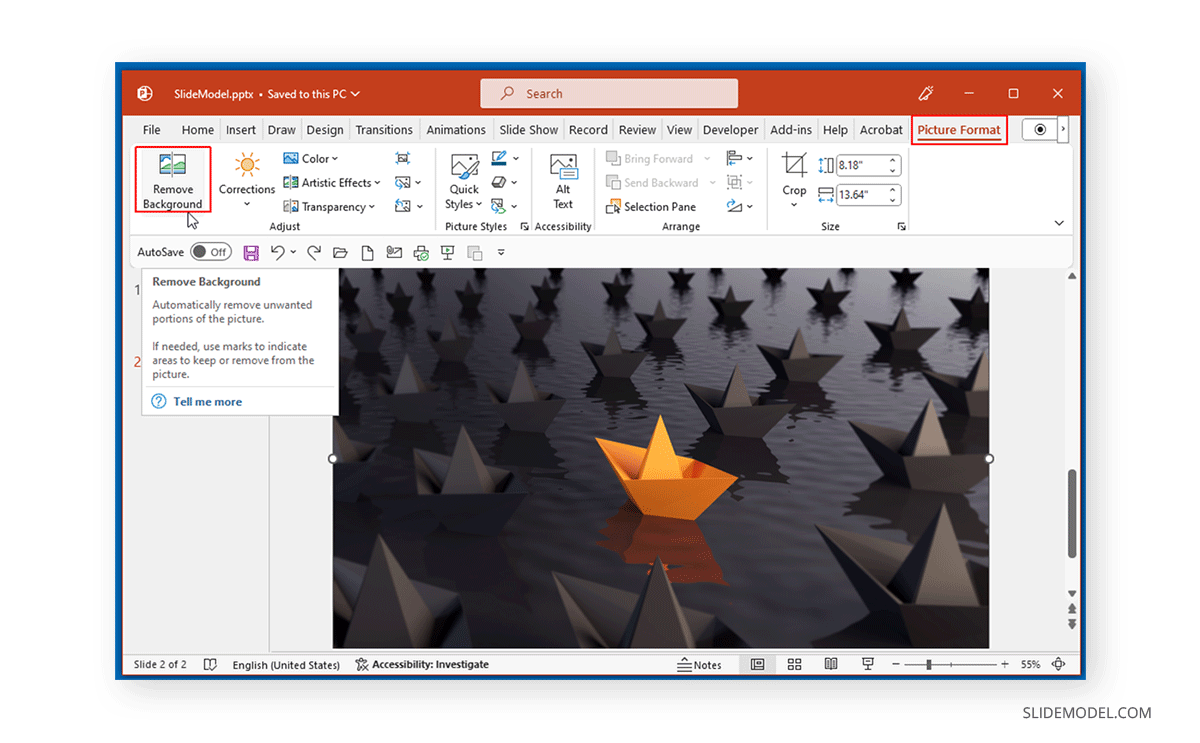
Once the image in the first slide has been blurred, go to the duplicate slide, select the image, and go to Picture Format -> Remove Background.
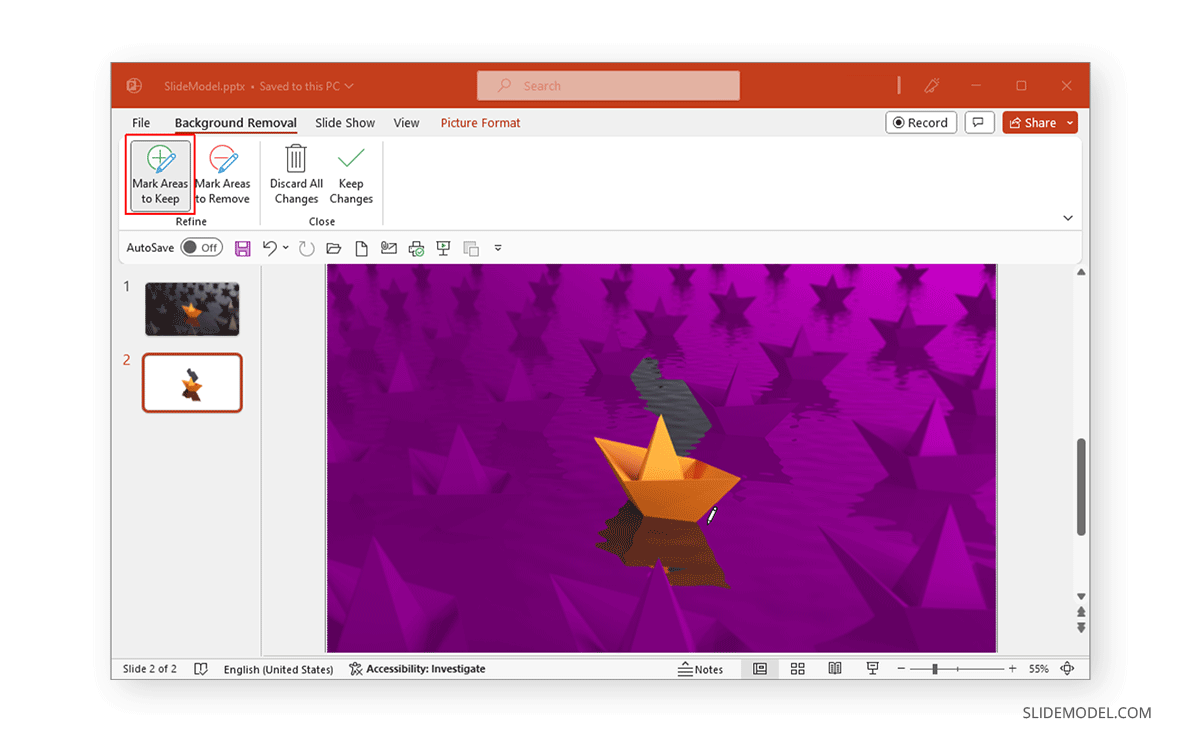
Click Mark Areas to Keep and select the areas you would want to show without the blur effect.
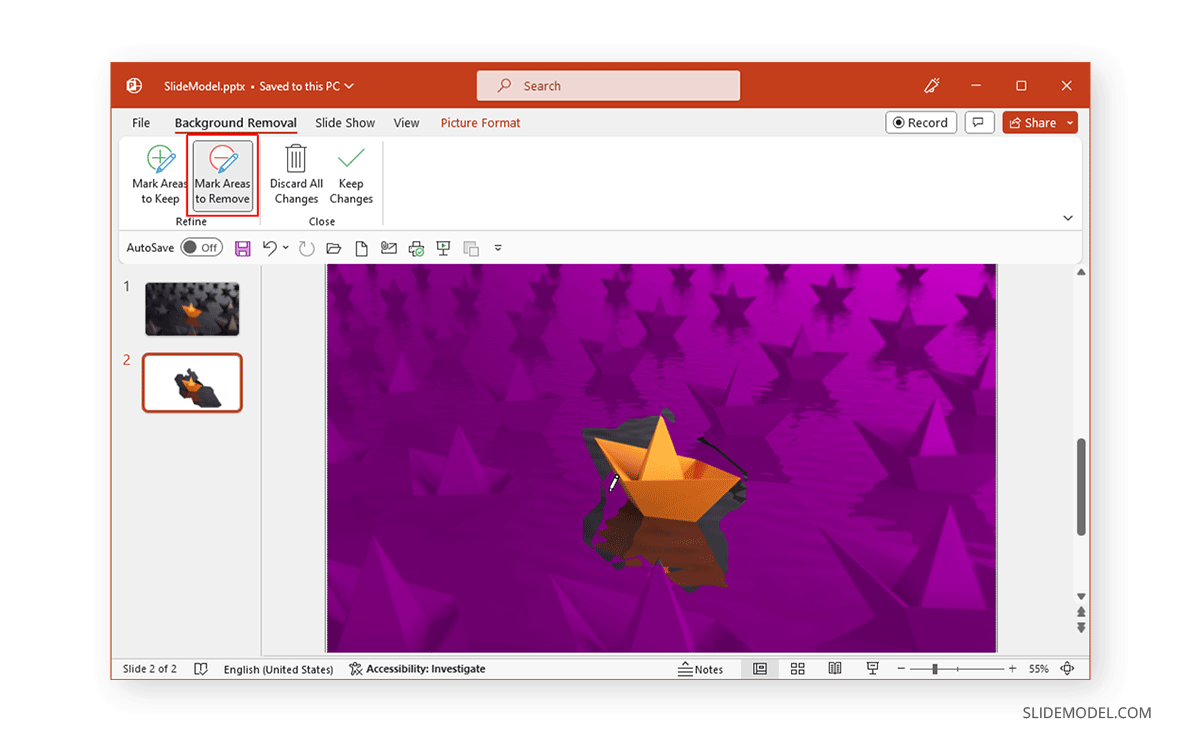
Select Mark Areas to Remove and remove the background area you don’t need.
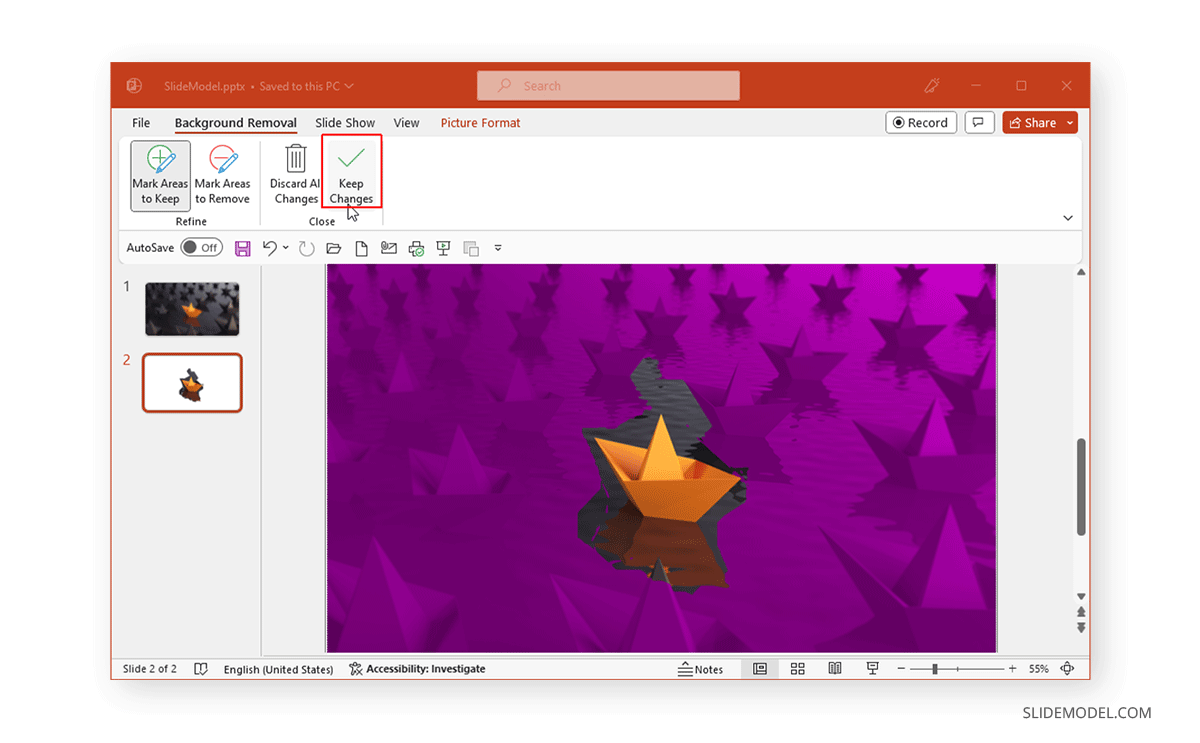
Once the background has been removed, Select Keep Changes to isolate the part of the image you want to highlight over the blurred background.
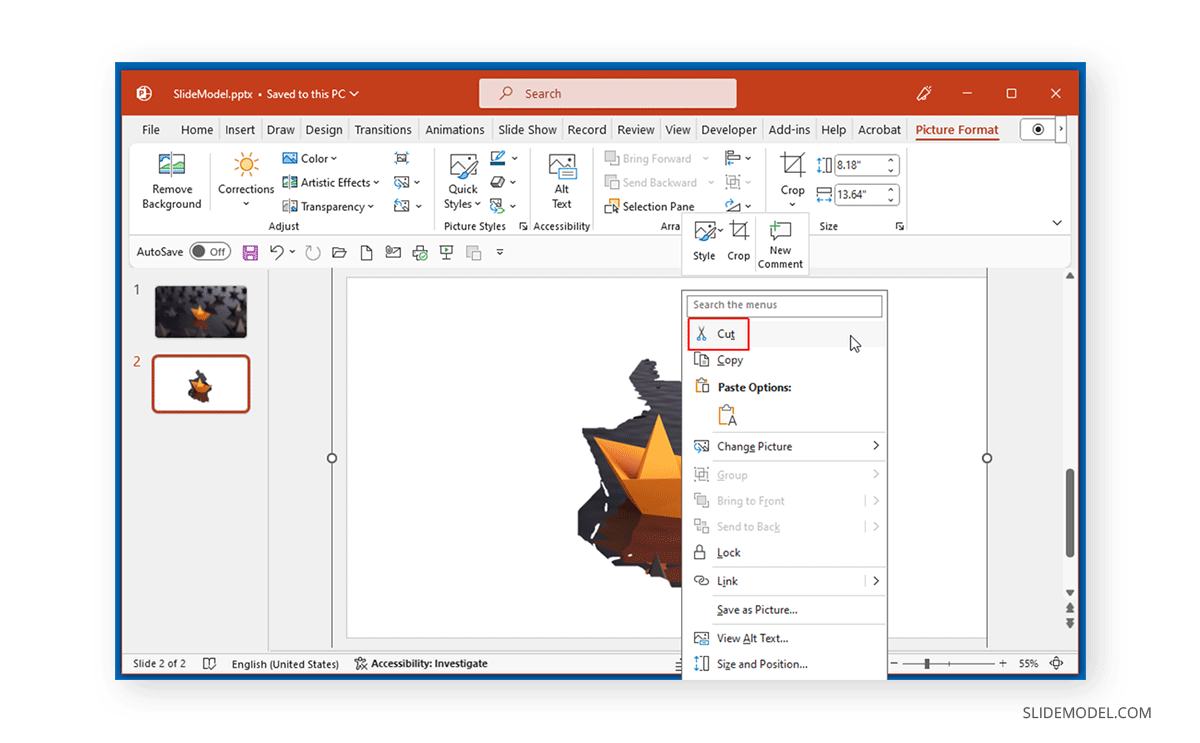
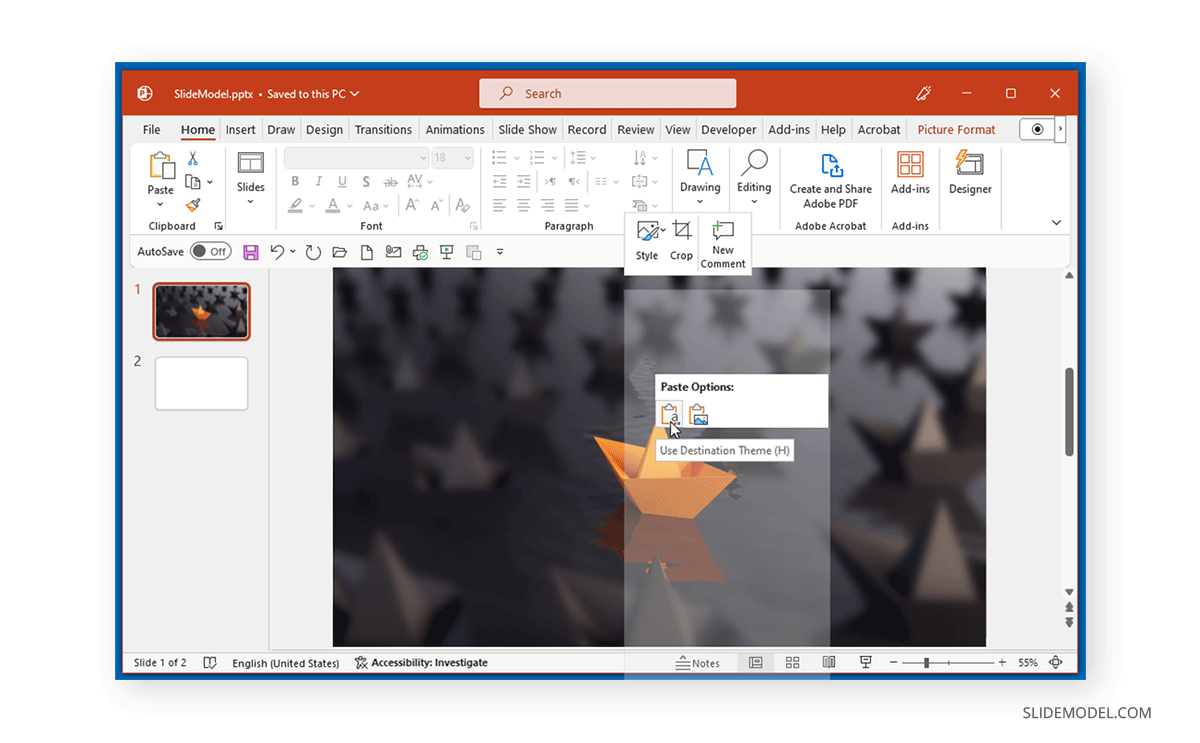
Right-click to Cut or select CTRL+X to Cut the image after selecting it.
Right-click the first slide and Paste the image over the blurred image. You can also insert the image via CTRL+V hotkey.
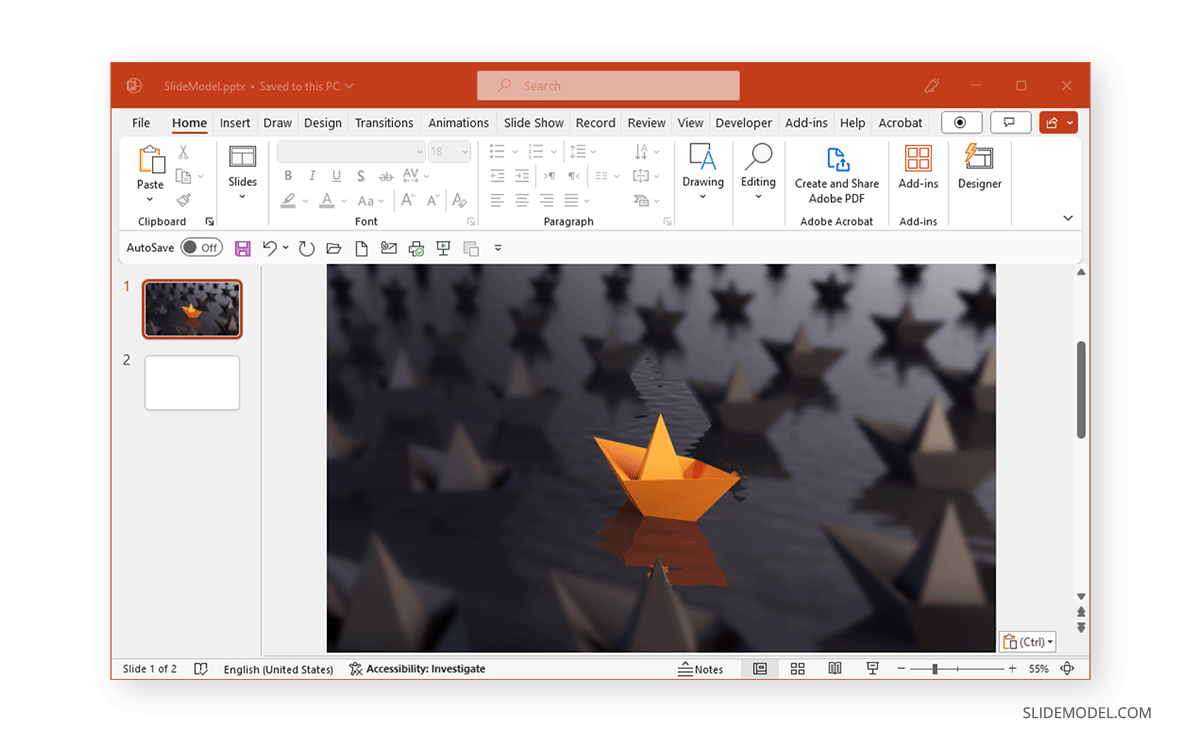
The image below shows how your slide will look once the blurred image is edited to add an overlay of the area that is not blurred. This creates a picture where parts are blurred, and the rest is visible.
Final Words
Adding the blur effect in PowerPoint is more convenient than editing it using complex graphic design applications. Unless you are good with Adobe Photoshop or other image editing tools, you can use the methods mentioned above to blur your image or part of it in PowerPoint in just a few minutes.