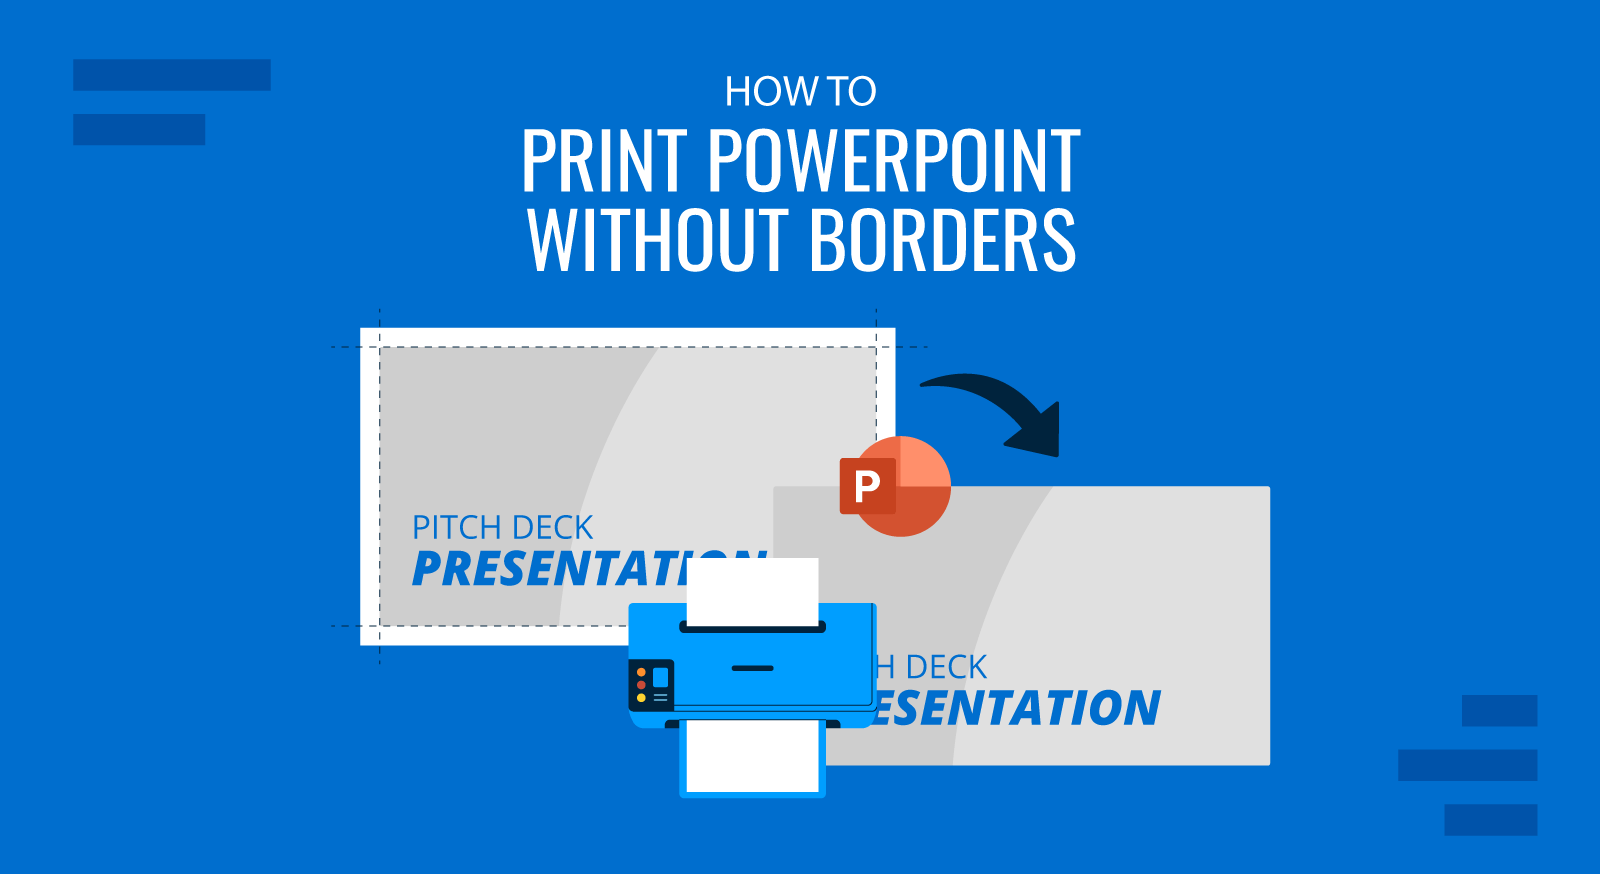
The documents printed in PowerPoint may wear an unwanted white border space or margin unless we configure the proper page size and scale options.
In order to create borderless when exporting PowerPoint presentations to PDF format, you can follow the steps below. Here is a method to make borderless PDF presentations in your Mac by exporting your slides to images and combining all them in a PDF document with the Preview application.
Method #1 – Print PDF from Microsoft PowerPoint Print Dialog
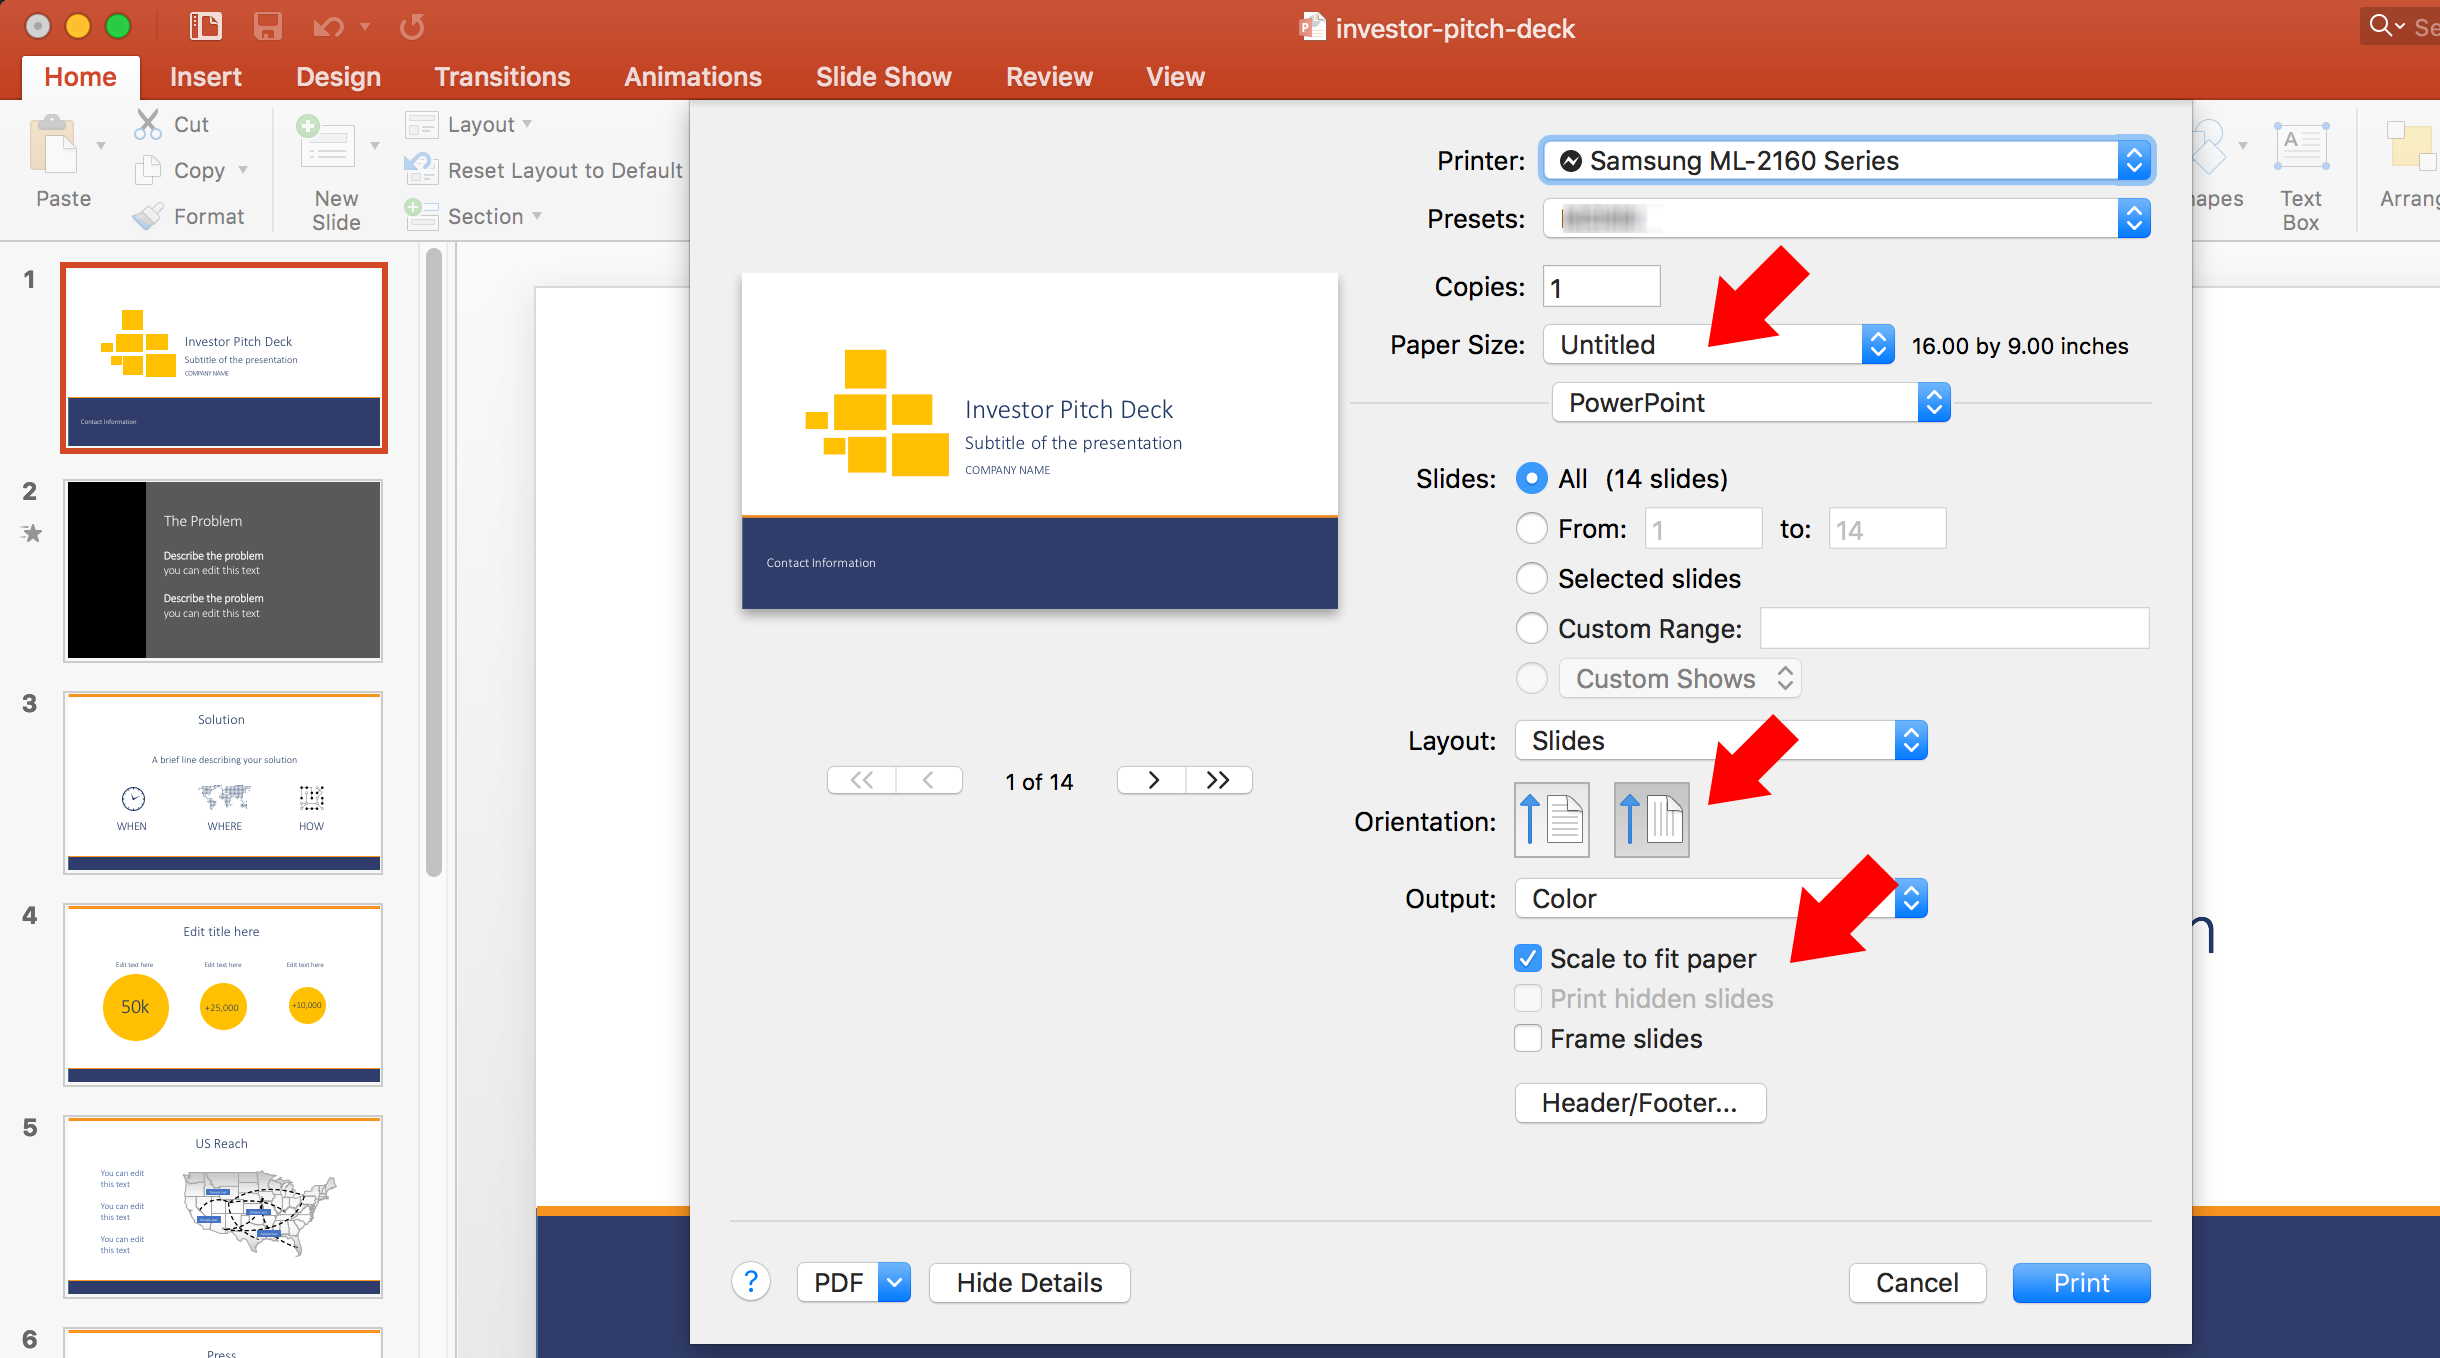
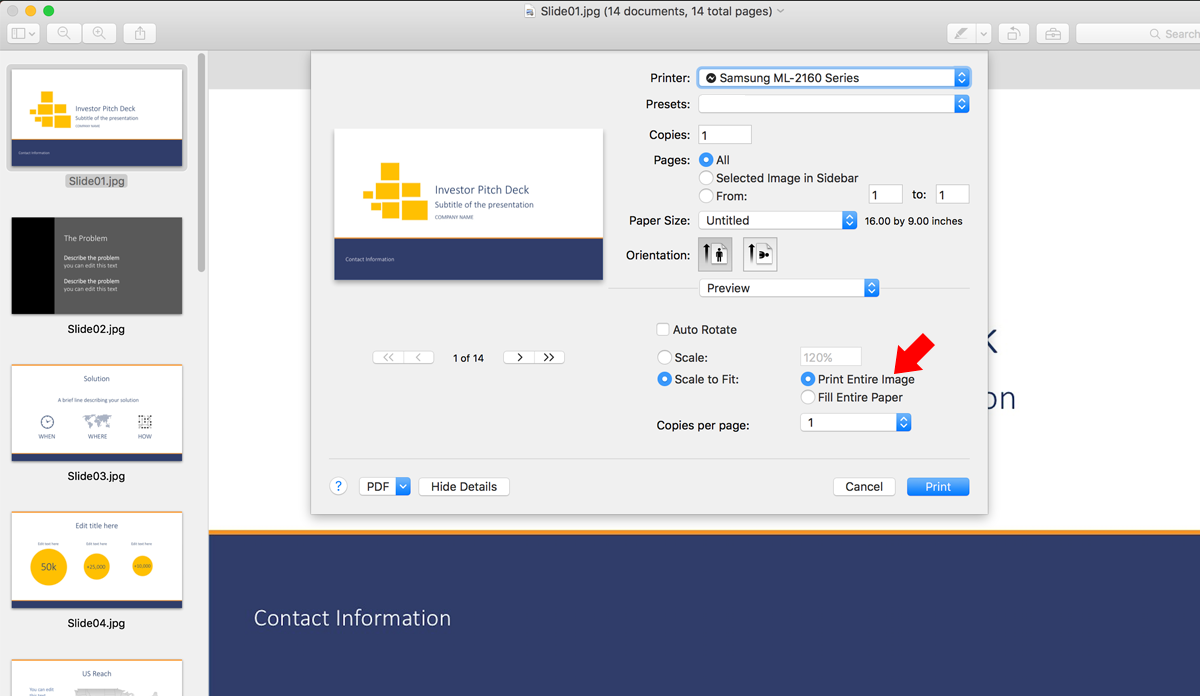
The easiest way to remove margins while printing in PDF is to open the Print dialog in PowerPoint and choose to show details by clicking Show Details button (located in the bottom left corner). This button will display the paper configuration.
Make sure to choose a new paper size that matches the current slide size or create a new one. Once the paper size is matching the presentation proportions choose Scale to fit the paper and set the Orientation to landscape.
Method #2 – Export Slide Images and then use Preview
Alternatively, you can export your presentation to images and then use Preview in Mac to prepare the presentation for printing.
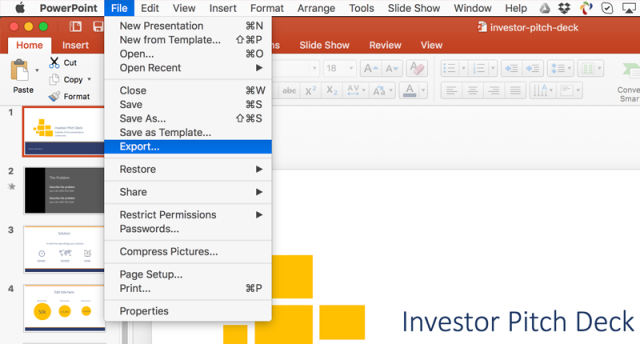
Go to File menu and choose Export option to save the presentation slides as images. This open will open a new dialog box where you need to choose the output directory.
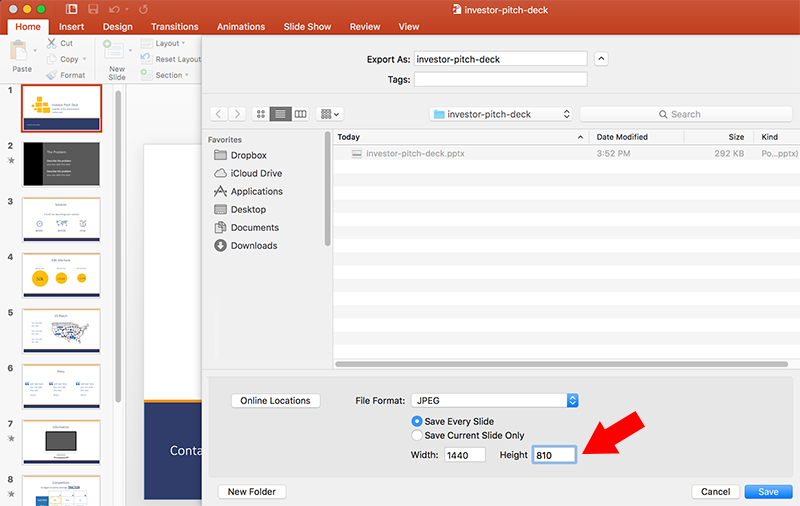
Choose the output directory where images will be saved. Make sure to choose the desired format JPG or PNG and double the default width to 1440, this will help toward improving the output quality.
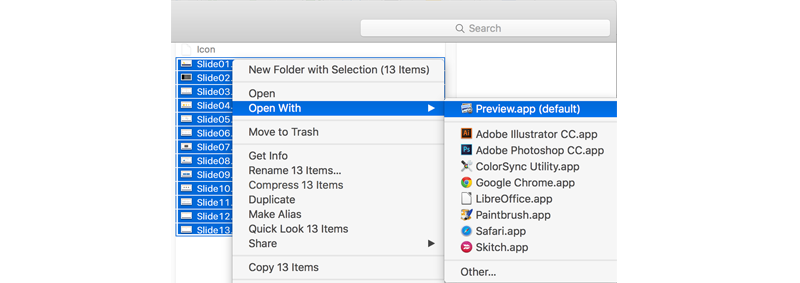
Now, go to Finder and locate the new files in the output directory. Select all the files, keeping the numeric order (01..N) and then right click and choose Open Width -> Preview app.
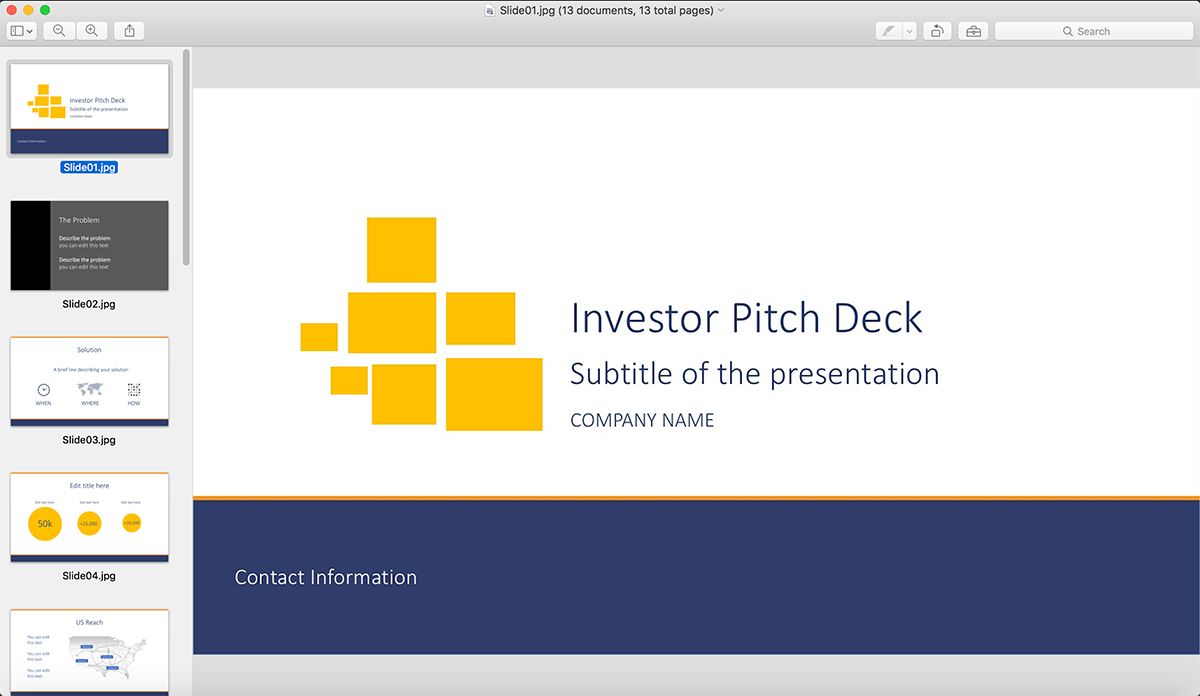
At this point, you can see all the slides in Preview. Make sure the order of the slides is preserved before continuing.
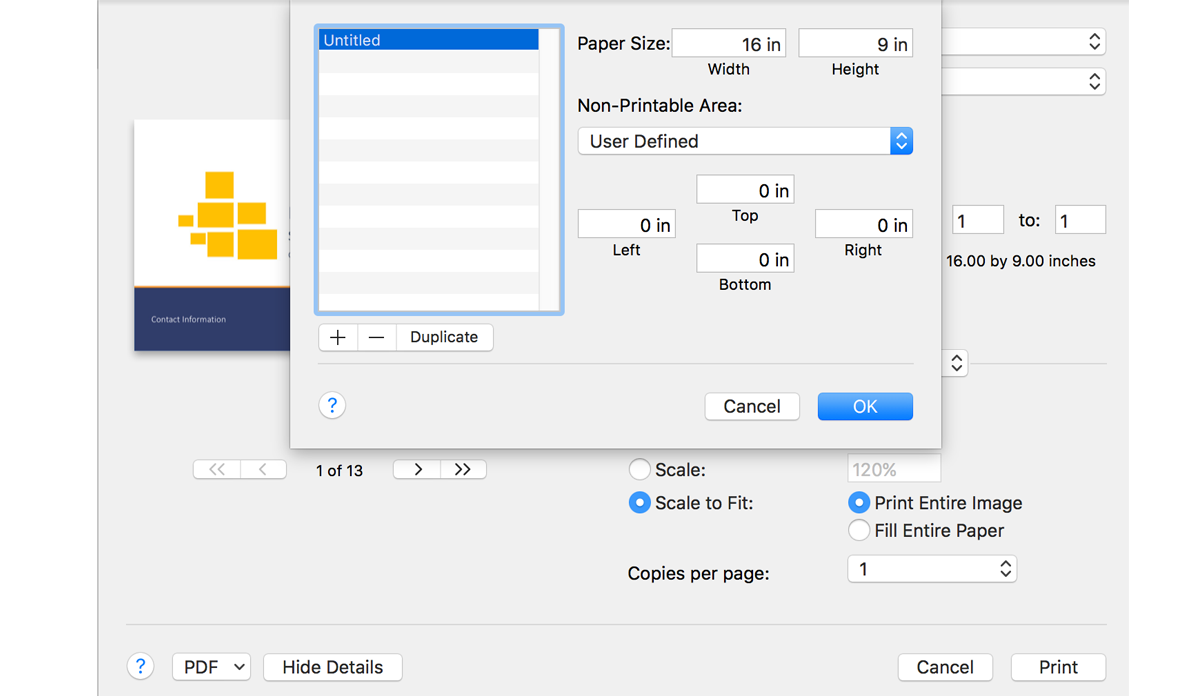
Here, you can choose the Paper Size. In order to export a presentation to PDF without unwanted white borders on your Mac, here is the trick:
- Create a new Custom Size and define the size proportionally to the format of your presentation. In this case, we have configured the design to 16:9 by defining a Paper Size of 16 inches width and 9 inches in the height.
- Set the top, left, right and bottom margins to 0 (zero)
- Click OK and make sure the Scale option is set to Scale to Fit and Print Entire Image.
The following screenshots show the dialog box where you can define a custom paper size.
Finally, click the bottom left PDF button to display the contextual menu and then click Save as PDF option. This process will merge all the images into a borderless (no margin) PDF presentation.
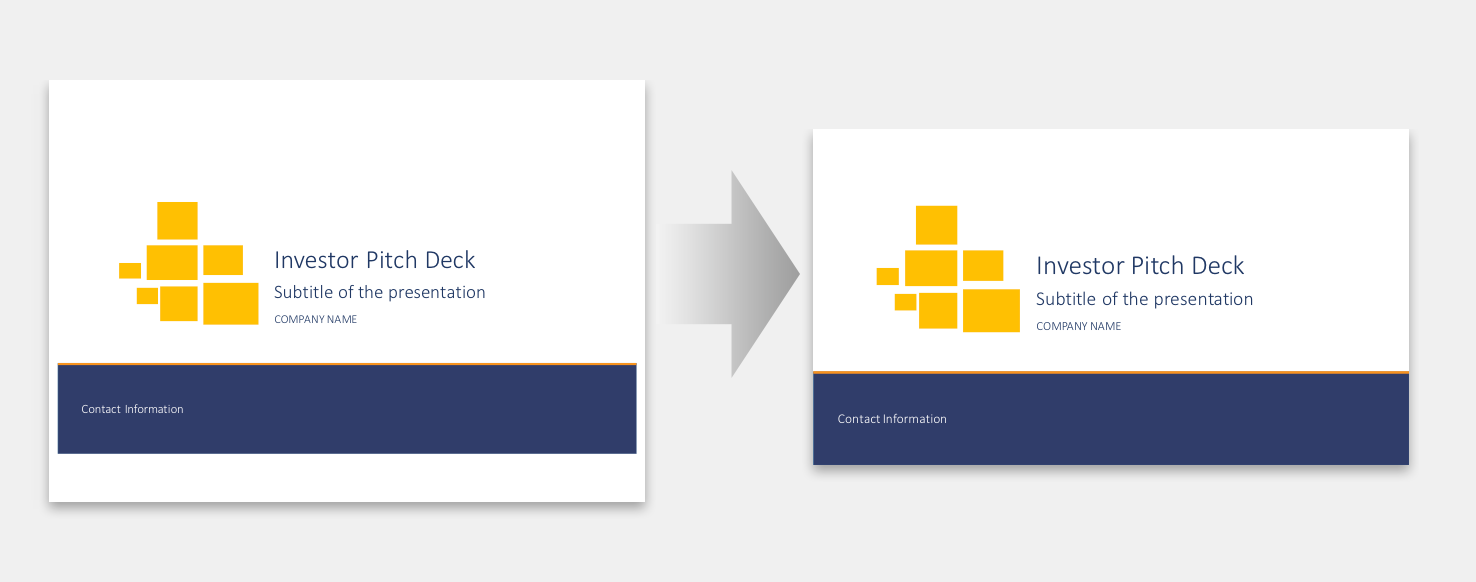
Here you can see one of our Pitch Deck Presentation templates PDF that was created using the borderless printing on Mac OS techniques described in this post.